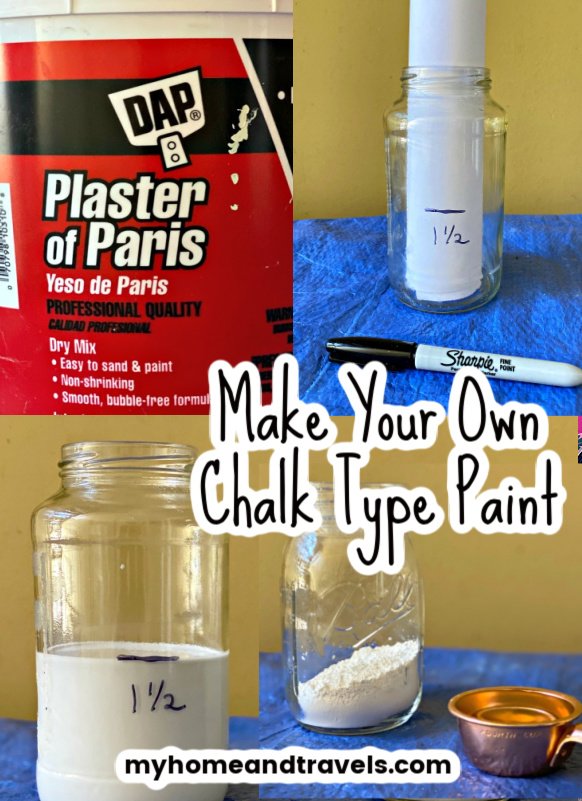
DIY Chalk Paint Recipe
Anymore there are as many brands and types of paint out there for home décor and furniture as there are opinions on which is the best. This DIY Chalk Paint Recipe can give you options for color and amount of paint you need. You can now buy these types of paint at art centers, Home Depot, Ace, and any craft store. Each can produce a different effect or finish depending on application.
Although the term “chalk paint” has been trademarked, most people refer to any of these paints which area almost a no prep – chalky finish as chalk paint as I refer to any soda as a Coke.
Most don’t actually have chalk in them as most “milk” paints don’t have milk in them either.
I have purchased many brands of these paints and usually find them easy to use and have good results.
So why make your own? Some factors can be the cost. A quart of the name brand chalk paint can be around $38. There are limited colors. Sometimes you can’t find local to you.
Again, you will find several different recipes out there for making your own paint. This is the recipe I came up for myself and have been perfectly happy with it.
What you need:
½ Cup Plaster of Paris
¼ Cup Water – room temperature
1 ½ Cup Latex Paint
I have used flat, eggshell and semi-gloss and get the same results with each.
This large bucket of Plaster of Paris was only about $10 at Michaels but of course I used my 40% off coupon.
I like to use an old spaghetti sauce jar for mixing this up, plus you can store it for a few days. This isn’t meant to be paint to be stored long term since the Plaster of Paris can sometimes start to set up.
Clean the jar and lid well.
Pour 1 ½ C water in empty jar and make a line.with a Sharpie. Paper is for photo only.
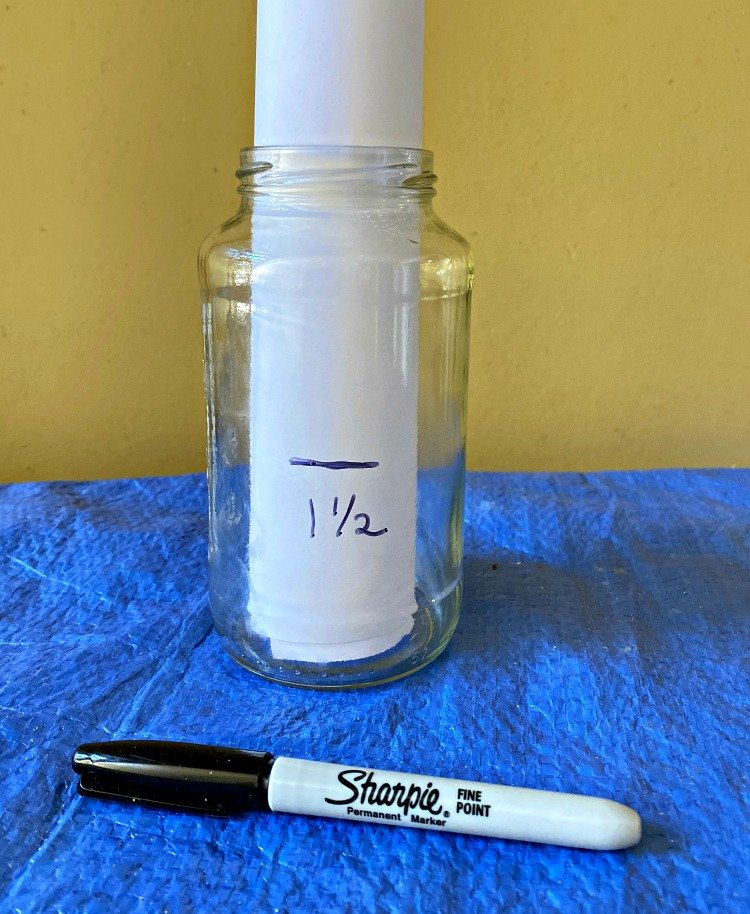
Empty water out and fill with your paint to the line.
In a separate clean jar, mix your water and Plaster of Paris. Shake vigorously for about 30 seconds. This mixture should be lump free and about the consistency of pancake batter. If lumpy, shake a little more.
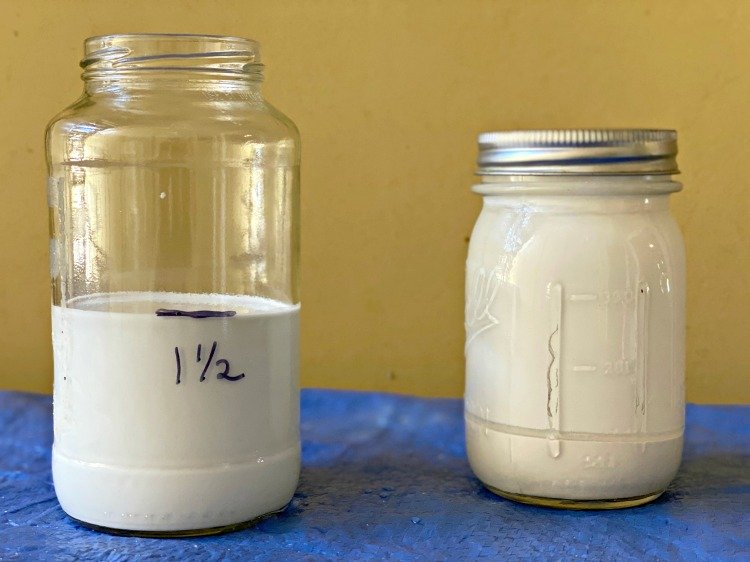
Pour this Plaster of Paris mixture into the jar with paint. Again, shake vigorously for about 30 seconds. This mixture will still be just slightly thicker than normal latex paint. If it seems too thick, you can add a little water to reach a normal consistency. Sometimes the weather and humidity can play a factor on how your paint mixes.
You will need to stir or shake this paint as you are using it, maybe about every 15 minutes. Also, after it has set, you need to stir or shake again, and possibly add a bit of water.
Prepare your piece for painting as usual. Now you can proceed to paint your project as you would with any other paint,
Use a brush designed for latex paint for best results. You may see some brush strokes, but after your second coat it should even out. Depending on what you are painting over, usually 2 coats will cover, but sometimes a third might be required, for good coverage.
Drying time will be about 1 – 2 hours per coat, again depending on where you are painting and weather. You would never want to paint out in hot, direct sunlight as it might cause drying too quickly.
Sanding – most of the time this won’t be required between coats, or after the final coat, but if you are looking for an ultra smooth finish, you can use 360 – 600 grit sandpaper. Or, I have found a piece of brown paper bag works well too.
Let this dry and cure overnight before proceeding to any finishing steps whether it’s waxing, staining, distressing, or glazing for best results.
PLEASE NOTE …
Preparing the piece to paint. No prep can sometimes be misleading. First and foremost it has to be clean and dust free. Really rough surfaces or chips, can be sanded lightly.
**Plaster of Paris can be dangerous if inhaled, so wearing a mask is suggested while mixing
Since the Plaster of Paris is white/cream in color, it can affect the finished color of your paint. Black will become a very deep gray so you may want to test your color before painting. Remember to let it dry, as it will have that chalky, flat finish.
This post is concentrated on making chalk type paint, not how to paint and finish your furniture pieces. This can vary also depending on what type of piece you are doing plus how you are using it.
A DIY Chalk Paint Recipe can be made for large or small projects. Decrease by half or double a batch. You always want to have enough for a completed project since each batch of DIY Chalk Paint Recipe could mix a bit differently.
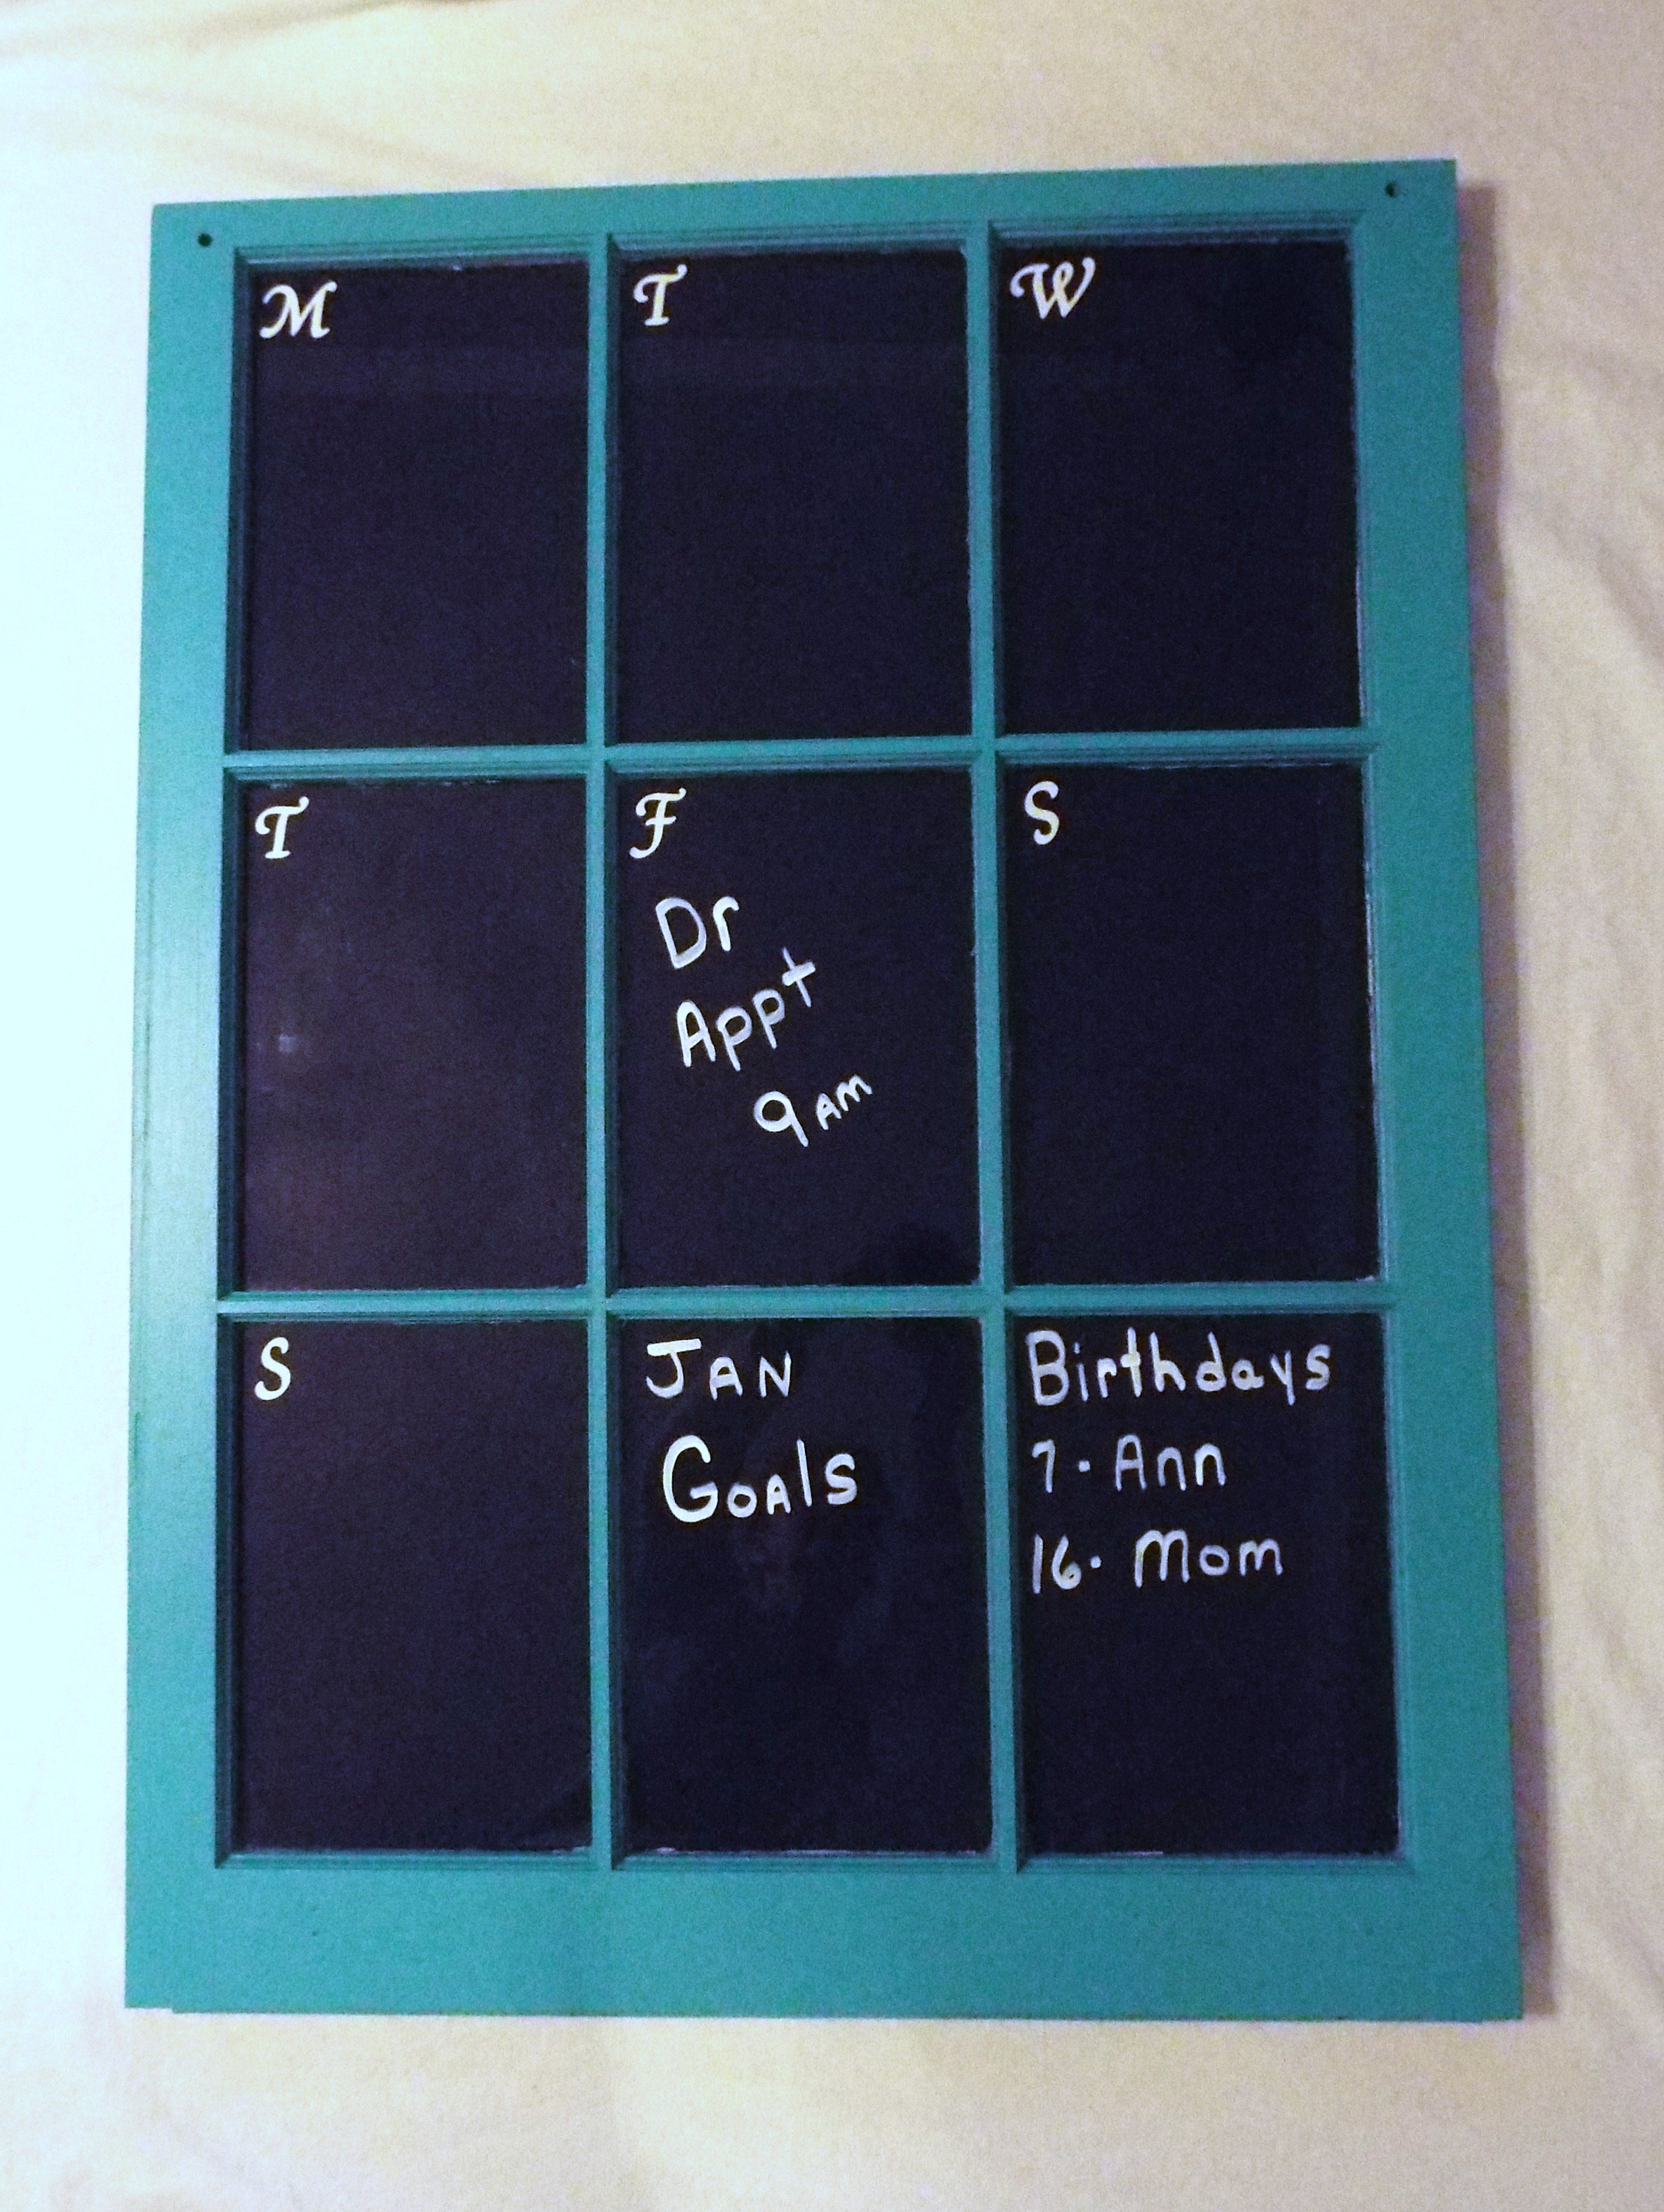
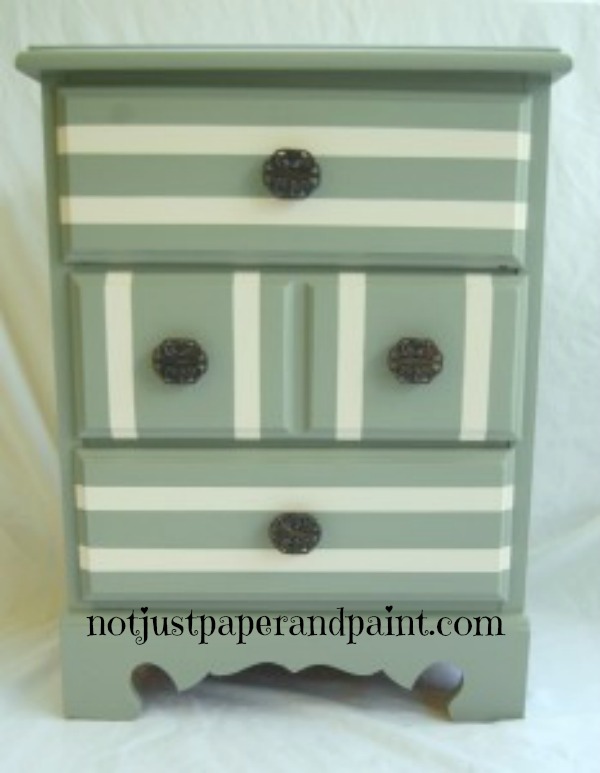
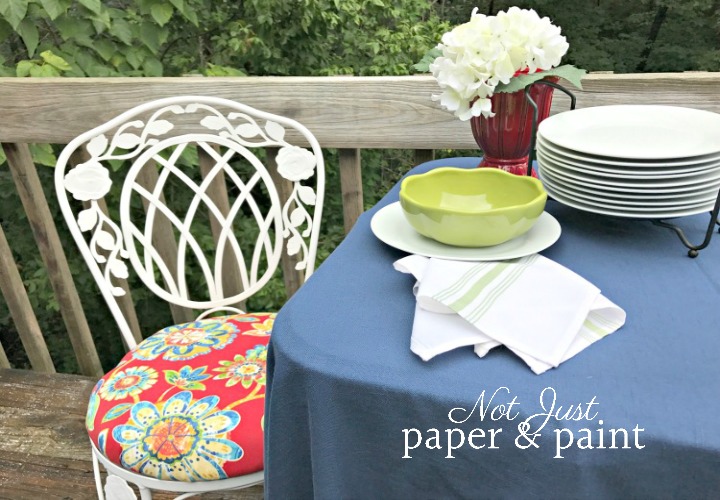
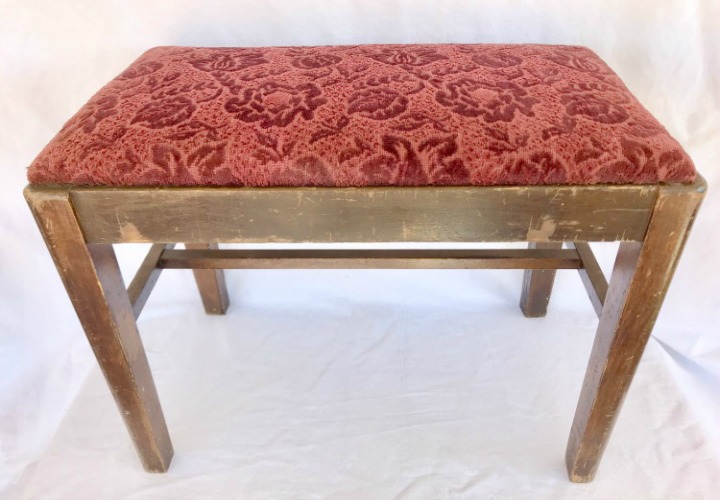
Need a few painted pieces to be inspired – not all was done with my own paint.
I’ve included affiliate links to Amazon for you to find some products easier. I may receive a small commission, but the price is the same for you. It just helps my blog out.
Happy Travels,
Rosemary

Chalk paint is expensive. I’m never tried making my own, but thanks for the step-by-step tutorial and the tips such as wearing a mask. I may just try my hand at making it myself.
I have been doing this for a couple of years now. If I was going to do a very large project, I might would break down and buy the real stuff, but for the things I’ve done, it’s worked fine. Hope you try it.
I didn’t even know it was possible to make your own chalk-finish paint! I’ve used chalk spraypaint to make myself a large chalkboard calendar, but I’ve never tried to make a chalk finish on anything. I’ll have to give it a try, thank you for the tutorial.
I never tried to make chalk paint before, But I want to now after reading how easy it seems. Thanks for your help. It’s appreciated!
It is easy and cheap. Let me know if you need any more help.
I have never considered making my own paint before but this is awesome. Apart from knowing how costly they can be i was not aware of different types of paint or what they were or are called.
I’d never even considered making my own paint before. Thank you for this step by step tutorial, so helpful.
I guess I never thought of making my own. My son would love this. He is totally into ‘crafts or projects’ as he calls it.
This is a great easy and cheap way to involve the kids in DIY – hope you try it.
I made cornflour paint last year for outside and that was so fun ! I am going to try this one now 🙂
I had no idea homemade chalk paint was even a possibility. I can’t wait to try this.
I’ve been doing it a couple of years and always had great luck with it. Hope you try it soon.
This paint looks so easy to make. I have seen furniture redone with this paint before and it was beautiful.
This would be cheaper than buying regular chalk paint. You just have to make sure you get the ingredients right.
wow! Who knew chalk paint is that easy to make!!!thanks for this!
It is easy – and cheap. Give it a try.
First of all, I love that shade of blue. Just seeing that color inspires me to make so many fun new things! Also, I’m going to have to give this a try. Chalk paint can be so pricey, so this could be a great alternative!
There are cheaper brands out there now in some stores, but I find the color selection isn’t great. If I’m doing a project where I know it might take more than a couple of coats, I just make sure all the surfaces are painted in case I have to mix up another batch. Then at least it will all be the same on the final coat.
I always love hearing about DIY versions of things. I’m glad you mentioned about wearing a mask too.
I will admit I don’t always use a mask but I basically scoop my measuring cup in and put it in a jar so I’m not exposed that long. You have to be careful about what other people will say if you don’t make a disclaimer.
This is fantastic. As a primary school teacher I will definitely be using this idea during my art lessons. Thanks so much for sharing 🙂
Just watch the plaster of paris around the kids. Fun project though.
I’ve never made my own paint, this is pretty cool though!
It’s so easy and cheap. Great way to try to redo an item, or even picture frames or candle holders.
I had no idea it was so easy to make chalk and I love the color you made 🙂
Aqua/teal is still such a popular color, in all shades.
My sister in law makes chalk paint! I’ve been wanting to try!
It’s so easy and cheap to do. Plus, I’ve always had good results.
Interesting! This will a huge savings if I can make chalk paints at home. I love decorating and always wanted to try chalk paints. Thanks for sharing..
I had no idea you could make your own chalk paint. I am so impressed. I always thought plaster of paris was for older homes. Very interesting post for sure.
I’ve had great luck with it and use it quite often when I don’t want to use my “good” stuff.
Thanks for the great tutorial. I have been using acrylic paint and cornstarch or baking soda on small wooden things. Want to try this.