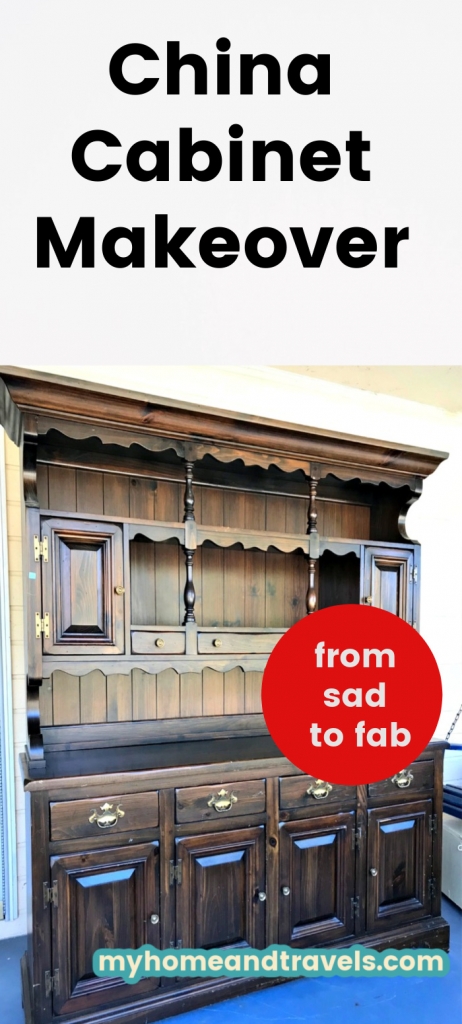
Painted China Cabinet – How to DIY an old China Cabinet
Painted China Cabinet DIY
I love a painted china cabinet. Sometimes you find the “almost” perfect furniture piece but you know with just a little love, it will be the PERFECT addition to your home. That was the case of this china cabinet I found. See how I made it go from dark and outdated to fresh and fabulous.
I actually already had a china cabinet I loved. It was my husband’s Mother so it also had sentimental value to us. With an updated paint color and hardware, it would be perfect – almost. You may have figured out, I love dishes. Really, I LOVE dishes. At one time I had about 23 sets but have it down to about 8 now. Although I loved the china cabinet, it was just a bit on the small side. I wanted enough storage to hold a couple of sets of china and stemware.
You know when you are looking for a specific item, they are normally no where to be found. Well, I got lucky on this after making a call to the local Habitat Restore. I had a full wall to use and they said they had several to choose from – so off I went.
I knew I wanted a sturdy, solid wood piece. Dishes are heavy and it would need to be painted. Although a lot of non-wood furniture, can be painted, it’s just easier with solid wood.
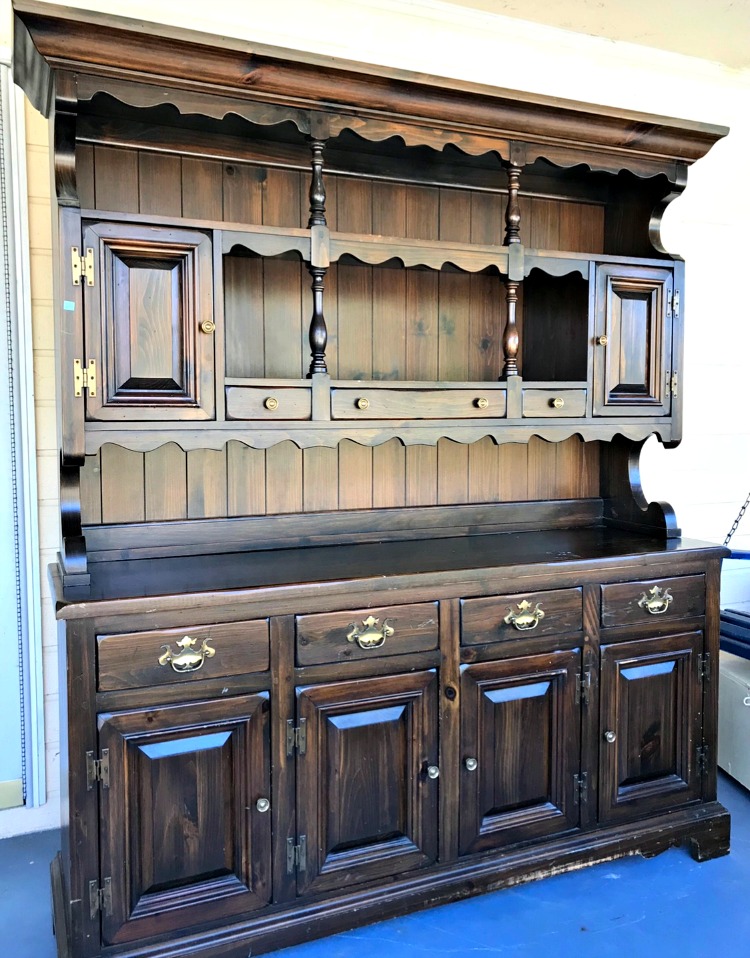
China Cabinet Painted (Before)
When I saw this piece, I knew it would be perfect – with a few changes. It’s amazing what a little paint and new hardware can do for a piece of furniture. I was lucky too the upper hutch was a separate piece so it made moving it easier. It had a new home.
Now let’s get started. I removed all the hardware and doors before giving it a good cleaning with TSP, my go to cleaner.
The upper doors were not going to be put back on it to allow for more display.
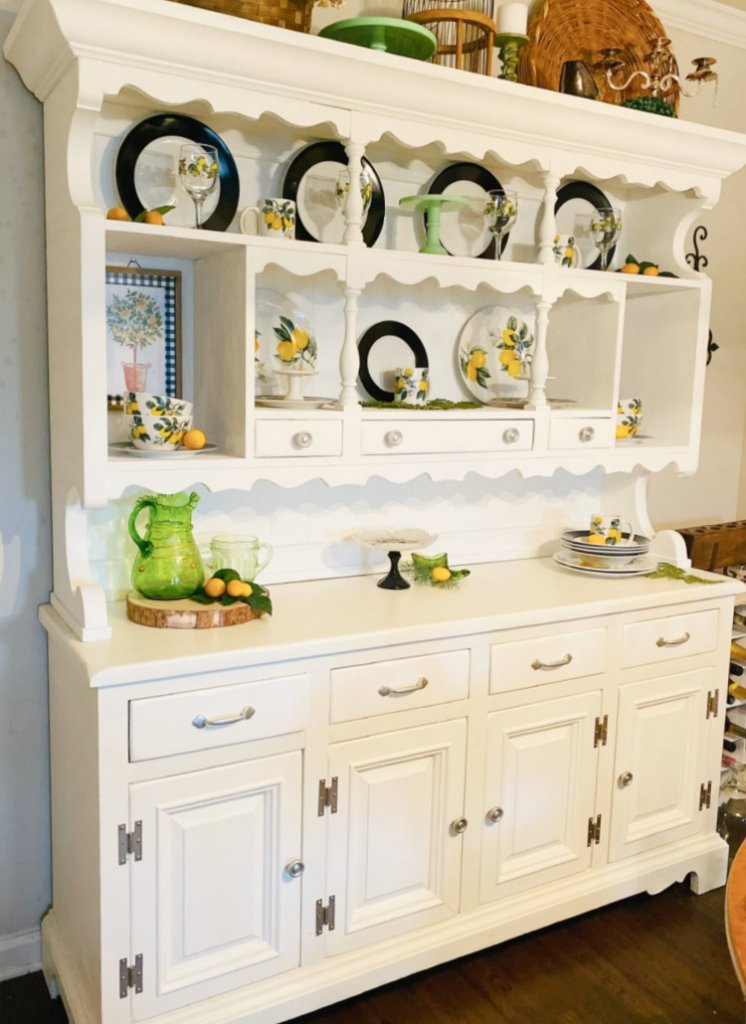
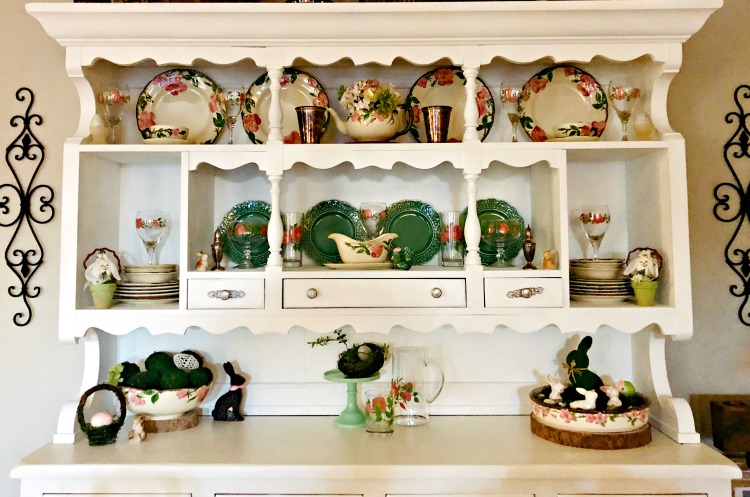
I loved how this turned out. The brightness and freshness of the crisp white was perfect. It came from our former home to the new apartment. (sorry for the odd pink tint in the first photo).
After cleaning, a light sanding was needed to remove any of the shine from the previous finish. The piece was in pretty good shape so it didn’t take a lot of work to get it ready for paint.
Best Paint for Furniture
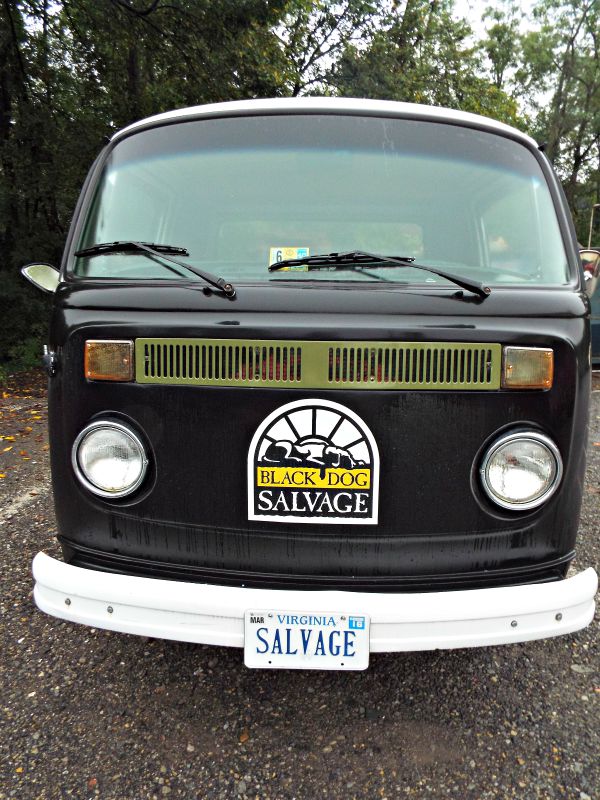
I chose one of my favorite paints, Black Dog Salvage Furniture Paint, for this project.
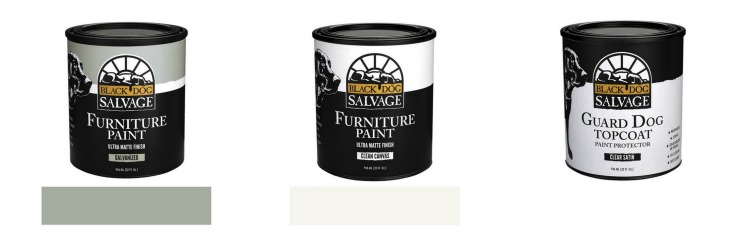
Since I was going from dark wood to white, I first used Galvanized, a light gray, as a primer coat, then 2 coats of Clean Canvas, pure white. Make sure to always follow directions on the paint you are using.
You can find all their paints and finishes here. BLACK DOG FURNITURE PAINT
After waiting 24 hours, a coat of Guard Dog Top Coat in Satin was used as a top coat. It has just a hint of a shine.
I also painted all of the inside so it wouldn’t be so dark and also make it feel cleaner. The drawers and base were lined in marble contact paper.
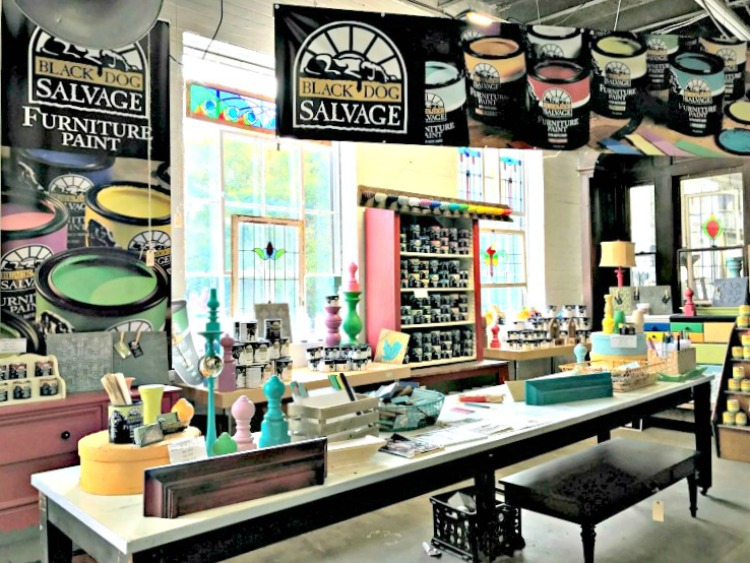
I have visited Black Dog Salvage (read about my visit) in Roanoke a few times. The staff and crew of the shop and show is great. Here’s one of my visits. Another thing you will find on their paint site, is recipes for making a more custom paint color.
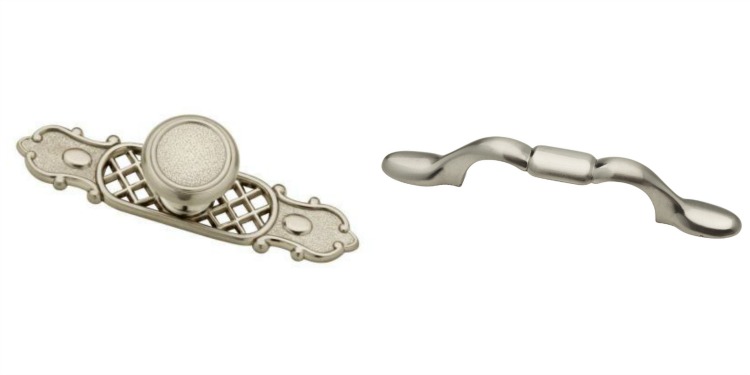
Hardware for Furniture
I knew I wanted the hardware to be silver but not a chrome look. What I love about shopping at D. Lawless Hardware is there wide variety of colors, styles and prices. Something for everyone. I decided on a Satin nickel finish, and thrilled with it.
They are a great supplier for all types of hardware and other things such as casters, hooks, legs, and more.
Don’t you just love the knobs with the back? They are like adding a piece of jewelry to your piece. And the pulls look like a bow tie.
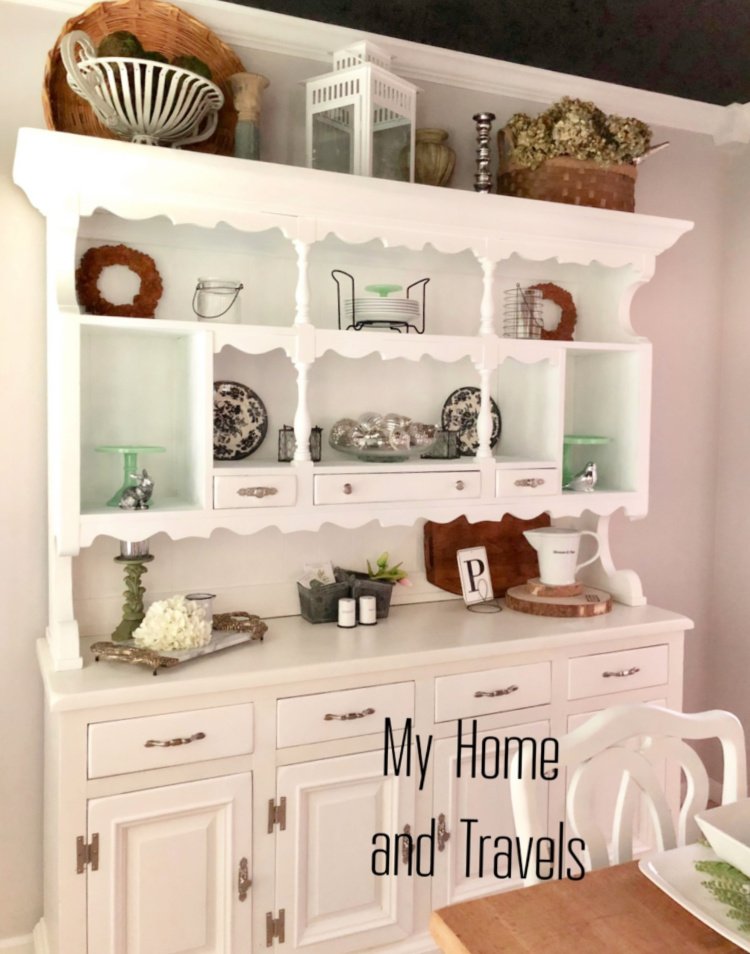
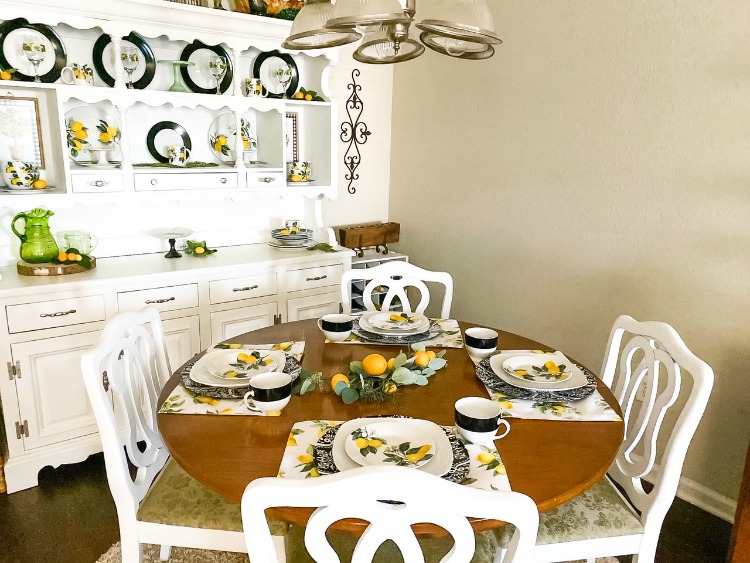
China Cabinet Painted (After)
My painted china cabinet is one of my favorite things to decorate each season or holiday.
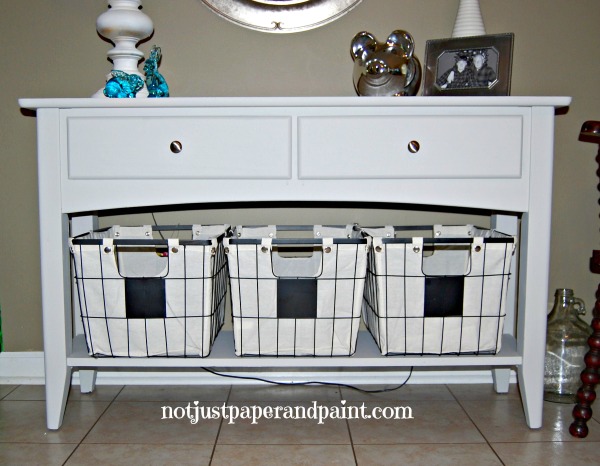
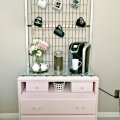
Here’s a few other painted furniture DIY pieces you may enjoy.

I’ve included affiliate links to Amazon for you to find some products easier. I may receive a small commission, but the price is the same for you. It just helps my blog out.
Happy Travels,
Rosemary


Wow, that really did go from drab to fab, you brought it into this century.
What a HUGE difference. Oh my goodness Roesmary, it looks spectacular and I ;over your china collection. So very pretty
I love, no I LOVE dishes. And this stored so much.
Fabulous! Love how the decor pops now!
Thanks. A china cabinet and a mantel are always my favorite to decorate.
Oh my heavens Rosemary, that China cabinet is the stuff of dreams! Isn’t amazing what a little paint and new hardware can do! I know you love it. I am sitting over here breaking the ‘thou shall not covet’ covenant bigtime!
I’ve always said paint can do wonders, and such an easy way to transform anything.
I love the makeover, Rosemary.
Thanks. I love wood, but this was just too dark. And I’m too lazy to undertake a refinish project this big.
Hi, I love your cabinet redo. You mentioned you painted the inside and used contact paper on some areas. I am getting ready to redo a chima cabinet base and, like you, i don’t want a dark interior when I open the cabinets. Will you share more details about how you finished the inside? Did you use a sprayer ? Thanks, Sandra
That must be some of the pictures lost. I used a brush for painting as I was doing it inside. If I could have moved it outside I would have used a sprayer. All of the inside was just painted white with a brush. There was only only shelf in the bottom. I painted it also before applying the marble look contact paper. It just made it look nicer inside. I also lined the drawers with the contact paper too. Hope that helps.
The power of paint is just amazing! Beautiful makeover! I appreciate you linking up at Tuesday Turn About!
Thanks – it was one of my favorite projects. I loved how it turned out.