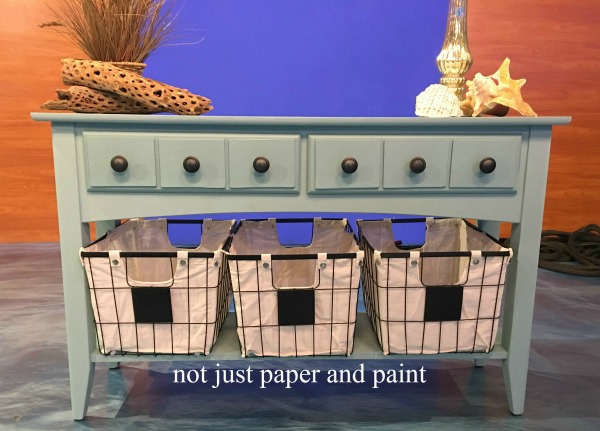
Do you ever just want a change? If you are like me, sometimes I try to dream big then never get anything done because it can seem overwhelming. One place in my home is my living room. Yes, the list is long but working slowly. A new chair was purchased but this sofa table on the opposite wall, just needed something. My faux apothecary sofa table was a quick makeover to add a little new life.
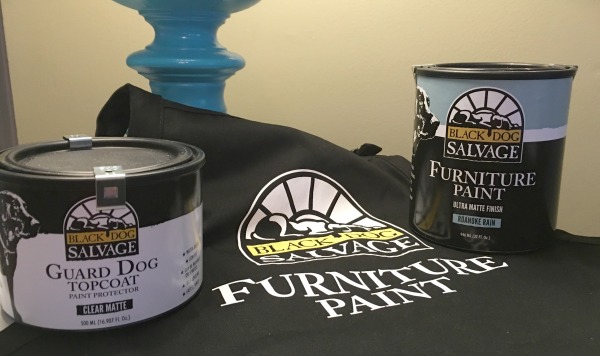
I had seen a lot of “faux” apothecary chests and tables so I thought this piece would be a good one to try it out on. Plus, having some of the recently released Black Dog Salvage Furniture Paint, it was a win for me. Loving the Roanoke Rain color.
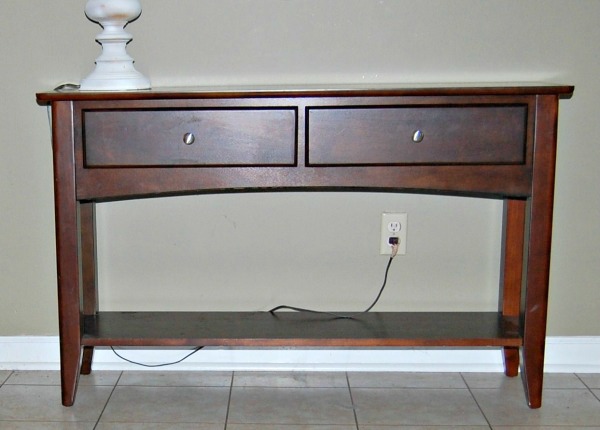
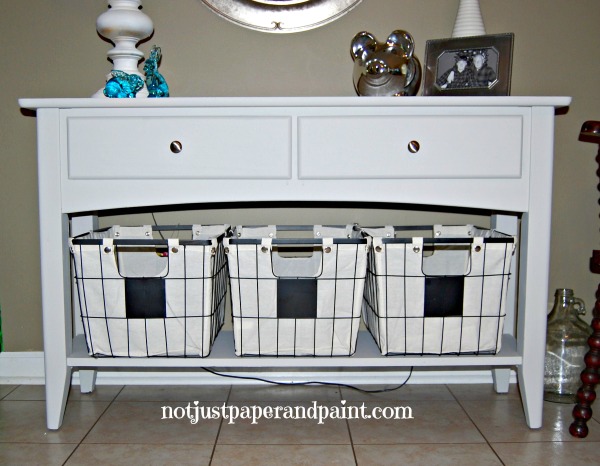
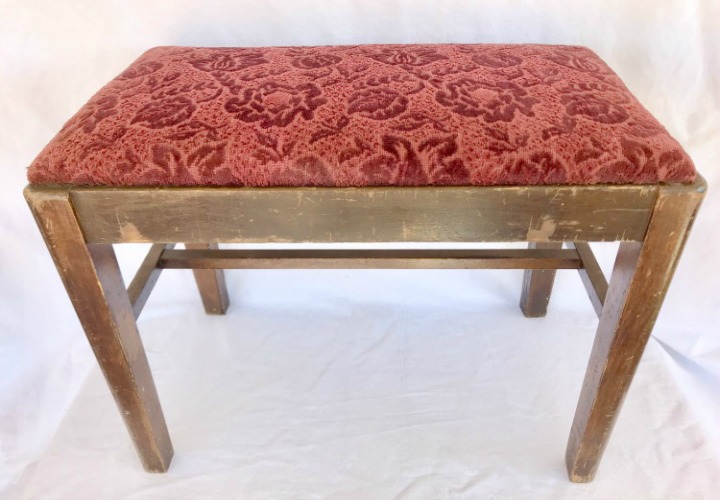
I had picked this up a couple years ago at a yard sale then painted it last year. So here’s the before and after – before now.
It had been painted once along the way, but it was never a project I loved. It was ok – for now.
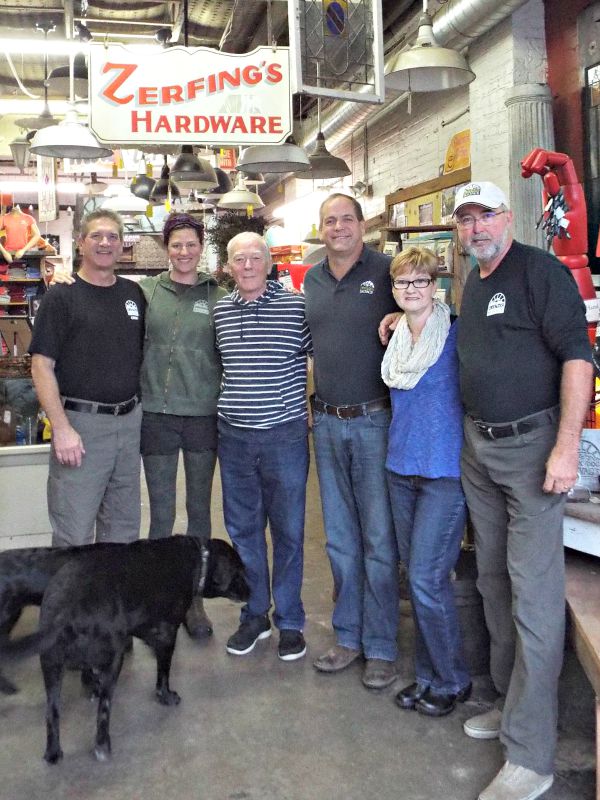
Do you watch Salvage Dawgs on DIY Network? There new season starts on July 31. Do you remember when I visited them last year?
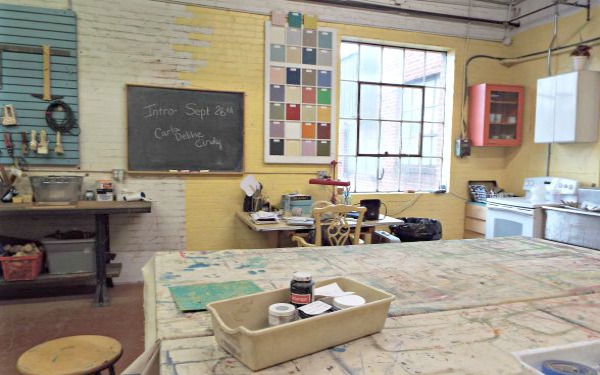
Did you know they had paint? Well, I have known about it since last fall. While on tour at Black Dog Salvage, I saw a can and asked about it. I was told it was in the works so I promised not to say a word about it. I even resisted taking a picture just so I wouldn’t accidentally let the cat out of the bag.
Black Dog Salvage Furniture Paint is produced in small batches in Pittsburgh, Pennsylvania, and includes a true black and white, affording the ability to mix custom tints and shades. The core paint palette consists of 15 handpicked colors that are easy to custom mix for any project from finished and unfinished furniture to woodwork, metal or glass. The paint names are a nod to our colorful cast of characters and our beautiful hometown. Examples include “Caution: Dogs at Work”, “I need a Bandage”, “Roanoke Rain”, “Star City Sunshine” and “Blue Ridge”.
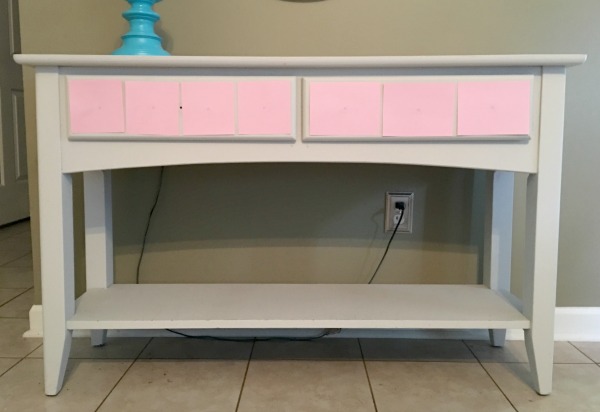
Now to get to the table. Being a visual person, I had to see if I wanted 3 or 4 front pieces so I measured my drawer front and cut just copy paper. They were attached with Frog Tape so I wouldn’t have to worry about paint coming off, even though this had been painted for about a year.
When you pull them off, don’t throw them away. I’ll explain later.
Three looked better on this piece. And with this, I knew the knew knobs would only need to be about an inch wide. My go to place for any type of drawer knobs and pulls is D Lawless and I chose these.
I had scrap Luan plywood around which would work for this. Using my trusty Ryobi Saw, it only took a minute to cut these out. Mine measured 4.5″ x 6″ but it will vary by your furniture size.
These edges after cutting can be a bit rough so sand them all smooth. I also used my Ryobi Sander to sand the edges and corners so they were slightly rounded.
Although so many paints say no prep, it depends on the piece I’m doing on how I prep it. A good cleaning is always a must.
I usually still do a light sanding to reduce brush marks (which the brush I used last year left a lot, but it was ok with me at the time) but now I wanted a smoother finish.
When painting raw wood, the grain from the wood can be raised a bit with a coat of paint, so after the first coat, a light sanding is needed to get those little fuzzy off.
For a smoother finish, I gave this 2 coats, sanding lightly between each. After letting it dry for 24 hours, I used the Black Dog Salvage Matte Topcoat, again, 2 coats, lightly sanding between each.
This paint was a bit thicker than some, but it really leveled itself out to create a nice, smooth finish with no brush marks. Of course, as I said, the brush you use can make a bit difference.
A foam brush can be used especially for the top coat to prevent brush marks. But, again, there’s good foam brushes, and cheap ones.
Always read and follow the directions on the paint you are using.
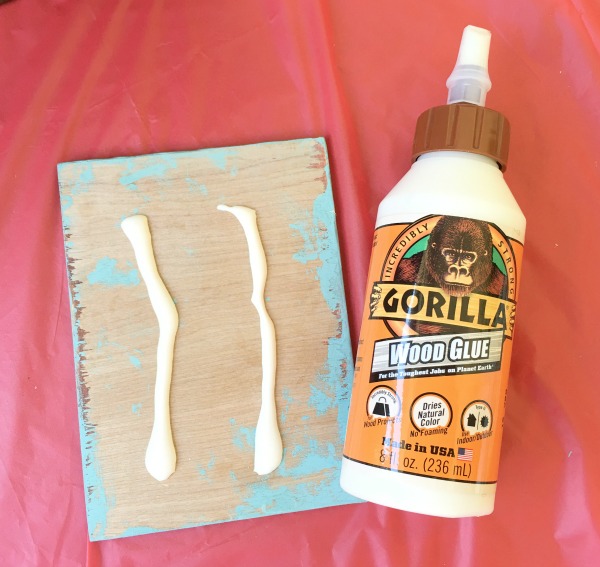
With the faux fronts only being 1/4″ thick, glue would hold these on by using Gorilla Wood Glue. Plus the knobs were being put through them to attach to draw front.
Using a small amount of glue is all you need. Wipe away any excess which squeezes out.
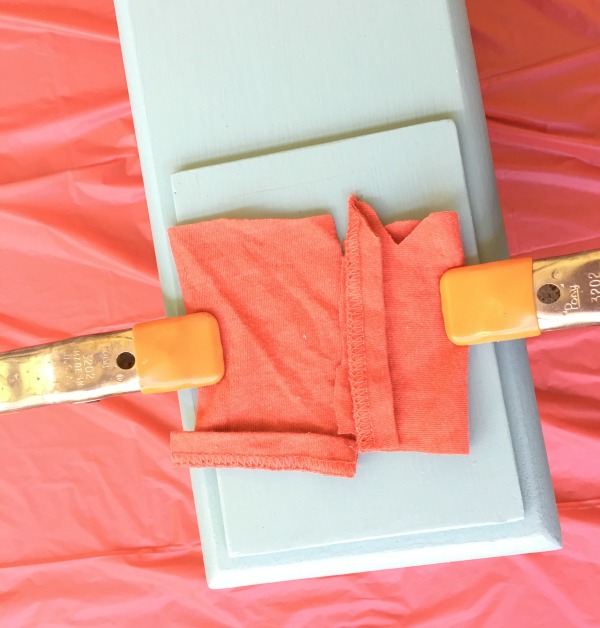
Clamps held these in place while drying. I put a piece of cloth to make sure no mark was left on the wood.
Remember that template I told you to save – now you use it.
Fold it in half lengthwise, then fold in half the other way. Snip a small – very small from the center fold. This hole will be used for the placement of the knobs. Mark each spot for the new knob. Drill a small pilot hole before your knob hole to prevent splitting.
It was a success for me when I started drilling the center front and I had it lined up to the original drawer knob hole. That’s always a great feeling when you do something right.
I love having this new color in my living room and can’t wait to add a bit more of this color and navy to dress it up a bit.
It had been neutral but this color is also great for the coast decorating I like to do in the summer.
Using some of my beachy decor, especially some shells I brought home from a trip or cruise, can make you dream of those walks along a beach. Who’s ready to watch a sunrise or sunset? I know I am.
Black Dog Salvage Paint is available in 15 colors, which can be mixed for your own custom colors. You can also find this in Woodcraft Stores in your area.
What could use a little makeover in your house? I hope you try out this new Black Dog Salvage paint. Let me know what you think.
I’ve included affiliate links to Amazon for you to find some products easier. I may receive a small commission, but the price is the same for you. It just helps my blog out.
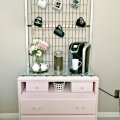
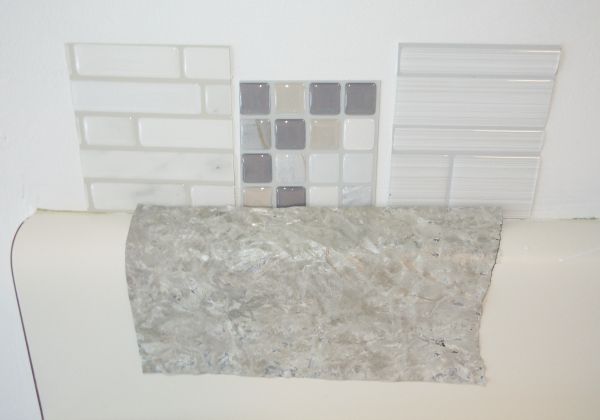
A little update on the kitchen – Things have been slow while getting some things picked out and trying to get some final costs. White paint has covered the apple green. Already looking different. I’m now choosing back splash – notice the white In case you missed it, here’s part of…
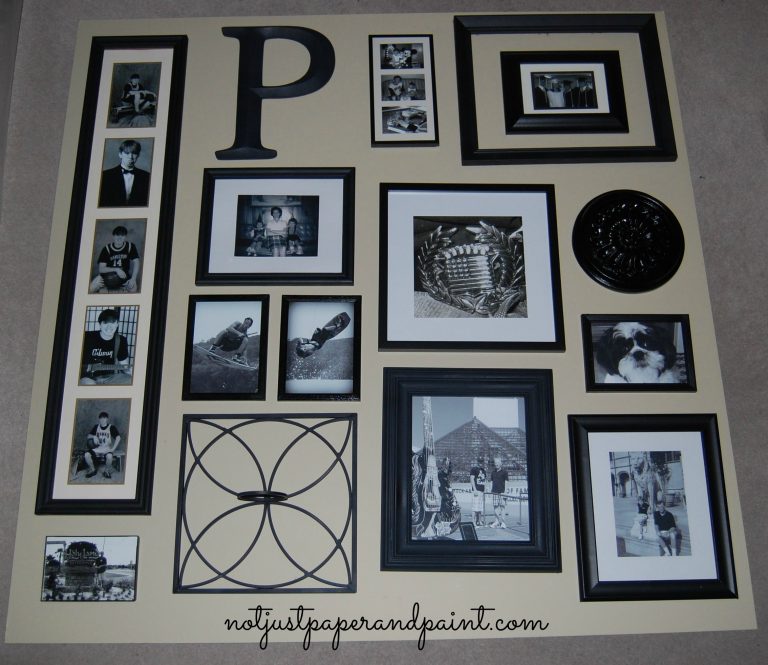
What to do with that big blank wall – maybe over your couch, your hallway, or even at your entrance. Make a gallery wall with lots of your favorite pictures, monograms, mirrors, and even architectural pieces. **Please note this is actually a board created for a TV appearance. Begin by measuring the space you are…
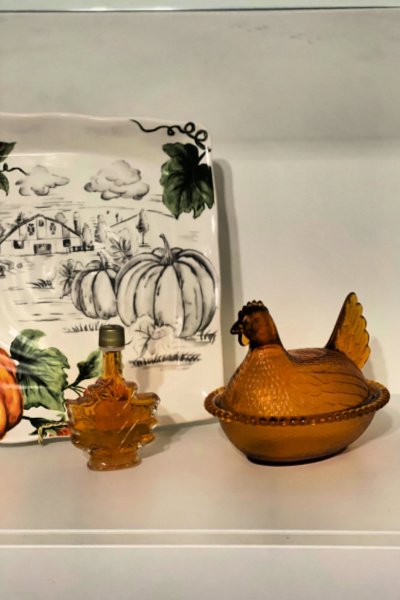
Saturday Snapshots Week 28 is full of Fall ideas for you. Has fall come to your area? Maybe here it is on this rather rainy but much cooler Saturday morning. A 20-degree difference in temperature today makes it feel more like fall. Rain is clearing out for all the festivals and football games so looks…
Good morning from Austin, Texas. We are about half way through our road trip with stops still in San Antonio and Frisco while in Texas. Do you like road trips? We do. A few highlights so far was shopping at the World’s Largest Flea Market in Canton, visiting the the Rose Garden and Museum in…
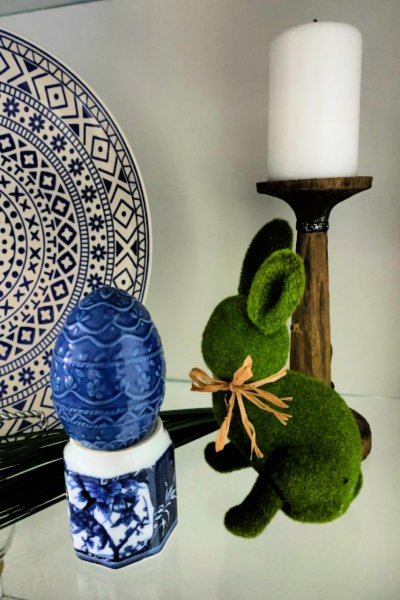
How’s your Saturday and the weekend looking for you? It’s finally Spring, at least on the calendar. A few clouds but there should be some sun peaking out to brighten the time for us. Maybe get out and enjoy some of the signs of Spring. I’m working on photo ideas around Chattanooga. What’s your favorite…
Are you looking for some DIY Autumn Wreaths for your home that are simple and easy to make? Here are 14 homemade wreaths that can easily update the entire look of your porch or front door! Whether you go full of color and pumpkins, or tend toward a more neutral palette, you will find the…
38 Comments
Very cute idea! I’m going to have to remember this for the future. It’s adorable!
I like both your transformations on this table, Rosemary. I especially love the faux drawer fronts, though- they really add a lot to the piece, and the new color is lovely.
Brilliant using plywood and layering up. I wondered if you just mitered into the drawer! Plywood is much easier! I love how it turned out. I haven’t watched SDawgs yet, but that is right up my alley!
Next item to make over at my house are the coffee and side tables in my Living Room.
I’m loving the color too. I had tried doing some turquoise which just didn’t work so much but loving this. Thinking of adding Navy accents too.
Paint is great.
Great project, Rosemary. I did know they had paint. I have received a few emails for me to try them. I love the difference in the piece. Amazing after! <3
Wow, Your piece turned out beautiful and I love the color. I never heard of this line of paint before and I love learning about new paint since I paint a lot of furniture. Thanks for sharing.
 Mark each spot for the new knob. Drill a small pilot hole before your knob hole to prevent splitting.


Very cute idea! I’m going to have to remember this for the future. It’s adorable!
I love it. Would love to do another piece like it too. Maybe a large chest.
This table is gorgeous! I love the color!
Color is the best part. Now to change over a few more things and add some Navy to the room when I’m recovered.
I like both your transformations on this table, Rosemary. I especially love the faux drawer fronts, though- they really add a lot to the piece, and the new color is lovely.
Thanks. Yes I loved the first change, but wanted to add something new looking and loving the 2nd change more. And the color is great.
oh wow! that looks awesome! Well done
Loving it and the color. Added so much.
Brilliant using plywood and layering up. I wondered if you just mitered into the drawer! Plywood is much easier! I love how it turned out. I haven’t watched SDawgs yet, but that is right up my alley!
Next item to make over at my house are the coffee and side tables in my Living Room.
Good idea but these drawer fronts are very thin. Plus I don’t have a miter saw. Salvage Dawgs is a must watch.
Very clever idea- looks great!
Thanks. Would love to find a large chest to makeover this way too.
This piece turned out so beautiful. I love all the changes you made and the details you added, especially the color.
Color is the best part and I feel this is so much warmer in my room than the white.
This turned out so well! I love that colour!
The color is the best part. Loving the paint too.
That is so cute! I love a good DIY project!
I love doing the projects that are pretty simple and cheap to do. Usually they turn out the best.
This is so cool! Love the color 😀
Yes the color is one of my favorite things. A whole new look and loving it.
I love this DIY! Super creative! Hugs, Holly
A simple thing can make a huge difference. Thanks.
Wow! I am impressed, you turned it into something so beautiful!
Thank you. Loving the paint color too.
I love this transformation. Apothecary tables are my favorite!
Thank you. It’s amazing how a quick trick can make a big change.
It’s lovely, Rosemary!
Thanks. Loved the transformation.
Beautiful! I love the color you used!
I’m loving the color too. I had tried doing some turquoise which just didn’t work so much but loving this. Thinking of adding Navy accents too.
Paint is great.
Great project, Rosemary. I did know they had paint. I have received a few emails for me to try them. I love the difference in the piece. Amazing after! <3
I really like the paint. A bit thicker, or not sure if it was the color, but great coverage. Love the people there.
I LOVE furniture makeovers!! And this table turned out awesome!! Best wishes, for Fall. Linda @Crafts a la mode
Thanks – was very happy with the outcome and still am.
Wow, Your piece turned out beautiful and I love the color. I never heard of this line of paint before and I love learning about new paint since I paint a lot of furniture. Thanks for sharing.
I ADORE how you make the two drawers look like 6. What a great idea!
Thanks – I really did like the outcome and still happy with it.