Old Window to Weekly Calendar
So we are already into the second month of the year and maybe still working on some of those resolutions you made. Here’s an idea to help out with the organizing one you might have made. Even with all the technology and gadgets out there, I’m still old school and love a calendar so I can see my week or month at a glance.
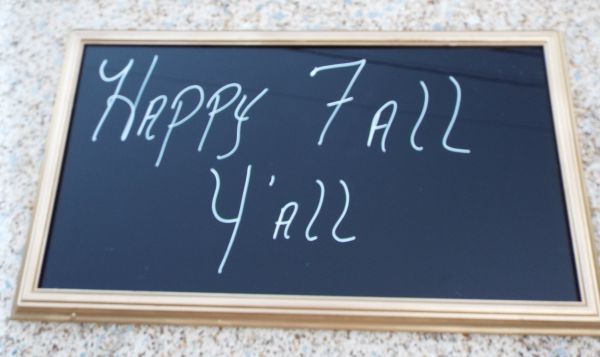
Some may ask why a dry erase instead of a chalk board. This is strictly personal preference. I love chalkboards and the look it can create, but for a calendar in my studio I find the dry erase works better for me. No chalk dust, easier to clean, and I like the shiny glass as opposed to the flat chalkboard finish. This could easily be done with chalkboard paint if that’s your preference.
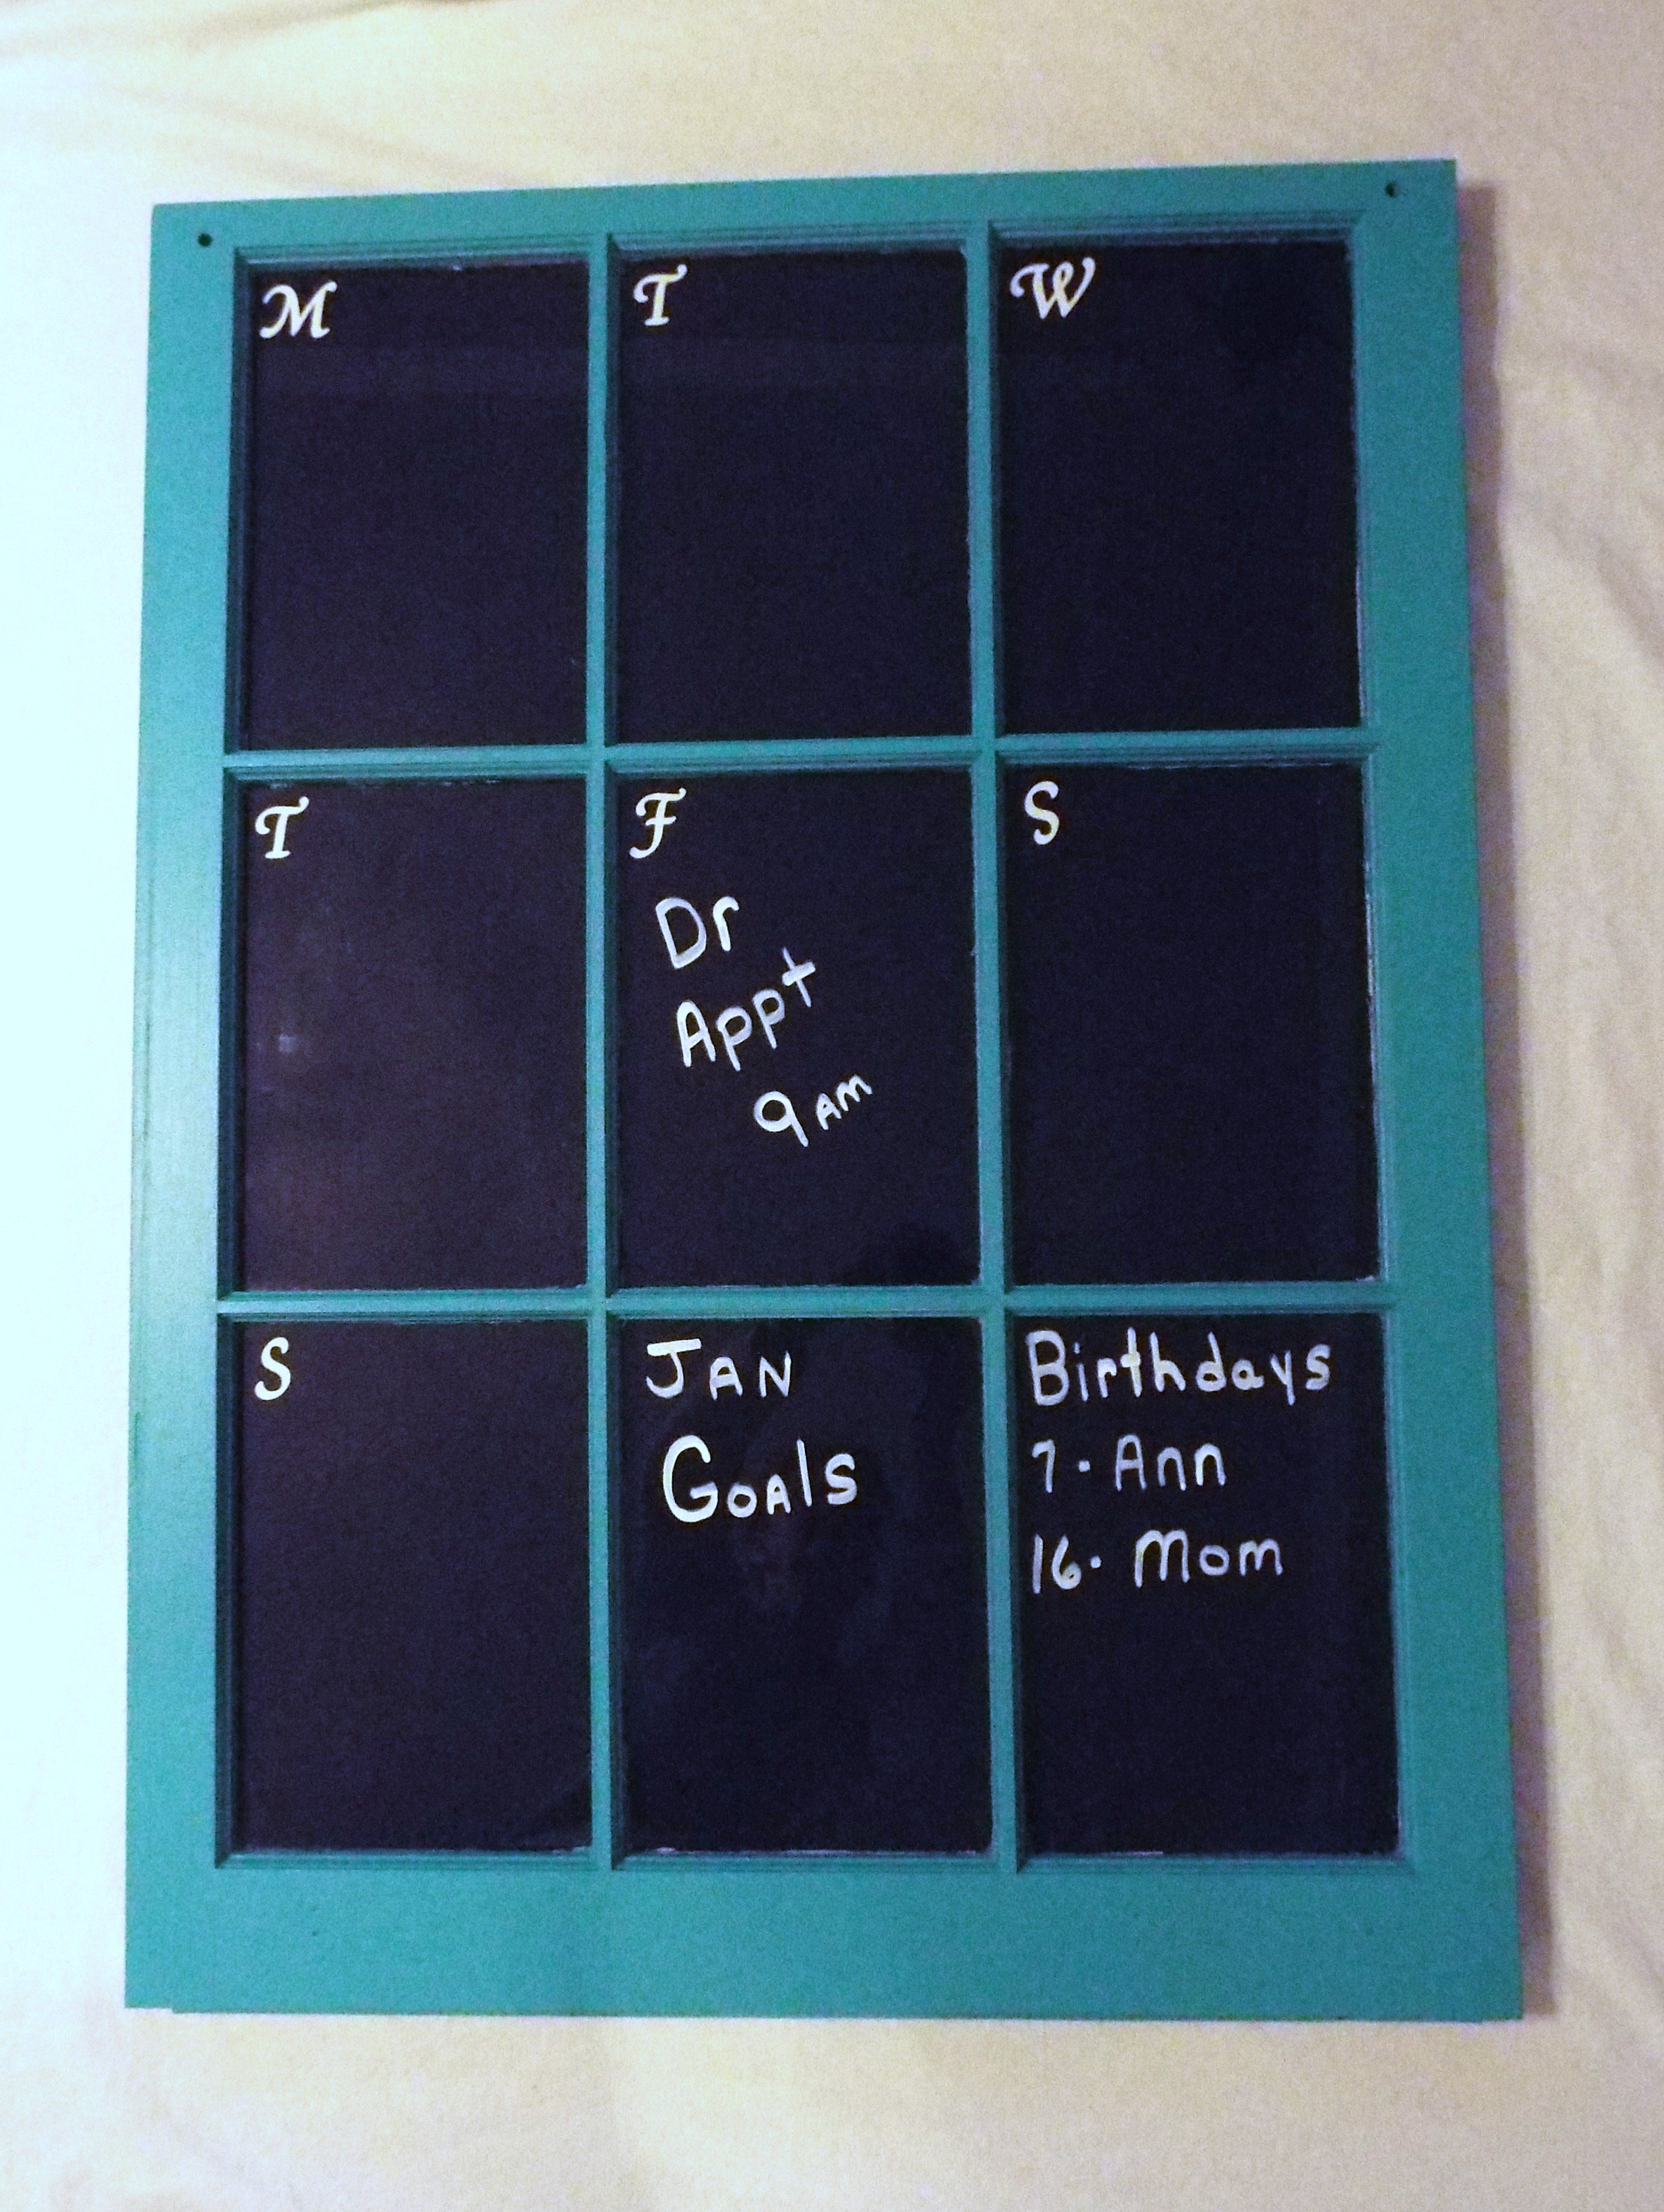
This window calendar hangs in my studio as a weekly reminder of important events for that week. It’s an old window turned into a dry erase board. Since writing on plain glass, any chalk marker or dry erase marker will work. These can be picked up at a craft or office supply store in a multitude of colors.

Old windows can be found for about $10 so this isn’t an expensive project to do, especially if you use supplies on hand.
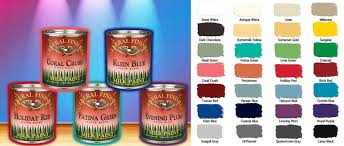
Decide on the color of the frame and your “marker” side which will coordinate with the wall you are hanging it on. Starting with an old 9-pane window, you need to make sure all surfaces, on both sides, are clean and ready to paint. My frame would be General Finishes Milk Paint Patina Green, a favorite paint of mine.
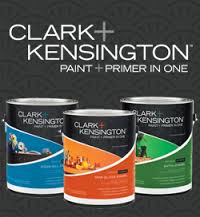
The “board” side would be black to resemble a chalkboard. I used Kensington and Clark from Ace in Ebony, which was leftover from a previous project.
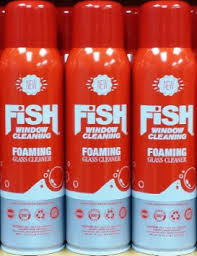
CHALKBOARD – Remember, this is being done on reverse side of window. Any good glass cleaner, such as Fish Foam, will get the glass clean and not leave any residue or streaks.
Depending on the type of paint you use and thickness of coats, can lengthen the drying time between coats. Using a latex paint and thinner coats, I can usually put my 2nd coat on after about 2 hours. See my brush recommendation below.
Since I was painting in very thin coats, it did require 3 coats of paint for good coverage. Another hint for achieving good coverage is to paint each coat in an opposite direction. Paint around the frame of it as well to have a good seal of your paint on the glass. The darker the color the paint, the more coats it might take to get that finish you want.
Latex paint isn’t usually recommended for glass as it will scrape off easily, but since this is hanging on the wall, it isn’t an issue for this project. Of course, any scrapes could be touched up. Again, this is a great way to use up paint you have on hand.
FRAME – Clean with a good wood cleaner, wipe with damp cloth, and allow to dry for an hour.
Using a small, angled artist brush, I cut in all of my edges on the inside of the frame. I find doing it this way is easier and less time consuming than taping off all of the edges. After drying, you can remove any paint which got on the glass with a single edge razor blade.
Finish painting all sides and edges. One of my favorite brushes for small projects like this is a 1 ½” angled sash brush. Prop your window up on all four corners so you can get the edges covered well. Keep the lids from old spray paint cans as these make great props.
I used 2 coats of Patina Green, allowing to dry between each, then overnight before completing my calendar.
Here’s where some of your own creativity can come into making this your own. Basic scrapbooking stickers which were purchased at the craft store were used for my Monday – Sunday dates. These come in a variety of sizes, fonts, and colors so choose a style to make it your own. You can write out your own or even cut them with a die cut machine such as a Cricut.
The other 2 frames are great for birthdays, a short quote, or notes for next week. You can also attach a post-it note to the glass for quick reminder.
I used 3M Picture Hanging Strips to hang this.
 Check the package for weight limits. I tend to err on the side of caution and add a few extra strips for safety. If you hang this with other types of hangers and nails and put it into dry wall, an anchor probably will be needed to insure it is hung safely. Use precaution as if you were hanging a mirror or large piece of art.
Now you are one step closer to being a bit more organized.


I’ve included affiliate links to Amazon for you to find some products easier. I may receive a small commission, but the price is the same for you. It just helps my blog out.
Happy Travels,
Rosemary

I never would have thought to use an old window as a chalk board/dry erase board. I love that you are reusing instead of buying new (even if you bought the window elsewhere). Like you I do prefer a calender that I can throw in my pocketbook where I can see the whole year at a glance if need be!
Old windows are pretty easy to find and not too expensive, especially if they aren’t the real old ones with leaded glass. Plus, the newer ones aren’t as heavy. That’s one of those things they don’t make them like they used to.
What a sweet idea! I adore handmade projects like this, it just seems to give a special energy to a room. I never realized all the choices available for making it unique to individual tastes. We have a goal to become better at repurposing things like this.
I am constantly amazed at what people can and will do with things. Sometimes though it makes me wish I had kept more stuff instead of tossing it.
I really would’ve liked to see the finished project. Thanks for sharing the how too’s and what for’s though! Have a wonderful day!
What a cute idea. We have an old window like that and we painted the glass sunny with lots of butterflies and it hangs on the kitchen wall with curtains and everything. It’s a huge conversation piece. I love this idea for my office though!
What a great idea! I’ve been getting more and more into DIY at home things and this would be something I would love to do! It’s such a cute idea but one that can actually be used instead of just sitting there looking cute! I love it!
I want things that are useful if it is taking up space in our home. Too many pretties are just dust collectors sometimes. Hope you try one.
I have wondered how people can turn a window into something clever and useful like this blackboard calendar. I love that you decided to use milk based paint on yours. We used it on our daughter’s room and loved the results.
General Finishes Paint is my go to paint – love it.
What a great idea! I love how it came together. I may need to make something like this for our office.
It’s a great way to add color to the wall too, or even leave the panes clear if you have a dark wall.
Love it! A new project on the horizon! Thanks for detailing the process. Linda
This is awesome. I am totally going to use this idea when we move into our own place! So easy and chic.
Cute idea!! Very creative.
Thanks – it’s really pretty easy to do.
this is such a clever idea. I love the way the divided panes create these organized dividers so you can write notes by category.
Anything I can do to stay on top of things the better.
That’s a really great idea. Old windows and frames can be used for so many things. People just have to get creative. You are doing a good job at it. Was hoping to see the finish though.
Did the finished calendar not show on the post you saw? I double checked and it is on the blog post. Please email me [email protected] if you can see it. Thanks.
Now I love this idea. I would have never thought of turning an old window into a calendar. It is definitely a way to be frugal and recycle things. Thanks for this great idea.
That is such a great idea, especially if you’re busy throughout the week like I am! I am loving the chalkboard paint trend! I think it is just so beautiful and simple yet elegant! Another option for this window calendar is to showcase the weekly meals! Overall I am definitely interested in this! Thank you so much for sharing!
When my son was home I did work more on a weekly menu, but just for the 2 of us, I play it by ear, but need to get back on planning my menu too. Hope you try.
I really love Chalkboard paint, and I have used it multiple times. I have a chalkboard table, a chalkboard wall, and a few other chalkboards around my home. I really love this window though, it has such a rustic feel. I might need to find a window to paint 🙂
And think about you can make the window pane any color to match your decor. I’m working on a smaller one for my entry way.
What a great upcycle project!! I would have to have the same preference on a white board vs a chalkboard for a calendar the chalk dust would drive me crazy. Love this idea and it would look great as a decoration piece!
I do like the look of chalkboards for certain areas, but when it’s really used it can be a bit dusty. Plus you can use different color markers to really make it cute.
This is a cute, neat and crafty idea. I would love to see a video of you doing this life for us to follow along. Thanks.
I have thought about doing some videos but just haven’t tried it yet. A couple of ideas would be better on video. Follow along and maybe you will see it soon.
I love this! I think i know what my next project is going to be! Thanks so much!
And it really doesn’t take that much time. Waiting on paint to dry is the longest part.
This is actually really smart! I have seen someone else do something like this and thought it was cool. However, I didn’t see it become a calendar. I think that is pretty awesome and I love how you used a box for birthdays! Pretty creative if I do say so myself! =D Thank you for sharing!
Thanks for the positive feedback. I’m amazed at all the creative ideas out there.
Wow! that is such a neat idea! chalkboards can help so much with to-do lists and appts – this looks so vintage too.. love it.
What a great craft project for getting more organized! I love the look of it and it would go great in my house as well. I like the idea of seeing the whole week along with goals and birthdays. Thanks for sharing! And I’m following your blog now!
Thanks for following. I’ve enjoyed having this calendar. I’m still old school and like to see my upcoming events on this or my paper calendar.
What an adorable idea! Chalkboard projects have become is popular. This one is one of my favorite.
I can cook but I’m so NOT crafty! I love this idea…I just don’t have the time to do any DIY projects ;-(
So many of these projects seem to take a lot of time, but on this one it’s waiting on the paint to dry takes the longest. Can be done over several days if need be.
I totally LOVE this DIY post and it gave me some great ideas for future projects! Now, do you have suggestions as to where to find windows? LOL
I actually have a friend who supplies me (I’m in Chattanooga), but check Craigslist, Facebook sale pages, and antique stores. If they are new windows, they won’t be as expensive as older ones with the heavy glass.
This is one of those “why didn’t I think of that” things! What an adorable, simple and easy DIY to do! And I love the functional aspect of it too. I’d love to write out our meal plans on it!
Yes, it would be great for meal planning. Then add your list at the bottom.
This is such a cute project! I am a fan of dry erase more than chalkboard for the same reasons that you shared. Thank you for sharing!
Sometimes that chalk dust is just too much, although I do love the look of chalkboard.
I LOVE this. I have one of those windows just sitting around. Now I know what to do with it
I hope you make one – fun to experiment with colors.
This is a really super idea, love the bold pop of color too! Pinning 🙂
I love the General Finishes paint and especially this Patina Green. Just did an entertainment center with i, but lightened it up a bit to fit our living room better.
Very cute idea!
Thanks – sure has come in handy.
I have never heard of fish foam before. I have this old glass table in my basement that I want to do something with but I can’t get the glass clean. How good is this in old dirty glass?
When I get some of the windows that are really dirty, I usually start off with a dry dusting of them, then go to a damp cloth to take some of the heavy layers off. Then with Fish Foam, I can get them clean. Some I get are almost caked on with dirt, but keep going. It may take a while though.
I want a different layout, but to use your concept. I’m thinking a box for each person in my family, to write notes to them!
You could also paint the panes a different color for each. Great idea.
My son would love something like this. I’m going to have to check out our local thrift store and see if we can find something like this.
Look around antique stores too. If you find ones that aren’t really old with the heavy glass, they will be a lot cheaper and easier to hang.
I love this! I was just saying the other day that I could be so much more organized if I had a giant calendar to write everything down on. Pinning 🙂
Well, here you go. Depending on the wall you are hanging it own, you wouldn’t even have to paint the back side of the panes. Hope you get one and try it.
What a clever idea! I’m not very crafty, but this is something that I think I could even do. I see window panes at antique shops all the time and have wondered what could be done with them. Now I know! This would be super cute in my girls’ room!
So many possibilities with these. I had a friend yesterday tell me she had done one with lots of hooks for a hair bow holder.
Such a neat and cool idea never would have thought to use an old window as a dry erase board. Glad it works for you I am still trying to narrow down my preference
Hey Rosemary! Great project. I shared last week on fb and pinned. Have a great week.
Thanks – you too.
Aw! I just threw away a bunch of old windows! I love this idea, so creative!
They are usually pretty easy to find. Such an easy project – and useful.