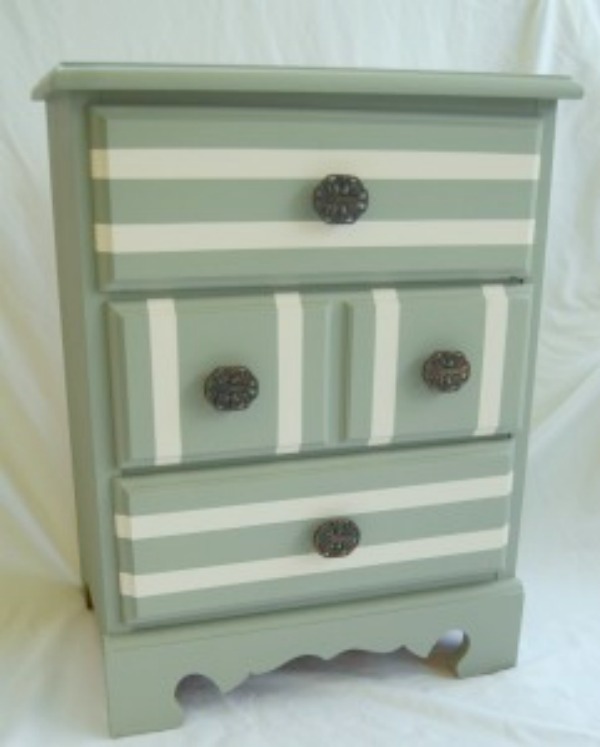
Striped again – an old nightstand has new life
You may know by now that I love stripes and with a little painters tape, it’s an easy way to add dimension to a furniture piece. Being striped again an old nightstand has new life.
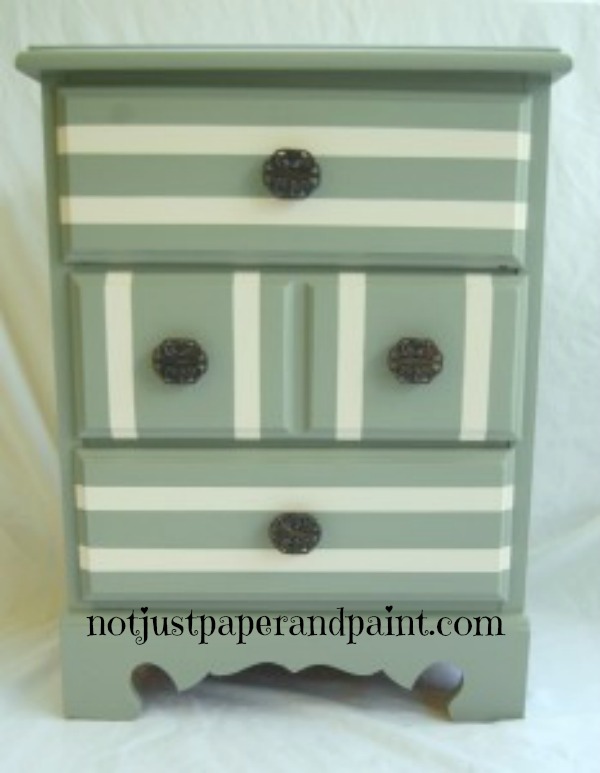
Need to refresh a piece of furniture, or maybe add a piece, consider something you have picked up at a yard sale or thrift shop and paint it. Wanting to refresh a corner in my living room, I had this $5 yard sale night stand and knew it would make a great side table, adding a bit of storage.
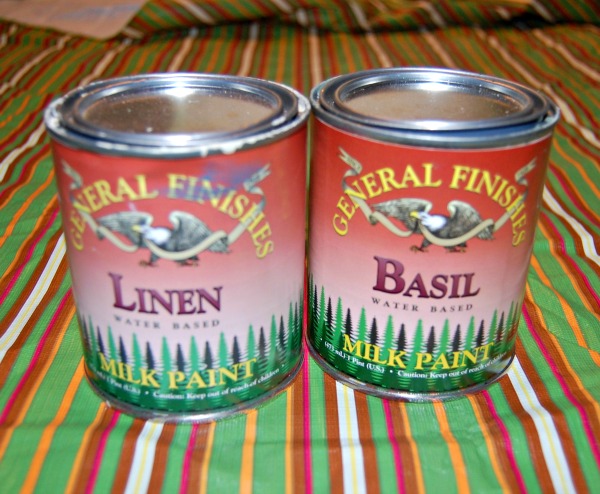
My paint of choice was General Finishes Milk Paint.
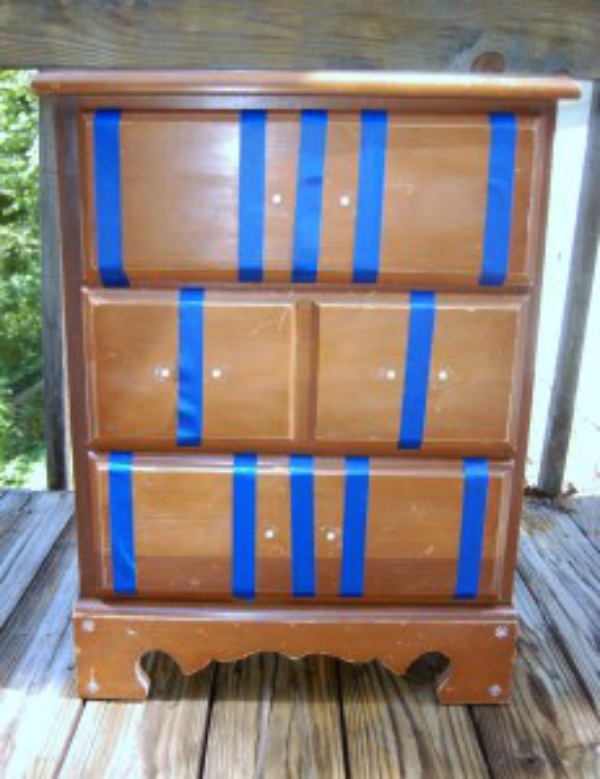
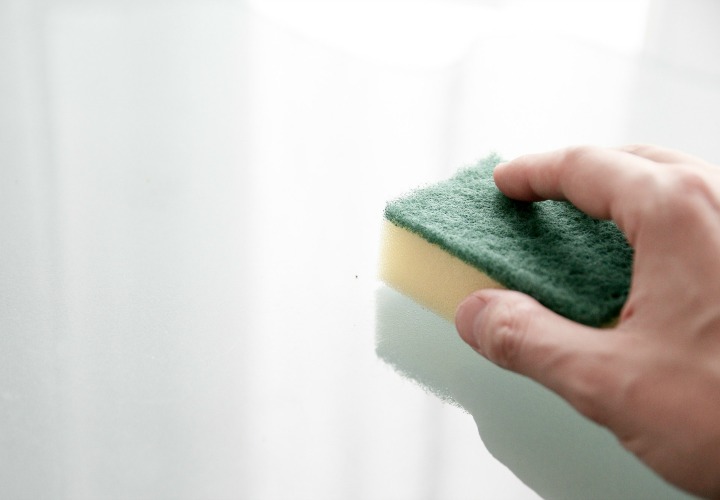
You always want to check the manufactures directions on any product for suggested use and prep work. After removing the hardware, I cleaned it with Murphy multi-use wood cleaner, sanded the entire piece lightly to remove the shiny finish and rough edges. If changing the size or type of hardware, you will need to fill in the holes with wood putty and allow time for this to dry. Follow directions for application and drying. Drill the holes for the new hardware. Wipe down thoroughly to remove any dust particles.
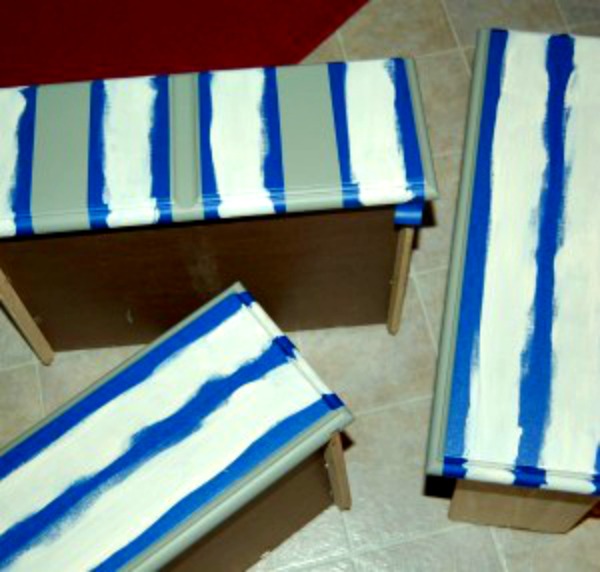
I wanted to add interest to the piece by adding stripes, a process easily done using 3M ScotchBlue Painter’s Tape. Coming in a variety of widths, I chose 1”. Plan a design before you begin to paint. I actually changed my design up a few times before the final one was chosen.
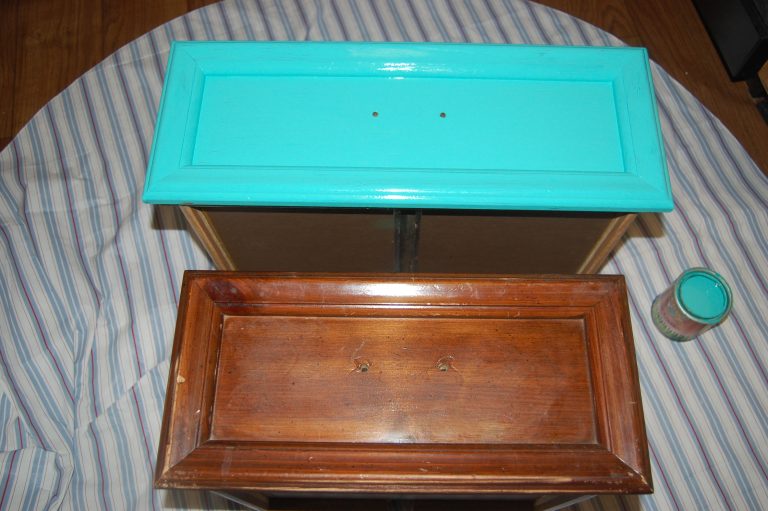
You are now ready to paint. I chose Basil for the base and Linen for the stripes. This is where your artistic and fun side can be shown.
Usually 2 coats of paint will cover most surfaces, but depending on the color you are covering up, it could require additional coats. Thinner coats are better and will dry quicker. Follow the directions for drying times between each coat. Sometimes a light sanding between coats is needed. I allowed this to dry 24 hours before using tape.
Apply the tape in your chosen design. The big secret to getting those clean, crisp lines is how you apply your tape. Use an old credit card to burnish the edges of the tape to prevent paint from getting under the edges. Go over it several times always in the direction the tape is laying.
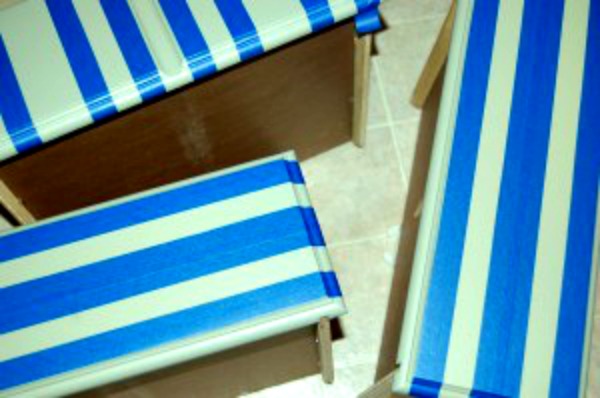
Using your stripe color, paint a very light coat in the direction of the tape to make sure you have your edges of the tape covered well. Using a 1 ½” angled brush, apply a very light first coat. Allow to dry then paint your second coat. Almost always when I’m doing a light color over a darker color, a 3rd coat is needed, especially since your first coat was just used to secure your tape lines.
Immediately after your final coat is applied, remove the tape carefully pulling in the direction the tape was put down.
No matter how careful you are in all of these steps, you can still get that little uneven edge. Don’t worry, it can be fixed easily. You may have to reapply tape in some areas, or using a small artist brush, you can touch it up.
After the piece is dry, you do need a protective top coat. Since I knew this would get a lot of use, I used General Finishes High Performance. Again, follow the directions of the top coat you are using. Let dry then attach your new hardware and admire your finished piece.


I’ve included affiliate links to Amazon for you to find some products easier. I may receive a small commission, but the price is the same for you. It just helps my blog out.
Happy Travels,
Rosemary

What a great tip about using a credit card to get good lines! Thanks!
Watch your mail – always getting some form of fake credit card.
Amazing what cuteness and beauty paint and tape can create! Looks so good.
Love how your transformation turned out!
I liked it too. Sometimes you do something and it’s OK, but this time it was a good one. Check back soon for a $7 dresser turned into an entertainment center.
This is really cute! I love how paint can change the look of furniture!
Check back soon for a $7 dresser turned into an entertainment center. HUGE change.
Love what you did with this piece! Love the colors too. Excellent work!
Thanks. I loved the stripes going in opposite directions. Check back soon for a $7 dresser turned into an entertainment center.
Looks great! I bet that took a few hours to do. I like stripes, too, but I don’t think my husband would let me do that to any of the furniture. Pity. 🙂
You could always try a subtle stripe. Use 2 colors on the same color card, or add a bit of white or gray to the paint. Check back soon for a $7 dresser turned into an entertainment center. Maybe you can find a new cheap piece to try.
Love it!!
Love this! Gives me a great idea to redo a dresser in my spare bedroom. Thanks!!!
Just have patience when applying the tape. Let the paint dry well, then make sure the edges of your tape is down. I use an old credit card. Check back soon for a $7 dresser turned into an entertainment center.
SO cute! I might get my nerve up and try it!!
Thanks – I really loved the way it turned out. Check back soon for a $7 dresser turned into an entertainment center.
Oh my gosh, I absolutely love it. I think it came out great. I would love to try this project.
I love using painters tape. Getting ready to work on a project today so come back often to check out what’s going on.
I definitely would not have thought to use stripes when re finishing a piece of furniture. I like the look! Of course KLUTZ that I am I would have to get someone else to do it for me!
This is an easy project. You could practice on just a plain board, using the tape the secret is getting it burnished so there’s not any leakage underneath. But that can be fixed too. Hope you try something. Follow along for more ideas and contact me with specific questions if you need help.
I love how this turned out! Such an easy project that looks beautifully-polished. I’m going to try this in my own home.
It’s amazing what a little paint and painters tape can do. Hope you try. Check back often for all kinds of new projects, a couple painted items this week.
That looks beautiful! I wish I were a little more crafty since I love the idea of refurbishing old pieces. I LOVE that tone of green!
Wow, you did such a great job on it! I’m so impressed. My husband always says you can’t refurbish fake wood….like that particle board wood with the veneer on it. Is he right or just giving me a line? I used panthers tape and painted vertical stripes in my boys’ room. It looks awesome. Always get great compliments on it. This nightstand is beautiful!
This is gorgeous. I love the color combination. You did an amazing job on this one.
Thanks. I’m going to post a sofa table, but simple paint job but a huge change today. Hope you check it out.
Nicely done! The stripes make it look like a whole different piece. Now I’m going to be looking around at home finding things I can add stripes to.
Stripes is probably my favorite design. I did it on my LR walls 20 years ago when it wasn’t even in style. Follow along for all kinds of projects and food.
This is a really cute idea for bedroom furniture! I really loved the colors you picked out too!
Thanks – General Finishes is probably my favorite paint with so many colors, although I have tried many and like them too. Hope you try something. Follow along for all kinds of projects and food.
Omg how cute is this?!?! You did such a fantastic job. I would love to do something like this!
I love furniture restoration and have always wanted to do! I loved what you did to this dresser and makes an old, outdated piece of furniture come back to life and seem like it is new! Well done!
Fantastic transformation! Great outcome of your work. Who would have thought about using credit cards for the lines! Definitively a great tip
I was very pleased with the outcome. Come back for more tips.
This looks gorgeous. I have tons of furniture from yard sales, I will definitely try this technique on something!
Amazing how a little paint can make such a HUGE difference. Hope you try it out.
I’ve been begging my husband to repaint my vanity for some time now so perhaps I can use this as an example of how easy it can be! Thank you for sharing this awesome DIY! 🙂
You should do it yourself – the stripes is a great and easy addition. Change the hardware and you have a new piece of furniture
Wow! It’s such a fresh new look! I really enjoy DIY projects and you’ve done a great job with this one. I like the striped touch and the colour is somewhat rustic feel to it.
I love this color. It can go with so many things. Isn’t it amazing what some paint can do?
Love the colors! I’ve never painted something like this before and used the painter’s tape. I can see so many possibilities using this tape!
I love using painters tape. Working on a tic-tac-toe on a truck using it. Hope you check it out.
I love projects like this! It costs so little to make big, beautiful changes!I’ve just begun getting crafty myself and and I’m realizing how much I can actually do myself!
Just try something. My thought is, you can always paint it again. Hope you try it.