Rolling Storage Ottoman Made With Crates
Who doesn’t need or could use a little more storage? This Rolling storage ottoman made with crates could be used in almost any room of your house. And it makes storage cute.
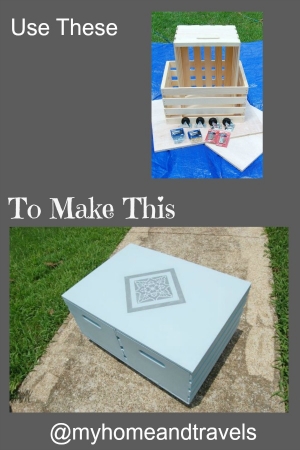
Think about this for your newspapers and magazines, remotes & chargers, toys, whether it’s for the kids or the pets, or even a place to throw your shoes when you come in.
This project was designed by Ana White, who is a rock star in the blogging and the Do It Yourself world and was a DIH project at Home Depot a few years ago.
With any DIY project, I have to have the finished look in mind so I have a vision and plan on how to get there.
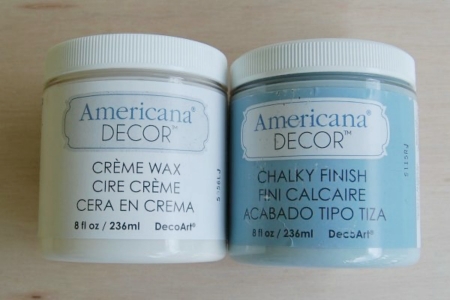
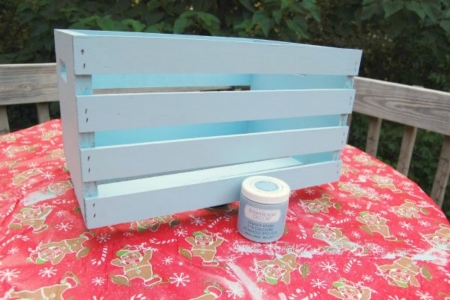
I decided on Americana Decor Chalky Finish in Serene (soft blue). I knew there would a “stencil” or taped design, but was still thinking on it while painting. Any of the accent would be done in Carbon (black).
As with any project, I made sure I had everything needed. Isn’t it just a pain to be in the middle of something, then run out of paint or not have everything you need. I did make sure the crates fit onto the cut pieces of plywood – perfect fit.
Always start by reading direction if there are any, as I picked up a set at the workshop. I read them, just don’t always follow them.
In the directions it did show to put the cart together then stain or paint, but I thought it would be easier to paint everything before assembly. That was about the only variation I made from the basic directions.
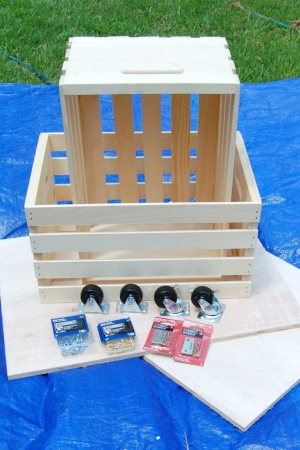
Here’s some of the basic supplies needed:
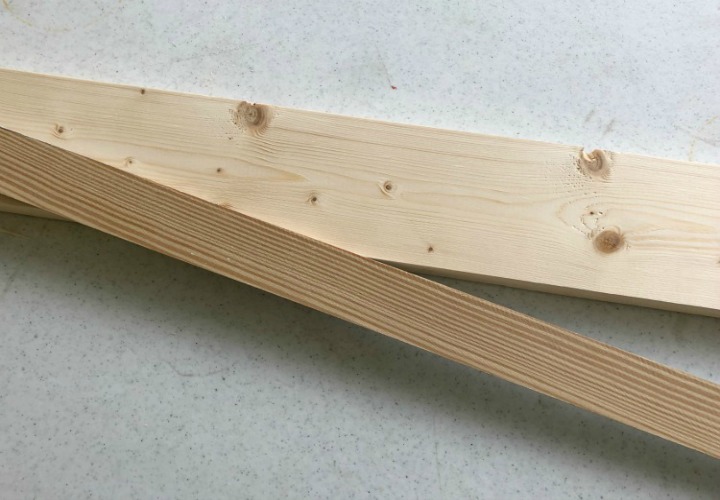
- 2 – 25″ x 18″ pieces 1/2″ plywood
- 2 – 18″ x 12.5″ wood crates
- 4 – 2″ casters
- 2 -1 1/2″ hinges
- 1/2″ screws
- 3/4″ screws
- 2 – 8 oz. jars Serene Americana Decor Chalky Finish Paint
- 1 – 8 oz. jar Carbon Americana Decor Chalky Finish Paint
- 1 – 8 oz jar Americana Creme Wax
Ask stores like Home Depot to cut the plywood for you.
Other items I used from my own stash:
- paint brushes
- Ryobi drill
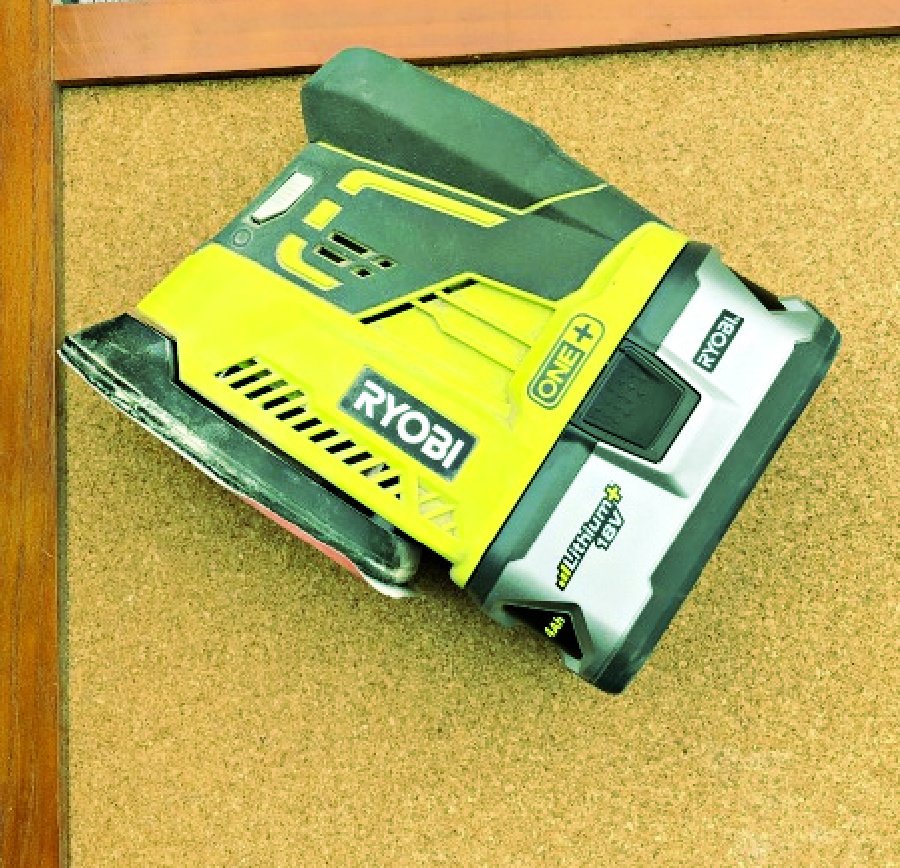
- Ryobi sander
- 220 grit sand paper
- Royal Design Studio Stencil
- Royal Design Studio Stencil Brush
- 3m 1″ Painters Tape
Begin by sanding all cut edges of plywood. Also, check the crates. Since these are also unfinished, there are usually a few spots which will be a little rough. Sandpaper could be used if you don’t have an electric sander.
I always paint the bottom of any project first, so I determined on the plywood pieces how they would be used. I marked them with painters tape so I wouldn’t get them confused. My code was B-T and T-T. Bottom top and top top. Whatever is easy for you to remember though is what you need to use. Some sides and edges were more smooth.

The bottom side of both plywood pieces were painted with Serene and allowed to dry, which only took about 30 – 45 minutes. I then started with the bottom and outside of crates and after the first one, realized the very bottom didn’t require painting. Anyway I can save time and supplies, I will.
Anytime you paint unfinished wood, it usually requires a light sanding after the first coat as the paint will raise the grain. And with most chalky type paints, I like to give the first coat a light sanding just to make the finish smoother. HINT – for a super light sanding, use a brown paper bag, just make sure the printed side isn’t used as the ink could rub off.
All bottom surfaces were given a second coat and allowed to dry a couple of hours before I did the top surface. Again, check for any areas you feel might require sanding.
You will notice the “cut” edges will absorb more of the paint, so check these areas for any touch ups. There was barely any paint left out of two jars because so much was absorbed by the unfinished wood. This was very thick paint and provided good coverage, but you may want another jar on hand.
Another hint would be to use a neutral paint such as light gray or white as a primer if you are short on the color of paint you are using.
Do you like my Christmas table cloth as a drop cloth? I pick these up after the holidays or at yard sales really cheap.
For the assembly, my husband did help me hold items in place. Having that 2nd set of hands can come in handy sometimes.
Attach crates to base with the directions below.
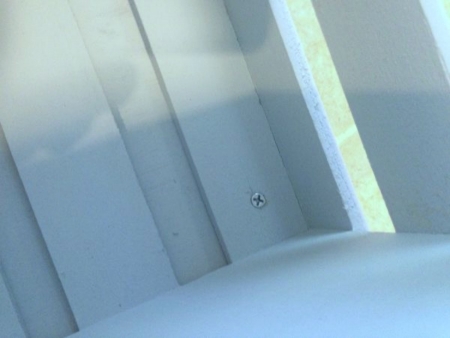
Use a small drill bit, make a pilot hole approximately 1/2″ from each corner. Making a pilot hole helps to prevent wood from splitting. Also, you never want to get too close to the edge, especially on thin wood.
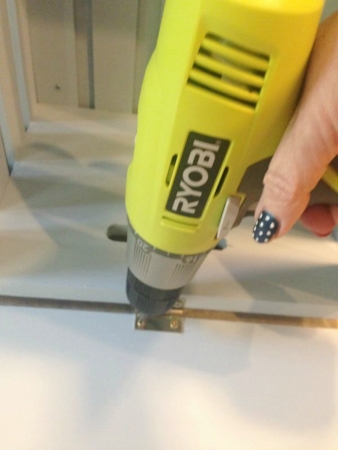
Change out the bit and using 1/2″ screws attach both crates to the base. Anytime you can use an electric tool such as Ryobi, the easier the project will be.
Now the trickier part to me. Attaching the top with hinges. I kind of have a love – hate relationship with hinges.
Again, having an extra set of hands is great.
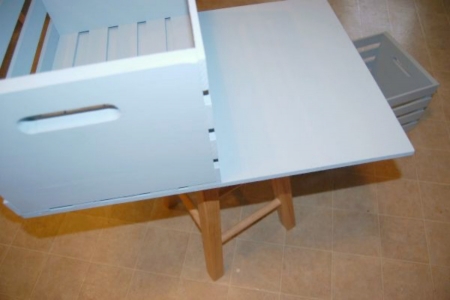
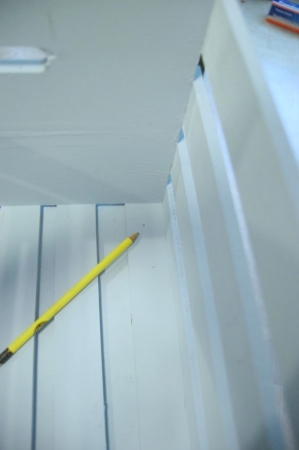
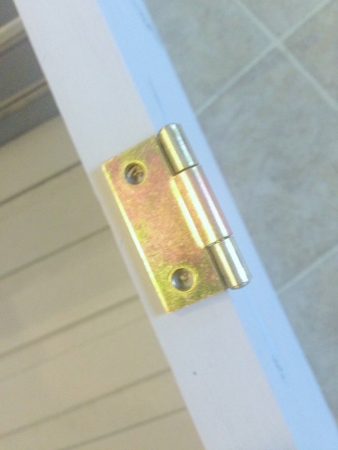
I placed the the top piece on top of the crates, aligning all edges and checking to make sure all edges were flush. I then placed the hinges along the top edge in the middle of the crate, above the handles. I did just eyeball this, but can be measured for exactness.
THINGS TO CONSIDER
If using as a toy chest, use soft close toy hinges which are designed for this. This will help to prevent accidents.
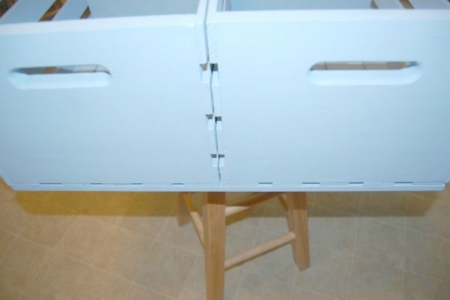
After aligning the hinges and making a pilot hold, the hinge was attached to the crates. I then turned the crates on its side and marked spots for the hinges on the underneath side of the top. Again, pilot holes and screws were used to attach hinge.
YEAH – it lined up first time. That doesn’t always happen.
Carefully turn this over on it’s top, placing a soft cloth or towel underneath to prevent scratching.
Attach casters.
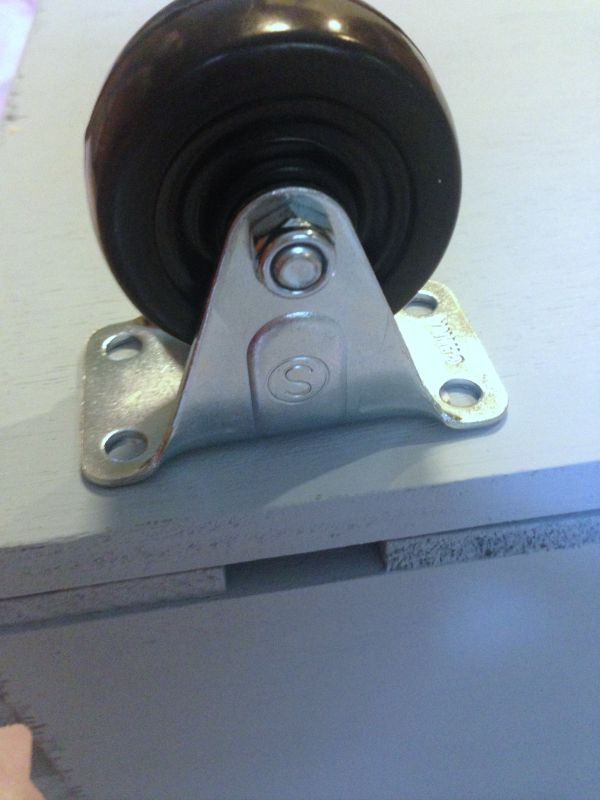
You will need to align these to match up with the slats of the crates for durability. They were placed approximately 3/4″ from each corner. But this can vary by your own crate.
With the project put together, now the fun part. Adding a bit of design to make it your own.
Because I knew I was using painters tape and didn’t want to risk the chance of paint being pulled off, I let the paint dry overnight.
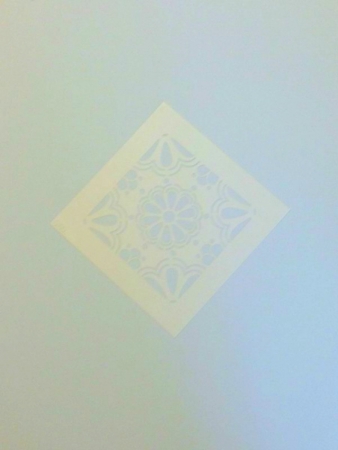
Using a Royal Design Studio Stencil, I picked a pattern which would be in the center top.
I had planned to use Carbon as an accent color, but decided it might be a bit harsh and wanted to go with a steel gray. I used about a Tablespoon each of Carbon and Serene and loved the result. Mixing your own colors is easy with the same type of paints. Just make sure you mix enough for a project at one time.
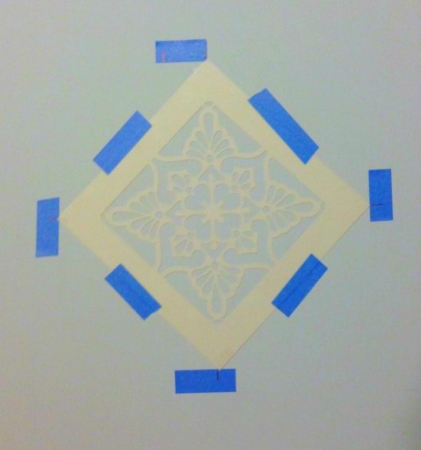
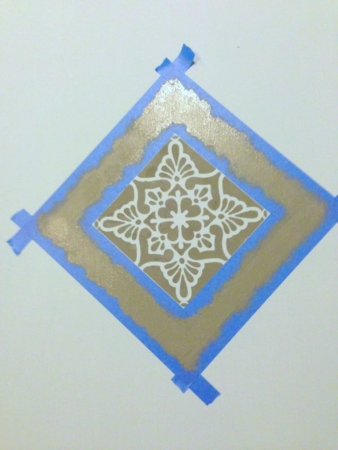
Now to the math part of painting – measuring and centering the stencil. Mark all your points with painters tape then when centered, tape securely.
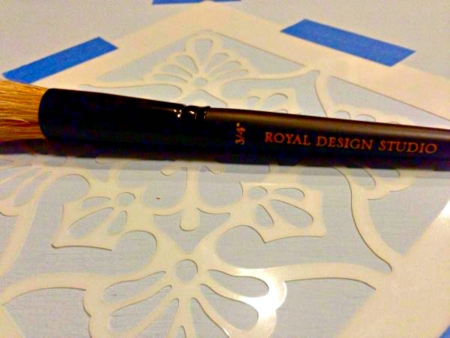
For best results use a stencil brush such as this one by Royal Design Studio.
Load your brush with a small amount of paint working it into the brush well
Unload most of the paint onto a piece of paper or cardboard by pouncing it onto this.
Pounce the brush up and down onto the stencil. Do not “brush” as you will let paint seep under the stencil.
Reload brush as needed.
Hints:
- Don’t have too much paint on brush or it can work under the stencil and cause bleeding
- Keep brush straight up and down
- I wasn’t going for a solid coat, since it was going to be distressed
- More than one coat might be required depending on results you want.
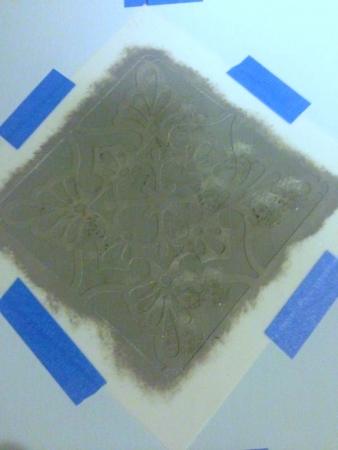
Carefully remove tape and stencil being especially careful as you lift the stencil off.
Now some trial and error. It needed something else and wanted to try something in the corners. After a few tries, I was not in my happy place. These stenciled areas were lightly sanded and repainted.
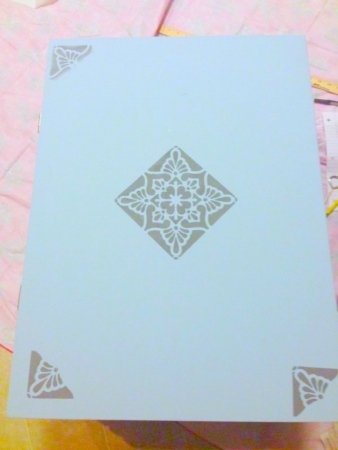
Onto something else. Next idea.
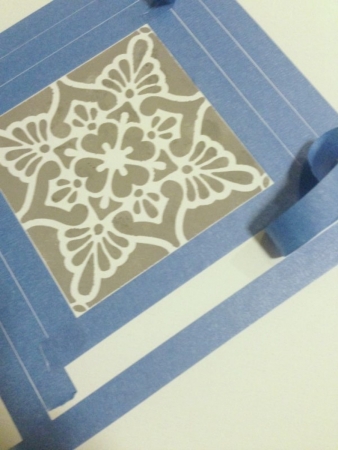
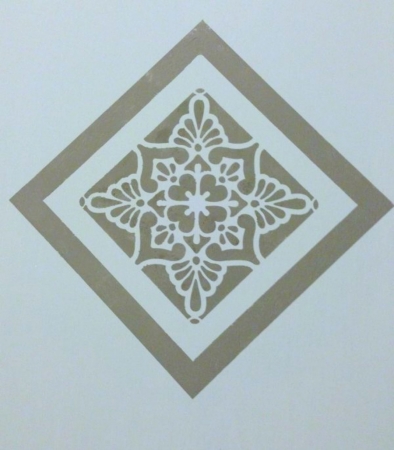
Using the painters tape as a guide, I decided to put a frame around the stencil area. One row was put around the area, then a second line was lightly applied (this would be the striped area), then a third line was placed down.
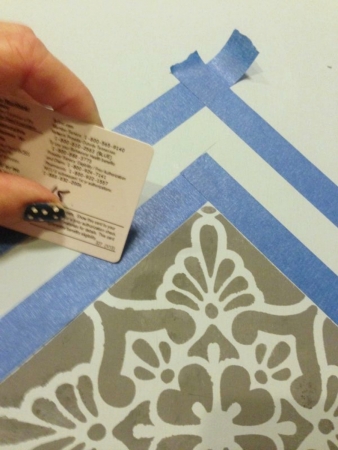
Remove the second row of tape. Use an exacto knife to straighten any corners of tape if needed.
The big secret to getting a straight, non-bleeding line is to burnish the edges of tape well. Use an old credit card or insurance card to do this. Keep some of those “pre-approved” cards you get in the mail which you know you will never use.
Since this was a small area and again not worried about solid coverage, I used the stencil brush and pounced the paint on in the same application manner as I did the stencil.
Carefully remove the tape to see the results.
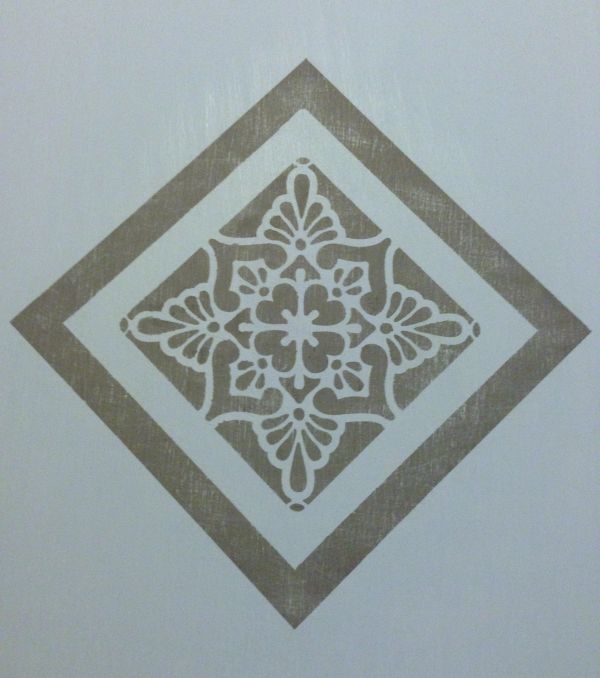
Because the stencil area had a pretty light coat of paint, and it’s quick drying, I only let it dry for about 3 hours before distressing.
To distress, lightly sanded the stenciled area. I went with the grain of the wood over the entire area and brushed away the dust, then went against the grain. A circular motion could also be done.
I have a 3″ cheap brush which I use for dusting off these types of projects. It’s also good to get into corners for removing dust.
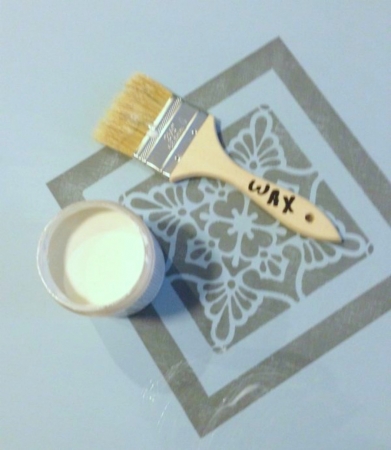
This was my first time to use the Americana Creme Wax but was very happy with the application. It was much softer then most other waxes I had used. It was the consistency of a thick lotion. For this project, it worked well.
A favorite way to apply wax is with a cheap chip brush. It can also be applied with a soft, lint-free cloth such as an old t-shirt. Make sure you always mark the wax brushes so they aren’t used for paint.
A light coat was brushed over all of the inside surface, then the outside of the whole ottoman.
Let this dry about an hour then buff all surfaces with a soft, lint-free cloth. You will notice a shiny sheen as you buff.
Wax isn’t a good sealer if this is going to be used in an outside area. Heat will melt the wax. A poly-acrylic finish is a good finish for this type of work.
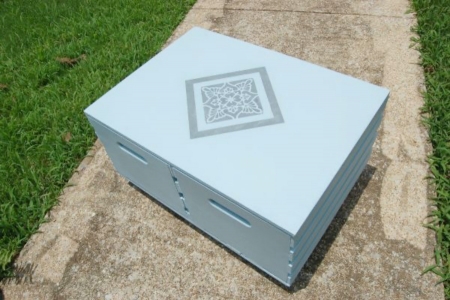
Now stand back and admire your work.
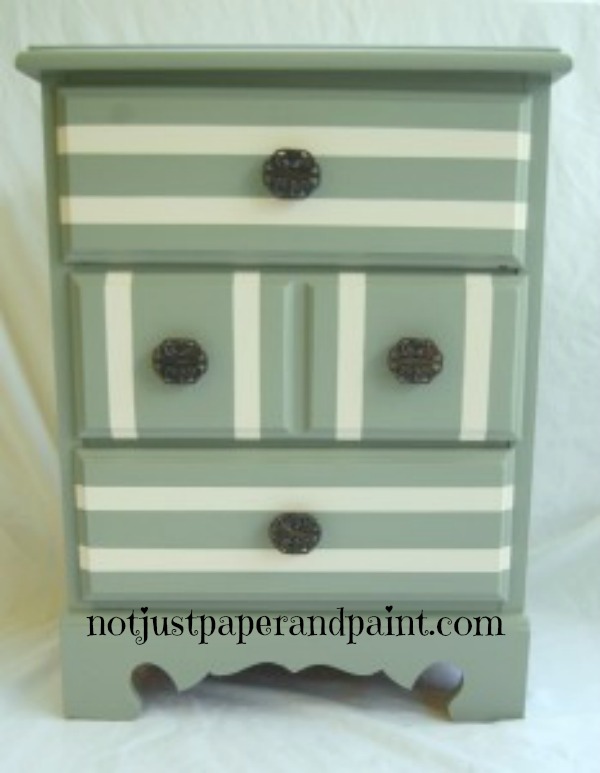
A few more of my painted project are below for a little more inspiration.
If you like paint, distress, and accents – you might like these.

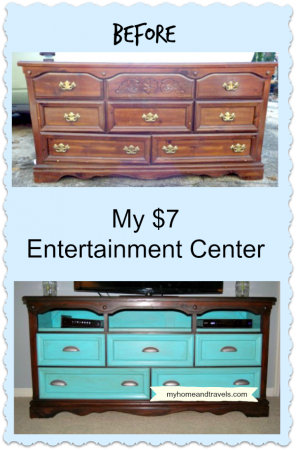
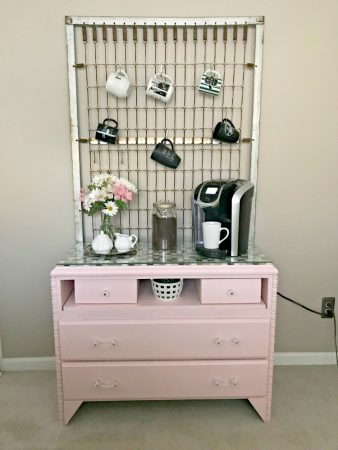
From Changing Table to Coffee Bar
 Ryobi P401 18V Corner Cat F...Shop on Amazon
 RYOBI P214KSB ONE+ 18V Cord...Shop on Amazon
 Wheels, Swivel Plate Castors Pack 4") ASHGOOB 2" Caster Wheels Se...Shop on Amazon
ASHGOOB 2" Caster Wheels Se...Shop on Amazon
 DecoArt ADC-18 Americana Ch...Shop on Amazon
 DecoArt Americana Chalky Fi...Shop on Amazon
 DecoArt Americana Decor Cre...Shop on Amazon

I’ve included affiliate links to Amazon for you to find some products easier. I may receive a small commission, but the price is the same for you. It just helps my blog out.
Happy Travels,
Rosemary

Awesome job! Thank you. I look forward to doing more projects with you!
Thanks – me too. Already thinking about next month.
That’s such a clever idea and I adore the colors you choose, so calm and soothing
I would love to change a lot of things over to blue, but I have so much black. Thanks.
What a great idea. Love your ideas
Thanks. It was pretty easy actually.
Your rolling storage ottoman is perfect, and the stenciling is great, Rosemary! I have an ottoman project ready to tackle (for a while now)… just need to find the time!
So many projects – so little time. So many to finish or want to do. At least we don’t get bored.
Wow, your rolling cart turned out great! I would never have seen a solid box out of those open crates. Great idea and perfect for holding magazines and such. Pinned for you! <3
Happy Valentine's to you,
Barb 🙂
I’m thinking about making a smaller one for a foot stool. Maybe velcro a cushion on top.