Use Two Boards for Three Projects
Think about how you can use two boards for three projects. A French inspired wall hanging, a plant caddy, and a picture frame is just three of the ideas I came up with. There are several more floating around in my mind so maybe those will be done soon. Depending on how many projects you make, and size of project will determine how many feet or actual boards you will need.
These projects are also great to make with any leftover wood you may have from other projects.
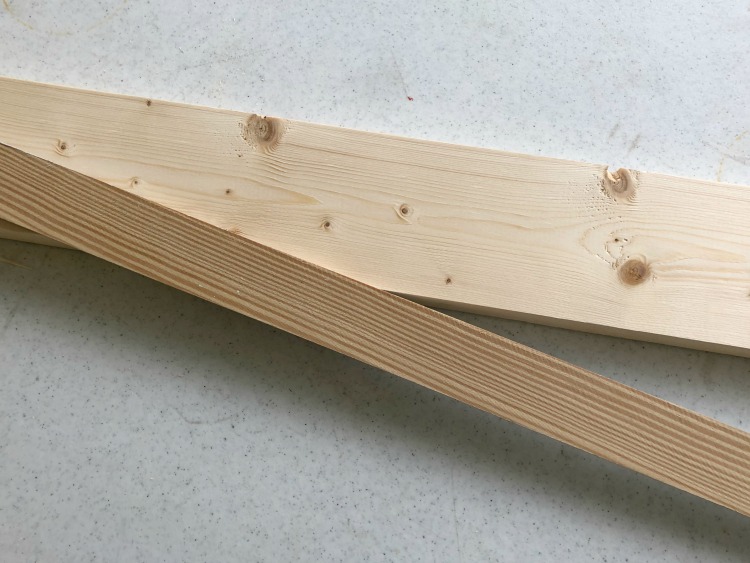
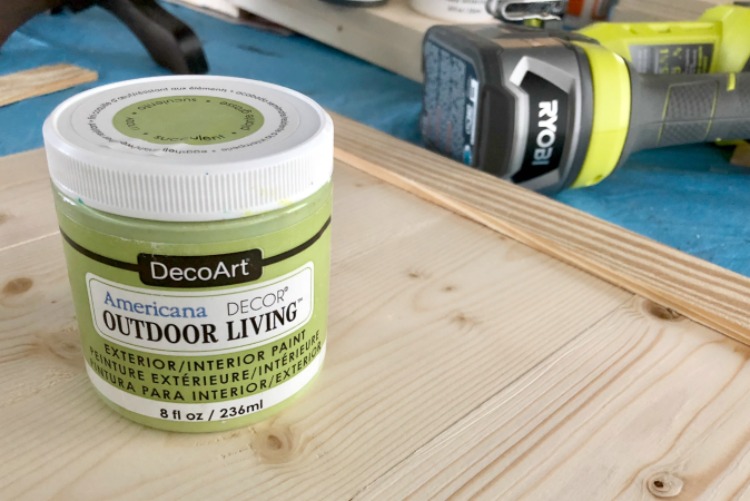
Take a simple 1″ x 4″ pine common board and a lattice strip and combine it with several types of paint from DecoArt and you can easily make these projects in less than a day.
In coming up with these projects, I started thinking about all of the upcoming holidays and events in the next few months which they would be great for, either to use or as a gift. There’s Mothers Day, Fathers Day, graduations, weddings, baby showers, and always many birthday which you need a gift for. Why not make it personalized?
All of these start off with 4 – 14″ pieces of 1″ x 4″ and 2 – 12 ” & 14″ pieces of lattice strips. Most of these can be cut at stores like Home Depot or Lowes if you don’t have your own saw.
Tools used for these projects:
Ryobi Mitre Saw
Ryobi Nail Gun
Ryobi Staple Gun
Ryobi Cat Finish Sander
Ryobi Drill
Other supplies used:
Gorilla Wood Glue
Screw Eyes
Screw In Hooks
Jute String
Lightweight Chain
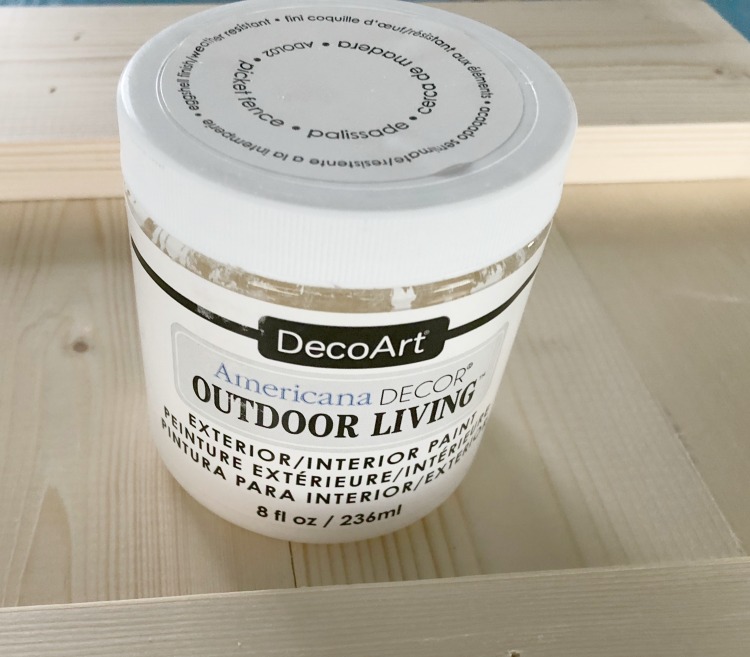
Decoart Americana Decor Indoor/Outdoor Succulent Paint
Decoart Americana Decor Indoor/Outdoor Picket Fence
Decoart Vintage Wash – White
Decoart Americana DuraClean Ultra Matte Varnish
Decoart Americana Decor Cafe’ Paris Stencil
Stencil brush
Decoart Americana Zinc Acrylic Paint
Painters Tape
Various Screws
Tim Holtz Clipboard Hooks
Various paint brushes
Cotton rags (old Tshirts)
Clamps
GREEN PICTURE FRAME
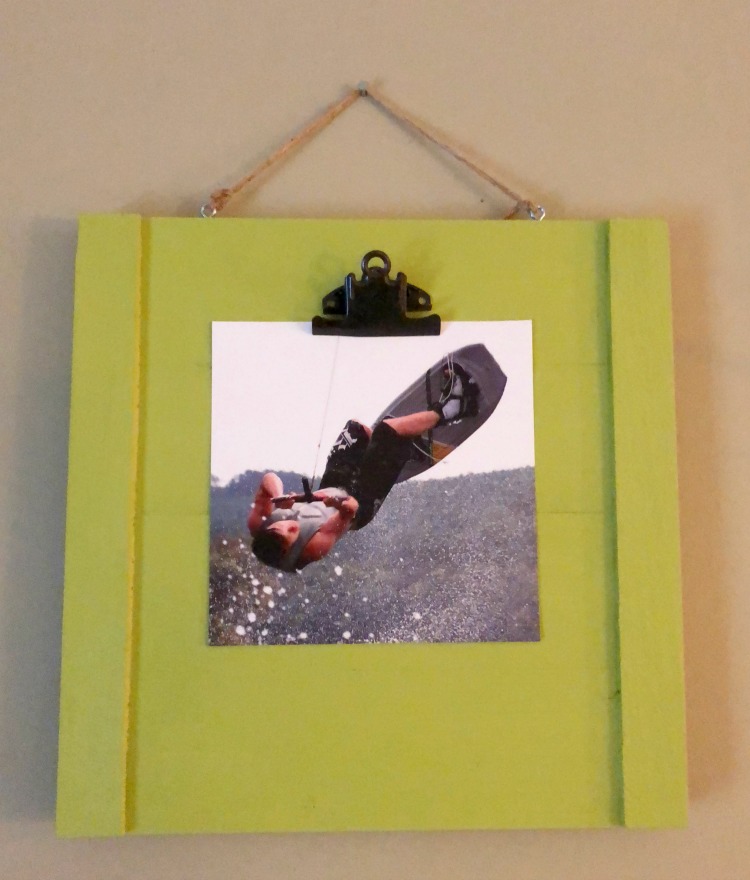
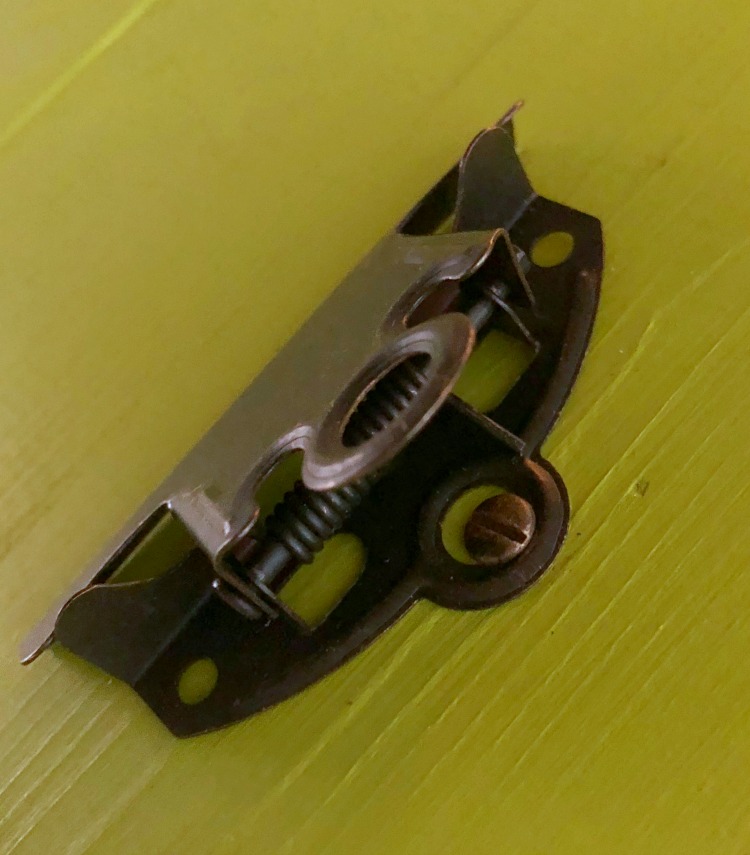
Who couldn’t always use a new picture frame? Or more picture frames? Using the Clipboard Clip makes it easy to change out the picture. Think about several of these hanging up with all of your kids latest school pictures. What about their latest artwork?
Supplies used and cut list:
4 – 14″ 1″ x 4″ pieces
2 – 12″ lattice pieces
2 – 14″ lattice pieces
Gorilla wood glue
Decoart Americana Decor Indoor/Outdoor Succulent Paint
Tim Holtz Clipboard Clip
Paint brush
2 screw eyes
Jute
Clamps
Ryobi Mitre Saw
Ryobi Staple Gun
Ryobi Cat Finish Sander
Ryobi Drill
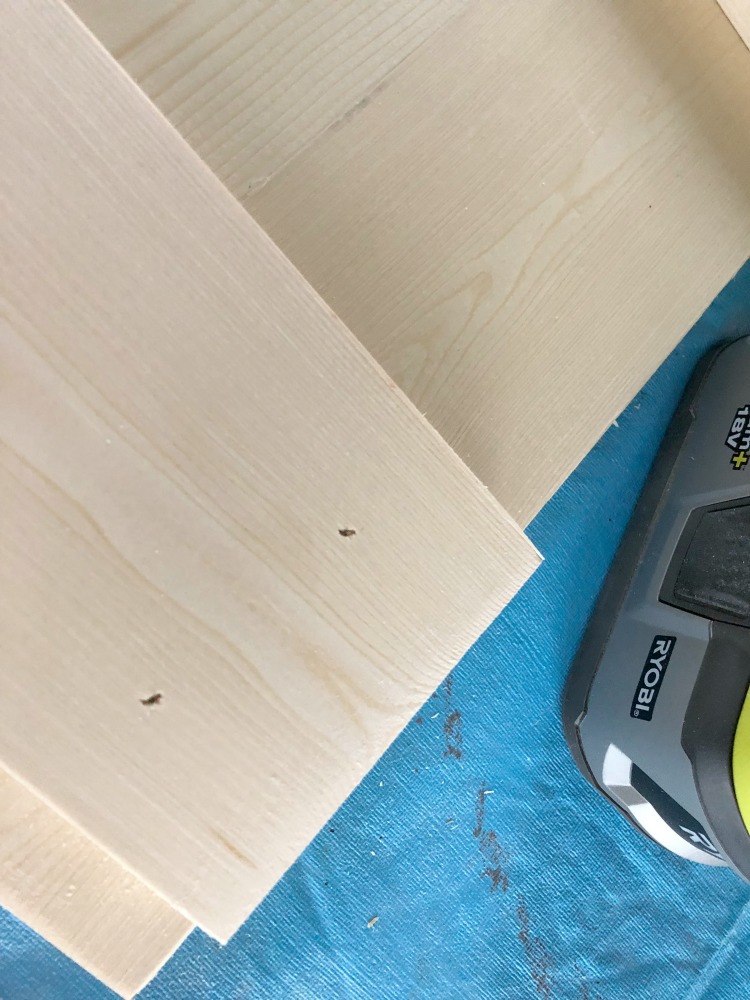
Cut all boards and lattice to proper length
Sand all edges, checking for rough edges
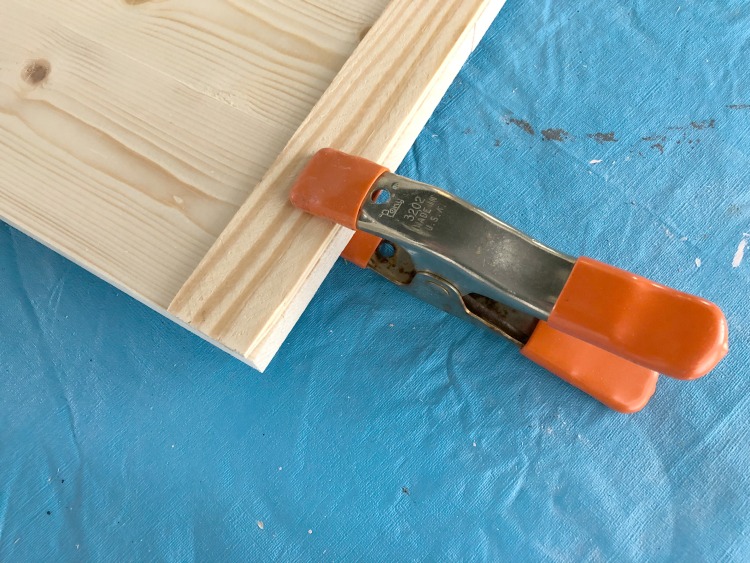
Lay 4 boards down, aligning edges
Apply a light strip of wood glue to one side of each 12″ lattice strip
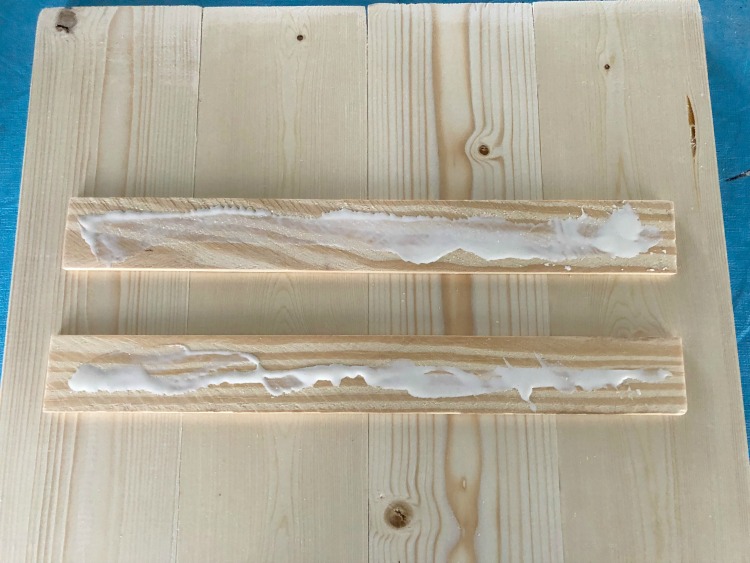
Place these strips, glue side down, about 1″ from side edges across the 4 boards
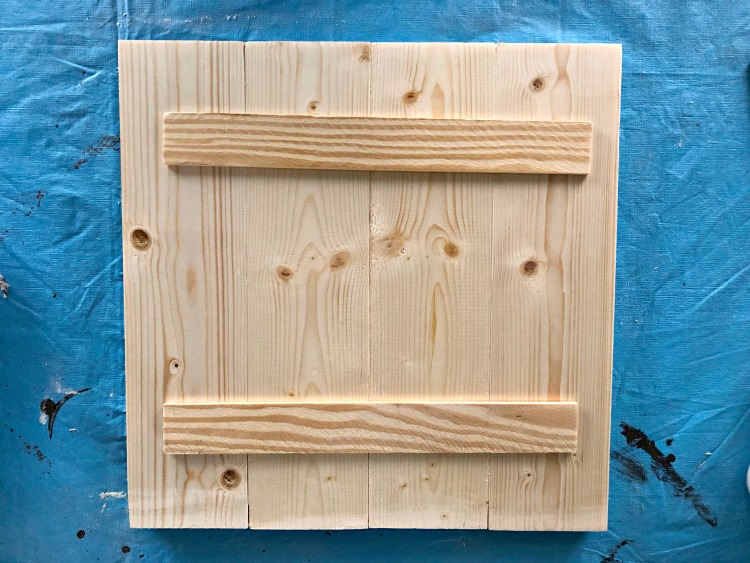
Using a staple or nail gun, attach lattice strips to 1″ x 4″
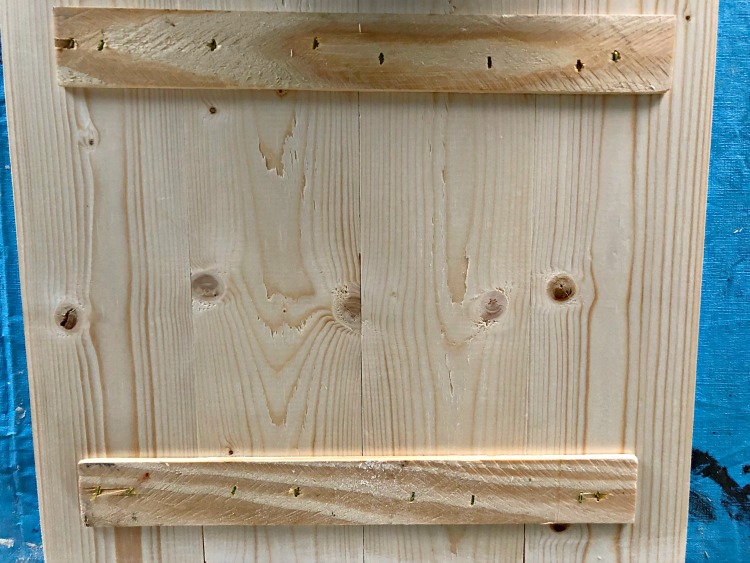
Turn your piece over
Apply a light strip of wood glue to one side of each 14″ lattice strip

Place these along the outer edges across the 4 boards
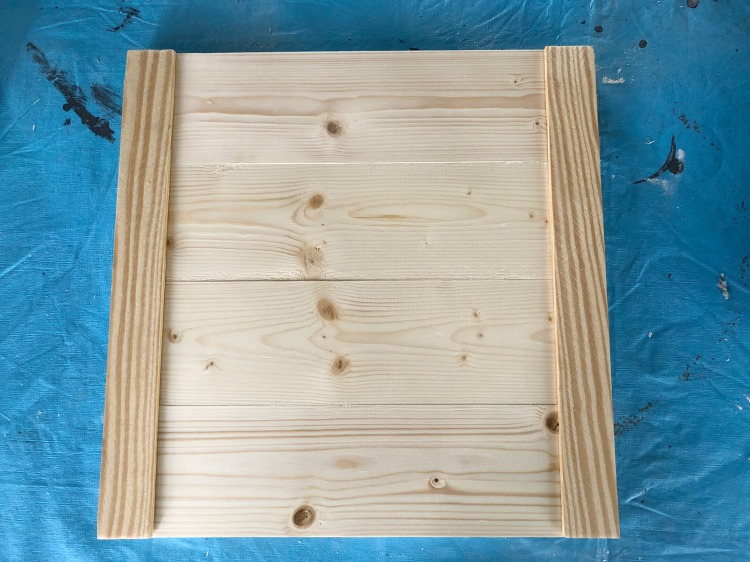
Clamp and allow to dry
Nails or staples could be used for extra strength, but glue will hold it
Now you are ready to paint. 1 – 2 coats is normal
Follow directions on your paint for painting a 2nd coat.
Allow to dry completely. I usually allow overnight before finishing.
Attach clip board clip with a small screw
Drill a VERY small pilot hole for screw eye in the top of frae
Attach screw eye
Tie jute string through each screw eye
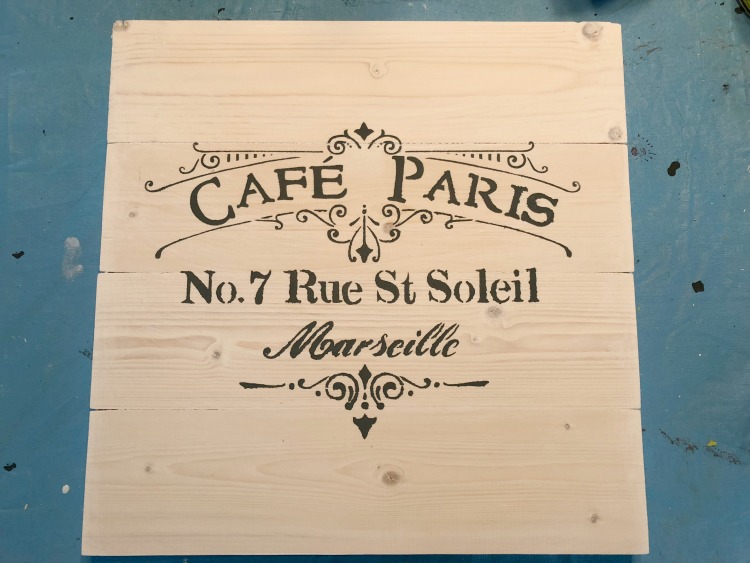
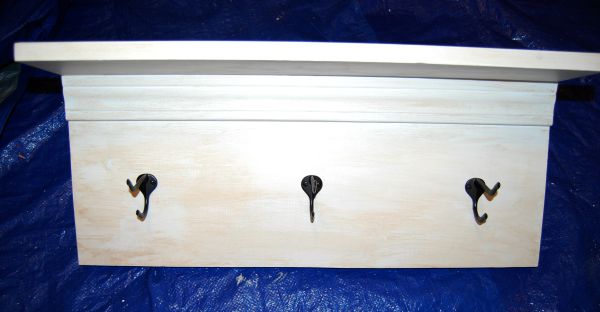
French Inspired Wall Hanging
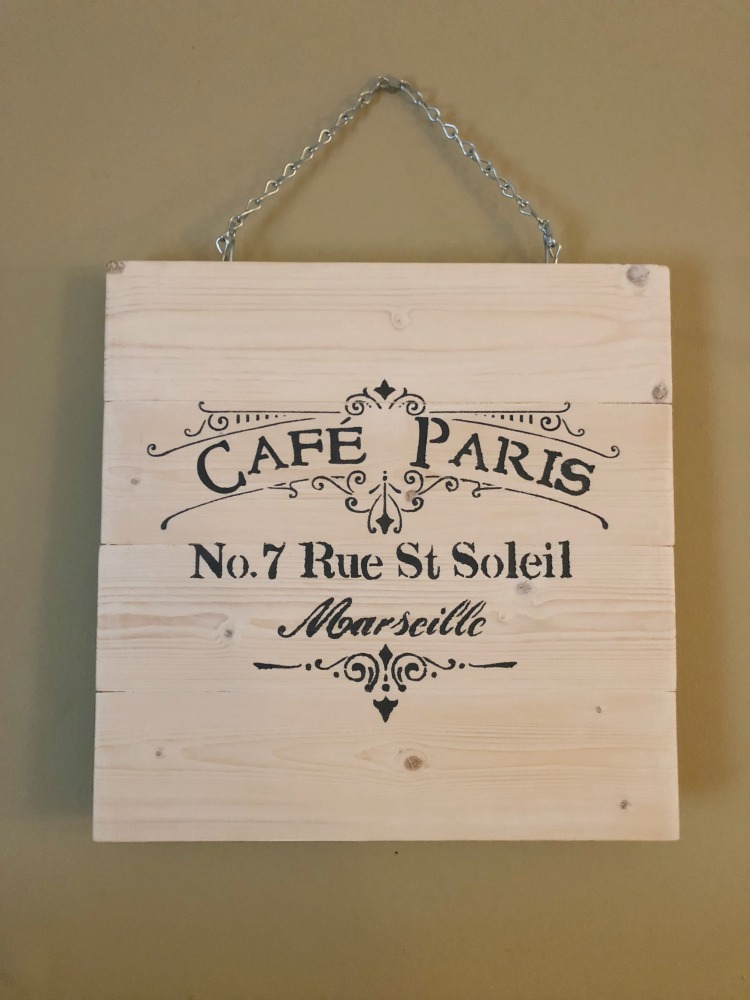
If you are an artist and can draw, this is a great base for your art project . If you are like me and can’t draw a straight line, use a stencil. There are thousands of designs out there for any theme or decor.
Tools and supplies used for this wall hanging:
Ryobi Mitre Saw
Ryobi Staple Gun
Ryobi Cat Finish Sander
Ryobi Drill
Gorilla Wood Glue
Screw In Hooks
Lightweight Chain
Decoart Vintage Wash – White
Decoart Americana DuraClean Ultra Matte Varnish
Decoart Americana Decor Cafe’ Paris Stencil
Stencil brush
Decoart Americana Zinc Acrylic Paint
Painters Tape
Various paint brushes
Cotton rags (old Tshirts)
Follow steps for Green Picture Frame through attaching 12″ lattice on back
Using white vintage wash, apply as directed. I find using a rag is easiest.
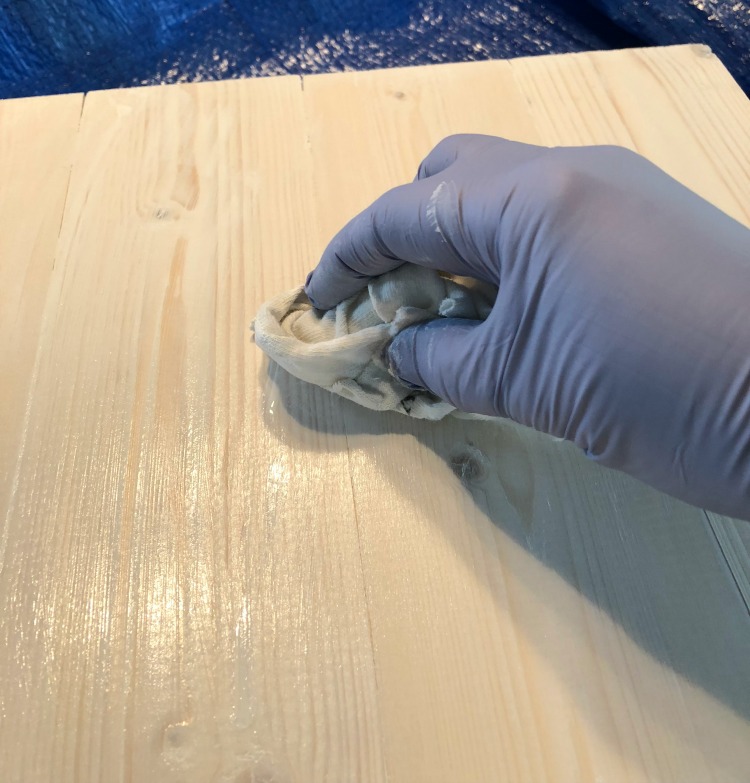
Using white, it is almost hard to tell you are changing the color.
Let dry thoroughly
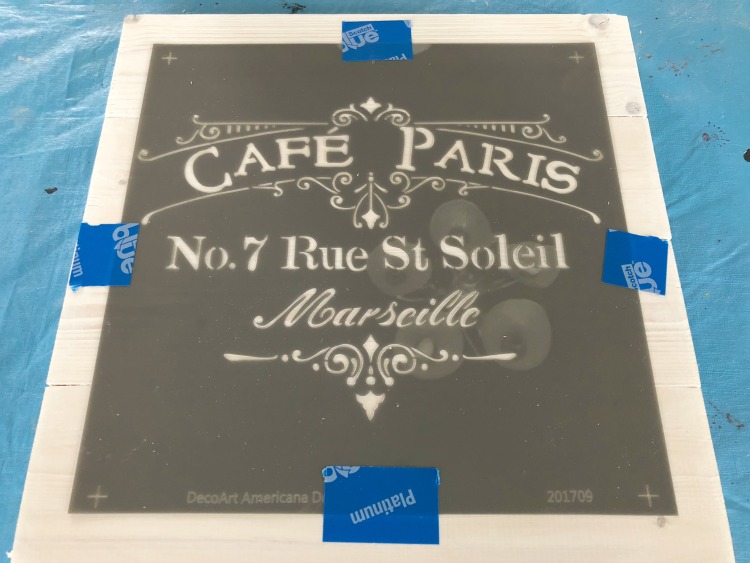
Place stencil in desired location and secure with painters tape
Pour a little Zinc acrylic paint onto paper plate
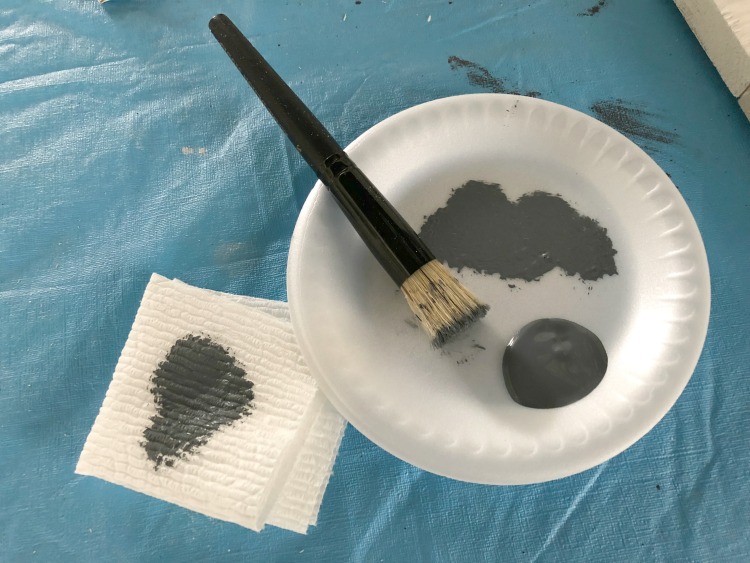
Dab your stencil brush into paint then remove excess on paper towel
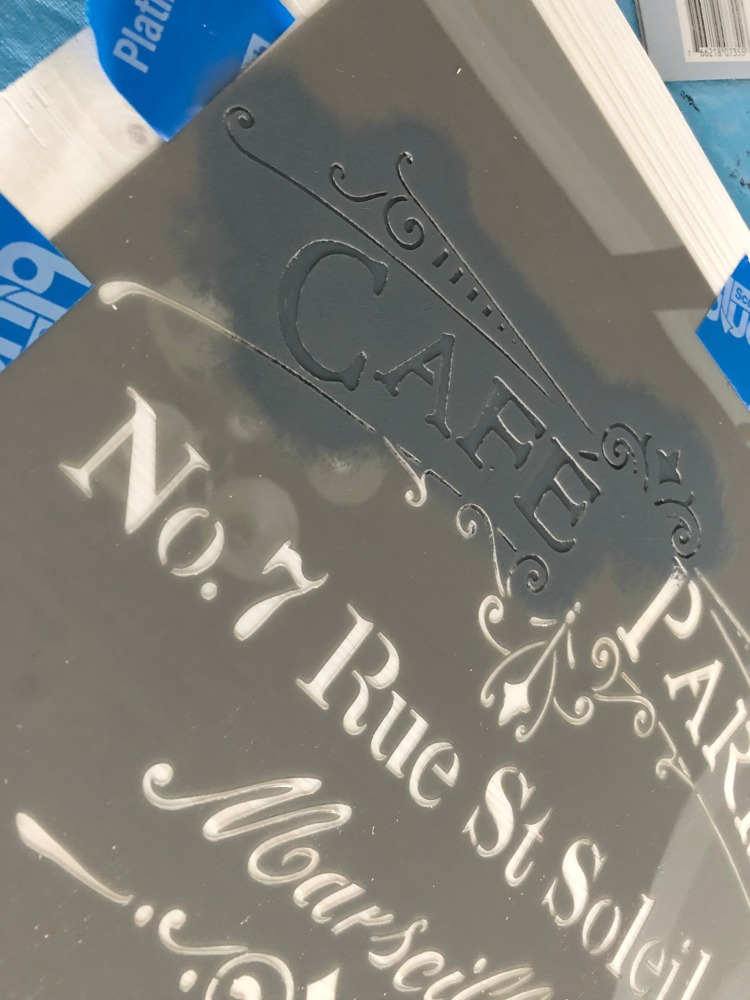
Pounce up and down lightly to fill in stencil
Carefully remove stencil
Allow paint to dry
Lightly sand all over the front and edges
Varnish to seal
Let dry thoroughly
Drill a VERY small pilot hole for hook
Attach hooks
Attach chain for length you desire
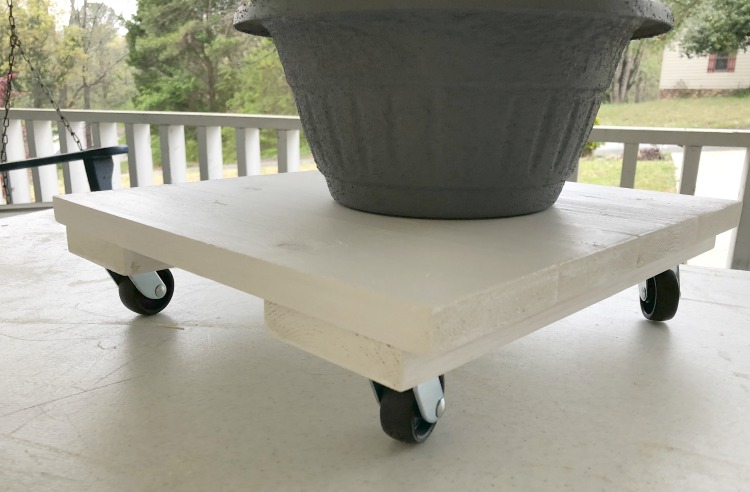
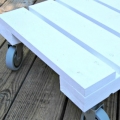
PLANT CADDY
Lay 4 – 1″ x 4″ pieces together
Apply strip of glue to other 2 pieces of same size
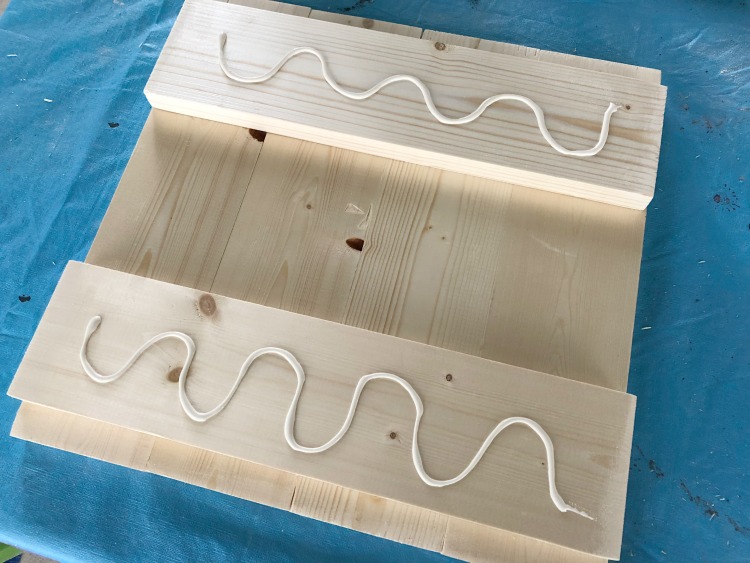
Place these glue side down about 1/2′ from edge along 4 boards
Nail or staple into place
Give it 2 coats of paint
Since this could get water on it, make sure all sides are painted with outdoor paint
Let dry thoroughly between coats, following directions for paint
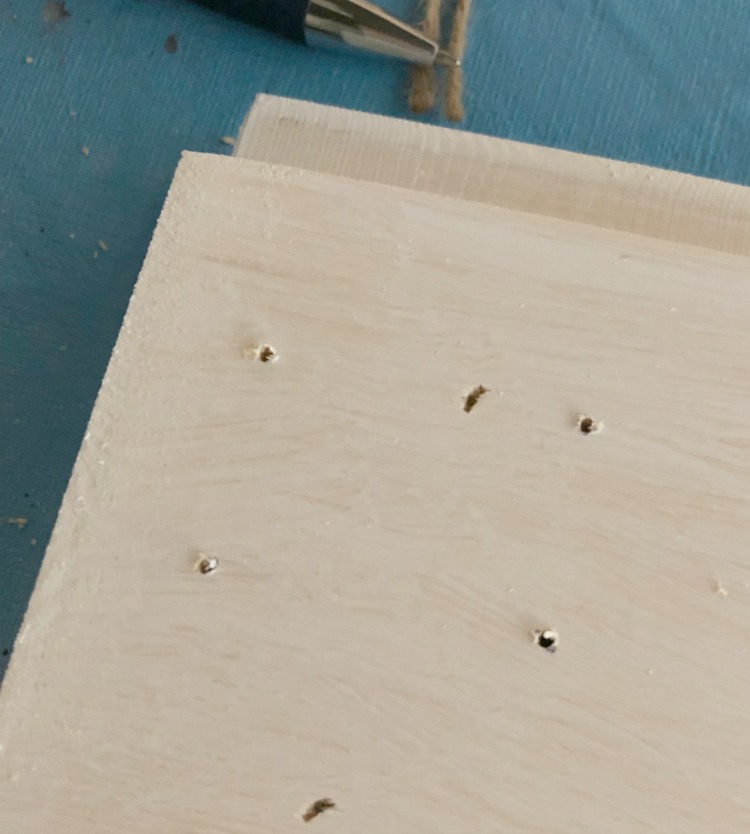
Mark placement of casters on the other bottom side of the attached 1″ x 4″
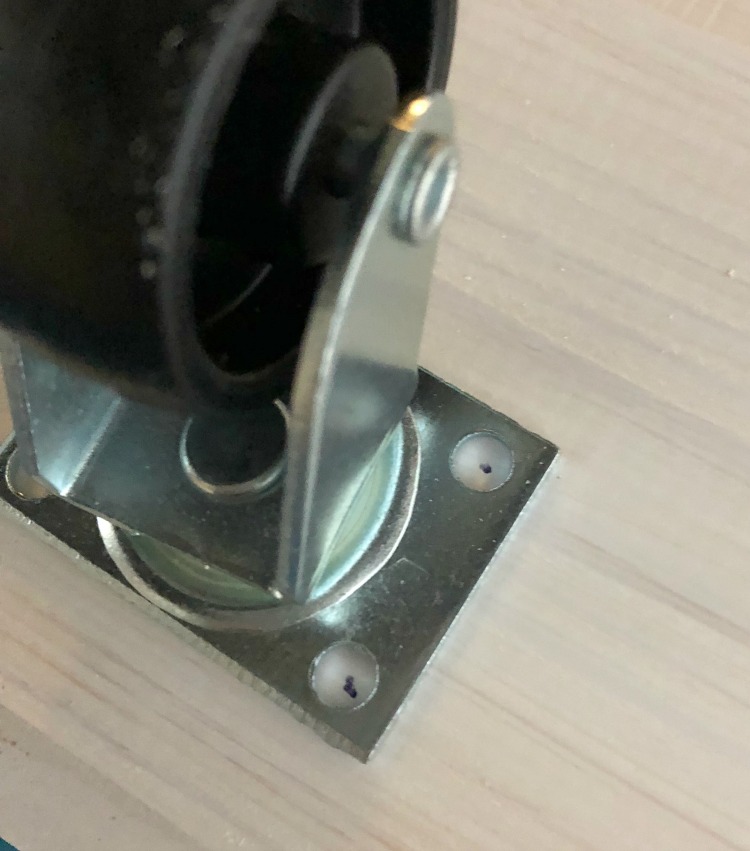
Drill pilot holes for these
Using 3/4″inch wood screws, attach casters

Casters can be purchased for weight you will need on your caddy.
ADDITIONAL TIPS
40″ of jute is a good length, and doubled for added strength for jute
Hammer a small nail lightly for a pilot hole if you don’t have a drill
Sanding blocks are easy to use if you don’t have a sander
Small nails or screws can be used if you you don’t have a nail or staple gun, but check length
If you are starting to do more projects, consider in starting a collection of power tools
Stores such as Home Depot or Lowes will cut lumber for you
Always follow directions for paint you are using
Do a sample of your paint or washes to see how they color on your wood
Check each side of board for the better looking side, less knots or holes.
If any glue oozes out when clamping, wipe the excess away
Customize boards to fit favorite size of pictures
Cutting the 1″ x 4″ 14″ long will make a square since most 4″ wide boards are closer to 3.5″
Remember I said I had a few more projects in mind, check back next week for a chalkboard message center and serving tray.

I’ve included affiliate links to Amazon for you to find some products easier. I may receive a small commission, but the price is the same for you. It just helps my blog out.
Happy Travels,
Rosemary