A Pretty Porch – A Stenciled Rug
It’s almost done – YEAH!! Are you tired of hearing about my porch yet?
What a long project it became.
My favorite part – the stenciled “rug”.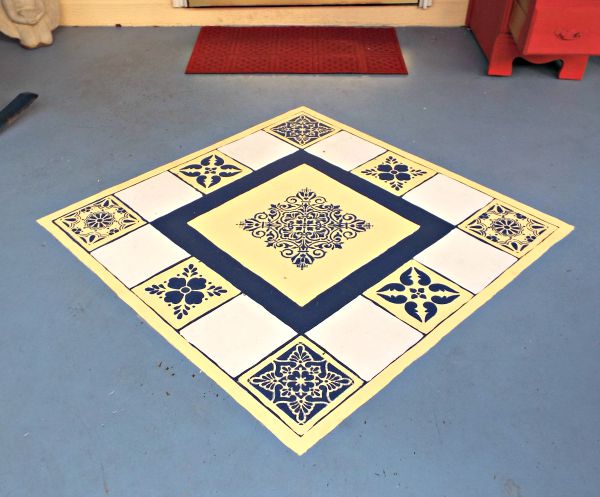 Deciding on color and design was the first step but that was made easier with the help of Royal Design Studio Stencils. Color was based on the dark blue porch furniture and creamy yellow of the house. I’m pretty old school so graph paper and pencil was used to plan it.
For a variety of designs, I chose Talavera Tile Stencil and Villa Wall Tile Stencil.
For the paint, I visited my local Elder Ace Hardware on Hwy 58 and spoke to paint expert Kim on picking the right paint for the concrete porch.  I chose 2 shades of blue, yellow and white in Royal Porch and Floor Paint. She’s always great for color and paint suggestions.
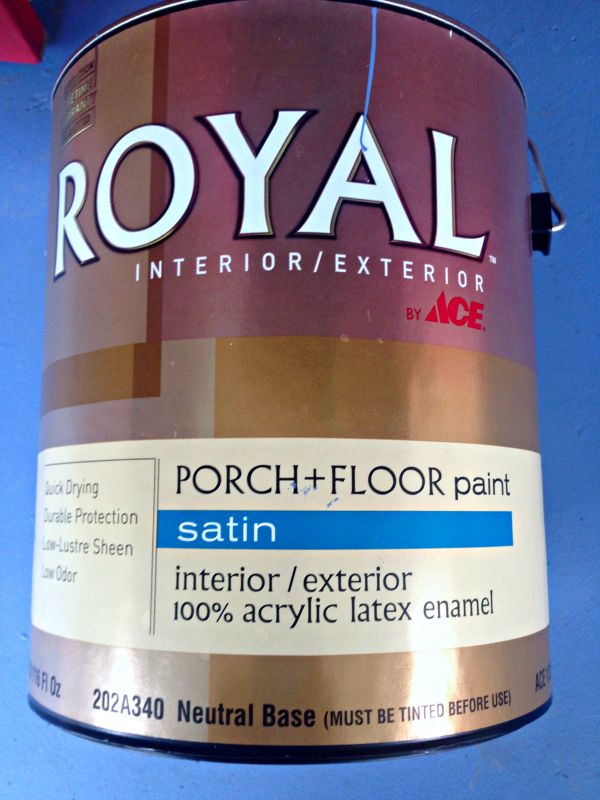 After the size, design, and color were planned, a good pressure washing was needed. Having a son always comes in handy about this time.
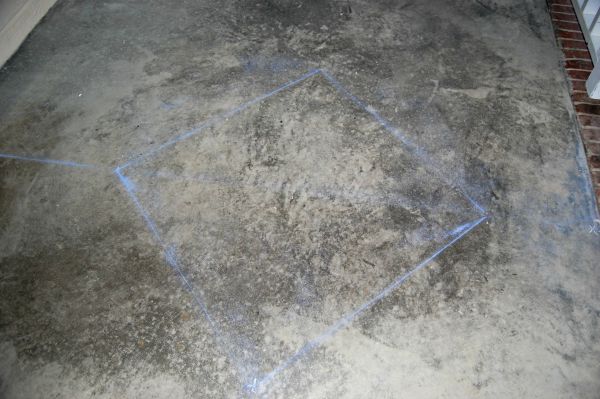
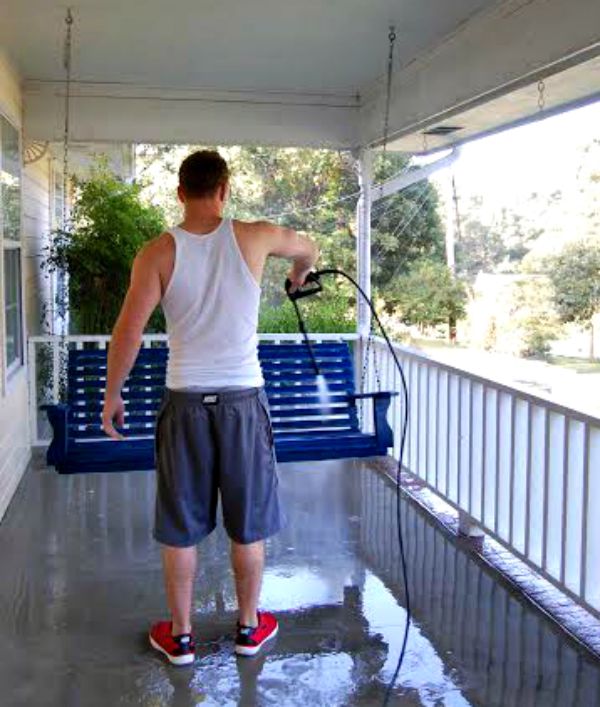 After it was thoroughly dried, the “rug” design was marked with a chalk line. Size was determined by the depth of porch.
 The outside of the center square was taped off with the border width being determined by the width of painters tape. This was painted with dark blue paint.
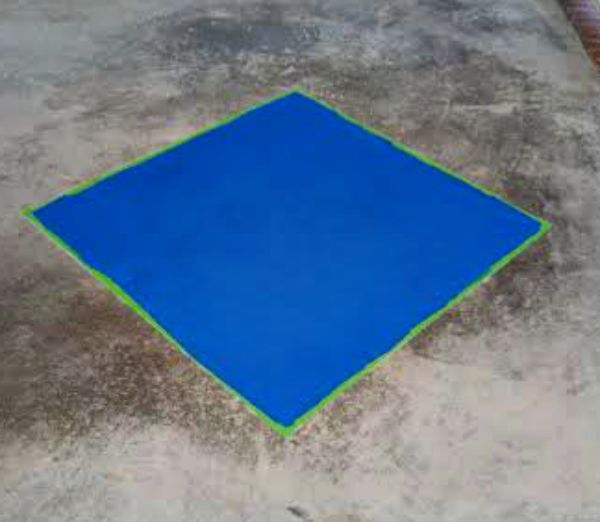 After this square was given a second coat and allowed to dry overnight, a border was taped off.
The porch floor was then done starting by cutting in around the edges with a brush then the floor was rolled. Always nice to have the hubby’s help.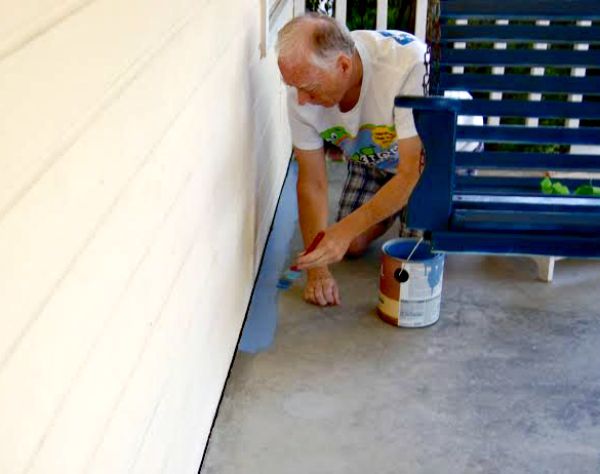 After a 2nd coat, I let it dry overnight before getting back to the stencil.
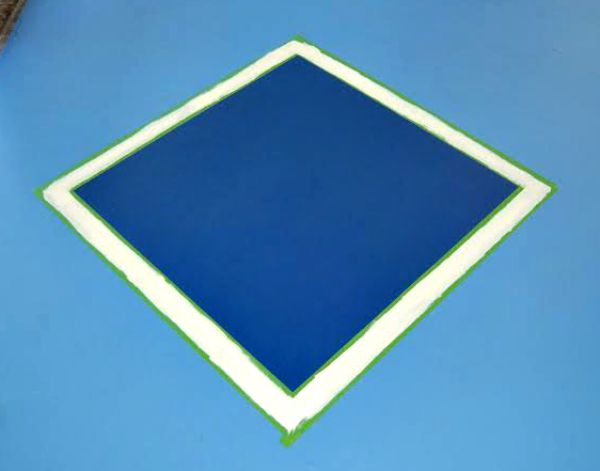
The border was painted yellow to match the house.
 The size of the inside squares had been determined by the stencils. It’s always easier to work the product sizes you have, and adjust your squares to fit them.
Yellow and white squares were painted. I did tape them off and painted the first coat with the tape, but then removed it for the 2nd coat. I wanted my edges to not be precise so it would look a bit more shabby.
Using my Royal Design Studio Stencils, I used painters tape to hold in place. You may also use a spray on stencil adhesive to hold them in place. A stencil brush, such as this 3/4″ provided by Royal Design Studio Stencils is always best for stenciling since the bristles are more compact. 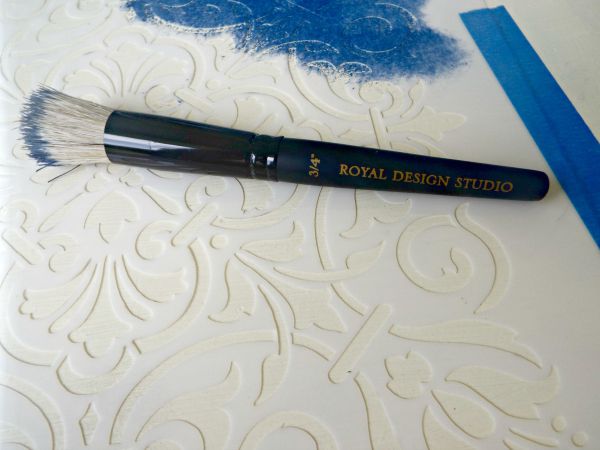 Load paint onto the brush and pounce the excess paint off onto a paper towel. It doesn’t require much paint for stencils, plus if there is too much on the brush you risk it bleeding under the stencil.
 Two light coats were applied.
 Step back and admire your work.
 The stencils and brush was provided to me by Royal Stencil Design but all views and opinions are mine.
For more on my porch or other posts:
Front Door with Modern Masters Paint
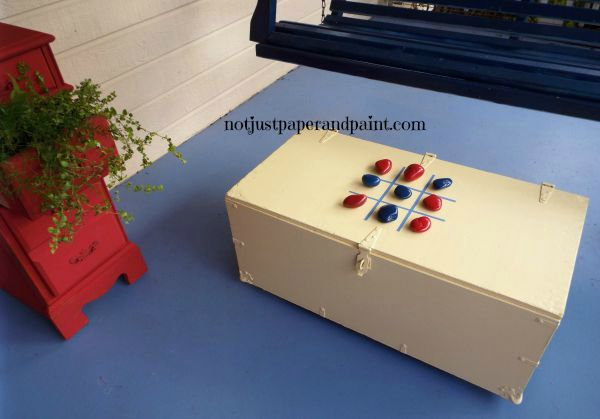
Army Trunk turned Gaming/Storage Table


I’ve included affiliate links to Amazon for you to find some products easier. I may receive a small commission, but the price is the same for you. It just helps my blog out.
Happy Travels,
Rosemary

This is beautiful, nicely done I am so jealous. I wish I had a porch to DIY and loving the stenciled rug
Wow, that came out so fantastic! I love your personal touch you added to your porch. Really a great accent
I was very pleased at the outcome. Hope you signed up to follow me along.
Wow, this looks like such an elaborate project. All of that hard work definitely paid off–it looks fantastic! You must be so happy with the results.
Whoa, that is an amazing DIY! I would love to do the same. Thank you for this idea 😀
Wow what a really neat idea. I wouldn’t ever think to do something like this. How pretty! I really like it.
The hard work did really pay off! Looks beautiful and will be well worth it when you spend the next few year enjoying it.
I enjoy the early mornings especially. Since it’s front I just have to get dressed before I can go out. Oh well, small sacrifice. Hope you signed up to follow me along.
I need to do something to my porch to spruce it up. This is such a great idea and it looks wonderful!
Sometimes it doesn’t take a lot to make a difference. Let me know what you try. Hope you signed up to follow me along.
You make it look so simple to do. The outcome is fantastic
I love, love, love this rug! I think I need to make one for my back patio soon.
What a lovely transformation. I have never stenciled anything in my life, and it looks pretty easy! I’d love a stenciled “rug” like this.
Omg that came out great!!!! I wish I had talent to pull off such things. That must be looking pretty fabulous!!
This looks like such a great idea!! It’s super cute and you don’t have to worry about it moving…LOL!!
Isn’t that true! I hate rugs that always blow up. Hope you signed up to follow me along.
This is lovely, it would seem to be too difficult to try to tackle but with patience and the effort it can be done. We are in the middle of home renovations too, loved this! Thanks for sharing!
Very unique I must say. Only thing is I don’t have a front porch, but I do have a cement floor in the basement. I bet that would save a lot of money doing that on my floor. Hmmmmmmmmmmm
wow this turned out so fantastic!! I’m impressed that you did all this from scratch and were able to document everything the way you did. Very cool
Thanks – very happy with the outcome. Now time to turn it over to fall. Hope you signed up to follow me along.