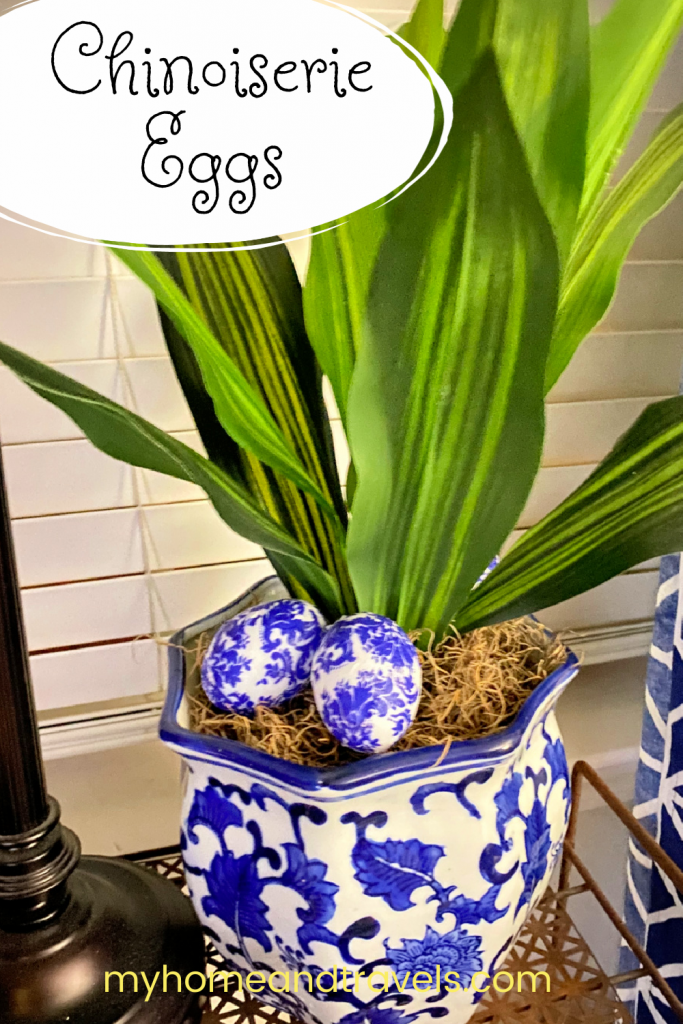
How To DIY Decoupage Chinoiserie Easter Eggs
When you learn How To DIY Decoupage Chinoiserie Easter Eggs, you will be adding this motif to many more items. It’s easy to add custom colors to your Spring and Easter Decor with a little decoupage. Chinoiserie is the imitation of Chinese motifs and techniques in Western art, especially in the 18th century. It’s easy now to do this with decoupage.
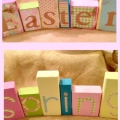
I’ve done decoupage for many years on so many projects, such as these REVERSIBLE SPRING – EASTER BLOCKS . With changing from black and white to blue and white in my home’s decor, this was an easy way to add a little more blue and white.
Why decoupage items?
A lot of reasons – it’s pretty easy, great for beginner crafters, supplies are budget friendly, make holiday items, and many times – use what you have.
How To DIY Chinoiserie Easter Eggs
Maybe you have a lot of plastic eggs from previous years you are using, or you can pick these up at places like Dollar Tree. But, I found these white ones at Hobby Lobby. Only $1.49 for a dozen, less the 40% sale, so they were what I would call cheap.

If you are using colored eggs for this blue and white treatment, give them a quick coat of white spray paint before you begin to decoupage.
Napkins are my favorite to use
Napkins are one of the easiest items to use for decoupage. Paper and fabric can also be used. The thinner the product, the better.
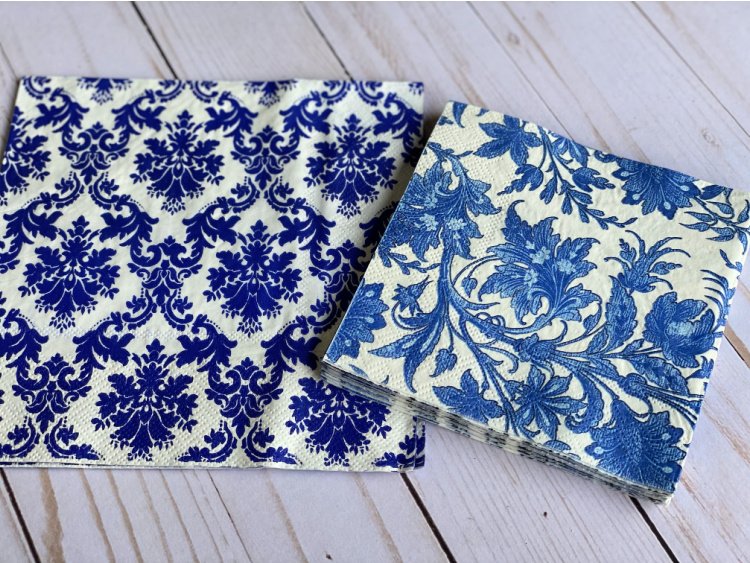
There are so many choices in colors and holiday motifs, your options are wide open.
Supplies you need:
Napkins, paper or fabric
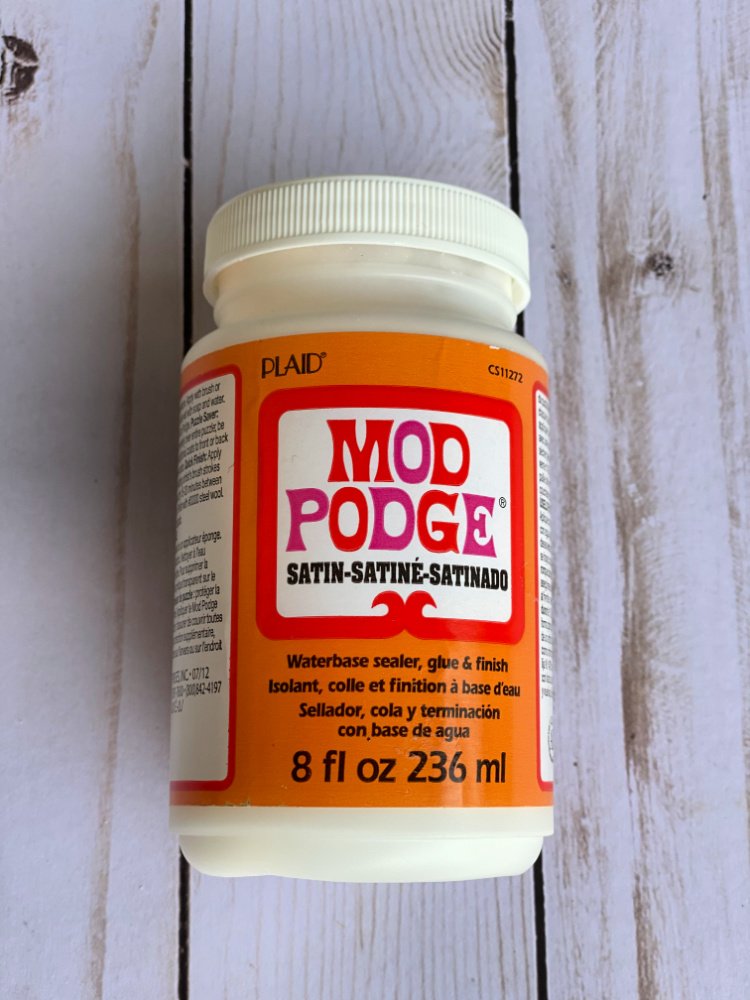
Mod Podge
Small paint brush
Eggs
A few hints:
Mod Podge is my usual decoupage medium, Satin finish is my favorite
A small, stiff brush works well
Use a baking rack for drying
Work in small steps, drying between each
The small plastic eggs are a bit slippery to hold
Thin layers of Mod Podge are best
This dries pretty quick
Let’s get started:
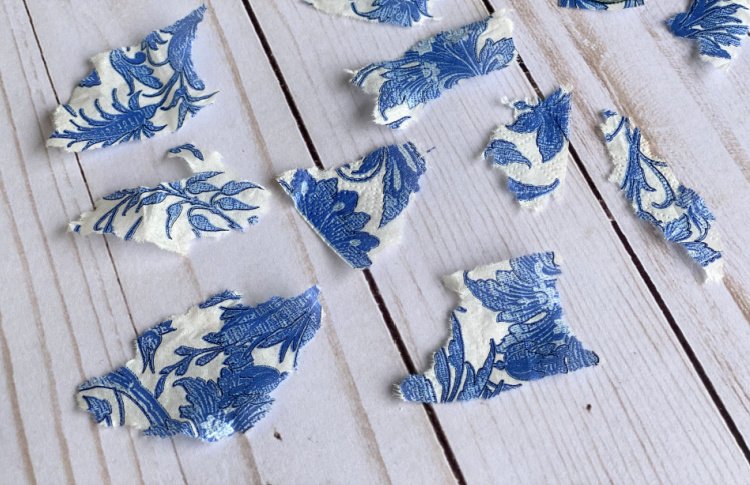
Separate the napkins, removing all layers
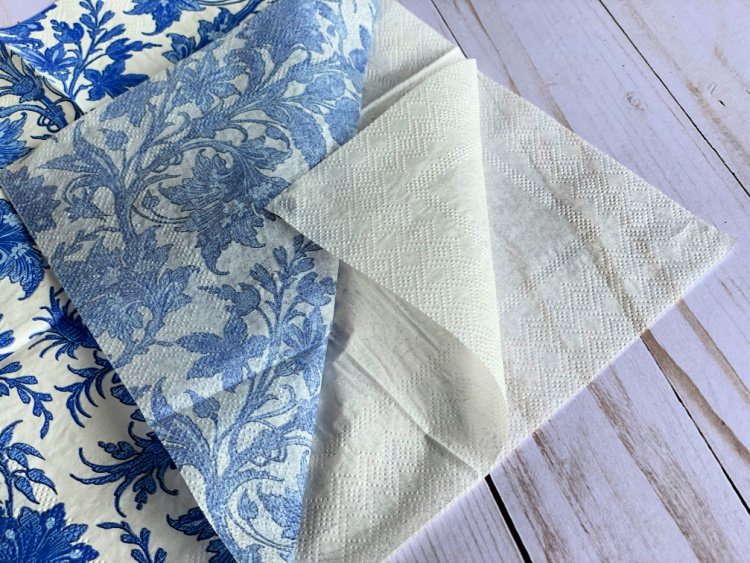
Tear these into small pieces
Set up your rack for drying
Brush Mod Podge medium on about 1/3 of the egg in a thin layer
Place a napkin piece over this area
Brush another thin coat of Mod Podge over the napkin
Set aside and let dry
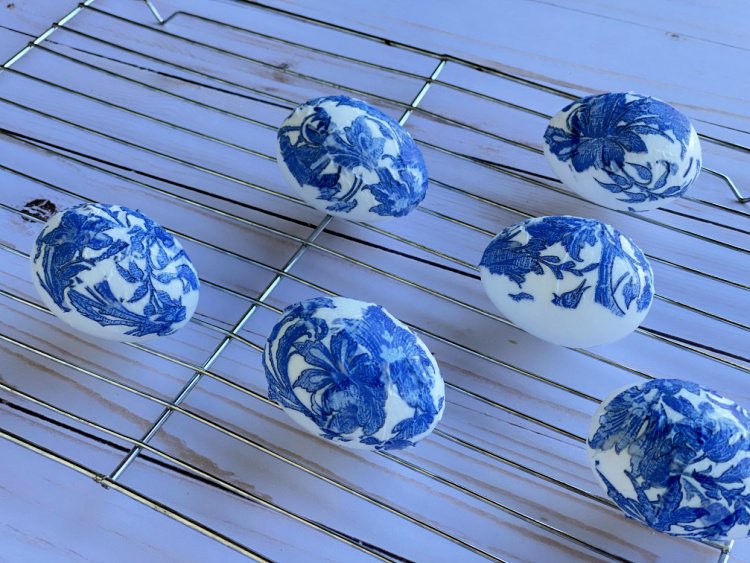
After that area is dry, repeat the process until the full egg is covered
When whole egg fully dried (I usually wait til the next day) apply a thin coat over entire egg, working in steps again
This will seal the egg well and prevent any moisture so you can store from year to year
Allow to dry fully again (maybe 24 hours) before using
Now decorate with your eggs
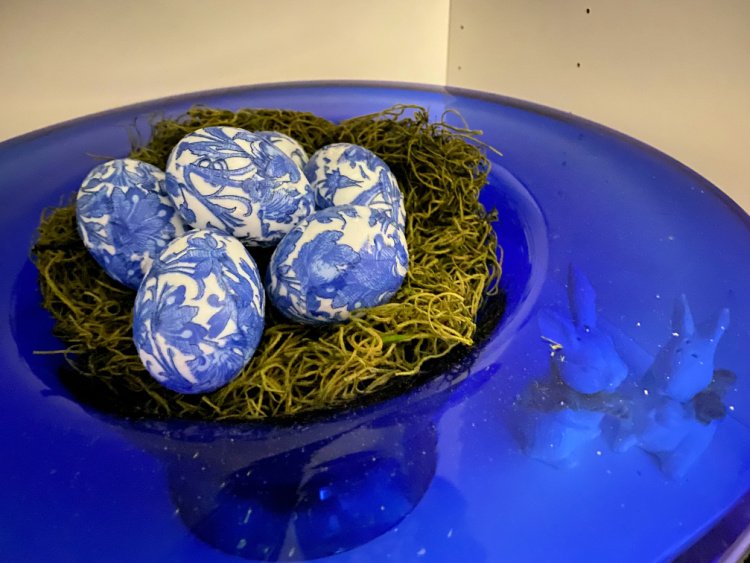
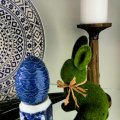
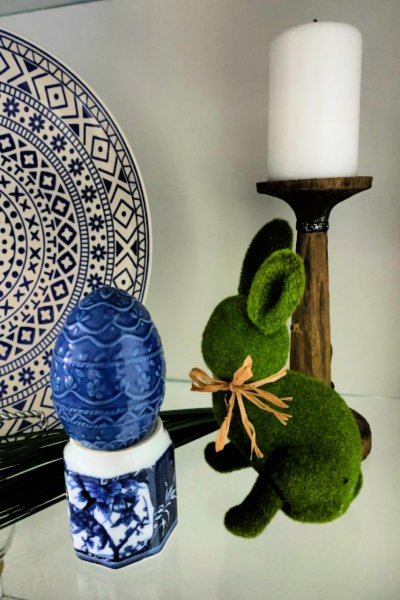
You can place these around as you would any Easter Egg. I love the look of the blue and white against green moss or a nest.
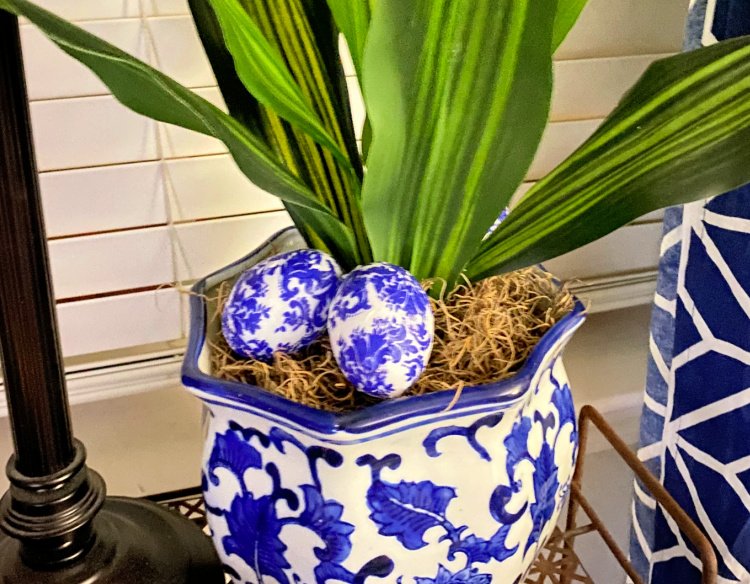
Other ideas:
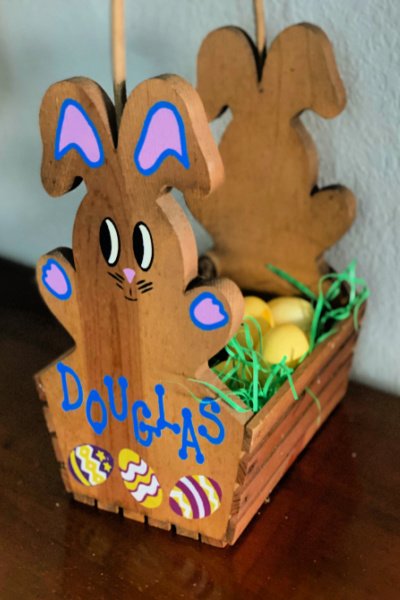
Fill a basket
Fill a vase
Place on pedestals
Place around faux flowers
Didn’t you think decoupage chinoiserie Easter eggs was a fun project?
Enjoy these other Easter Ideas
Favorite Blue and White Paper Napkins from Amazon – disclosure about affiliates here.


I’ve included affiliate links to Amazon for you to find some products easier. I may receive a small commission, but the price is the same for you. It just helps my blog out.
Happy Travels,
Rosemary

Such a clever idea! The print is so pretty.
Thanks. I have never been a real traditional pastel person so I’m enjoying my blue and white.
Thanks. I have never been a real traditional pastel person so I’m enjoying my blue and white.
This is a great alternative to dying eggs and lasts a lot longer!
And so many options with napkins – love it.
These make spring look so fancy! They are beautiful Rosemary! Thanks for sharing on Tuesday Turn About!
And they are really easy to make. Blue and white is such a classic.
So very pretty!
Thanks – I’m so becoming a non-traditional decorator.
These are so pretty! I’ve always wanted to try this technique. Have a great day!
They are so easy – Just get you a few eggs, napkins and mod podge – you are set.
I love decoupage and have made eggs similar to this every year to match my decor. It is the best way to make eggs that are not going to rot. Happy travels.
Thanks. And with the price of real eggs going up, you don’t want to waste them if you can help it.
They are gorgeous, Rosemary! I am a huge chinoiserie fan!
Thanks – I am too. Blue and white and even black and white are always my favorites.
I love anything chinoiserie and these look so pretty too, Rosemary. What a fun idea for Easter.
Blue and white is such a classic for decorating all year long.
Your chinoiserie eggs are gorgeous!
Happy Easter,
Kippi
Thank you. I love using them, and making them.
These are gorgeous; especially displayed with the real thing!
Thank you. I love the look of them. And with more of my yellow things for spring too.
Perfect looking eggs! Love the chinoiserie pattern.
Thank you – I think I need a few more this year too.
So beautiful! The colors are perfect and really get me in the mood for Easter decorating.
Thank you – They go with my decor so much better than just the normal pastel colors.
love the results!! Thunking the girls might like this.
Even the younger girls could do this project.
I absolutely love these, and they are elegant! Great tutorial!
Thanks – they are so easy. And so many options in napkins to use.
Wow! So beautiful! thank you for sharing!
Thanks – and they are so easy.
Do you need to boil the eggs before doing this? Or blow them out?
I used plastic eggs. So much easier.