How To Make Mini Cheesecakes Crustless
Raise your hand if you love a good cheesecake? Now raise both your hands high up in the air if you love having your own cheesecake that you won’t have to share with anyone! This is why I’ll show you How To Make Mini Cheesecakes Without A Crust and they will become your new favorite dessert. They’re the perfect size for one – and you don’t have to share!
Cheesecake is an awesome dessert and when you can make multiple mini ones, why wouldn’t you? At the end of this recipe, you’ll have 24 adorable mini cheesecakes just waiting to be enjoyed.
That means you can eat all 24 or share a few of them with your family and friends!
Can a crust be added to these cheesecakes?
If you want to add a crust, go for it! I like not having a crust because it cuts down on calories but if you have the want and need for a crust, using crushed graham cracker crumbs is a traditional crust idea. Or drop in a vanilla wafer before you fill the liner.
How do I know when the cheesecake is done baking in the oven?
The easiest way is to stick a clean toothpick in the middle of one of the cheesecakes to test and see if it’s done. If the toothpick comes out clean, it’s ready to be taken out.
The top of these cheesecakes should also start to become brown as well so that is a visual indicator, too.
![]()
Get ready to love these bite-sized desserts! They’re so good!
Crustless Mini Cheesecakes
Just gather up the ingredients below to get started!
- 16-oz. cream cheese, room temperature
- ½ C granulated sugar
- 2 large eggs, room temperature
- 1 Tbsp all-purpose flour
- 1 tsp real vanilla extract
- ¼ C sour cream
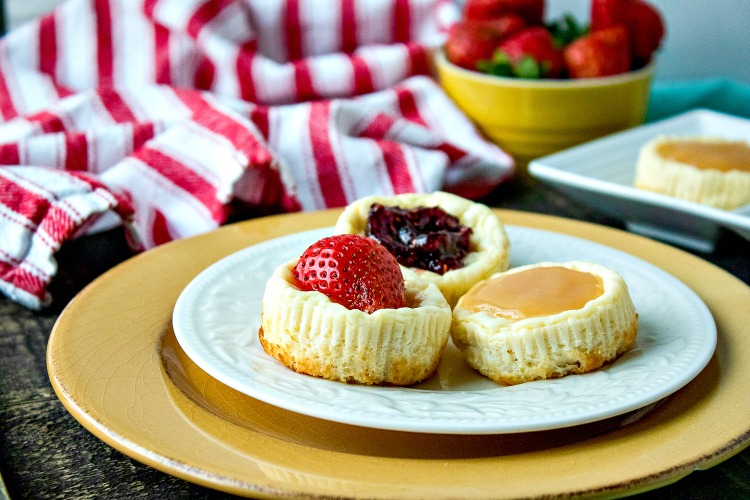
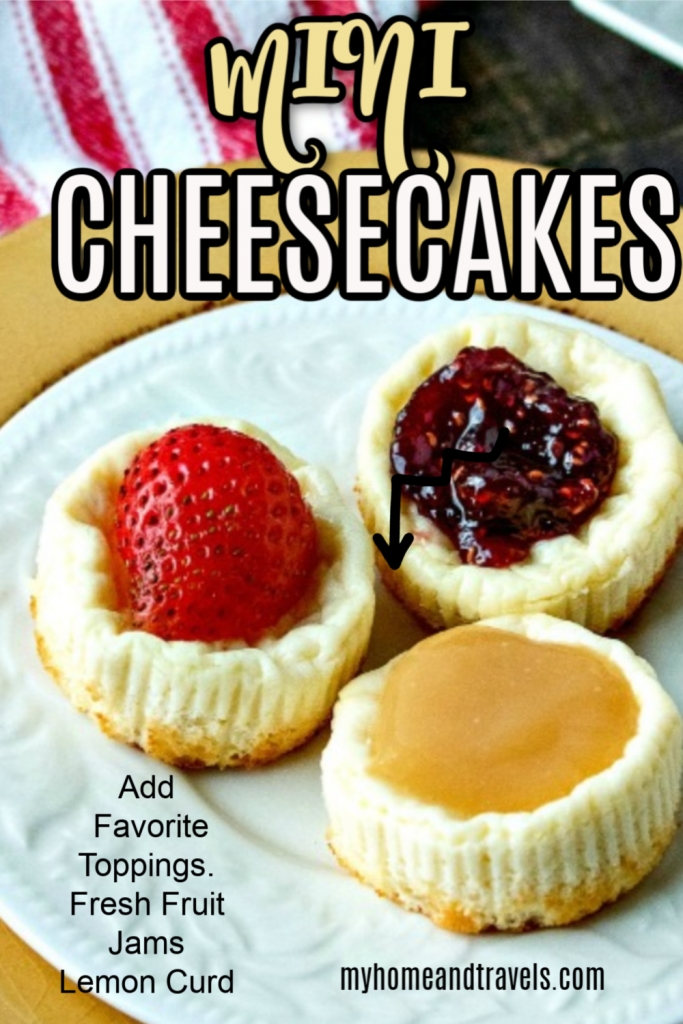
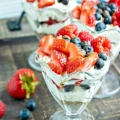
- Fillings pictured: Lemon curd, raspberry jam, and/or fresh strawberries
Directions to make mini cheesecakes
Pre-heat oven to 350°F and line 24 cup mini muffin tin with small cupcake liners. Set aside.
Mix the cream cheese with the granulated sugar in a large mixing bowl.
Mix in one egg at a time to the cream cheese mixture until well combined.
Add in the flour, vanilla, and sour cream and mix on low speed until smooth.
Once smooth, divide the filling mixture evenly between the 24 mini muffin cups. Place in the preheated oven and bake for 16-18 minutes, or until a toothpick inserted in the center comes out clean and the tops turn lightly golden brown.
A small cookie scoop is a great tool to have and use. This will insure all are the same size.
Remove from oven and set aside to cool. Once cool to the touch, transfer to the refrigerator to chill for at least 3-4 hours.
To serve, remove from refrigerator and top each mini cheesecake with your choice of filling.
What are your favorite toppings?
As in these pictures, lemon curd, blackberry jam and strawberries were added. Any fresh fruits, jams or preserves, or canned pie fillings such as cherry is always a great option. For serving, even leave some plain, or just add a sprig of fresh mint for color.
These bite-sized desserts are perfect for any and all occasions!
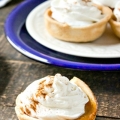
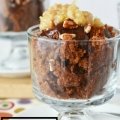
Like this simple dessert recipe? You’re going to love these as well:
Crustless Mini Bite-Sized Cheesecakes
These mini cheesecakes are the best!
Ingredients
- 16-oz. cream cheese, room temperature
- ½ C granulated sugar
- 2 large eggs, room temperature
- 1 Tbsp all-purpose flour
- 1 tsp real vanilla extract
- ¼ C sour cream
- Fillings pictured: Lemon curd, raspberry jam, and/or fresh strawberries
Instructions
Pre-heat oven to 350°F and line 24 cup mini muffin tin with small cupcake liners. Set aside.
Mix the cream cheese with the granulated sugar in a large mixing bowl.
Mix in one egg at a time to the cream cheese mixture until well combined.
Add in the flour, vanilla, and sour cream and mix on low speed until smooth.
Once smooth, divide the filling mixture evenly between the 24 mini muffin cups. Place in the preheated oven and bake for 16-18 minutes, or until a toothpick inserted in the center comes out clean and the tops turn lightly golden brown.
Remove from oven and set aside to cool. Once cool to the touch, transfer to the refrigerator to chill for at least 3-4 hours.
To serve, remove from refrigerator and top each mini cheesecake with your choice of filling. Enjoy!
I’ve included affiliate links to Amazon for you to find some products easier. I may receive a small commission, but the price is the same for you. It just helps my blog out.
Happy Travels,
Rosemary


There’s nothing I love more than cheesecake; yum!
It’s always time for cheesecake.
afternoon treat to bake today! Know it will be soooo good!
A great little bite size treat for sure.
Who does not like cheesecake, i will have to try your recipe. It looks delicious. ??
Love these little bites – with different toppings you get lots of tastes.
I love these! Would be such a great addition to a party!
Sometimes a bite size dessert is all you need.
Can these be frozen to be served later?
Thanks for asking. I have never frozen these but normally Cheesecake will freeze ok. I would wait and add the topping after freezing. The jams could thaw a little different and maybe become runny. After the Cheesecakes are cooled, wrap them individually in plastic wrap. Then in aluminum foil Freeze for up to a month. When ready to serve, thaw on the counter for a couple of hours, or even overnight in the refrigerator. Top with you favorite fillings and enjoy. Great way to make several ahead and pull out just what you need.