How To Make an Easy, DIY Picture Frame
Do you need to know how to make an easy, DIY picture frame? Maybe you still need a Father’s Day gift? Graduation gift? Or, just because you have a special photo? These are also kid friendly.
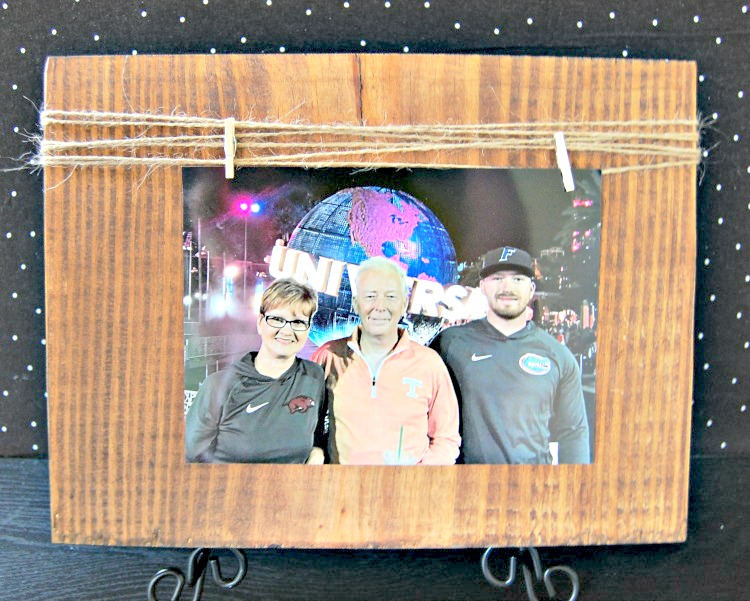
WOOD & JUTE FRAME
The Easiest Frame You Will Ever Make – guaranteed
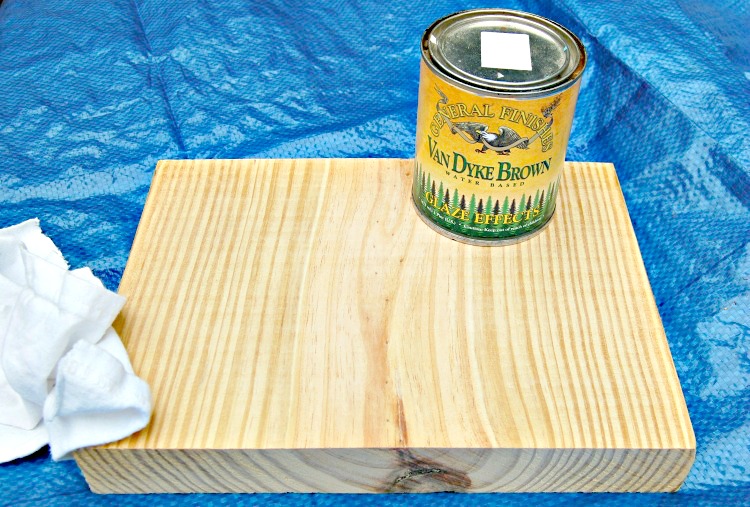
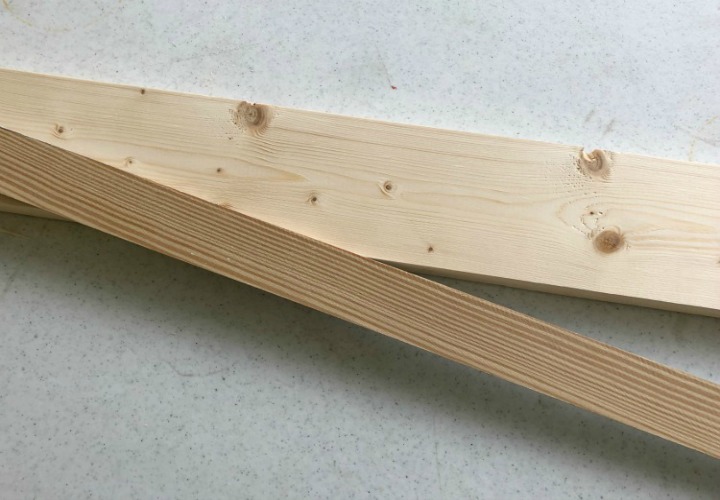
Yes – this is super easy. And after you see how easy, you will wonder why these sell in specialty stores for up to $28. Start with a piece of wood.
What you need:
Wood piece – mine was 2″ x 12″ x 8″
Stain
Rags
Jute String
Mini clothespins
Hot glue
After sanding all the edges and sides, I applied my go-to stain, which is actually a glaze, but works well for this project as a stain with piece of cotton (old Tshirt). General Finishes Van Dyke Brown Glaze is a great “brownish” color.
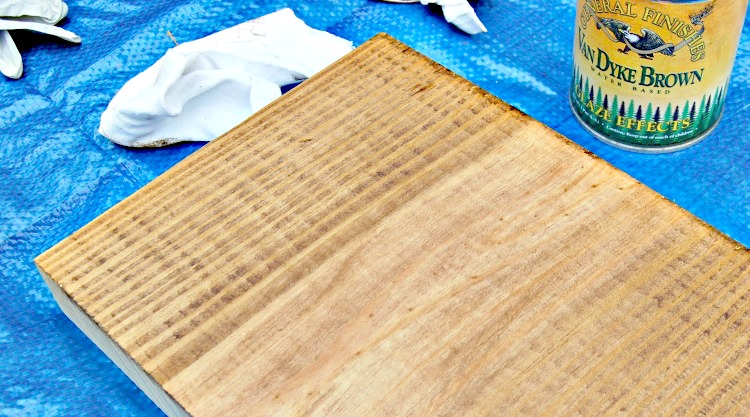
I only applied one coat, but did it rather heavy, and let it set for about a minute, before wiping away. How much stain you use and how long you let it set, is up to you and will determine the color you are trying to achieve.
With a project like this, I normally don’t apply a topcoat or wax finish but if you want a shiny finish, you can always add a top coat.
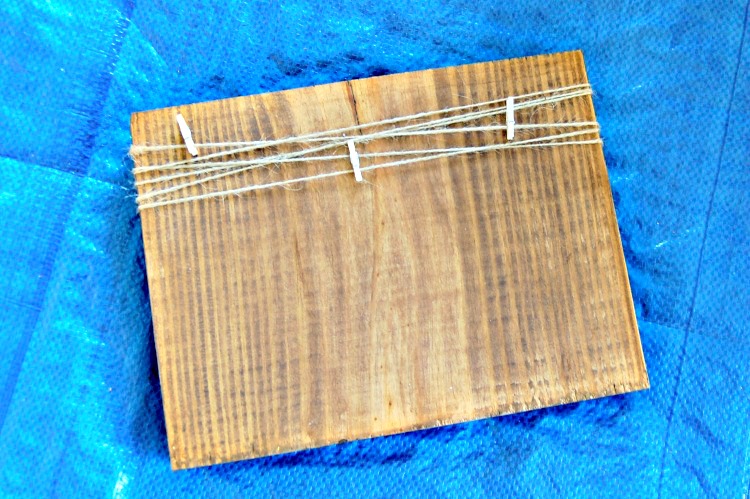
Now for the difficult part – only kidding – wrap your jute around the top of the wood block about 6 – 8 times, your preference to get your length.
Using a small amount of hot glue, secure the first end of the jute on the back side of the block. Let set.
Pulling the jute tight, secure the end of the jute with a little more hot glue.
Now add your mini clothes pins and picture.
Didn’t I tell you it was simple – easy – fast?
Think about you can paint or stain this in any color you like. You can use ribbon instead of jute.
This block is wide enough to stand on it’s own.
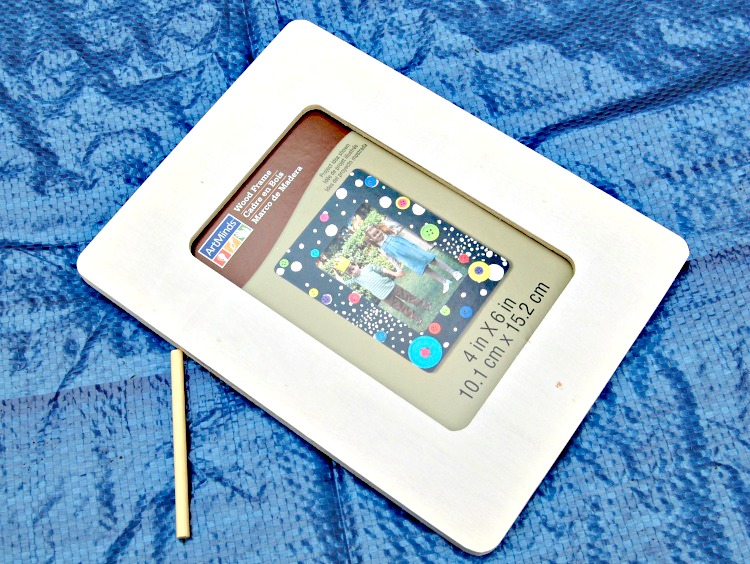
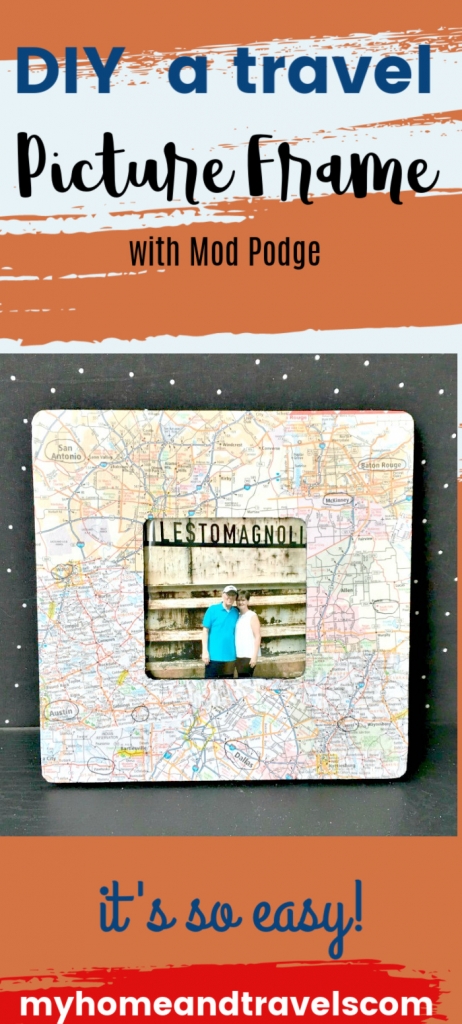
DIY A FRAME USING MOD PODGE
This is just a couple of ideas for customizing a frame using paper and Mod Podge. If you don’t have old sheet music, it’s easily found at yard sales or thrift stores. And also be on the lookout for maps or an atlas. Scrapbook paper can also be used – looking for a variety of hobbies or themes. This is also a great way to use old picture frames, or these simple frames were only $1 at Michaels.
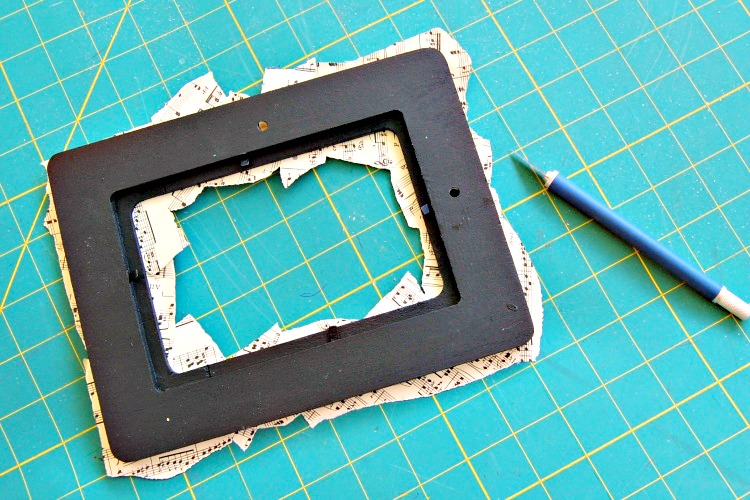
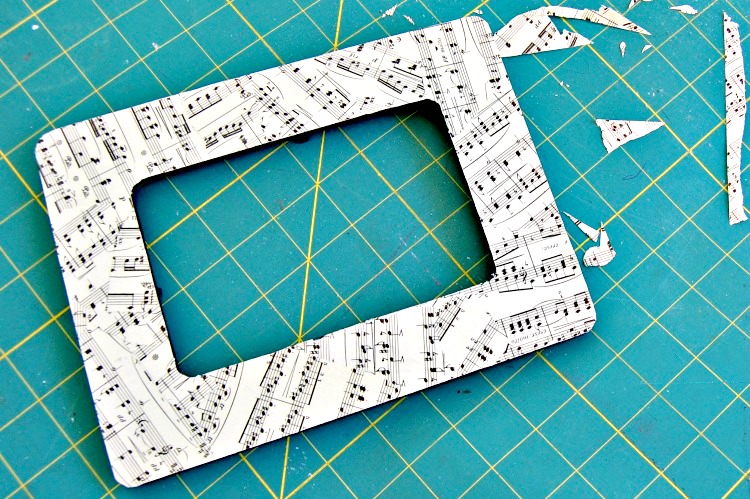
MUSIC FRAME
The edges, post and back were painted black with craft paint. This is a great place for using up any leftover paint from other projects.
For this type of project, almost any leftover paint would work.
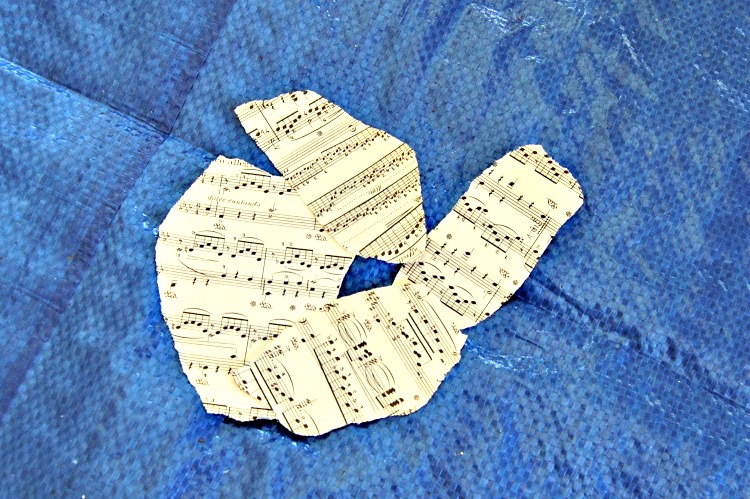
Tear multiple sizes and pieces from old sheet music. I like to make sure there’s a variety of the sizes and shapes of music notes.
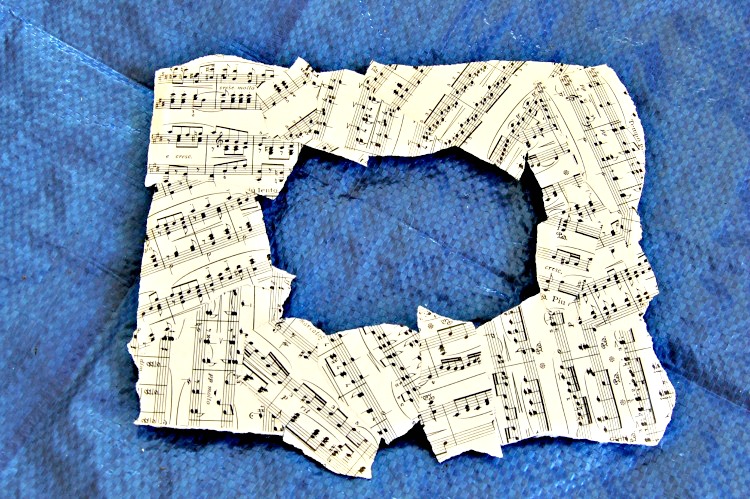
When you have a good layout, lay these pieces away from the outer edge of the frame, in the order you want to use.
Using a recommended Mod Podge or sponge brush apply a thin layer of Mod Podge over a small area of the frame, but large enough for your first piece of paper. Place your paper over this layer then apply another thin coat of Mod Podge.
Remember it’s better to work with thin layers.
These brushes are a bit stiffer and makes applying the Mod Podge easier and forcing the paper onto the frame to prevent air bubbles.
Complete each piece as the first. Look for any air bubbles. If you can’t force them out with your brush, use a pin or needle to pop the air out then brush down.
Let dry completely. This can vary widely depending on how heavy you applied the Mod Podge, the thickness of the paper, and weather.
After it’s completely dry, use an Exacto knife and mat to cut away the excess paper. Make sure you use a mat under it so you don’t destroy your table.
Apply another thin layer of Mod Podge as a sealer and let dry.
Now you are ready to insert your picture.
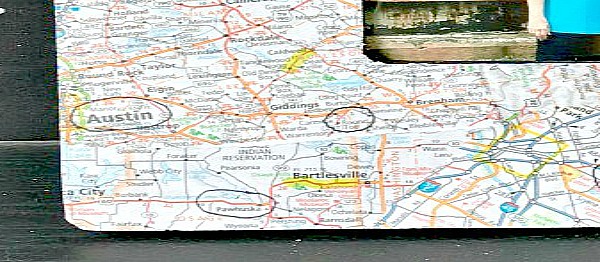
MAP FRAME
This one was made specifically for my husband featuring places we visited on our recent #roadtrip2017.
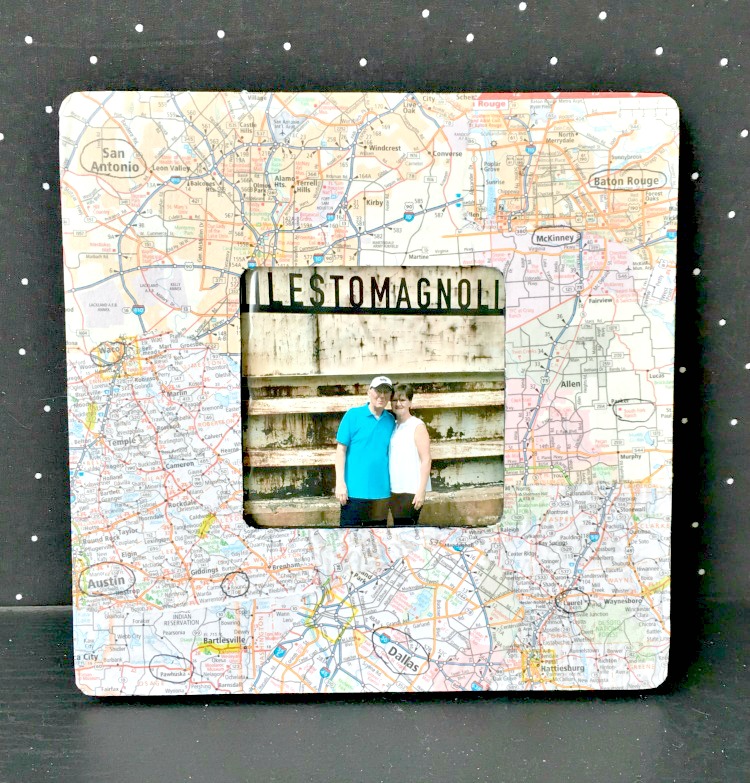
I tore out pieces from an old atlas with all of the cities we had visited then started laying it out on the frame. This is a little like putting a puzzle together. Go ahead and tear off excess amounts of the paper so you won’t have too many layers, but allow enough to overlap each piece. And go over the edges.
Proceed as the Music Frame above.
The final touch for this frame was using a Sharpie Pen to circle the cities we visited. This will not smear so make sure you use a permanent pen such as a Sharpie.
The easiest way to remember and keep your ideas is by creating Pinterest Boards fo each type of project. And of course always pin my ideas.
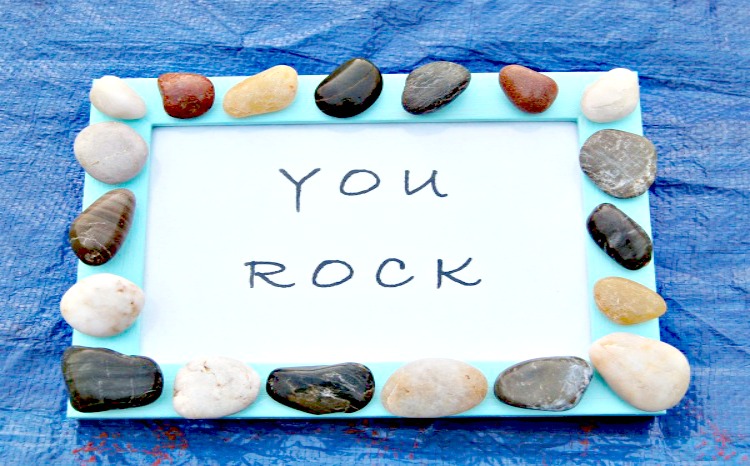
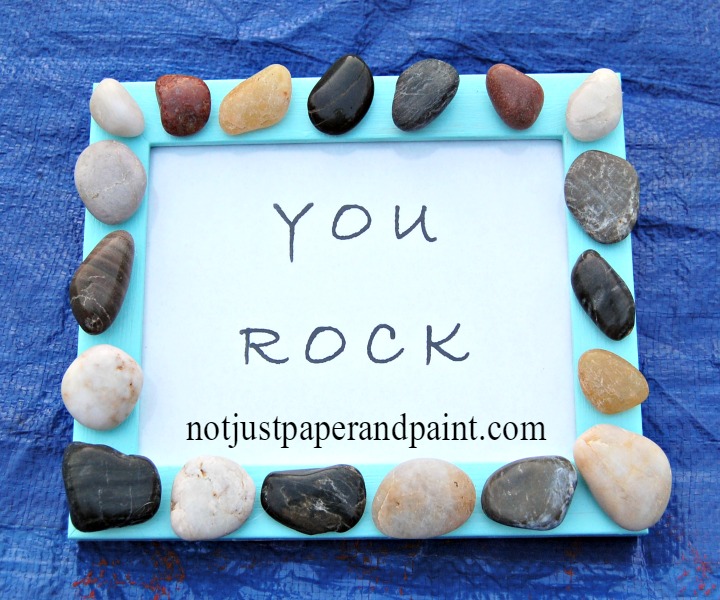
For a few more ideas, including “YOU ROCK“, here”s a previous post.
Now, how many ideas can you think of for a frame?
These are great and easy ideas for kid’s projects – as gifts, teacher gifts, VBS, or home projects. What about a favorite vacation.
I’ve included affiliate links to Amazon for you to find some products easier. I may receive a small commission, but the price is the same for you. It just helps my blog out.
Happy Travels,
Rosemary
I was missing a picture frame to place my loving photo of my family which must be made by me. Following your ideas, it was just a super easy task to make a great one. Now it is in my hand!
Thanks for your tips.
So easy to make one up with things you might have on hand.
I like the frame a lot, Just started a frame for my husband for his desk in our home.
Thanks. So many easy ideas for picture frames out there. Hope you make more.