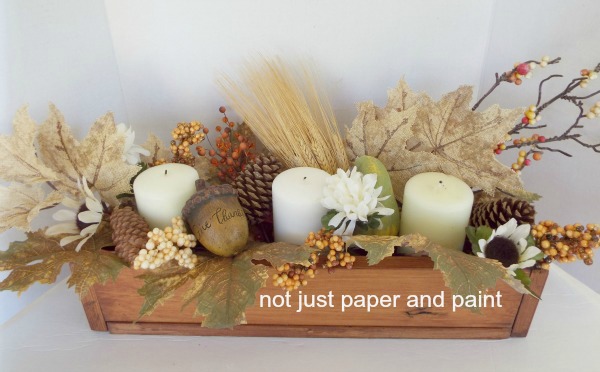
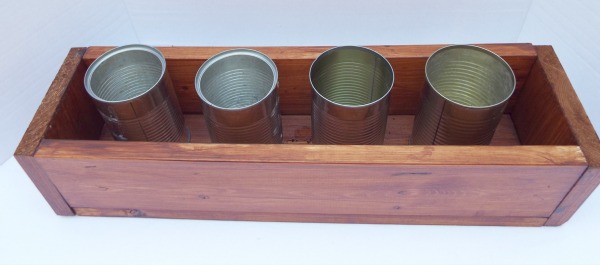
With Fall upon us, it’s a great time to add something new for your decorating, which can also be used later. I have seen these everywhere and wanted one for my own use. The farmhouse style, rustic look is still going strong.This little wood box can be made in one afternoon with scrap wood you might have laying around, or if you need to buy wood – it’s cheap and you can get the wood cut at your favorite store. You can make it any size to fit your needs and finish as desired.Old barn or pallet wood would also be great for this project especially if you are going for a more rustic look.This was designed to fit 4 pint mason jars for later use, but for now it will have my neutral color fall centerpiece with candles.
Supplies needed:
1 x 4 x 18 – 2 pieces
1 x 6 x 5.25 – 2 pieces
1 x 6 x 18
Wood stain or paint
Brushes or rags
Sander or sand paper
Nails (screws if you prefer)
Drill & bit
Wood glue
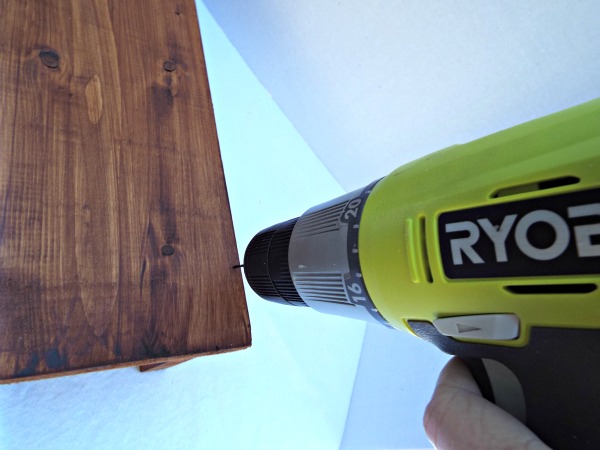
If you have seen any of my wood projects, you know two of my favorite tools are the Ryobi Drill and Sander. Both are great for large or small projects and easy to use.
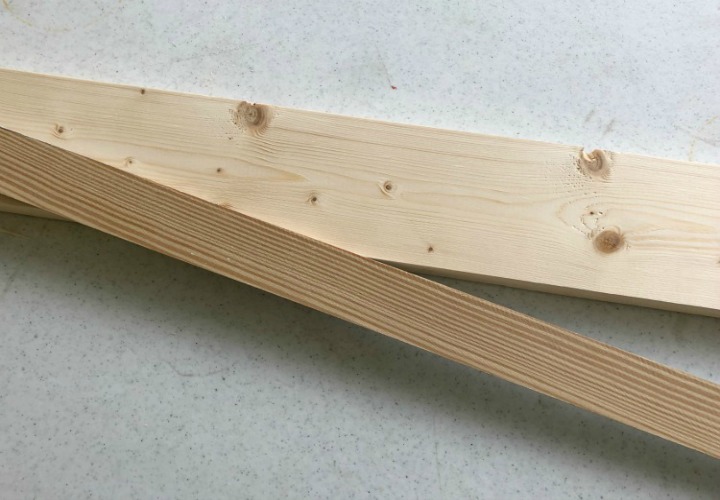
After all pieces are cut, sand all edges to remove any rough edges. I didn’t worry about getting all edges perfectly smooth. This just helps to add to the rustic feel. I did realize a new blade was needed but it didn’t matter for this project.
Always love using my Ryobi Mitre Saw.I prefer on this type of projects to paint or stain each piece before assembly.
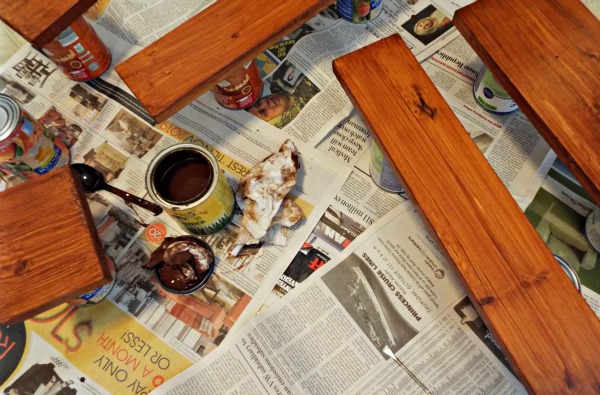
Using one of my favorite stains, General Finishes Burnt Umber, I used a piece of an old T-shirt to wipe on the stain.
Depending on the look you want, will determine how long to leave the stain on. I was going for a darker look, so I applied it very generously and let it set. After 5 minutes, I wiped the excess away and let it dry for about an hour. Drying time has so many factors – if you are working inside or out, humidity, weather.
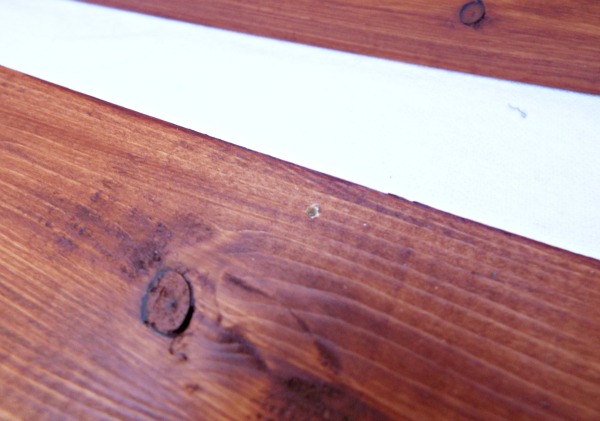
This wood was the basic cheap pine and will absorb stain quicker and different than some other woods. I was going for a rougher look, not a fine finish.
A second coat was applied just like the first. This gave the darker look I was going for.
Stains are available in a variety of colors, so choose what fits your decor or the look you want. This could even be painted with most any paint.
After completely dry, about 2 hours, it was time to assemble it.
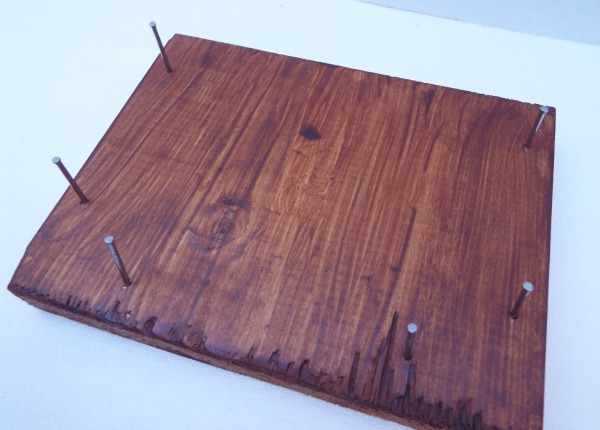
You start from the bottom, turn the base piece over and pre-drill 4 holes on each of the long sides. This just helps when nailing and prevents the wood from splitting.
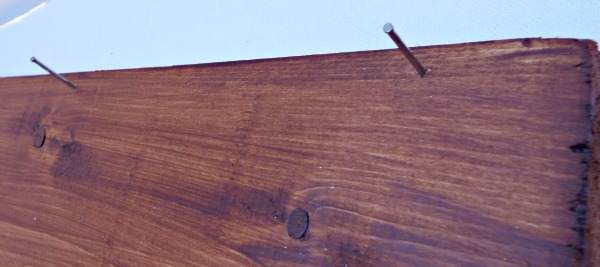
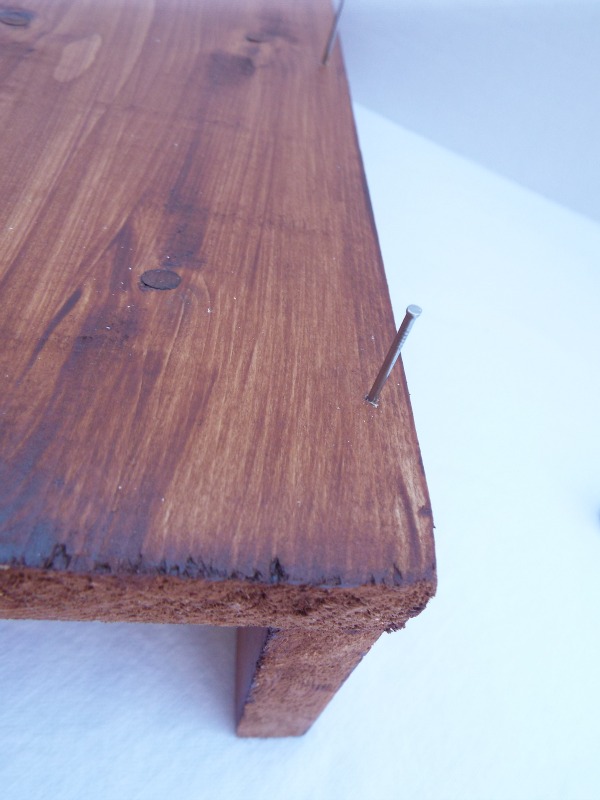
To make it easier when nailing, go ahead and hammer the nails into the base but not going all the way through the board. I used 1 1/4″ brads for this.*Using a nail gun could also be used to make this project a bit easier. Maybe mine will come out of hiding. I’m sure it will once I purchase a new one.
As always when working with wood, apply a thin stream of wood glue along one edge of a side piece before nailing. Elmer’s is one of my favorites. Prop the 2nd side piece underneath to help hold in place.
Finish nailing the 4 nails in place.
Do the 2nd side as you did the first with glue and pre-drilling.
Now time to add the end pieces. I used 2 nails for each side and 2 on the bottom, just for extra support. These were done as the sides. Pre-drill, start your nails, glue, and hammer into place.
If you prefer not to see the nail heads, you can set the nails in, fill with stainable wood putty, then stain again. I wasn’t worried about it for this project.
You are done and ready for the favorite part – decorating.
If you are worried about this scratching your furniture, apply a felt piece on the bottom to each corner.
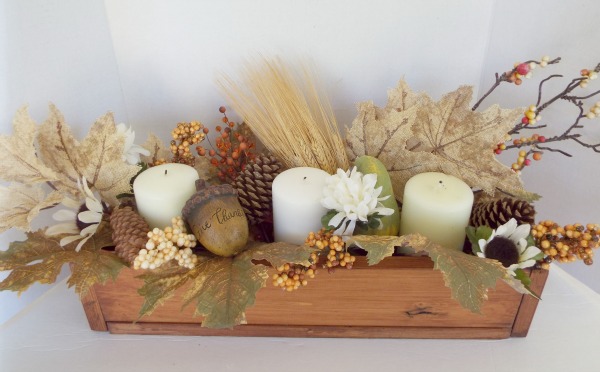
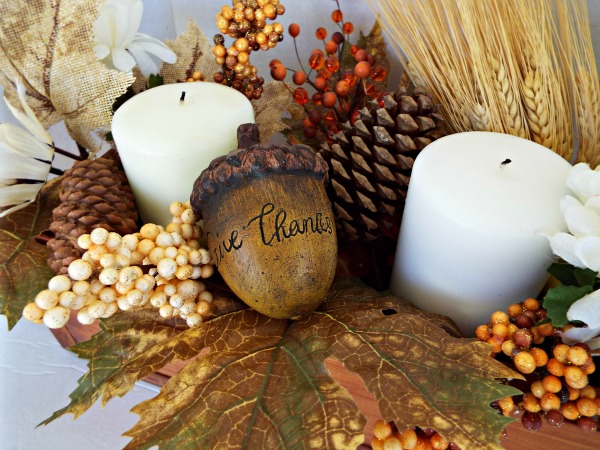
This was for my dining room sideboard so it is all artificial. Even though candles are in this, they won’t be lit. If candle light is wanted, use battery operated for safety. Hint for candles. You always want the wick to look “used”. If no lighter is handy, cut the wick to 1/4″ and use a sharpie to color it.
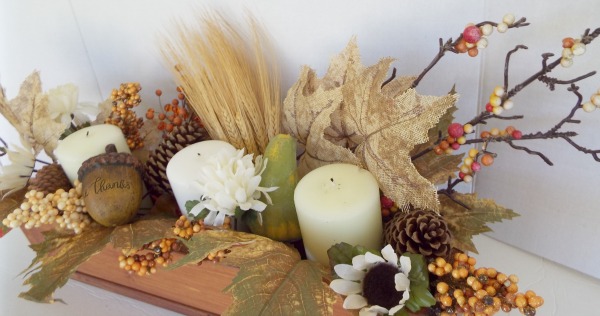
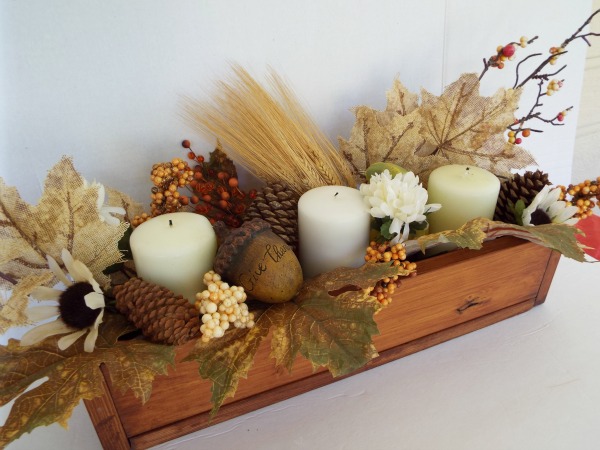
Gather up all your floral supplies, pine cones, anything you want to add. Start with the candles and fill in around these. Any of this could also be purchased at any dollar or craft store. Mine was filled with pine cones, burlap leaves, artificial berries, wheat stems, sunflowers, mums, and leaves. This was in a more neutral tone, but your traditional fall colors would work too. For a more permanent finished look, you could add moss to fill in any holes. All of this could even be glued in place.
I will want to use this for a Christmas display so I just placed everything in the box without any glue.
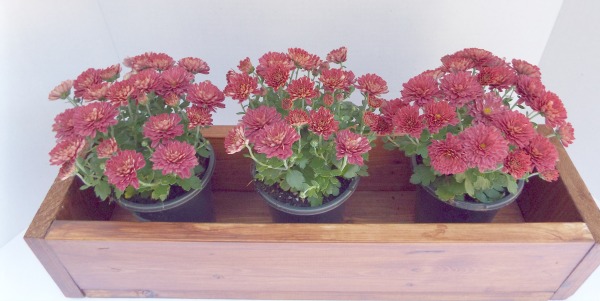
This box is also great for mums. I like to use an odd number. Line the box with plastic wrap to keep moisture off the wood. After placing your mums in the box, you can top it off with moss to cover the pots.
A few more ideas:
Use clean tin cans or mason jars for flowers or silverware
Fill mason jars with condiments or dips
Line with fabric and use as bread basket
Drop your mail in it when you come in
In the bathroom for towels
On the kitchen counter top for utensils
Use it as a container for a hostess gift. I think a bottle of wine would fit just nice.
Fall is my favorite time to decorate and a great time to always reflect on what you are thankful for.
What would you use it for?
Make sure you follow me to see what I do with this for Christmas and everyday use.
I’ve included affiliate links to Amazon for you to find some products easier. I may receive a small commission, but the price is the same for you. It just helps my blog out.
Saturday Snapshots Week Sixteen and July is here – HAPPY 4TH OF JULY to all. It seems like we were just getting ready for summer to start, which by the calendar it’s not been that long. But to me, after the 4thof July I often start thinking of the fall season. And Christmas in July…
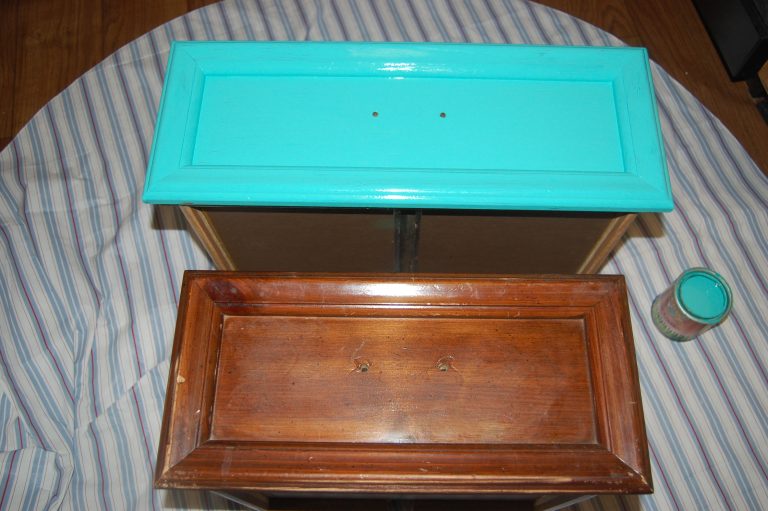
To paint or not to paint – that is the question. And sometimes, the controversy begins. This isn’t about brands of paints, or how to paint, but do you want it painted and will it work for you better. This piece was straight from the 80s and had to have a redo before…
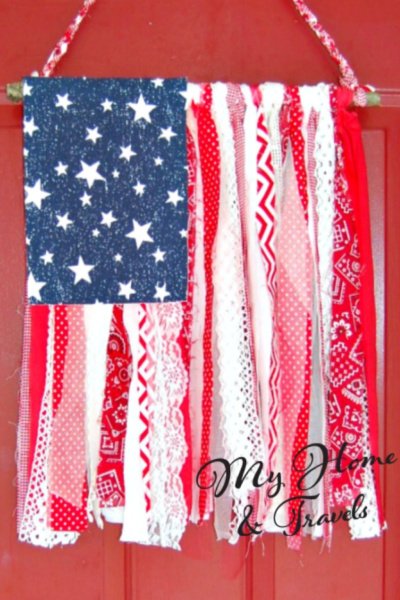
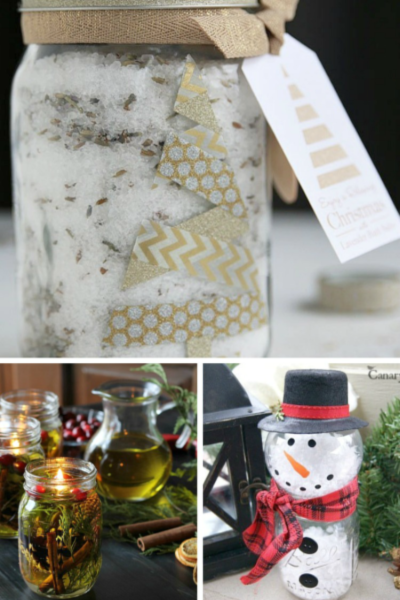
These 12 Mason Jar Crafts to DIY are super popular. How many times have you received one and are just in awe of the creativity and thought that was put into it? The truth is, mason jar crafts really are not that hard to do! They look amazing, and they look like you’ve put a ton…
Saturday Snapshots Week Eighteen – Christmas in July find me in Atlanta, not so Christmasy feeling. The weather here is hot and humid, but hey, it’s Atlanta and it’s summer. I will admit though it could be worse. I am here along with about 300 other wonderful bloggers and DIYers for Haven Conference, a yearly…
Admit it, who has ever had kids and have puzzles with a few missing pieces. Or even yourself. Instead of tossing them, put them to use. Old puzzle pieces means crafts for Valentine’s Day. I don’t decorate a lot for Valentine’s Day, but these items are easy to make – almost free – and easy…
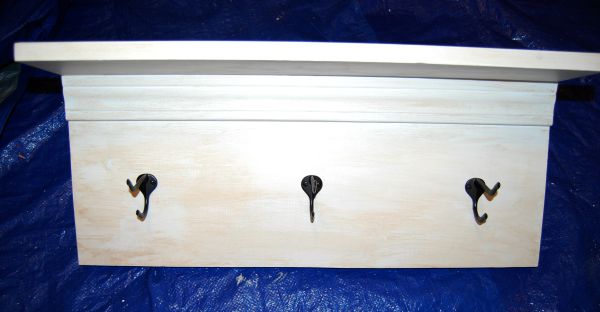
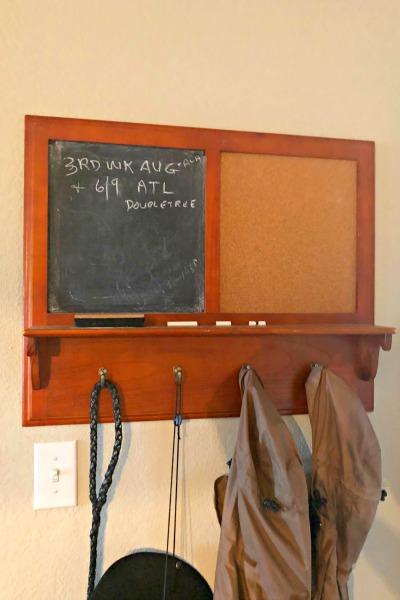
Sometimes you just need a message board or coat rack near the entryway of your home for convenience and reminders. My yardsale find message board did it’s job, but not in an attractive way. You will see pictures of a lot of my favorite products and tools I used in the post along with affiliate…
4 Comments
I’ve made several of these. It’s one of my favorite ways to use up scrap wood! I love the fall display you filled it with.
 This little wood box can be made in one afternoon with scrap wood you might have laying around, or if you need to buy wood – it’s cheap and you can get the wood cut at your favorite store. You can make it any size to fit your needs and finish as desired.
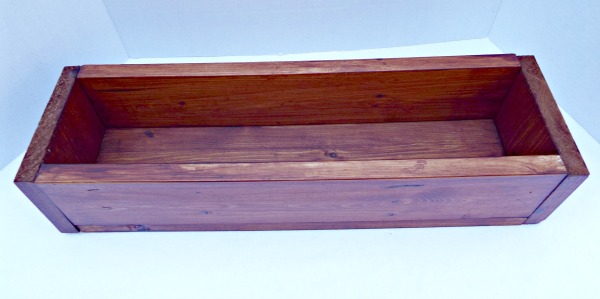 Old barn or pallet wood would also be great for this project especially if you are going for a more rustic look.
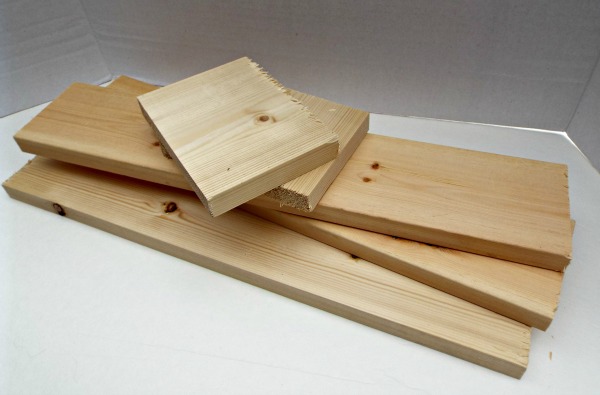 This was designed to fit 4 pint mason jars for later use, but for now it will have my neutral color fall centerpiece with candles.
 I prefer on this type of projects to paint or stain each piece before assembly.
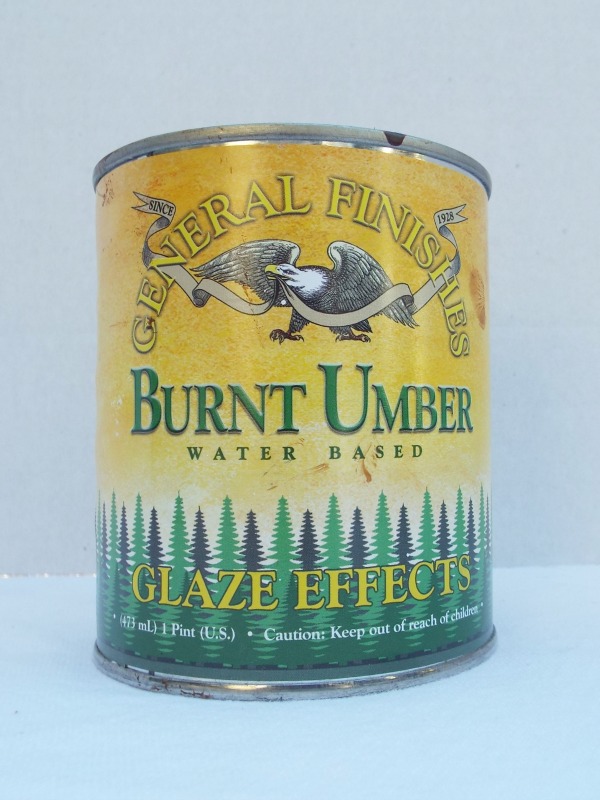
 *Using a nail gun could also be used to make this project a bit easier. Maybe mine will come out of hiding. I’m sure it will once I purchase a new one.
  Prop the 2nd side piece underneath to help hold in place.
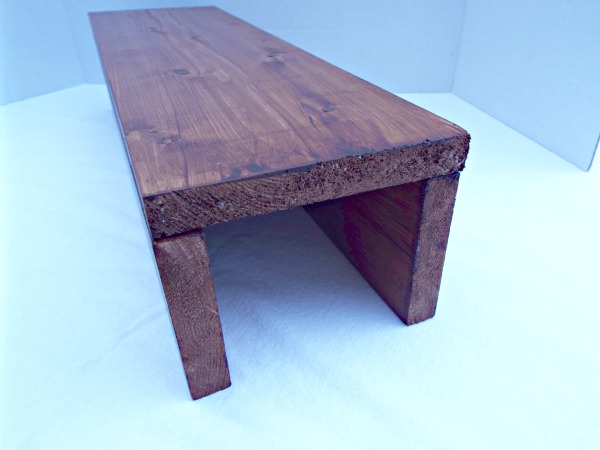
 Pre-drill, start your nails, glue, and hammer into place.
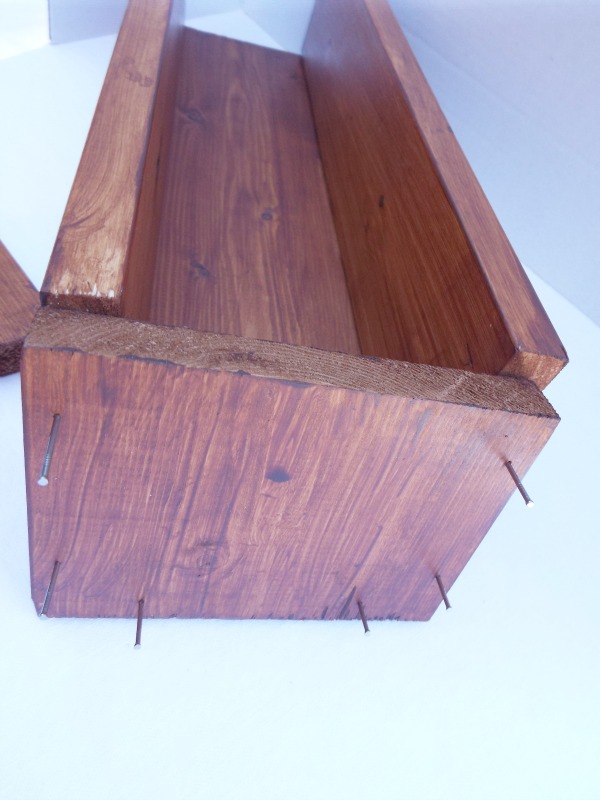


I’ve made several of these. It’s one of my favorite ways to use up scrap wood! I love the fall display you filled it with.
like this box with the foliage for fall. And of course the mason jars too