Welcome Guests with a Dry Erase Board
What about a dry erase board to welcome visitors into your home? An easy project using paint you might have around the house and even an old, unused picture frame.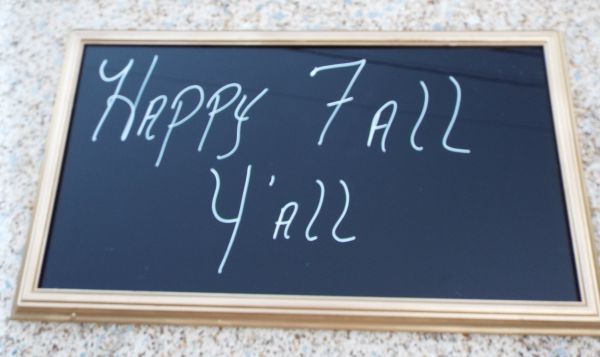
Start by deciding where it will hang so it will determine the size of frame you need.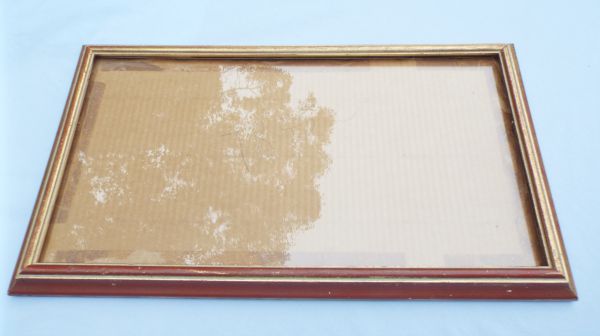
Take the frame apart, being very careful with the glass as most used in frames is usually very thin and have rough edges.
Paint the color that works for you. I used a gold spray paint and gave it just a couple of light coats. I didn’t even worry about great coverage.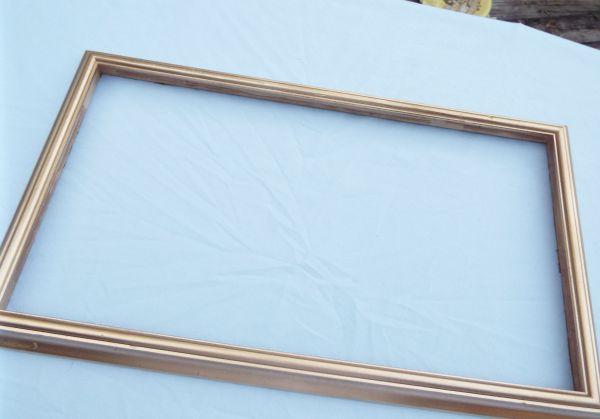
For the glass, I used Krylon Chalkboard Paint as I was going to make it an actual chalkboard but then decided to make it a dry erase board.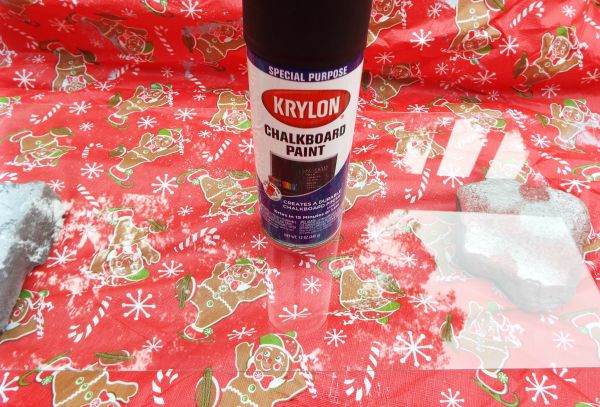 Being able to use a chalk marker cuts down on dust, plus it doesn’t rub off as easy.
Being able to use a chalk marker cuts down on dust, plus it doesn’t rub off as easy. Glass MUST be clean, free of all dirt, dust and especially greasy spots which can come from your fingerprints.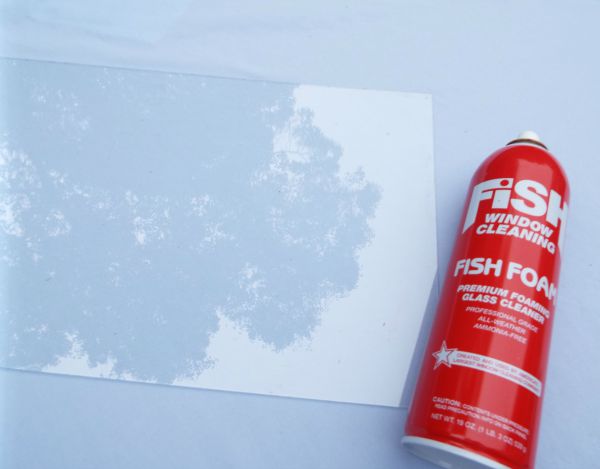
Follow directions on the can – I gave it three light coats, letting it dry in between as directed.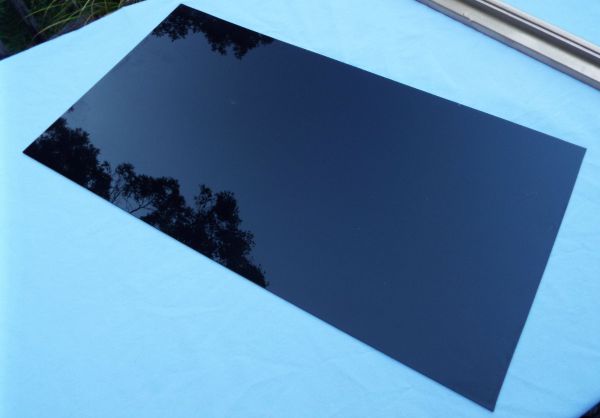
After all parts are dry, re-assemble.
Turn the frame over and insert glass carefully. 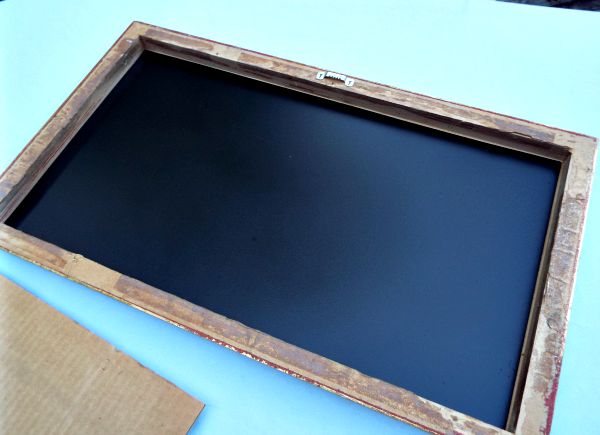 Place backing (which was a cardboard piece from original frame.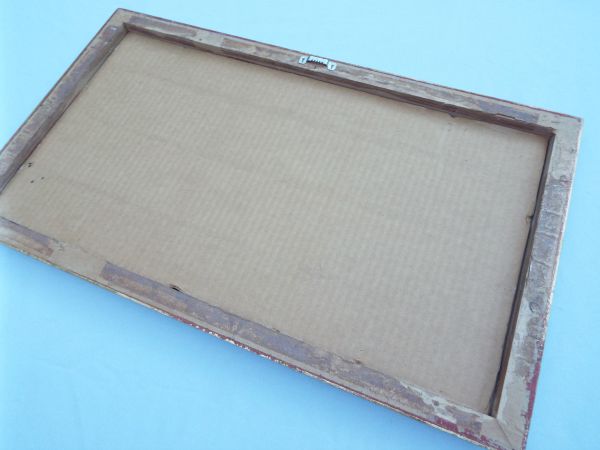
Place backing (which was a cardboard piece from original frame.Using small brads, tap into the inside of frame in a few places. Four will usually work unless it’s an extremely large frame.
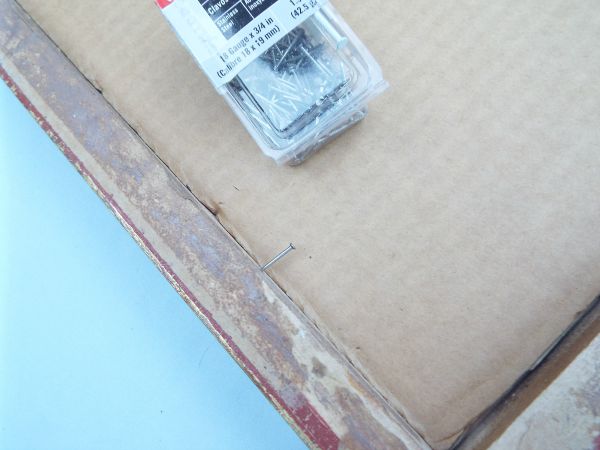 If one isn’t already on the frame, which mine was, add a hanger which is appropriate for where you are hanging it.
Write your message and hang.
This is a great place to play with lettering – which I’m not good with. I did take a class at a recent conference with Maghon Taylor of All She Wrote Notes. 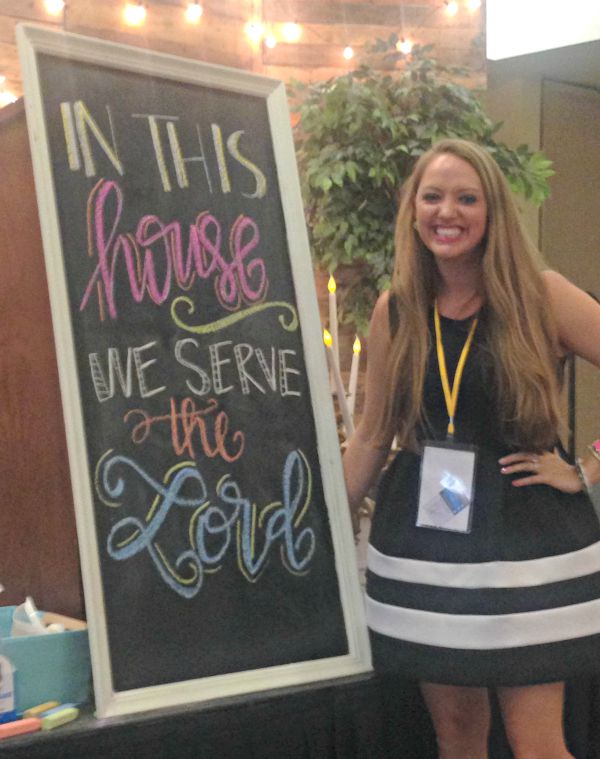
I want to practice with chalk more and do this. Isn’t it great?
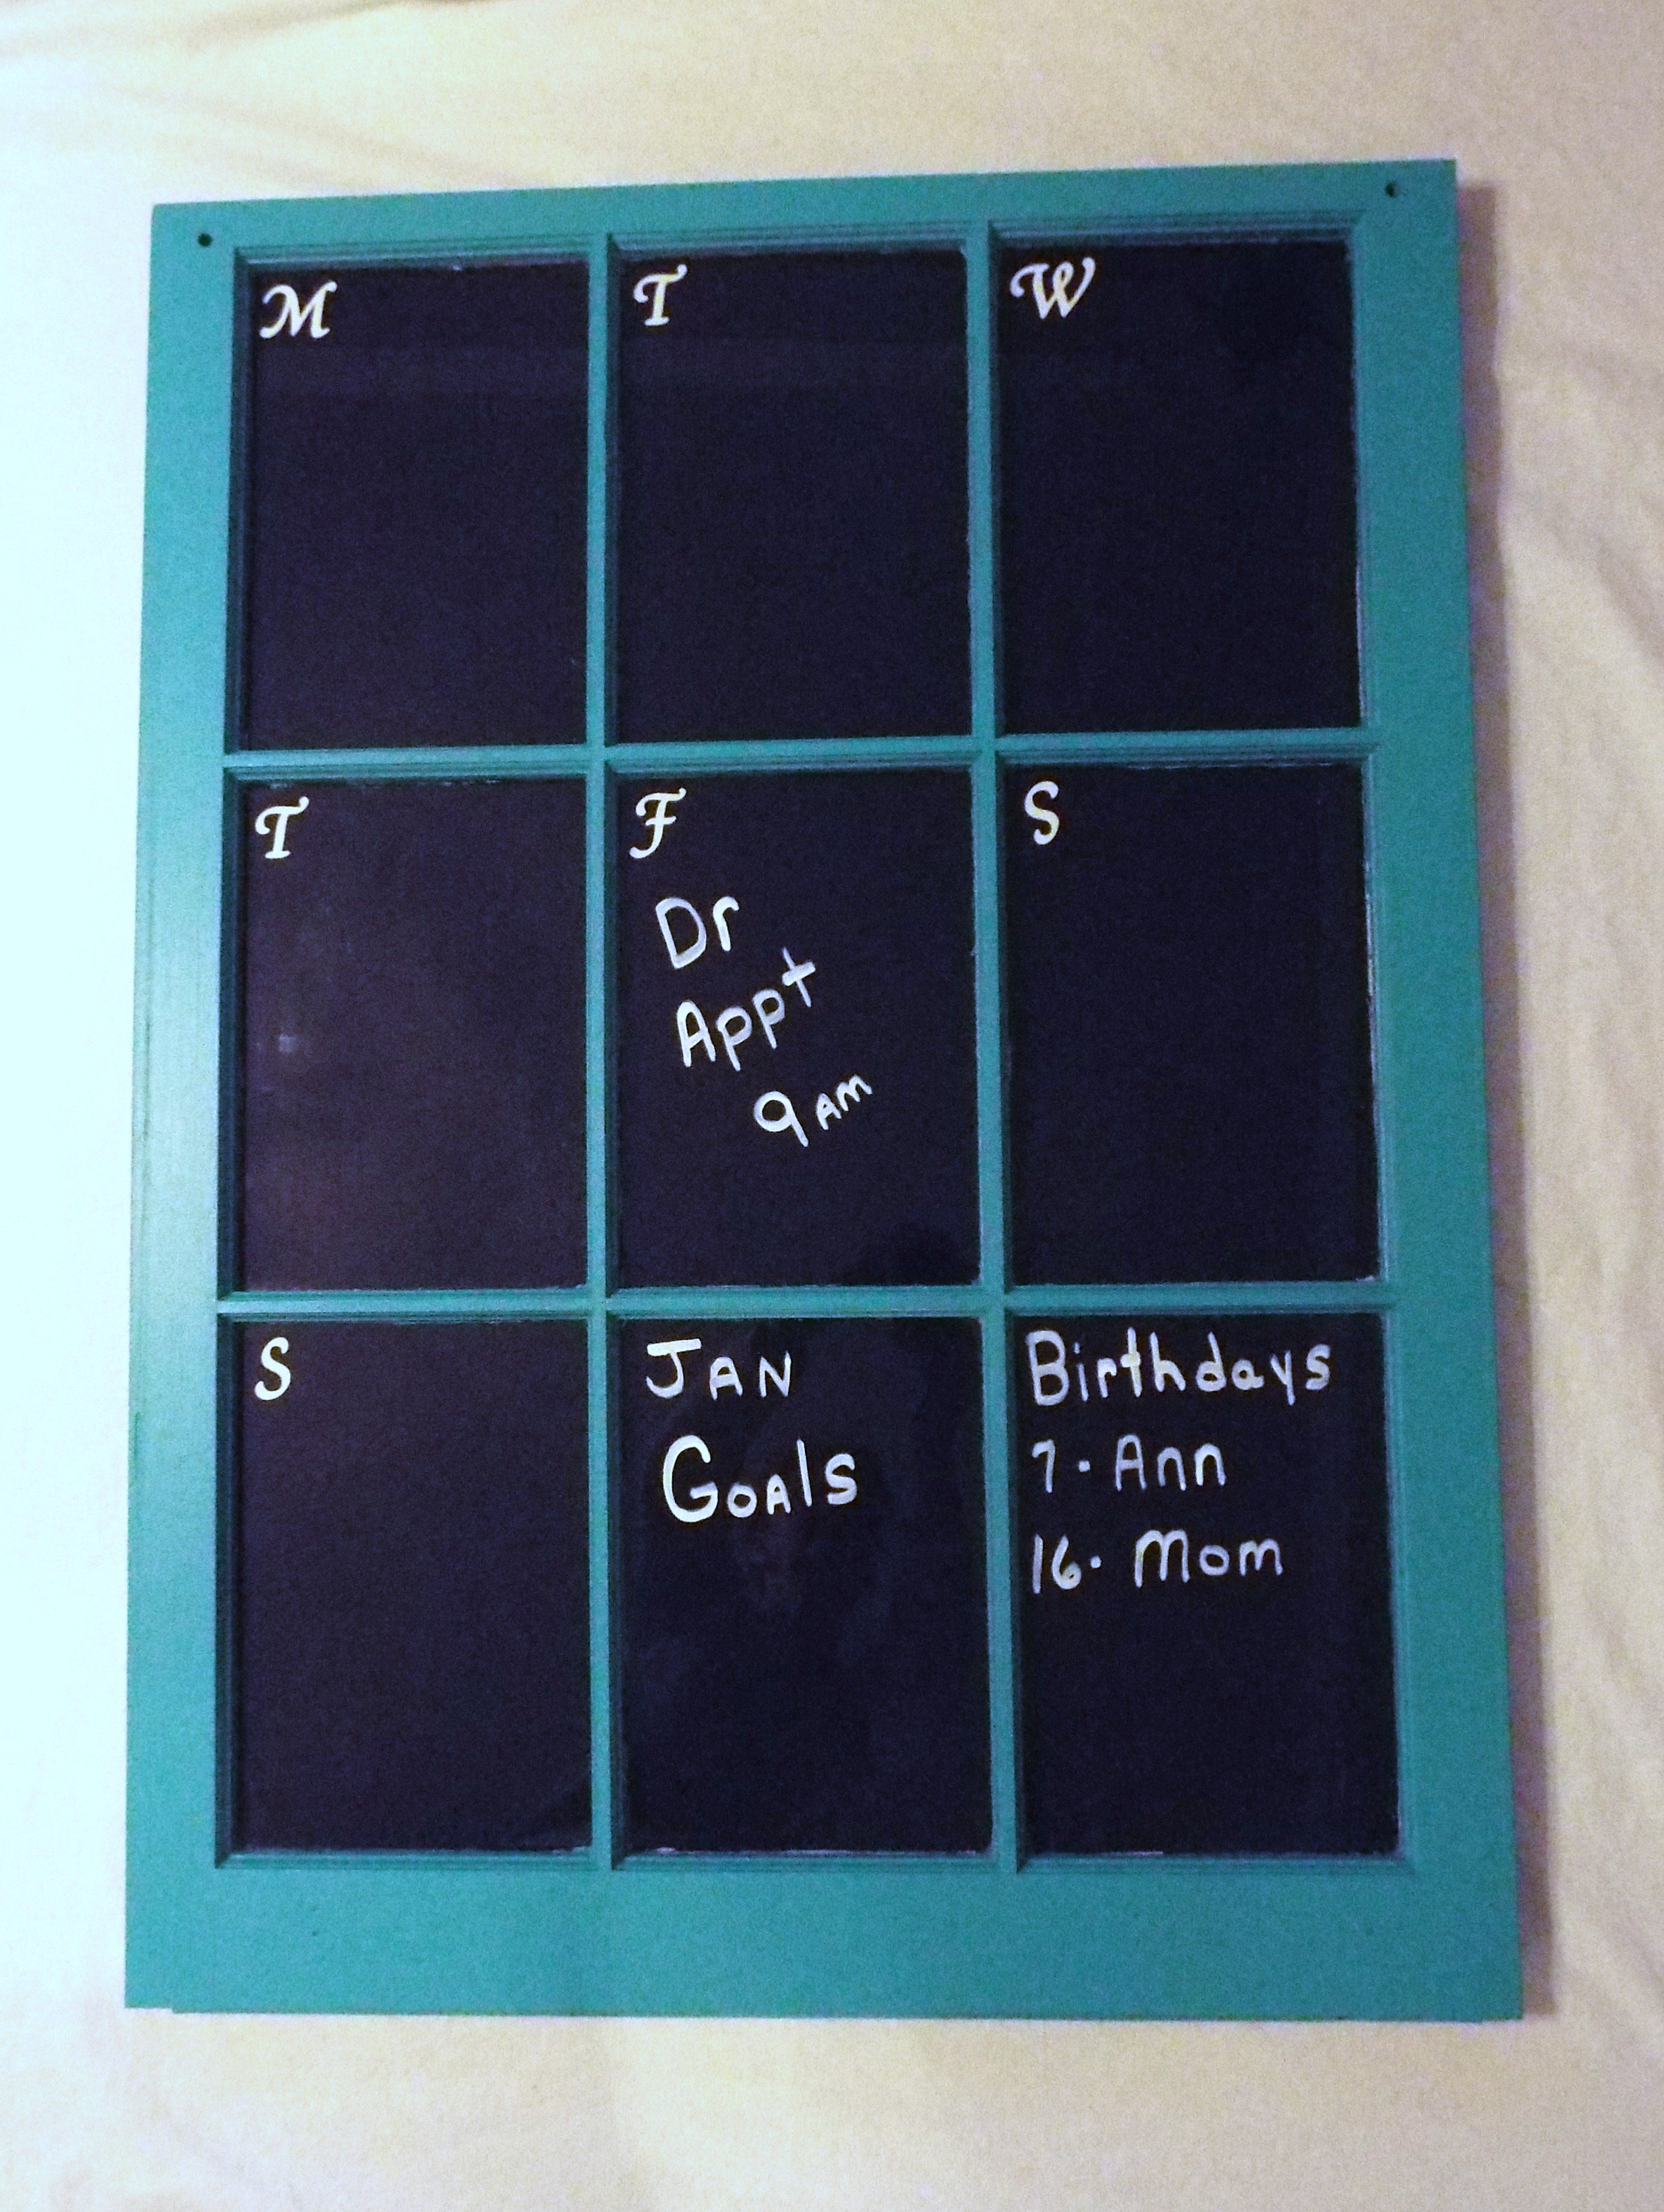
What would you write on your message board?
I’ve included affiliate links to Amazon for you to find some products easier. I may receive a small commission, but the price is the same for you. It just helps my blog out.
Happy Travels,
Rosemary