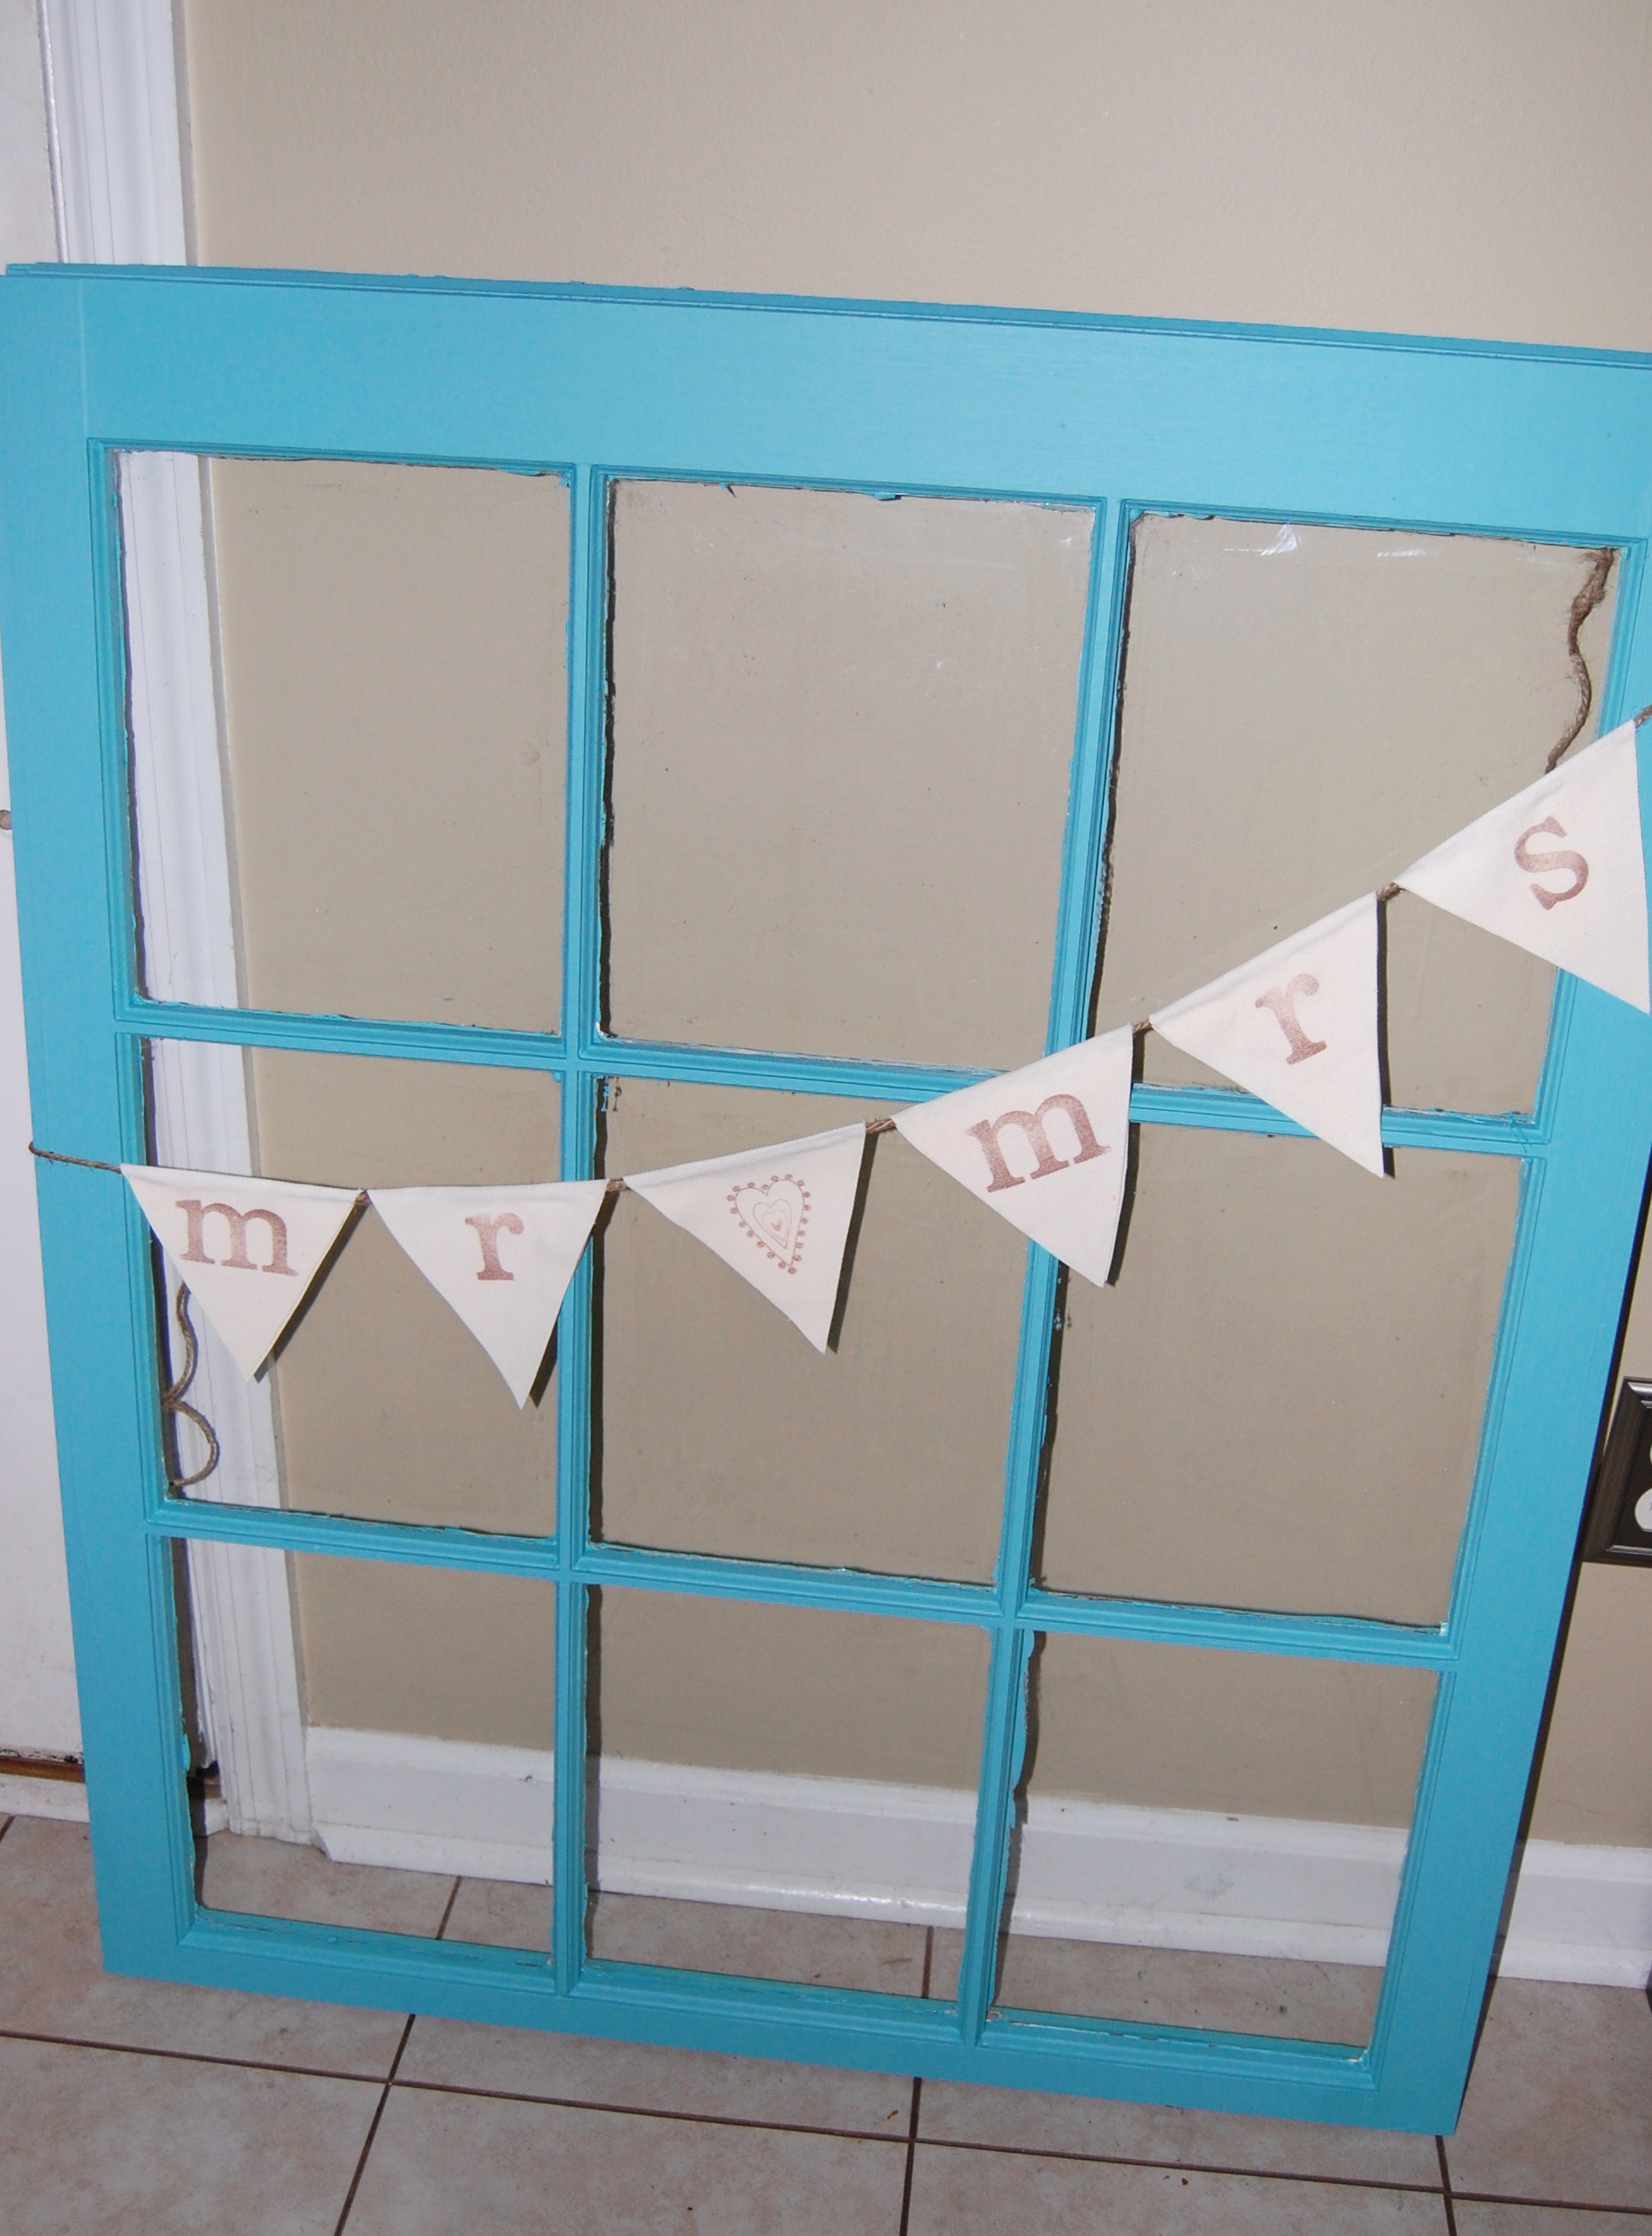
Hand Stamped Banner
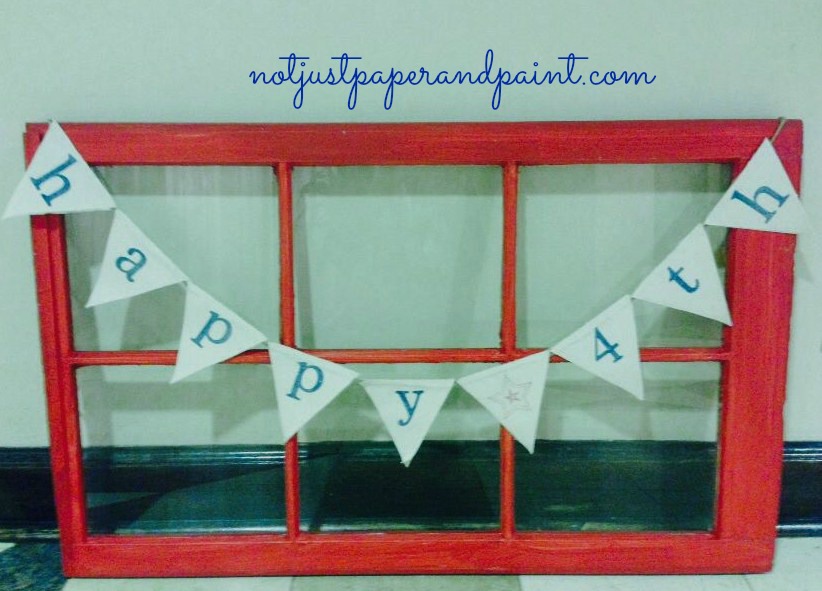
Need something new for a holiday or party? Or, maybe for a wedding? This banner is just the thing since it’s a very easy project that even the first time crafter can do it.
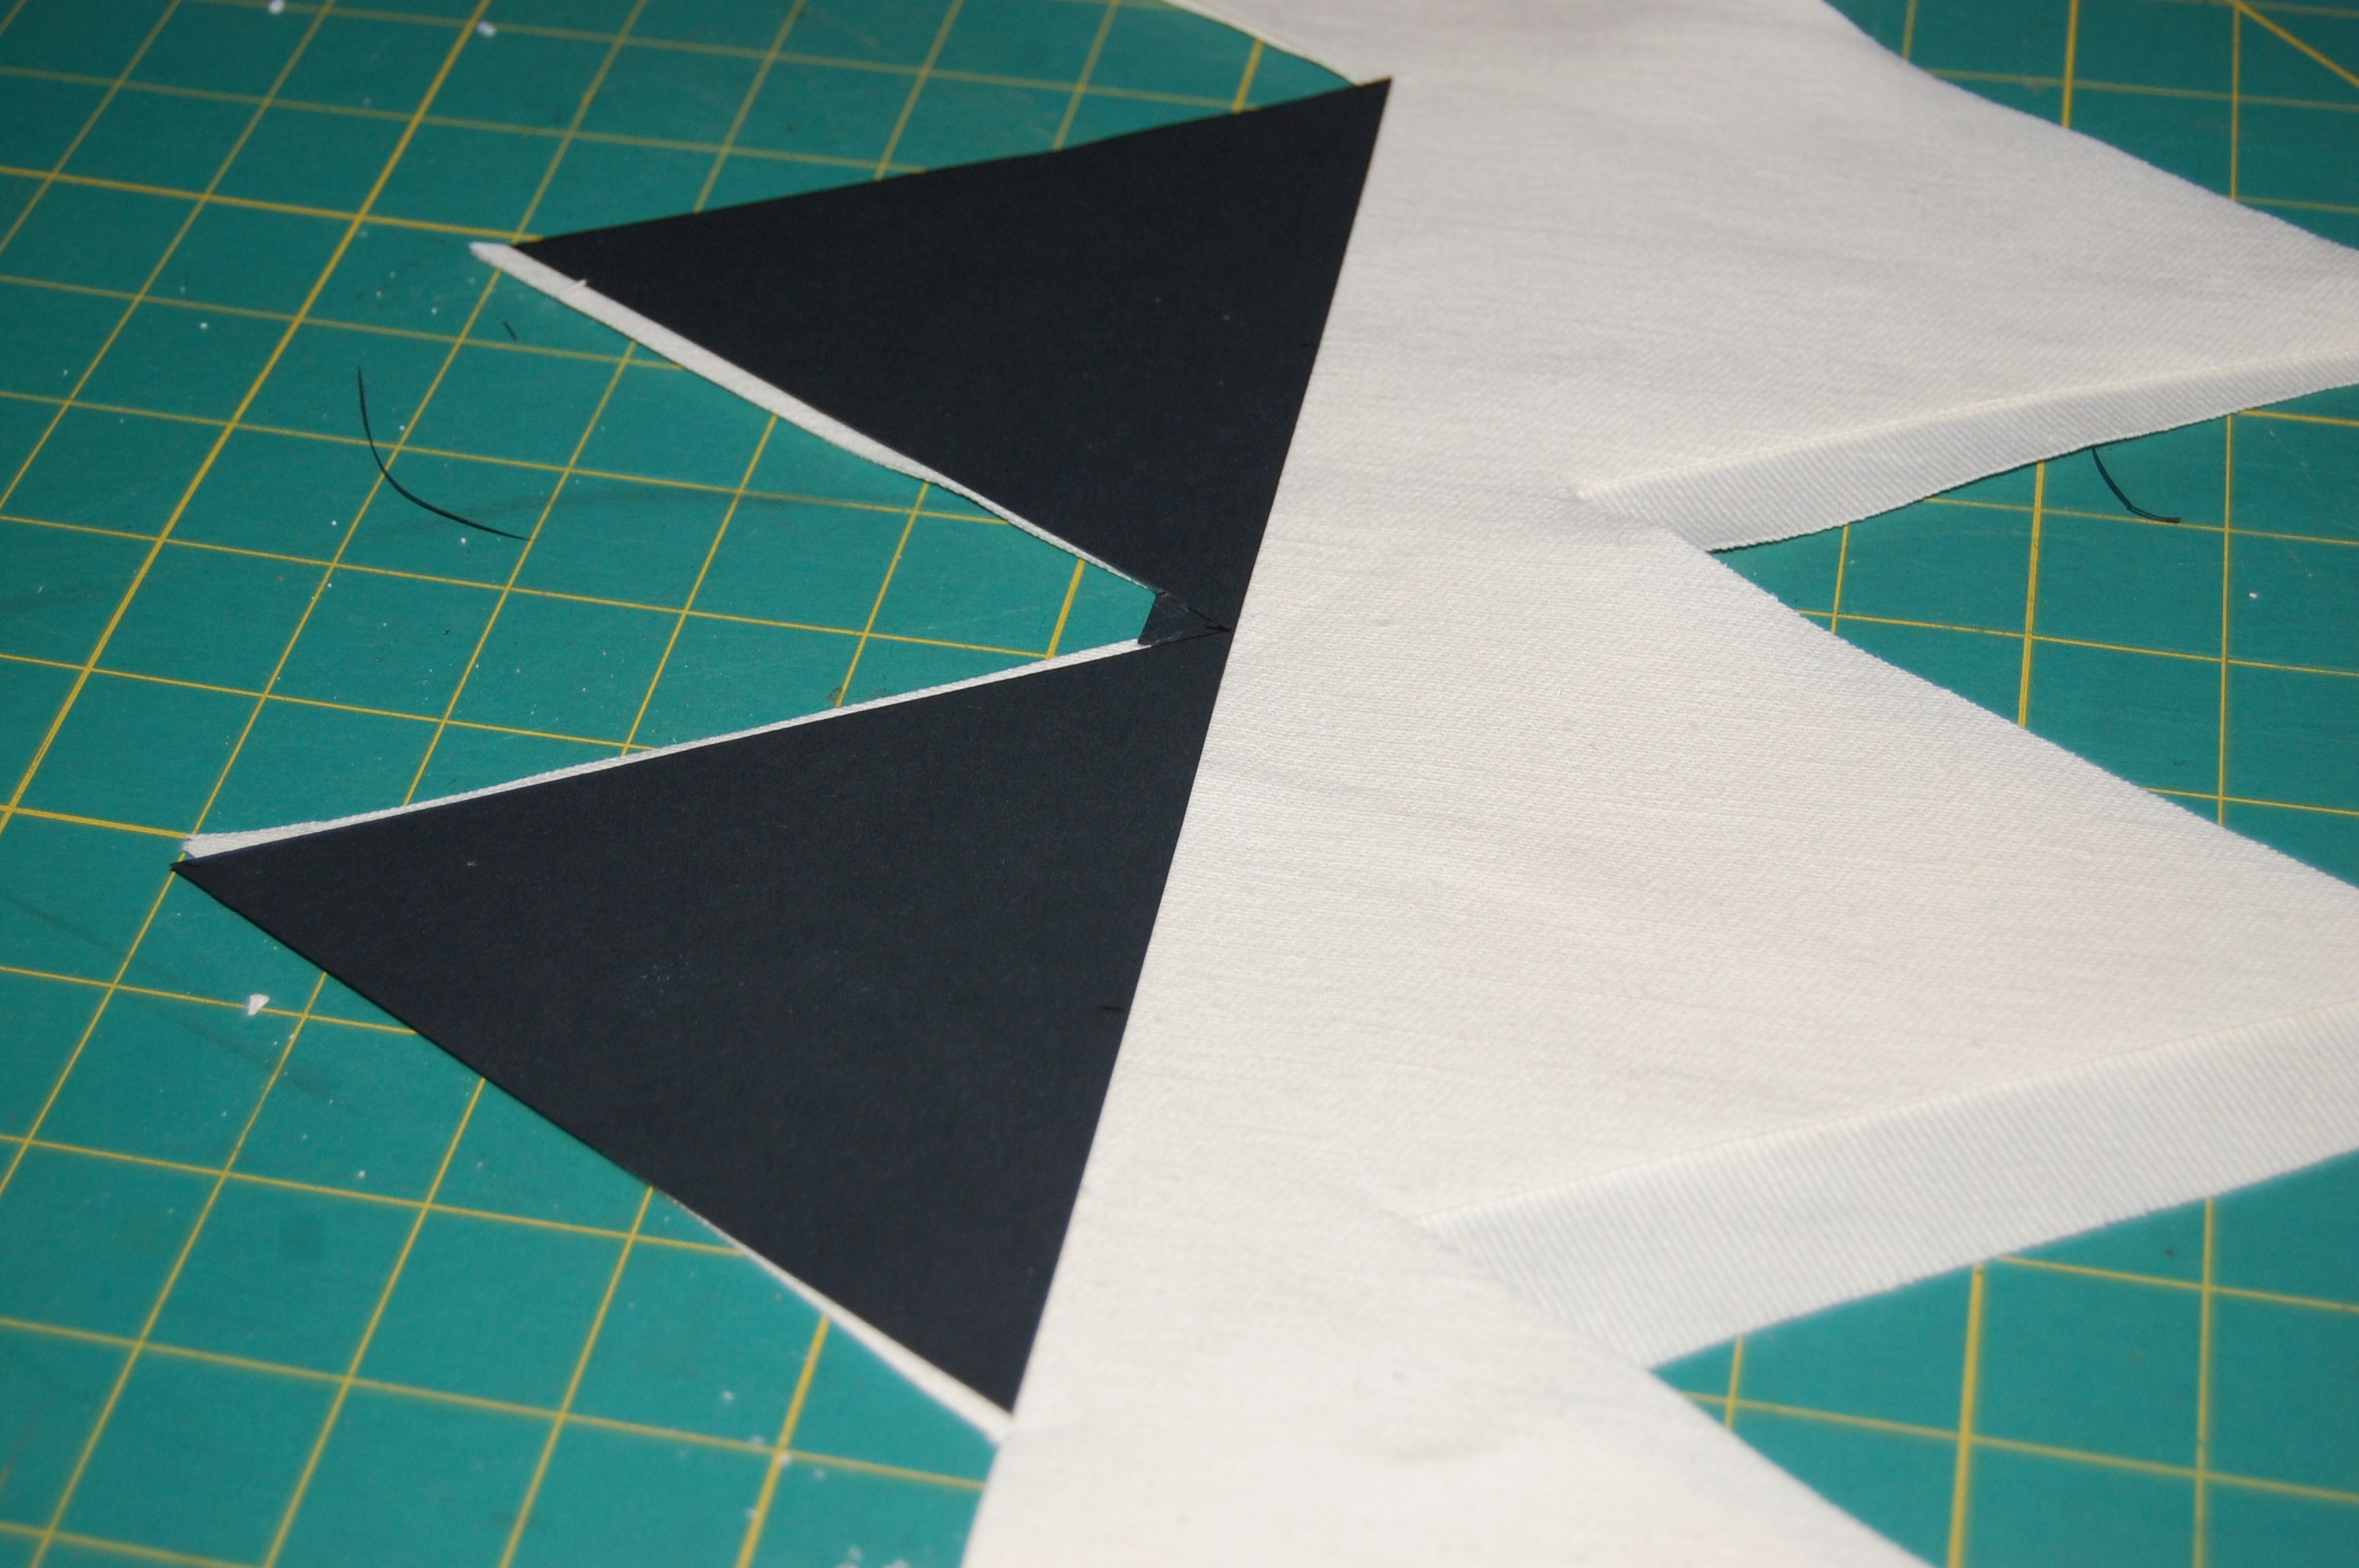
Determine what size you want your pennant to be. For the stamp set I was using, 5” x 5” seemed to work great. Always check your stamps or stencils for wide or tall letters such as “t” “w” or “m”.
I made a template cut 2 out at a time. If you fold your fabric, then cut it out, it’s easier to line your edges up when you glue your jute to form your banner. But, keep your scraps as you can use them also.
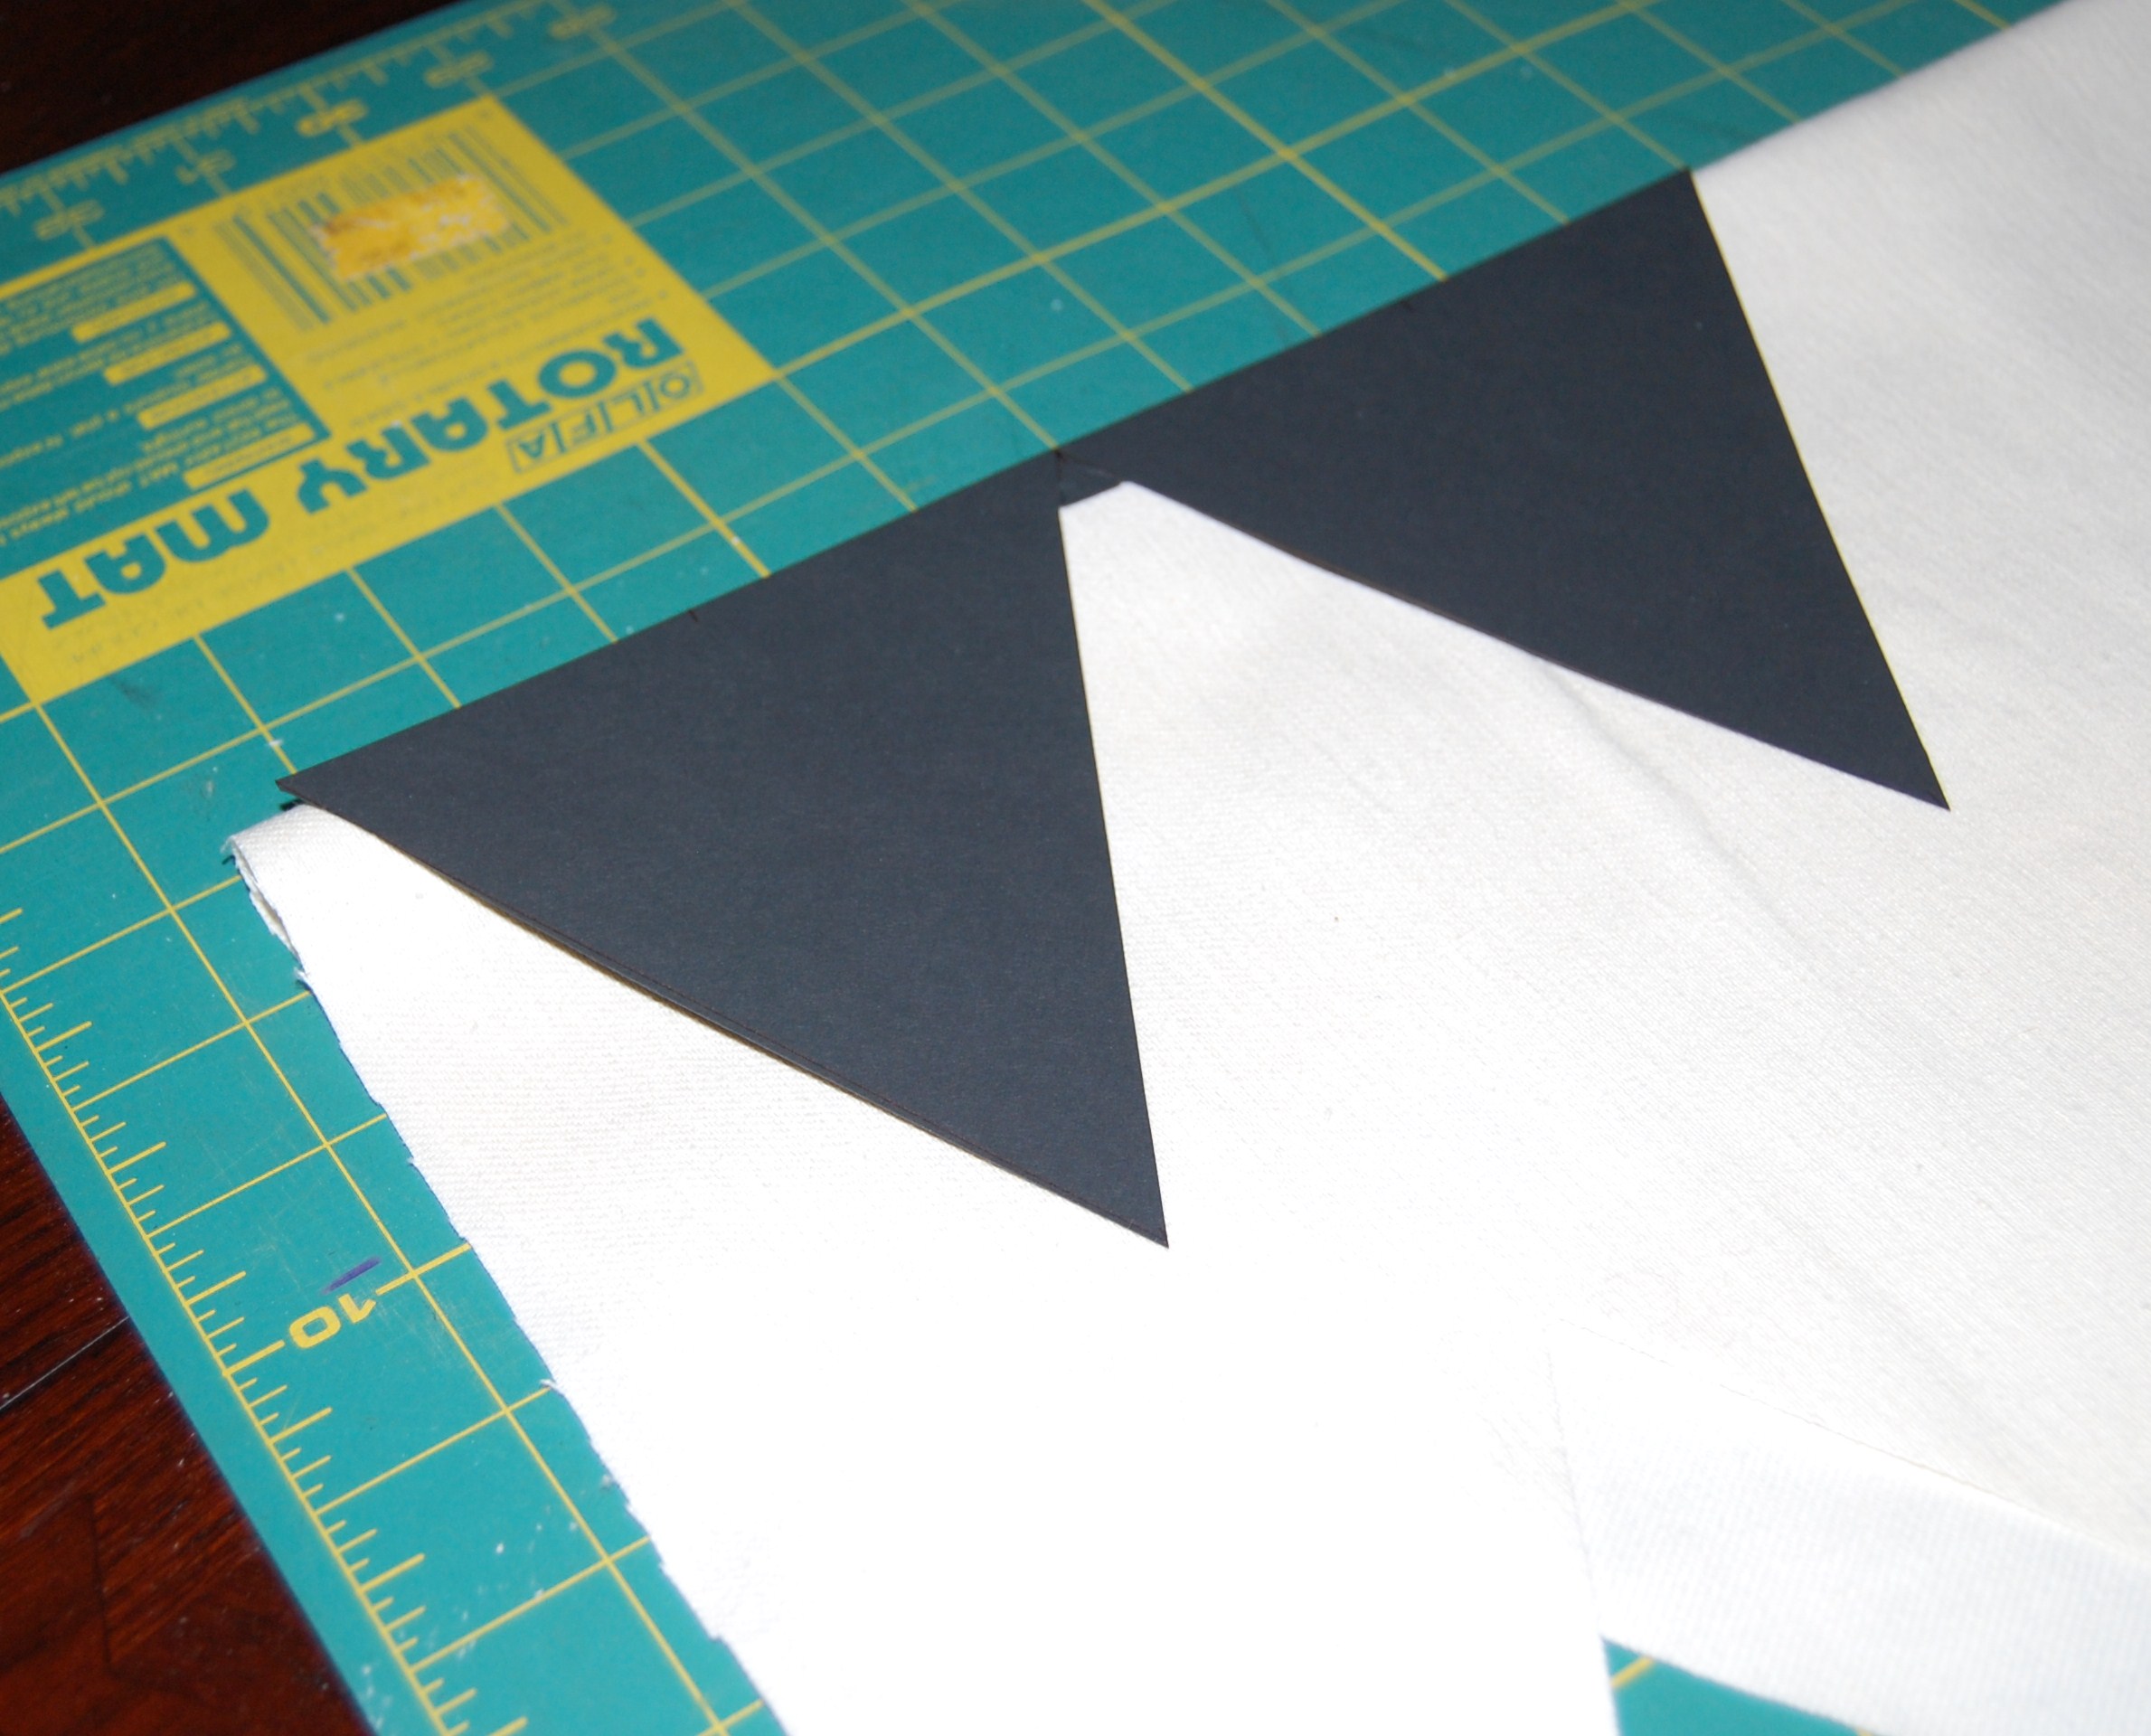
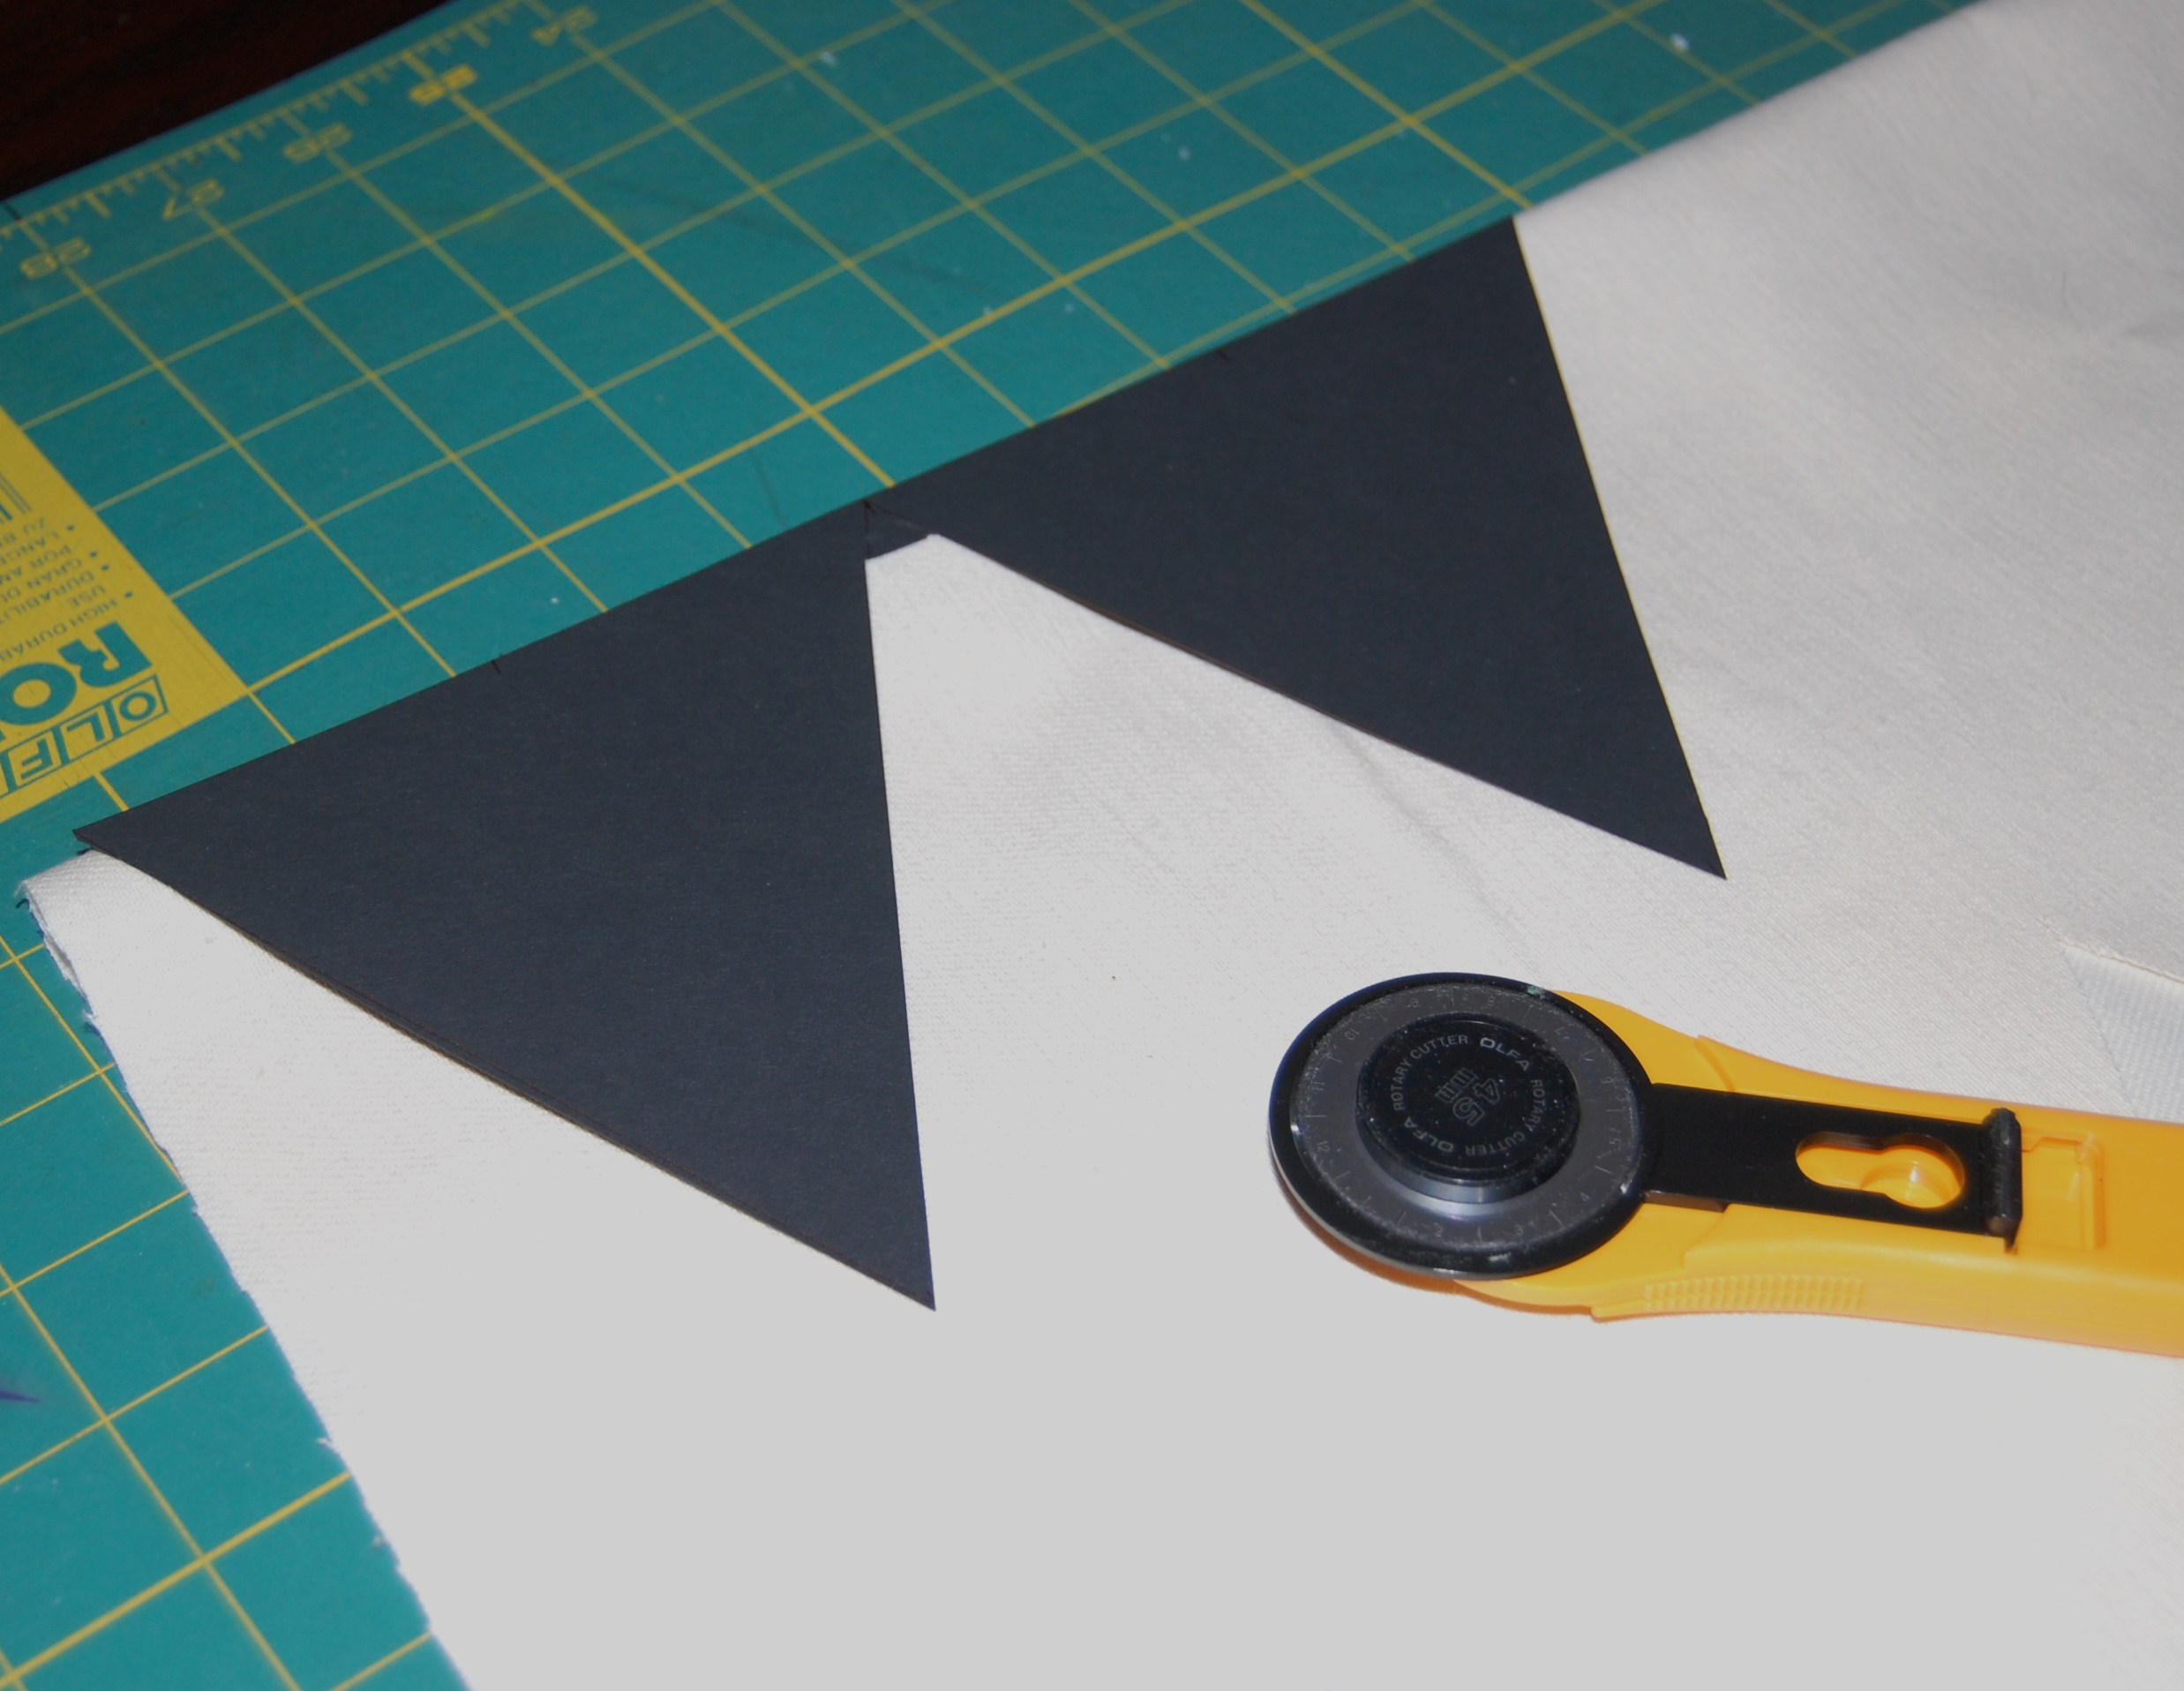
Since I was using a rotary cutter, I was able to hold my pattern with one hand and cut with the other. Always use caution when using any sharp object. I have found that a dull blade is more dangerous than a sharp one, because you will have to use more force to get it to cut. Also, make sure you have a mat or some form of protection for your tabletop.
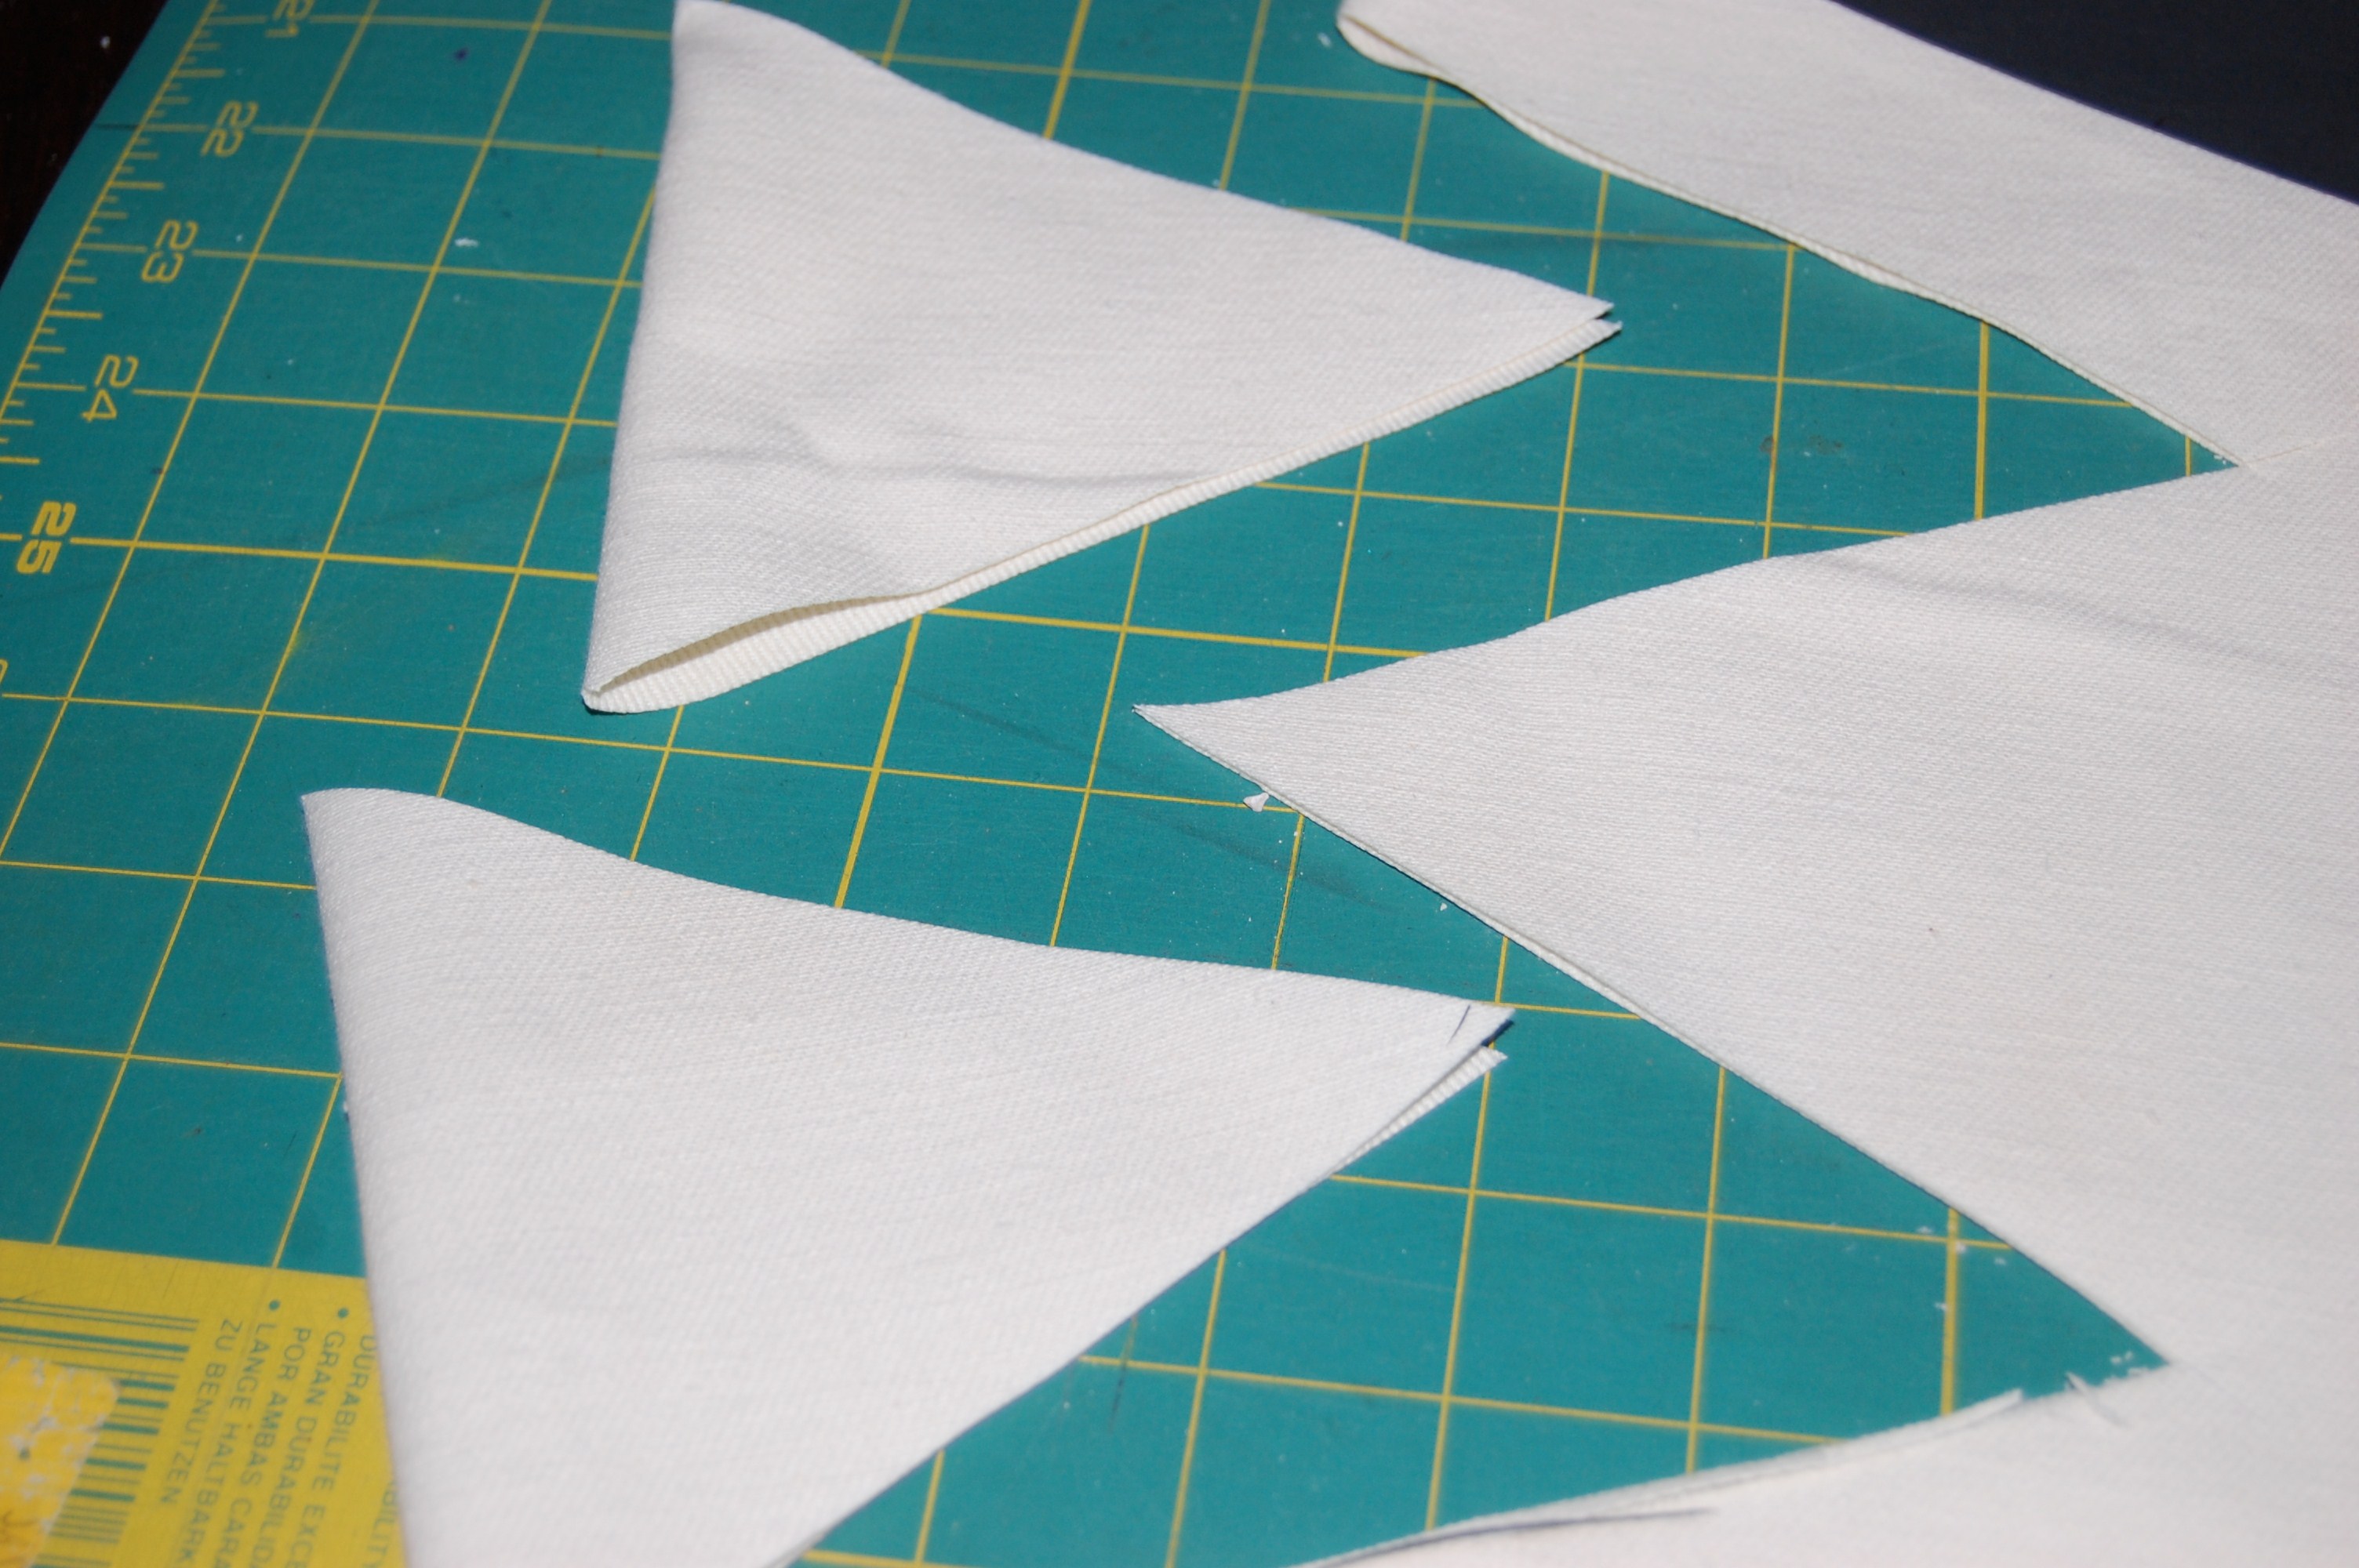
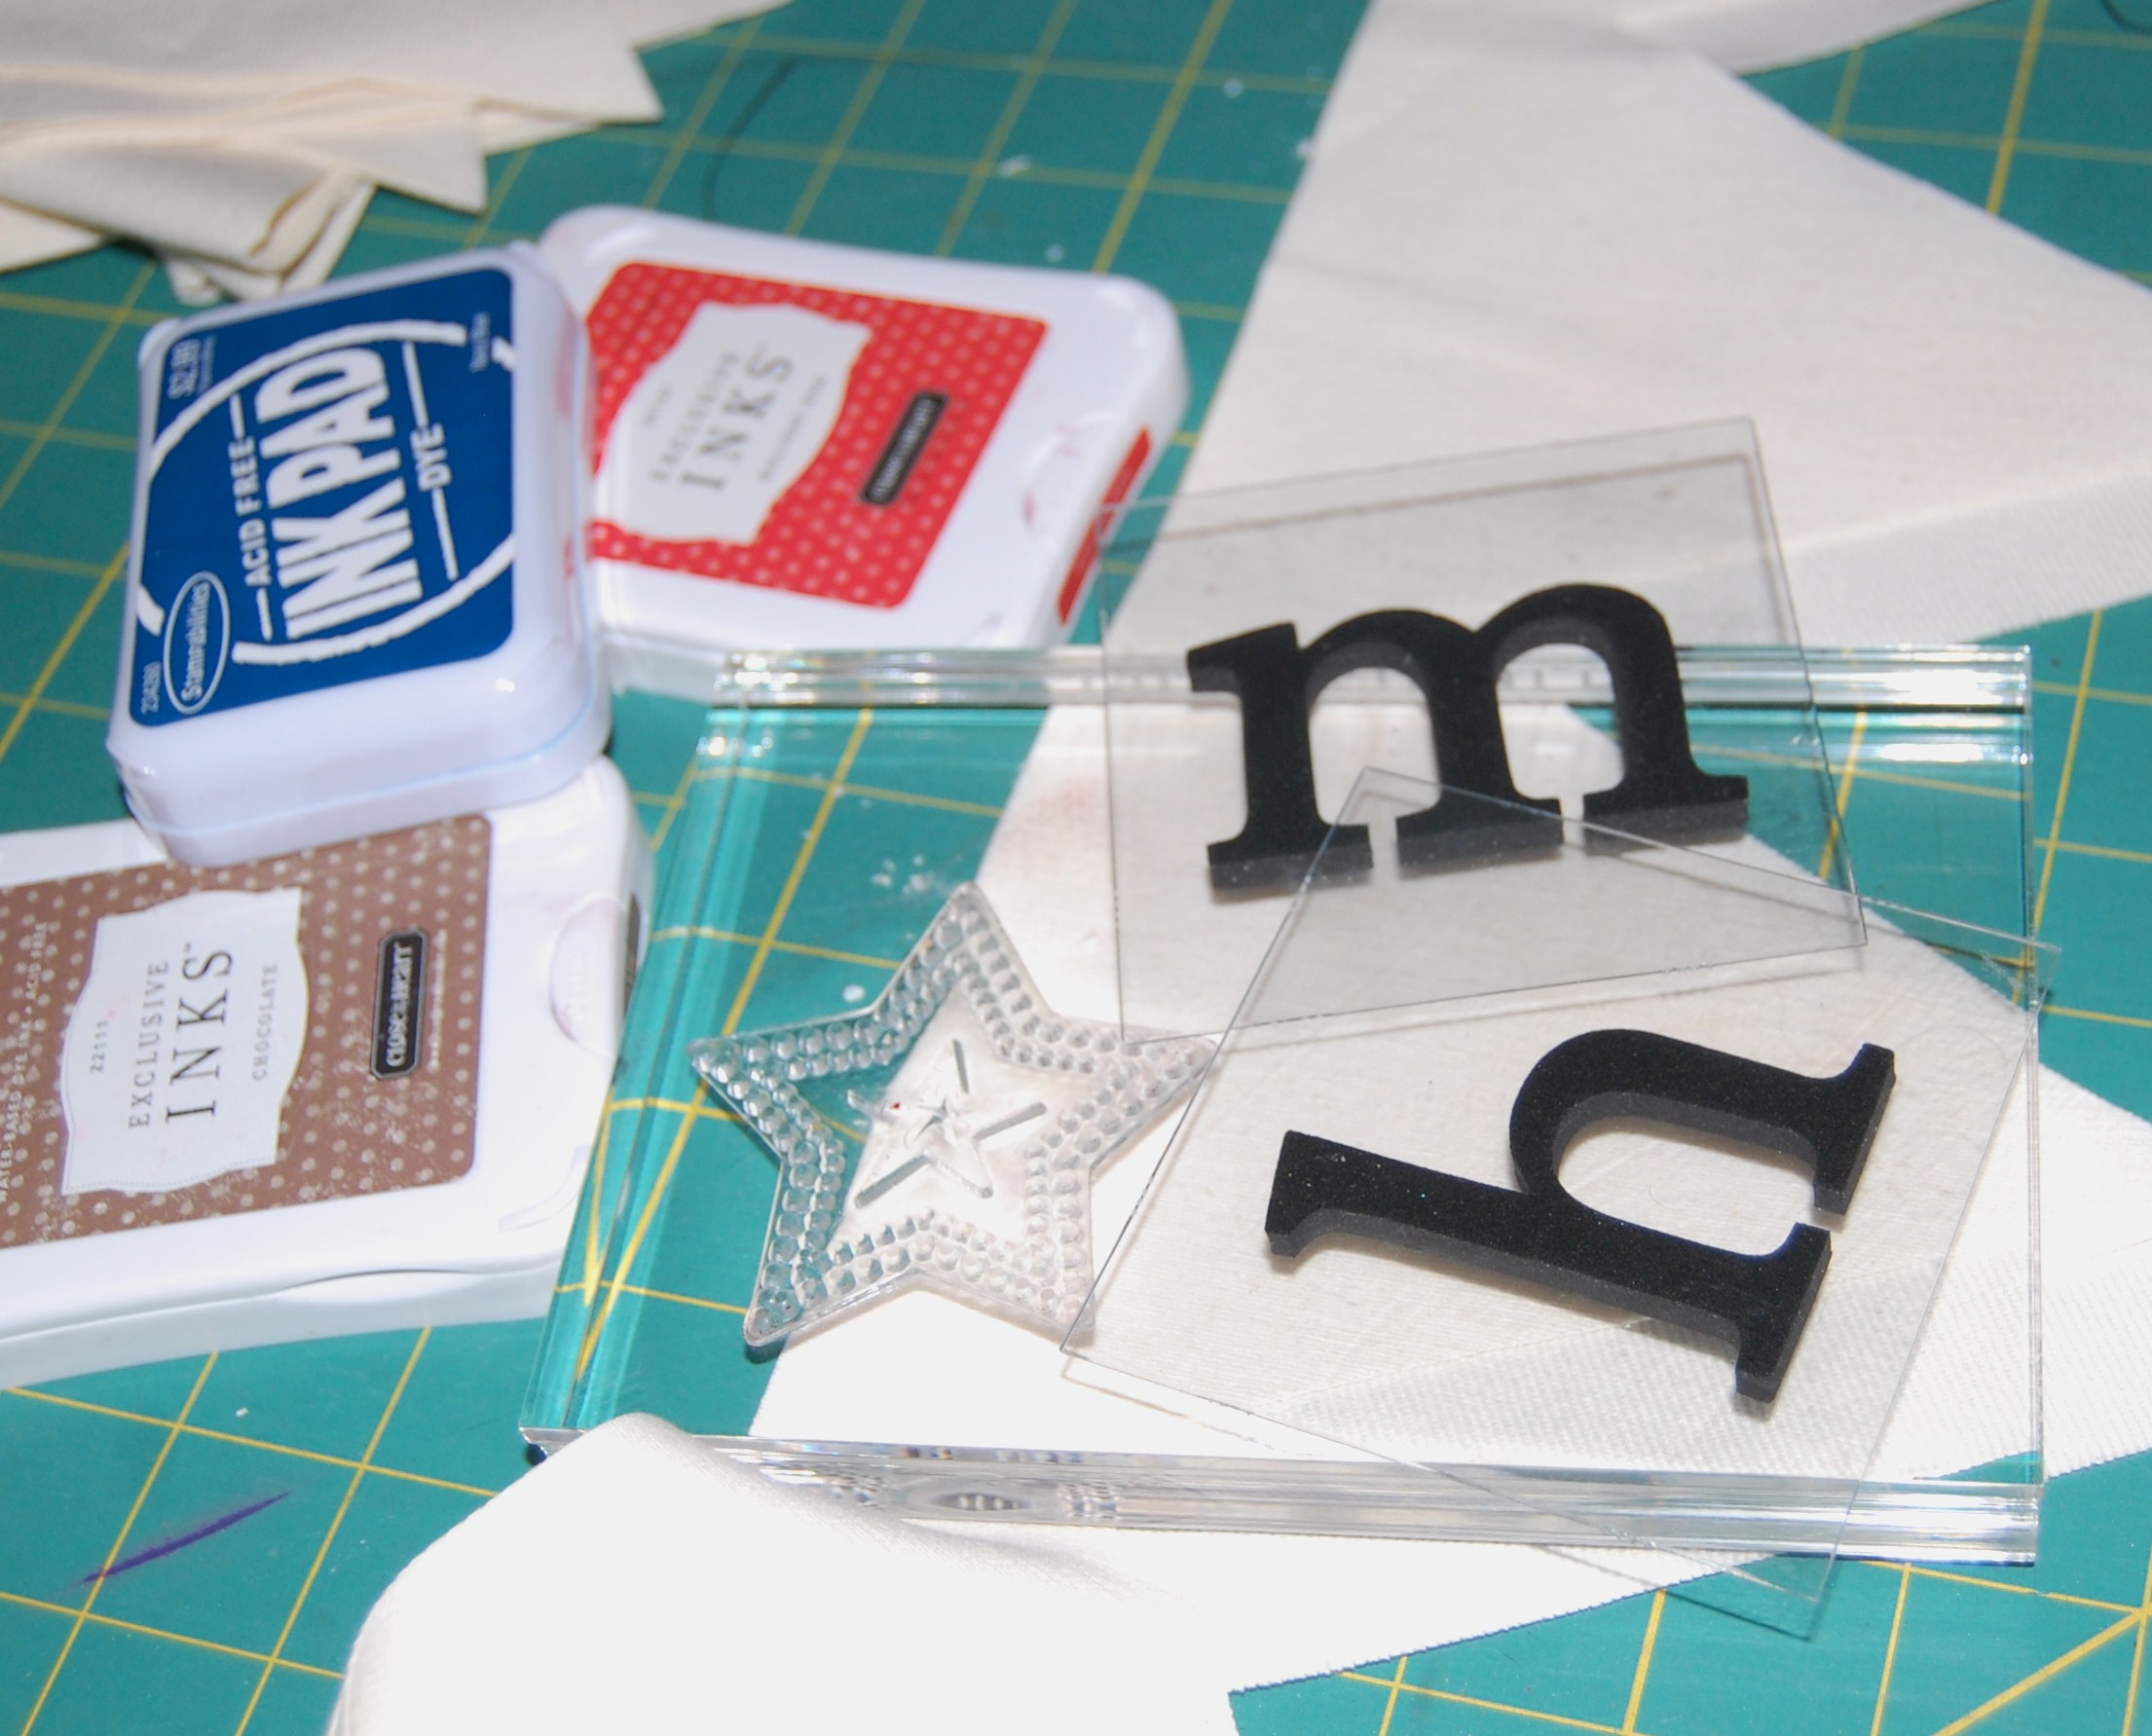
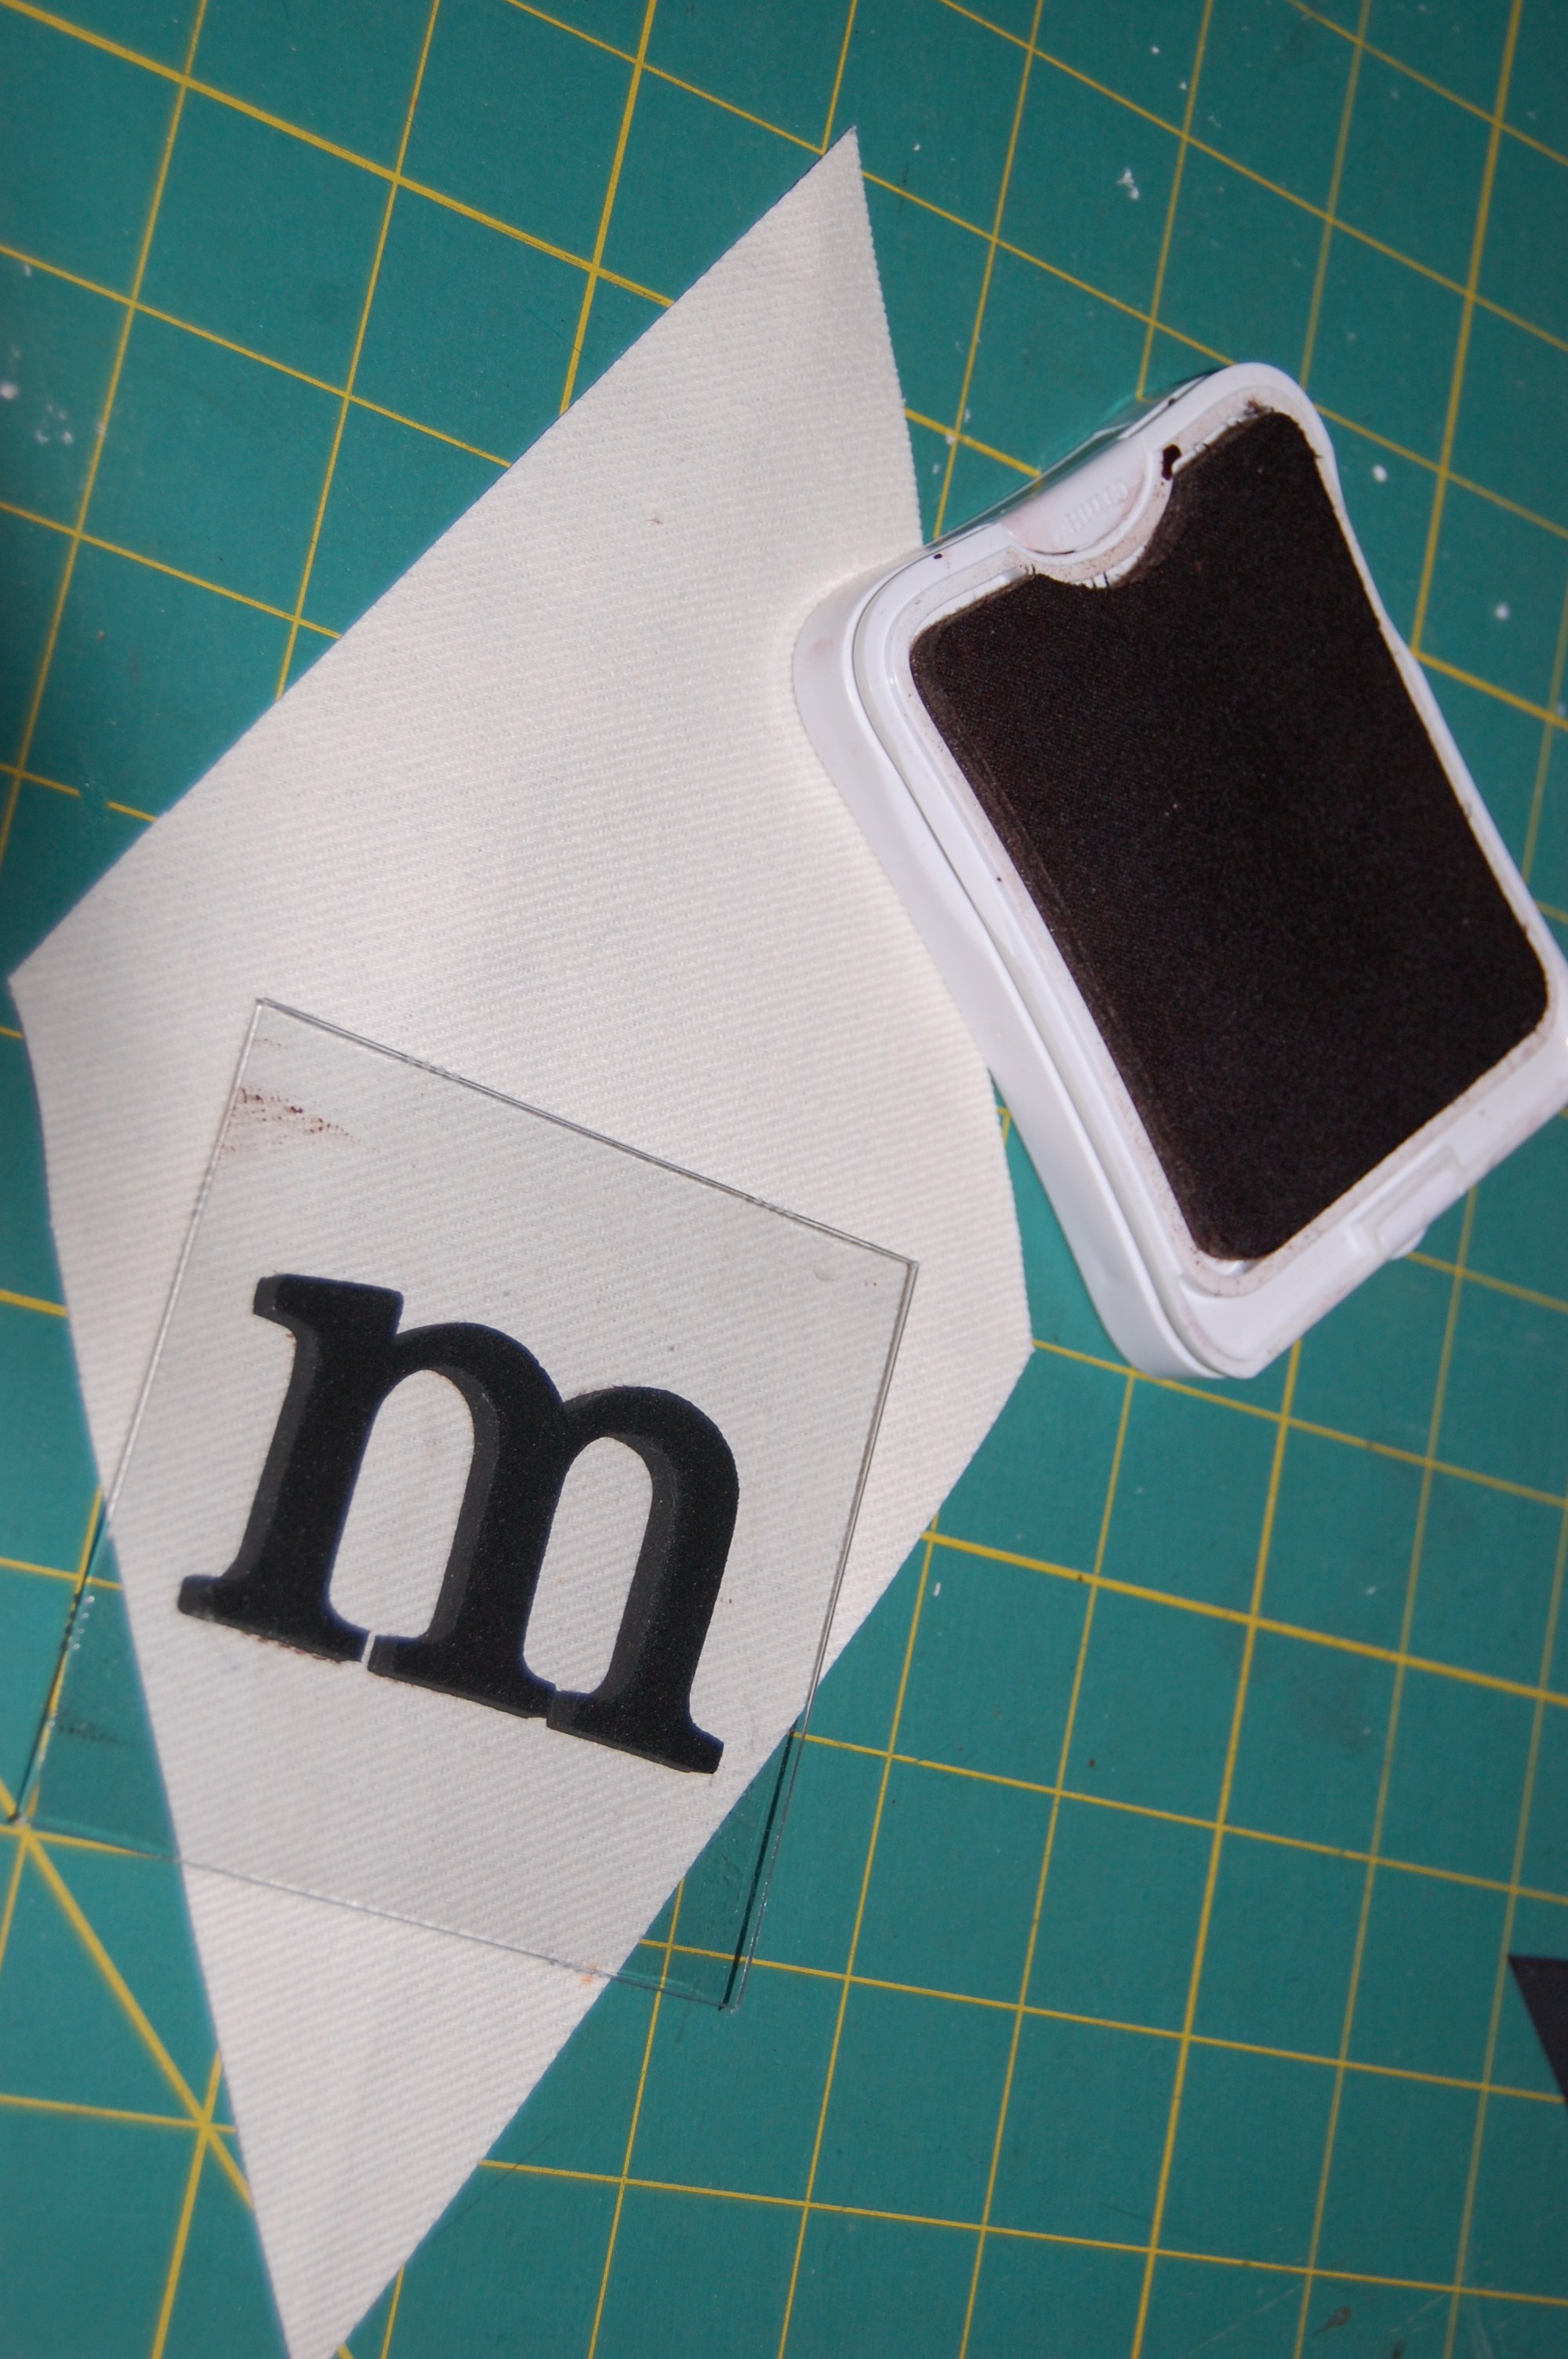
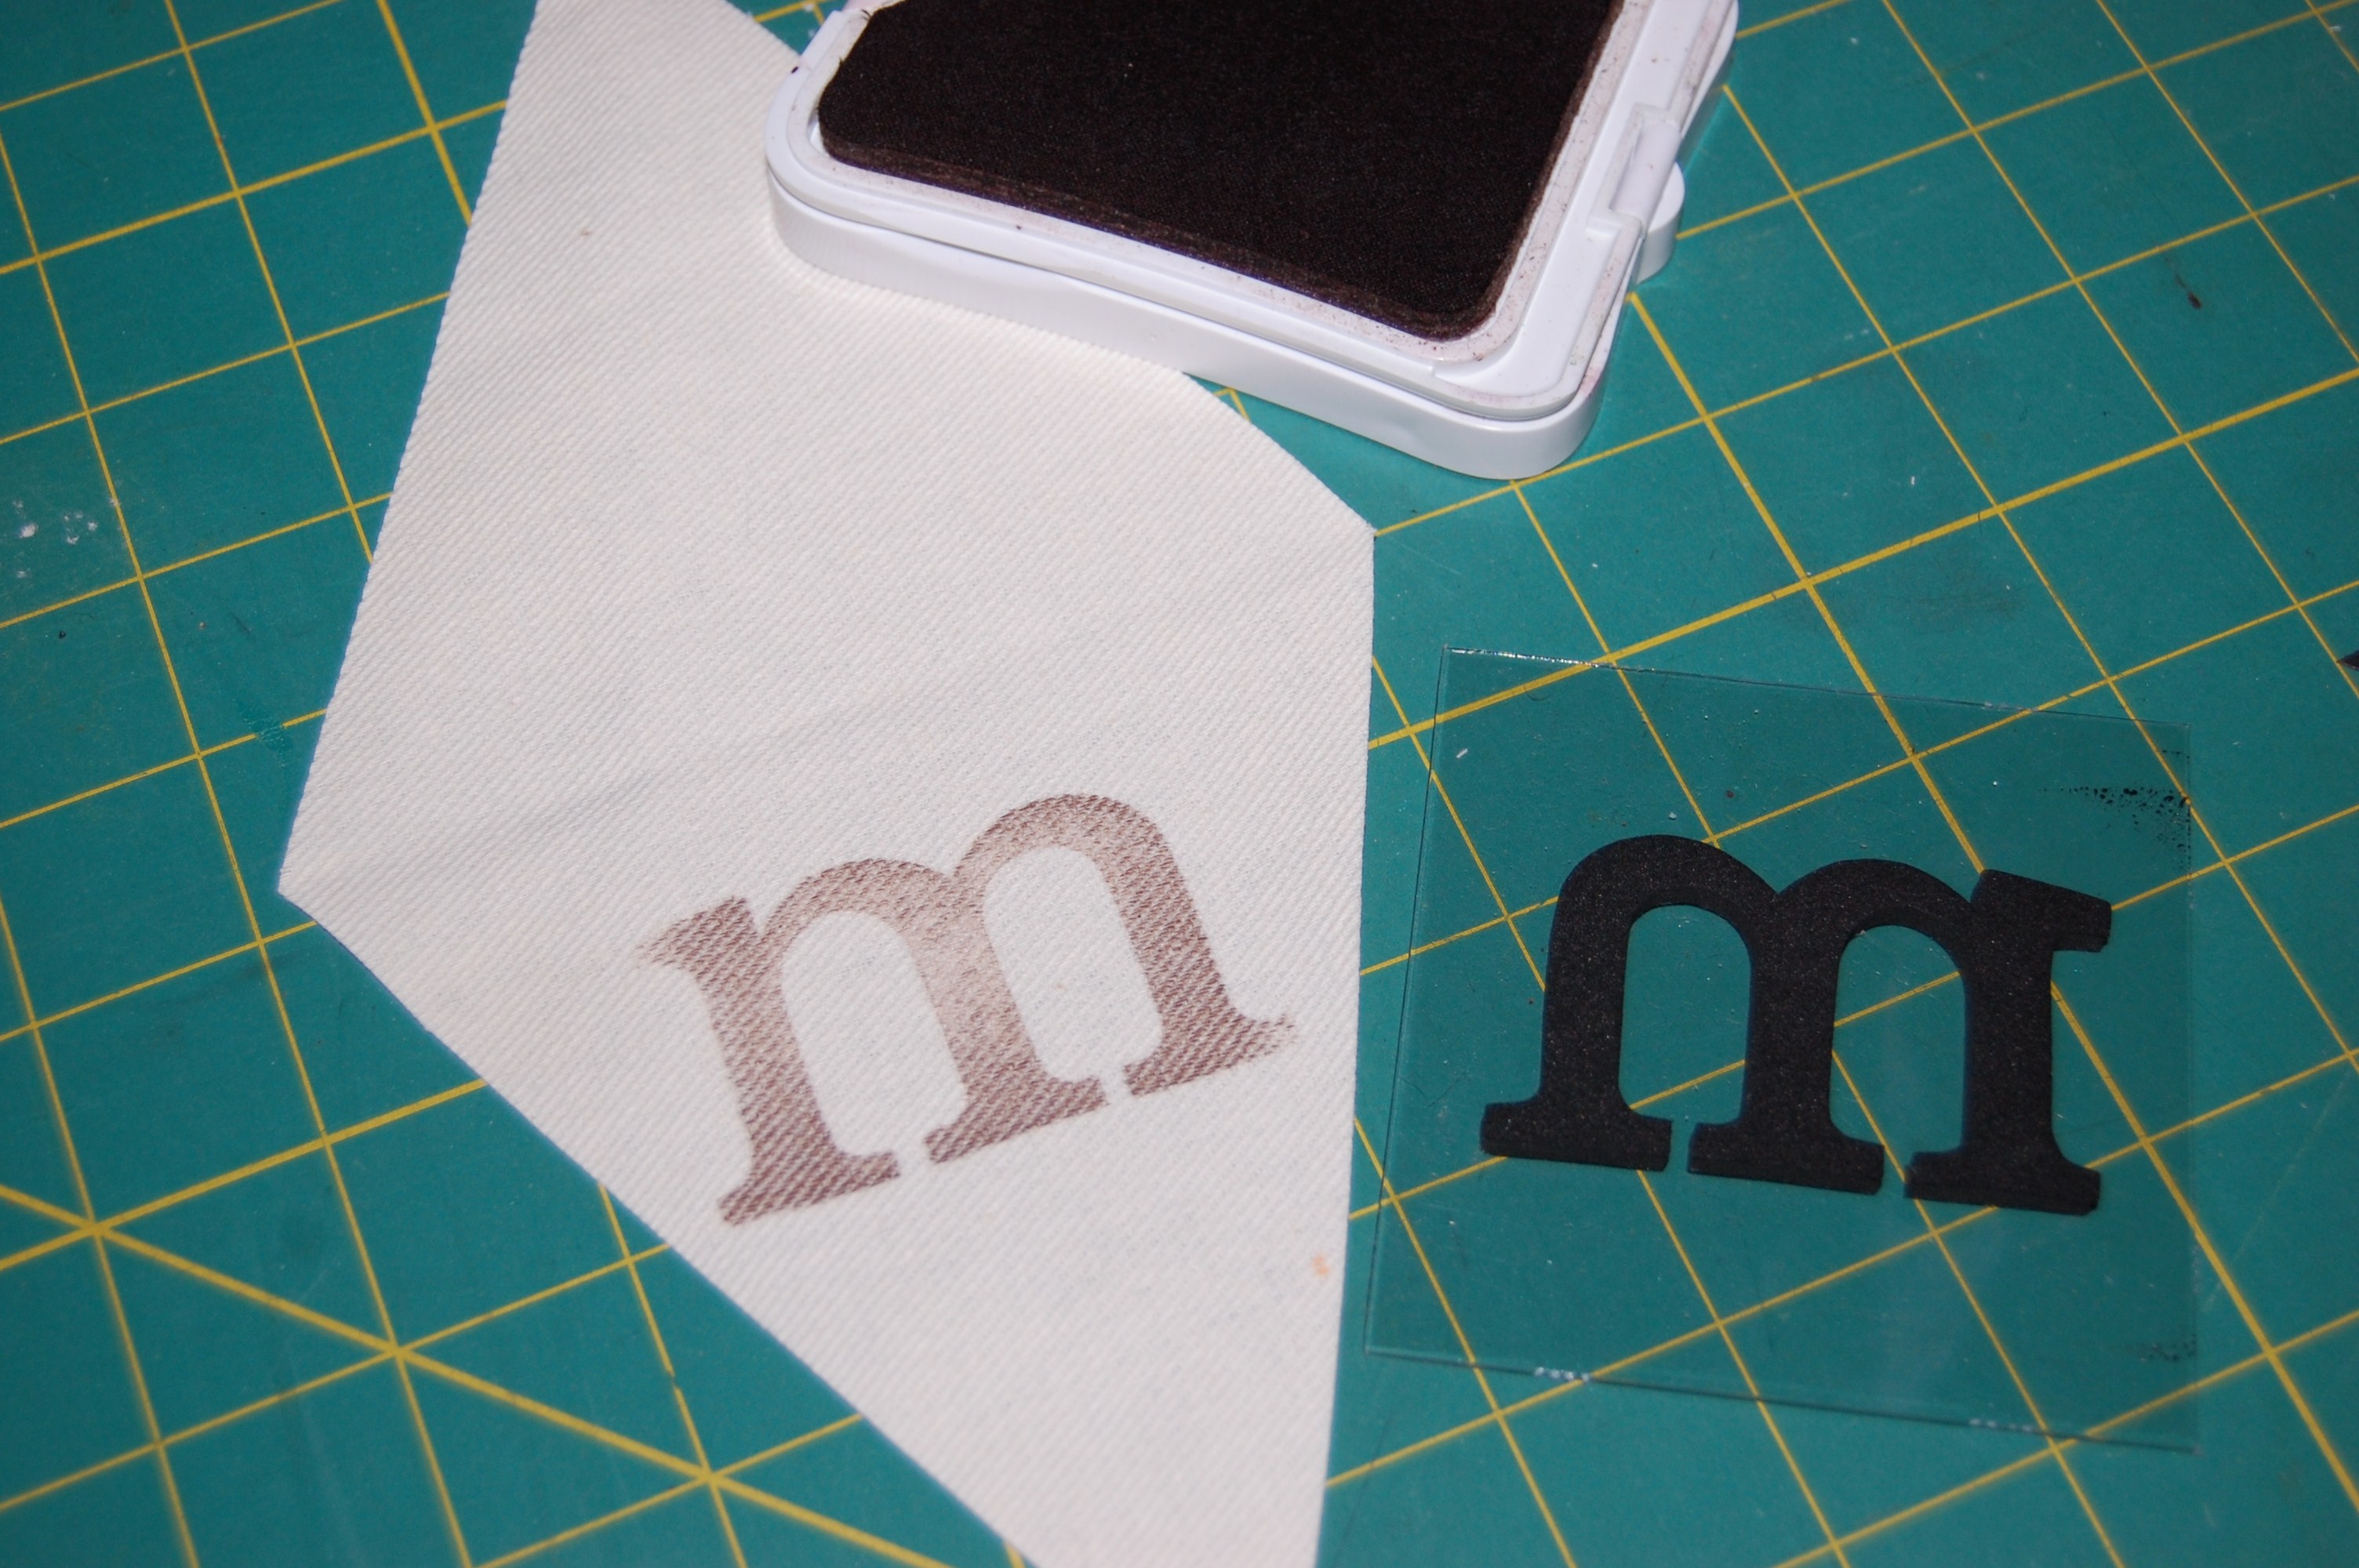
After cutting out the number of pennants you need, you are ready to stamp.
Always test your stamp color on a scrap of fabric to ensure it will show up and give you the look you want. I like using stamps as you can get sets with all the alphabets and numbers so you have consistency on your finished banner. One of the great things about either using acrylic stamps or those with a clear back, you can see exactly where your image will be stamped. Always “season” your new stamps by stamping a few images before you use on your final product. This will also let you see how much pressure to use to get a consistent look.
When you have everything stamped, you are ready to assemble the banner. I like using jute for this as well as many other projects so it’s always on hand for me. Don’t you just hate working on a project then see that you don’t have something that’s a vital part of it? Nothing kills momentum like a trip to get supplies.
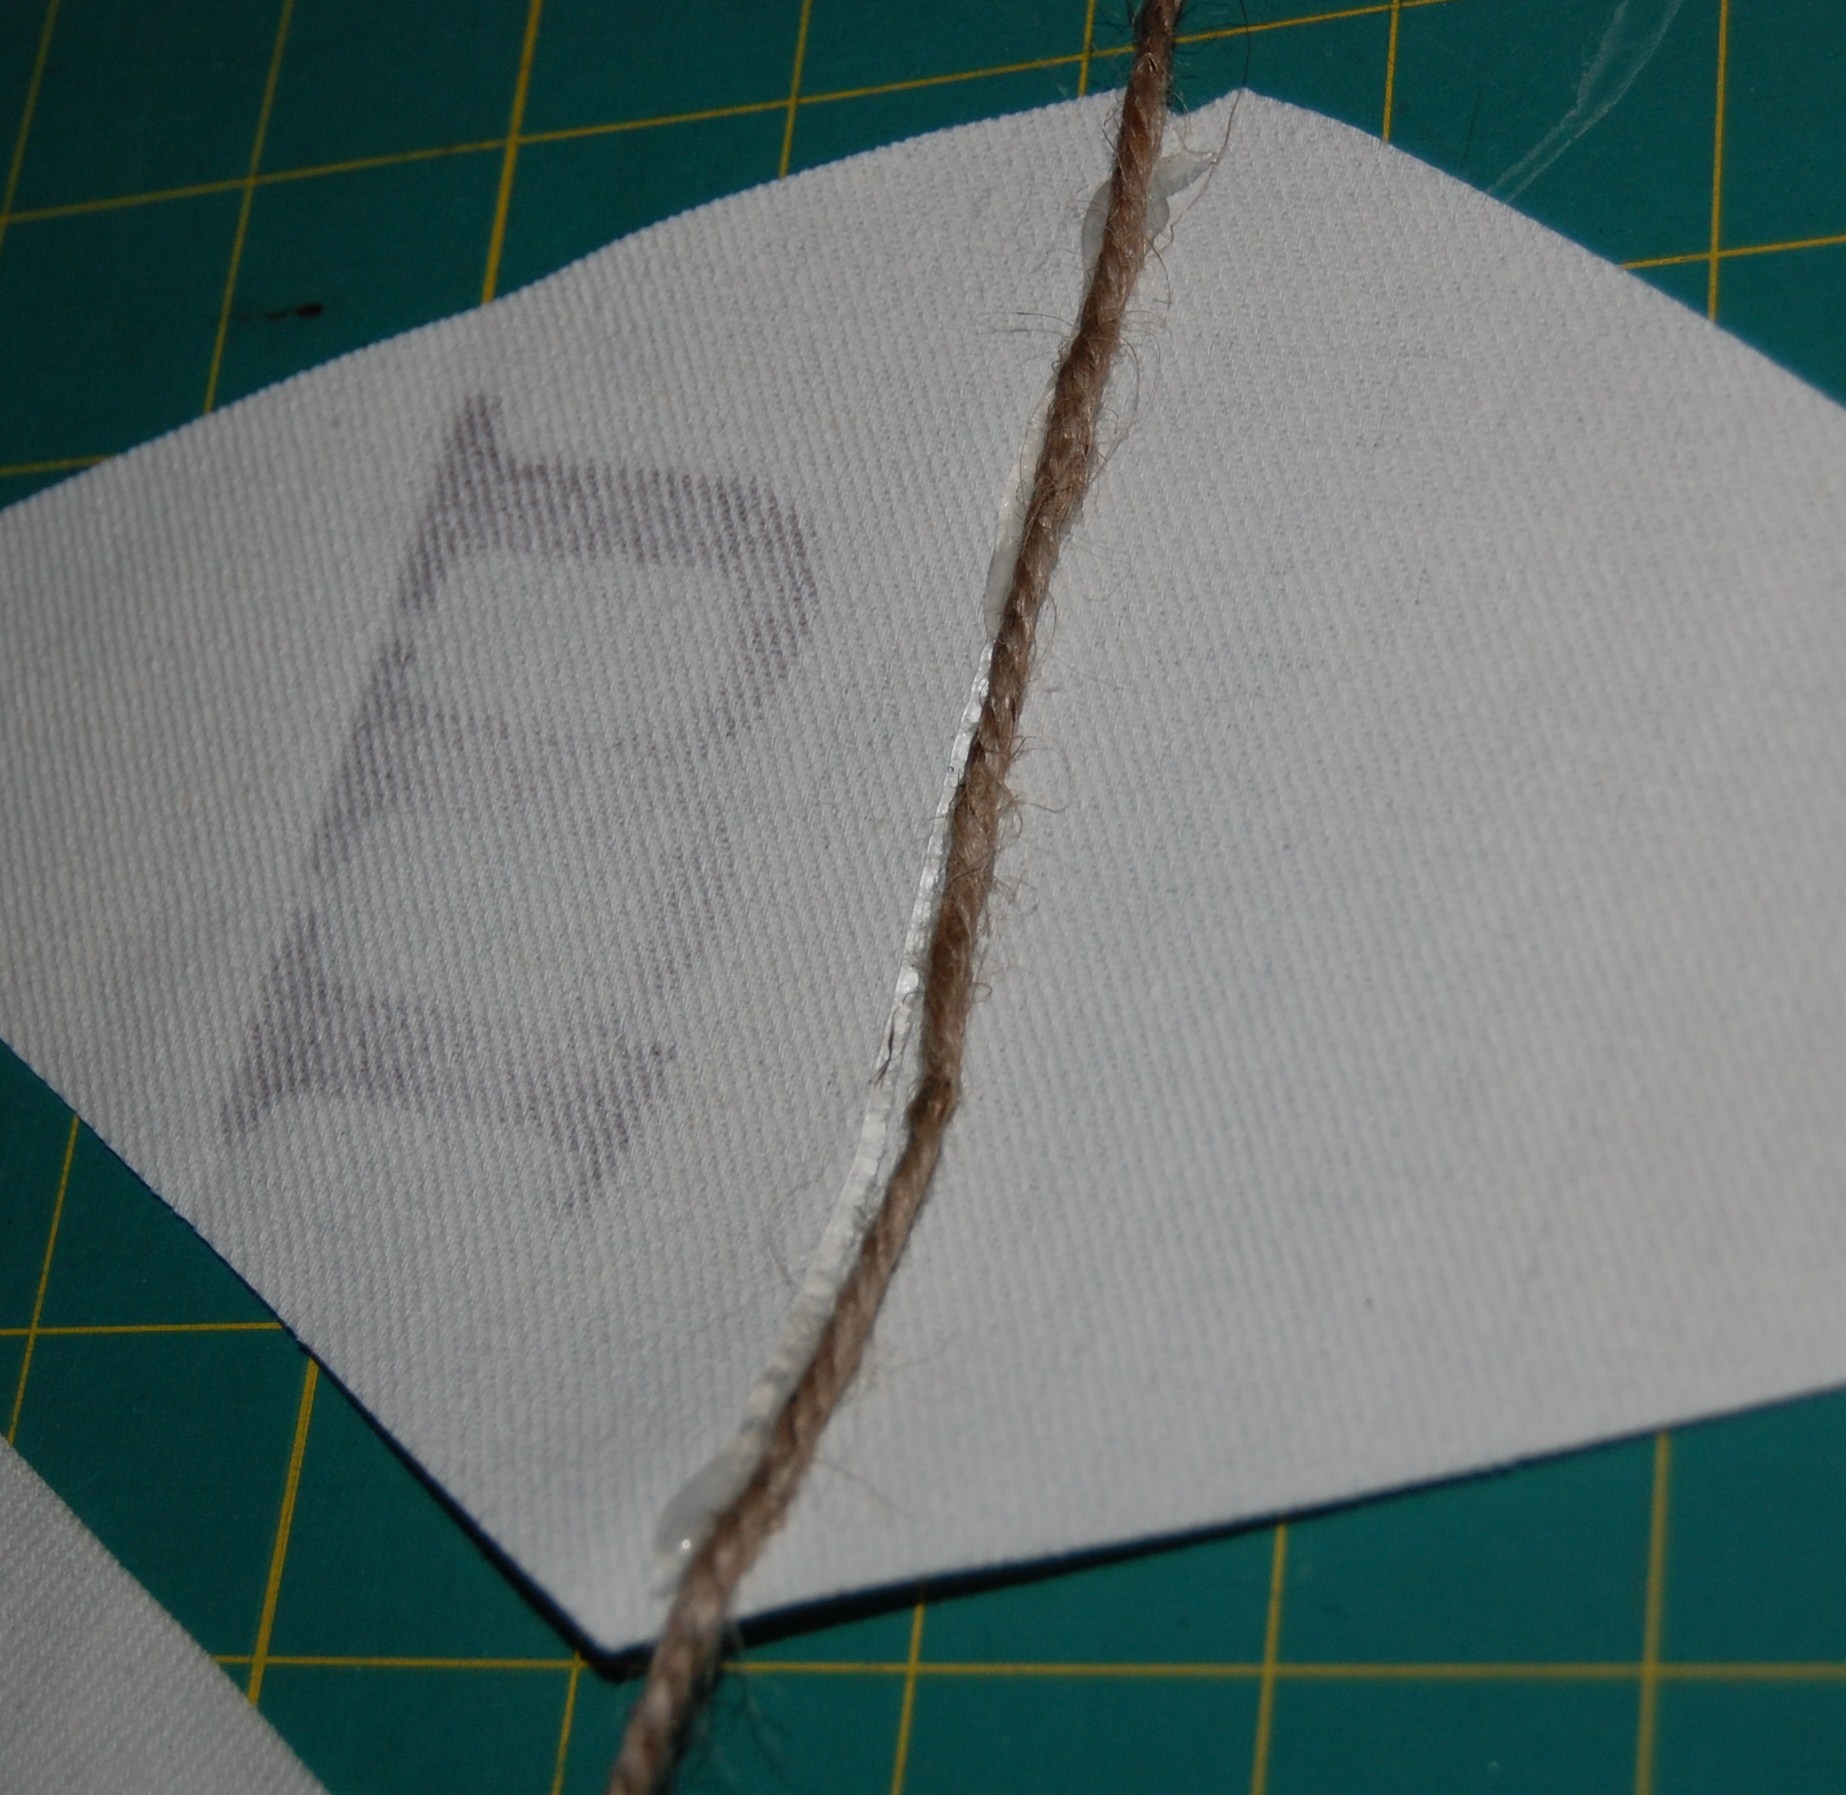
Since I might not be real sure of how I want to attach the banner, I allow at least a 15” tail on the front and end of it. A low temp glue gun works great for this project since you don’t have any wait on drying time. Plus, you might say it’s finished when you cut that end of the jute. Open the pennant piece open to the wrong side and put down a line of glue just almost at the fold line, maybe 1/8” down from it. When using heavier jute, I make sure the line of glue is heavier than normal. Then you immediately need to press your jute using light pressure into this line of glue just to hold, then fold your pennant over onto your glue and jute. Use firm pressure to press the glue, jute, and fabric all together and hold for about 5 -10 seconds for it to set. Continue adding your letters, leaving about ¼” inch between each pennant. When done, cut off your 15” allowance and you are ready to hang.

How to hang is up to the look you want. On windows – for a smooth look, you can use thumbtacks on the sides or back and hold your jute in place. If you want it to look tied on, you will need to determine where you want the banner to hang. Hammer a small nail or brad carefully into the frame, being very careful to avoid the window pane area. You can then tie the jute around then.
Where you hang these banners can sometimes determine what kind of adhesive or pins you will want to use. Again a small thumbtack or brad can hold these, but if you are using on your wall, you might consider 3M picture strips for no damage and ease of removal later.
The possibilities you have with these banners are endless – think of any special occasion, wedding or shower décor, a holiday, the next sports event or just a simple “welcome” for your home.
You may also enjoy...
I’ve included affiliate links to Amazon for you to find some products easier. I may receive a small commission, but the price is the same for you. It just helps my blog out.
Happy Travels,
Rosemary
Really cool idea for a handmade event decoration. Thanks for sharing. 🙂
The possibilities are endless on these. Think about any party or holiday and just do it. Thanks for stopping by.
wow this doesn’t look too hard, even I could do it. this post brought a smile to my face-my gran is a big sewer, and has all the same tools
What a cute idea, that came out great!
This looks super easy!! Thanks for the detailed instructions.
It is easy – hope you try it. Let me know.
Love it!
Thanks for stopping by – hope you will try it.
That is so cute! And honestly you make it look way easier than I thought it was. Which means that I’m going to get over my fear & make one! 🙂
Oh Melissa it is easy. Try it out with some old newspaper first and see how easy it is.
This is such a cute idea. One of my son’s has a birthday coming up next month so I will keep this in mind.
If you can’t find the right stamp, think about cutting up scrapbook or wrapping paper and putting his name or happy birthday on that. Then just staple it. Let me know how it works.
This is such a cute idea!
Jennifer, you can do almost anything with this. Think about any party or holiday and get started.
What I love about this adorable project is that you can customize the banner to use for so many occasions! Great project
I really miss my scrapbooking and stamping days. I have so little time I can’t get around to it. I love the banner though. So easy to make and it looks great.
This is so cute and looks simple enough even I could do it :)!
So cute, I LOVE banners for special occasions! 🙂
They are so easy and cheap and so many possibilities. Even can use paper.
This is a neat idea. I’ve done paper before, but not fabric.
Either works well – just be careful if you use something like burlap that wants to ravel. You might have to use a bit of fray check or even an interfacing behind it. Thanks for stopping by.