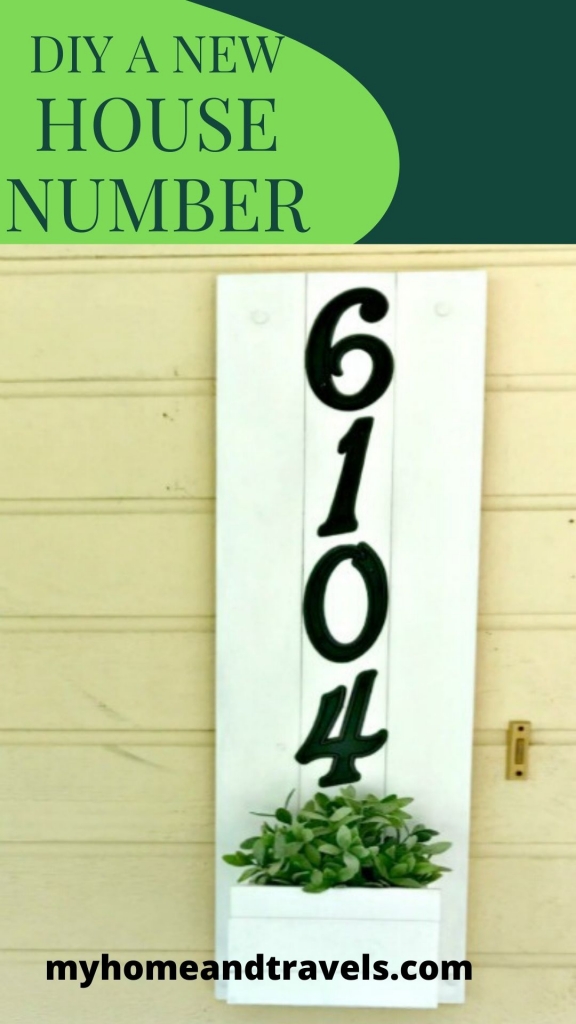
DIY A New House Number Sign With Planter
Sometimes you just want to refresh or update your curb appeal and A New House Number Sign is a great way to do this. As Spring gets into full swing, everyone is always looking for ways to spruce up a little area.
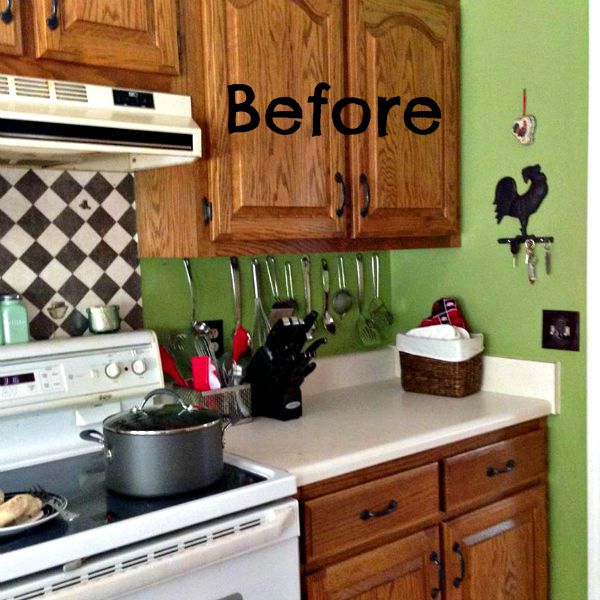
Time to update
You don’t realize how sad something really looks like until you get up close for a photo. And please understand this was before the house was power washed.

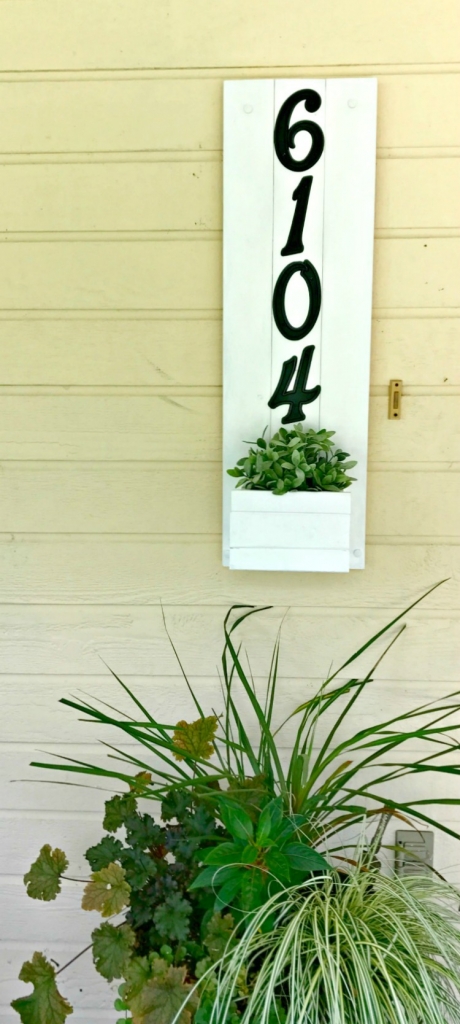
Not only did this give prominence to our house number but also another place to add a plant to the front porch. The current sign was cute and made with tiles, but it was small and also outdated so A New House Number Sign would be a good change.
Add a planter
The measurements and directions I’m giving you is for mine. It has 4 numbers and I wanted a small planter box at the bottom. Yours can vary by the how many numbers are in your address, if you want the planter box, and how much space you have. If you don’t have as much vertical space, consider going horizontal.
Another factor in size to consider is the size of the numbers you are using. Take some measurements of the area to get an idea, then purchase your numbers.
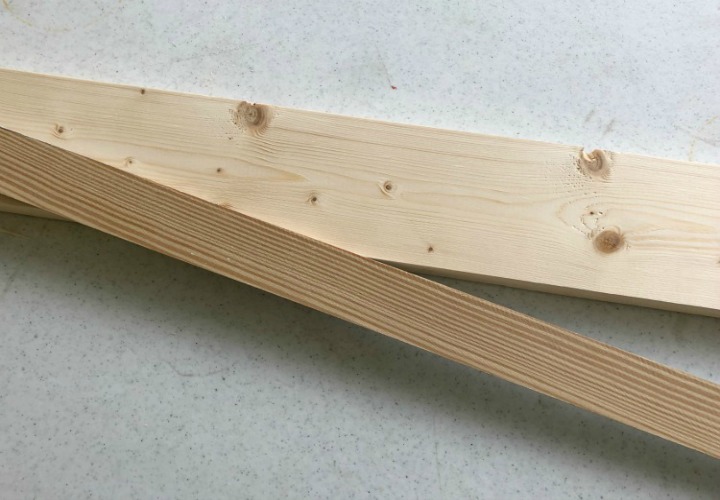
Always check out your scrap wood from other projects before you purchase more.
What I used:
Ryobi Air Strike Cordless Brad Nailer
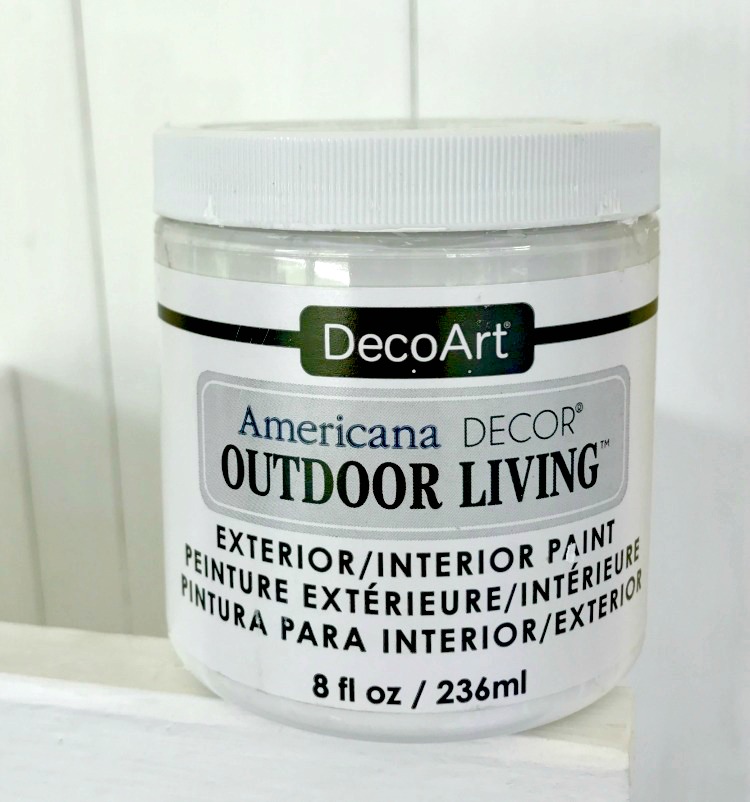
DecoArt Americana Decor Outdoor Living Paint
Hinge screw covers
Wood screws – various sizes – to fit your lumber
Mending plates
Lumber
3 – 1 x 4 x 34
2 – 1 x 6 x 5 1/4
2 – 1 x 2 x 8
1 – 1 x 3 x 8
1 – 5 1/2 x 8 1/2
tape measure
pencil for marking
What size can I make it?
After deciding on the size of my New House Number Sign, it was time to hit the stash pile. I was hoping to make this without spending any additional money – and I did. The numbers were left over from a project from a class which was never completed. Am I the only one who has unfinished projects?
The finished size would be 10 1/2″ x 34″. This was a great size for my space. Remember this might not fit your space.
The types of boards didn’t matter since I was painting this. Any old nail or screw holes was filled in with wood filler if needed. A few dings and nail holes wasn’t going to bother me on this project.
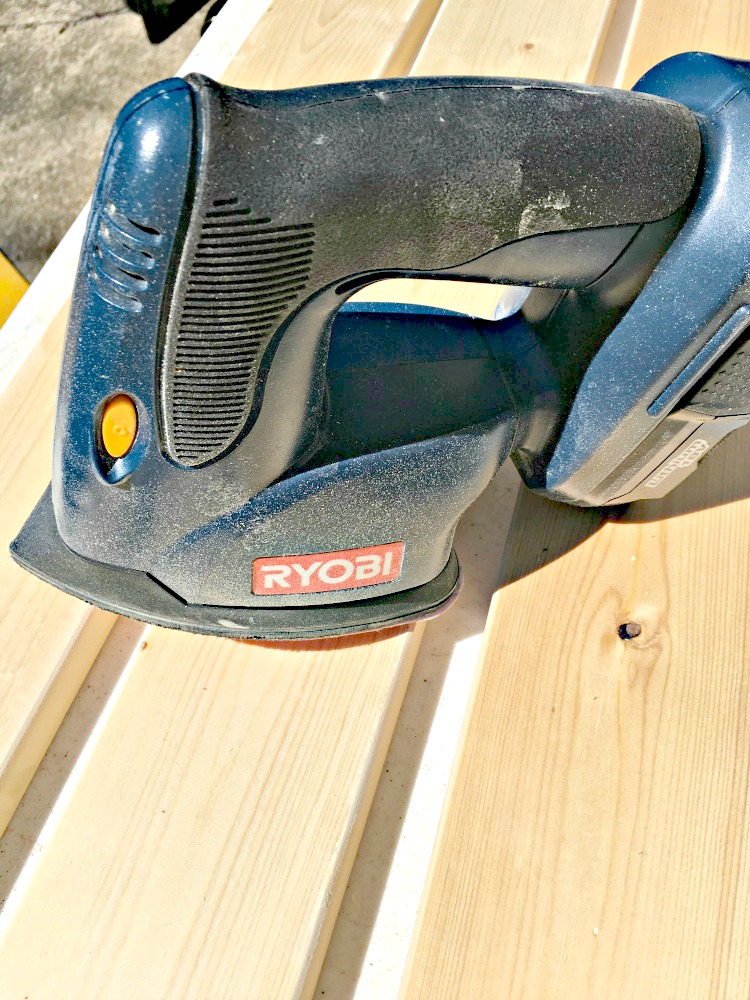
After cutting all the boards, a light sanding is always needed.
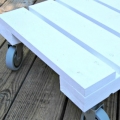
In designing this, I knew I didn’t want it to look like it was a solid piece of wood. To help achieve this look, each edge of the board was sanded with my Ryobi sander to just take the sharp edge off and form a soft curve.
BACK BOARD
To attach the three 34″ boards together, a small amount of Gorilla Wood Glue was used between each of them. Three mending plates or braces were staggered about 9″ apart, starting about 4″ from top. This was just eyeballed and not exact measuring. Again, the number you use, could depend on size and shape of your house number.
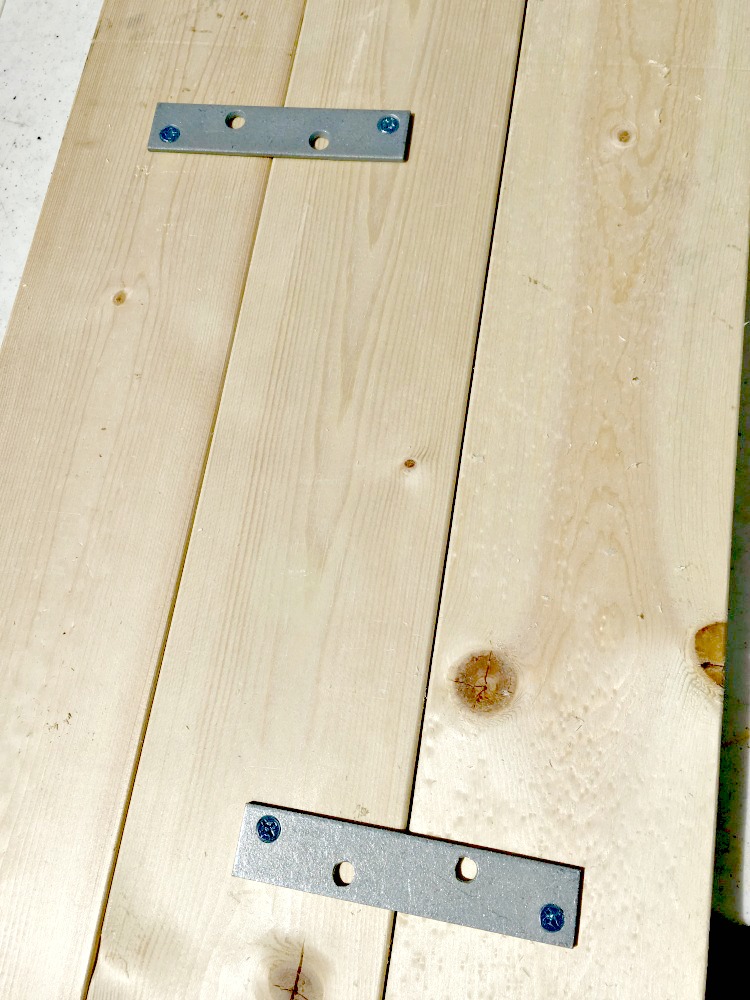
Usually pilot holes are needed, but these screws were only 1/2″ and going into soft pine, it was necessary on this part.
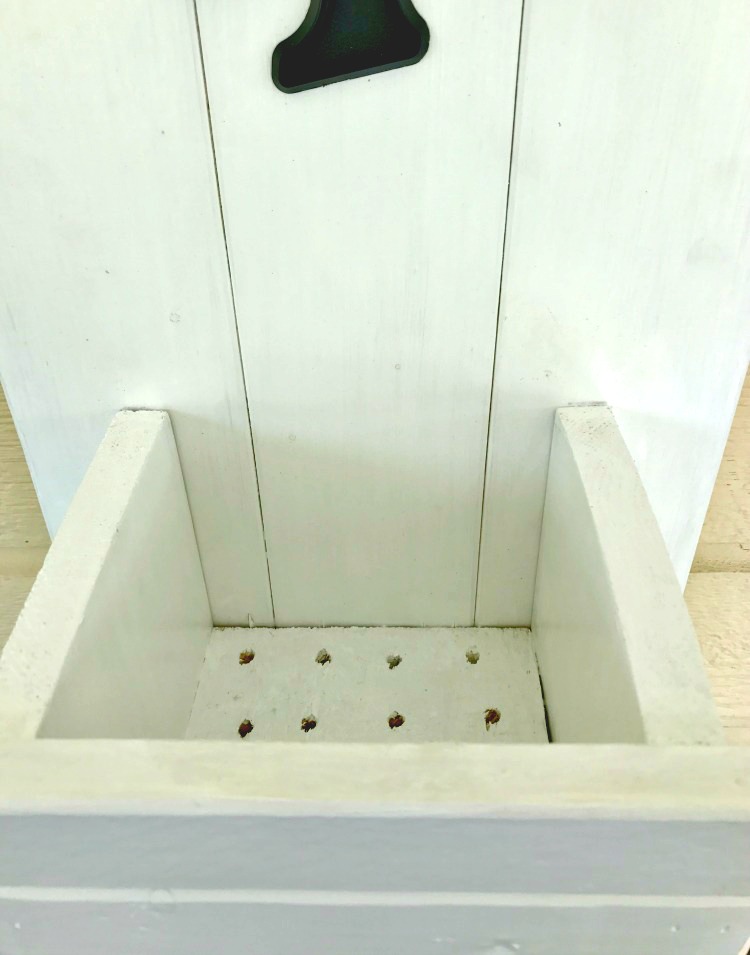
FLOWER BOX
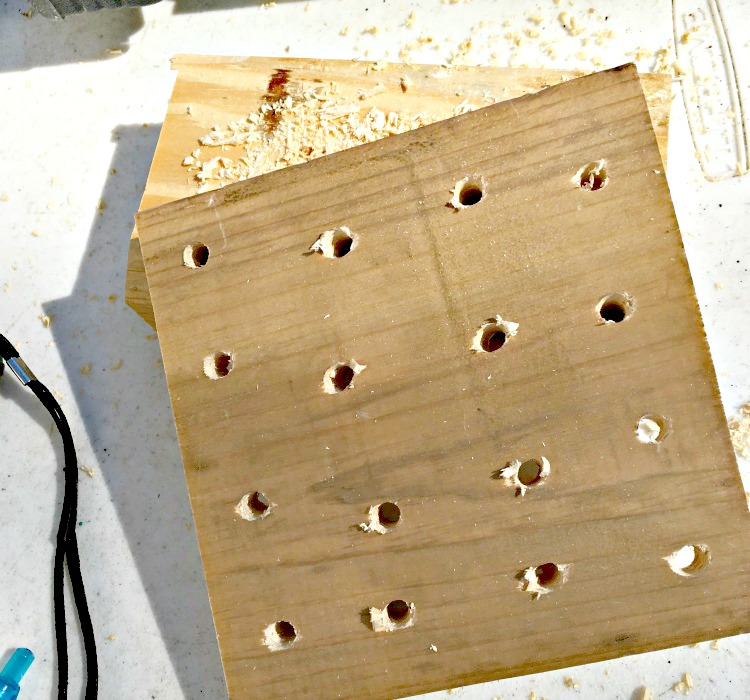
The bottom will need drain holes if you are considering using a live plant. Place this piece on top of an old piece of wood and drill random 1/4″ holes, not getting too close to the edges.
NOTE HERE – The dreaded message “card reader error” came up and several pictures were not available for some of this project. Please let me know if you have any questions on this project.
The 3 – 8″ pieces were glued together to form the front. Using the Airstrike, this piece was then nailed to the 1″ x 6″ x 5 1/4″ pieces. Then attach the drainage bottom to basically form a box.
The placement of this box should be at least 4″ below the lowest number so any plant won’t hide the numbers.
The back board and flower box were painted with 2 coats of White DecoArt Outdoor Living Paint.
I attached the flower box to the back with 1″ wood screws after drilling a pilot hole. This makes it a bit more secure if you have live plants which could be heavier, especially when wet.
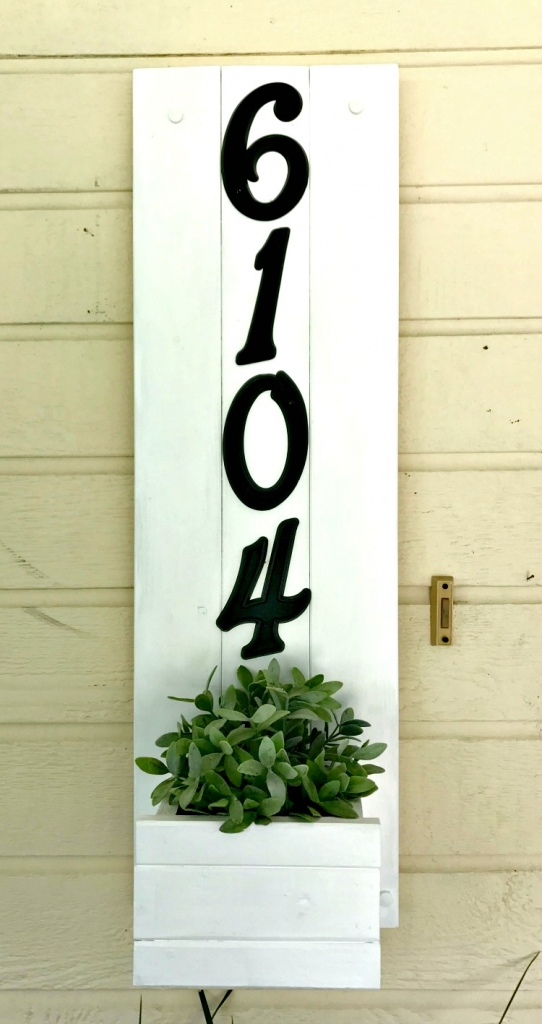
HOUSE NUMBERS
These were laid out on the back board before attaching the flower box so I could check the spacing between each, and the space below the bottom number.
When I was ready to attach these, I used the Ryobi Glue Gun and attached them to the back board temporarily and drilled tiny pilot holes.
The screws which came with the numbers are teeny tiny. By using a dab of hot glue, this held my numbers in place while screws were added. Note here too: the paint on the screws came off while attaching so I just used a dab of black craft paint to cover up the scratches.
HANGING
This was going directly on my house siding but I wanted a bit of space just for moisture control. Although it’s under my covered porch, there can be some blowing rain and of course here in the South our dreaded humidity.
I cut 4 – 2″ scraps from a 1″ x 2″ board and attached them to each corner on the back side of the back board with my nail gun.
(Road trip) A trip to my local Ace Hardware was needed for anchors and screws. I like shopping there since I can buy the number of items
I need instead of a huge package. Plus I can walk in, tell them what I want, and they get it for me.
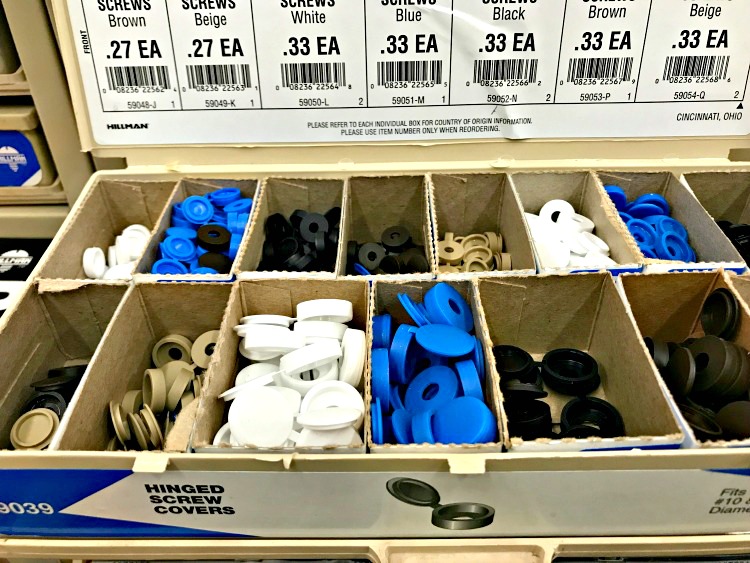
I was advised I wouldn’t need anchors since I had my sign made the way it was and it was going directly into siding. After getting 4 – 2″ screws, they suggested these screw hinge covers to hide the screw head. Did you know these existed? I sure didn’t. Lucky for me they came in white, but also beige, blue and black. I’m sure they could always be painted though to match any project you are working on.
A pilot hole was drilled through the back board and small attached piece. I have found on larger screws like this and basically going through three layers of wood, make the pilot hole almost the size of the screw.
Don’t forget to place your screw hinge covers before your put your screw in. Yes, I did it on one of them.

Close the hinges and you are ready to add a plant or flowers.
Now to find a house painter who will show up. Sometimes easier said than done. But first a good power washing.
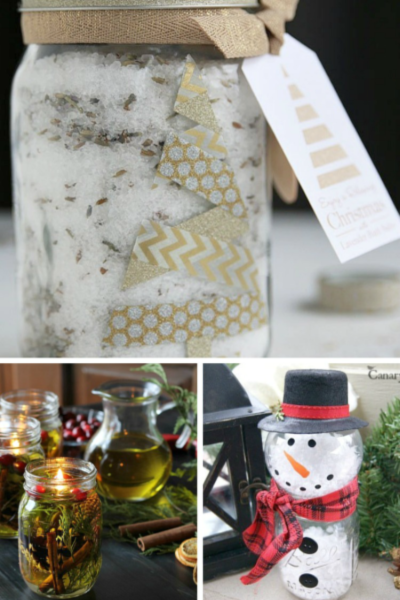
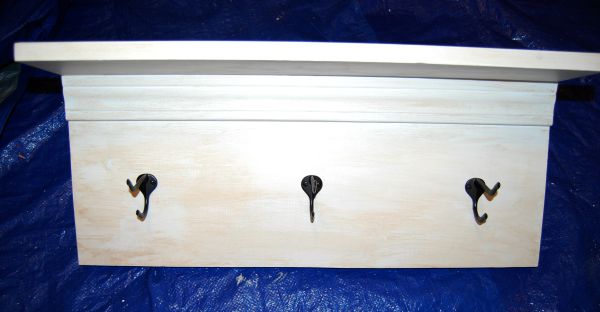
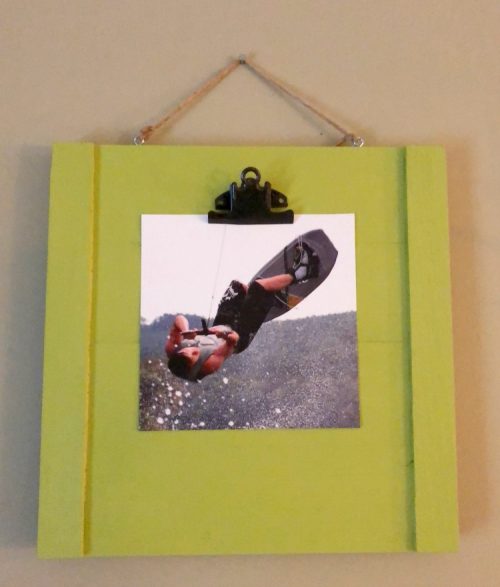
Here’s a few more small wood projects great for your scrap wood.
A few more ideas
I’ve included affiliate links to Amazon for you to find some products easier. I may receive a small commission, but the price is the same for you. It just helps my blog out.
Happy Travels,
Rosemary