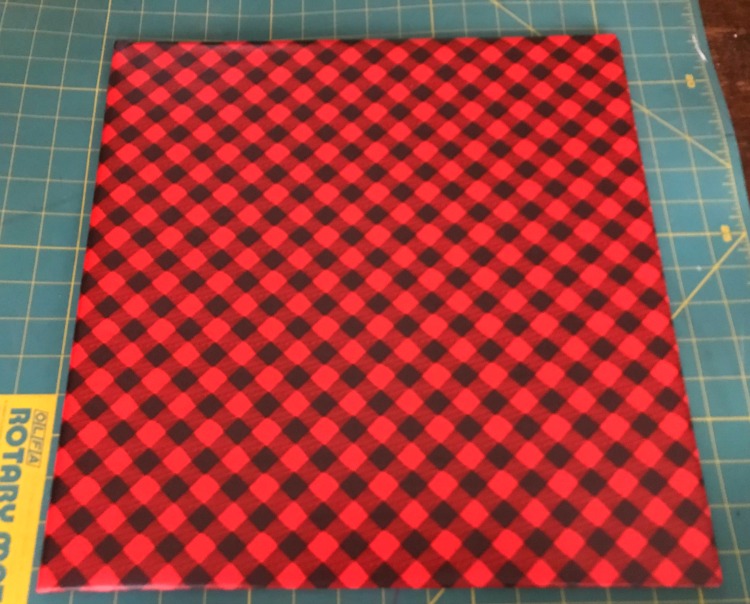
New Uses For Wrapping Paper
To add color and design around the house, especially during the holidays, finding new uses for wrapping paper is just the way to do this. Check out dollar stores for a variety of colors and designs of wrapping paper.
These projects were inspired from a placemat I saw at a decorating store. The nice large square silver placemat was $20. More than I pay, probably even at half price.
TEMPORARY TRAY LINER
Great way to use any decorative paper – wrapping paper or old wall paper.
Measure interior of tray.
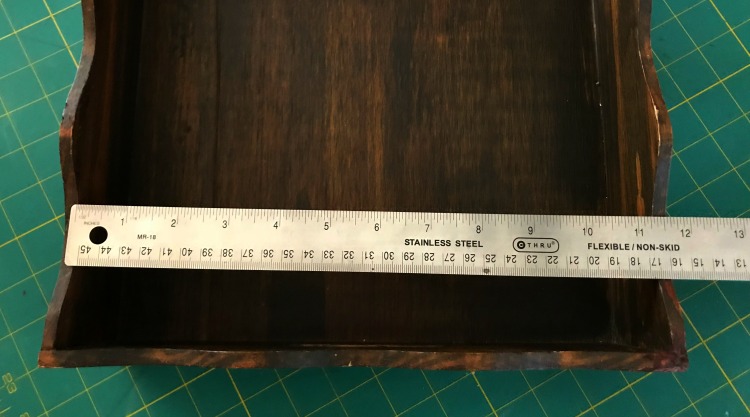
Cut paper approximately 2″ larger. Example – if tray is 10″ x 12″, cut paper 12″ x 14″.
Fold paper to fit inside tray.
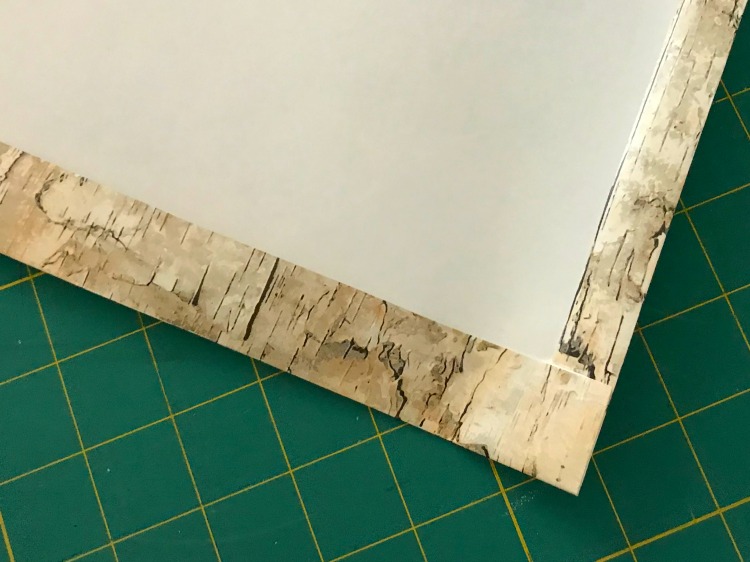
Use tape to hold edges down.
These can be secured with Command Strip Poster Strips if needed in bottom of tray.
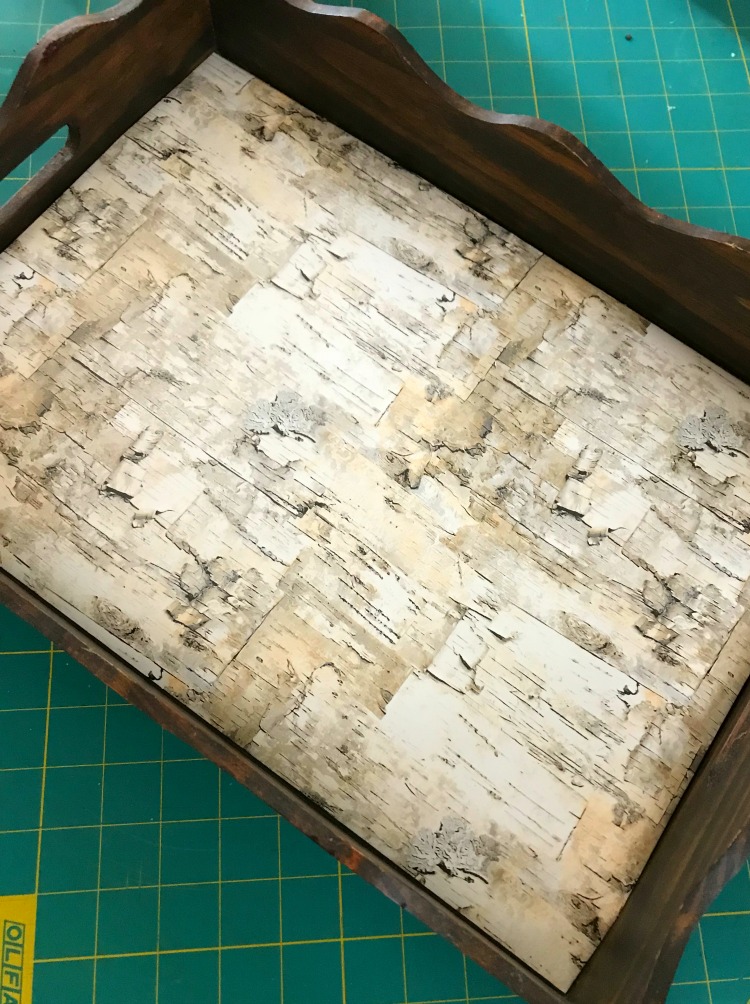
This is for decorative purpose only, not waterproof.
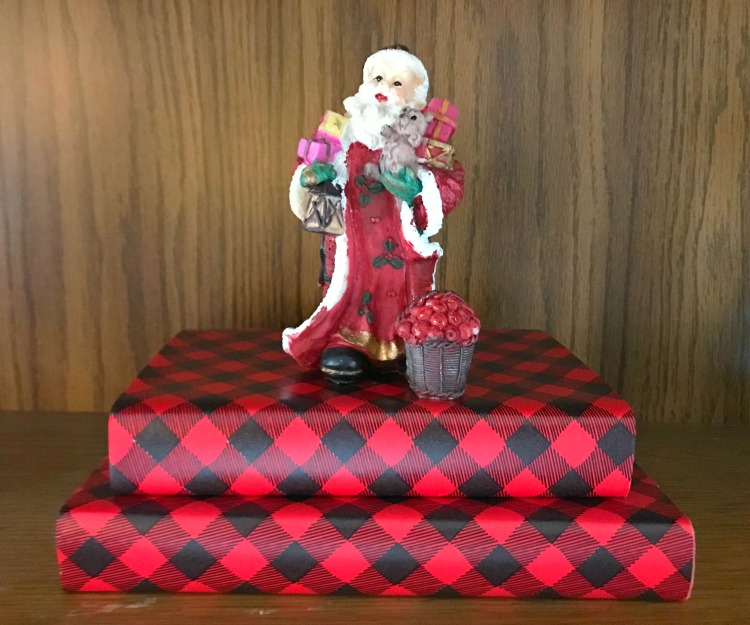
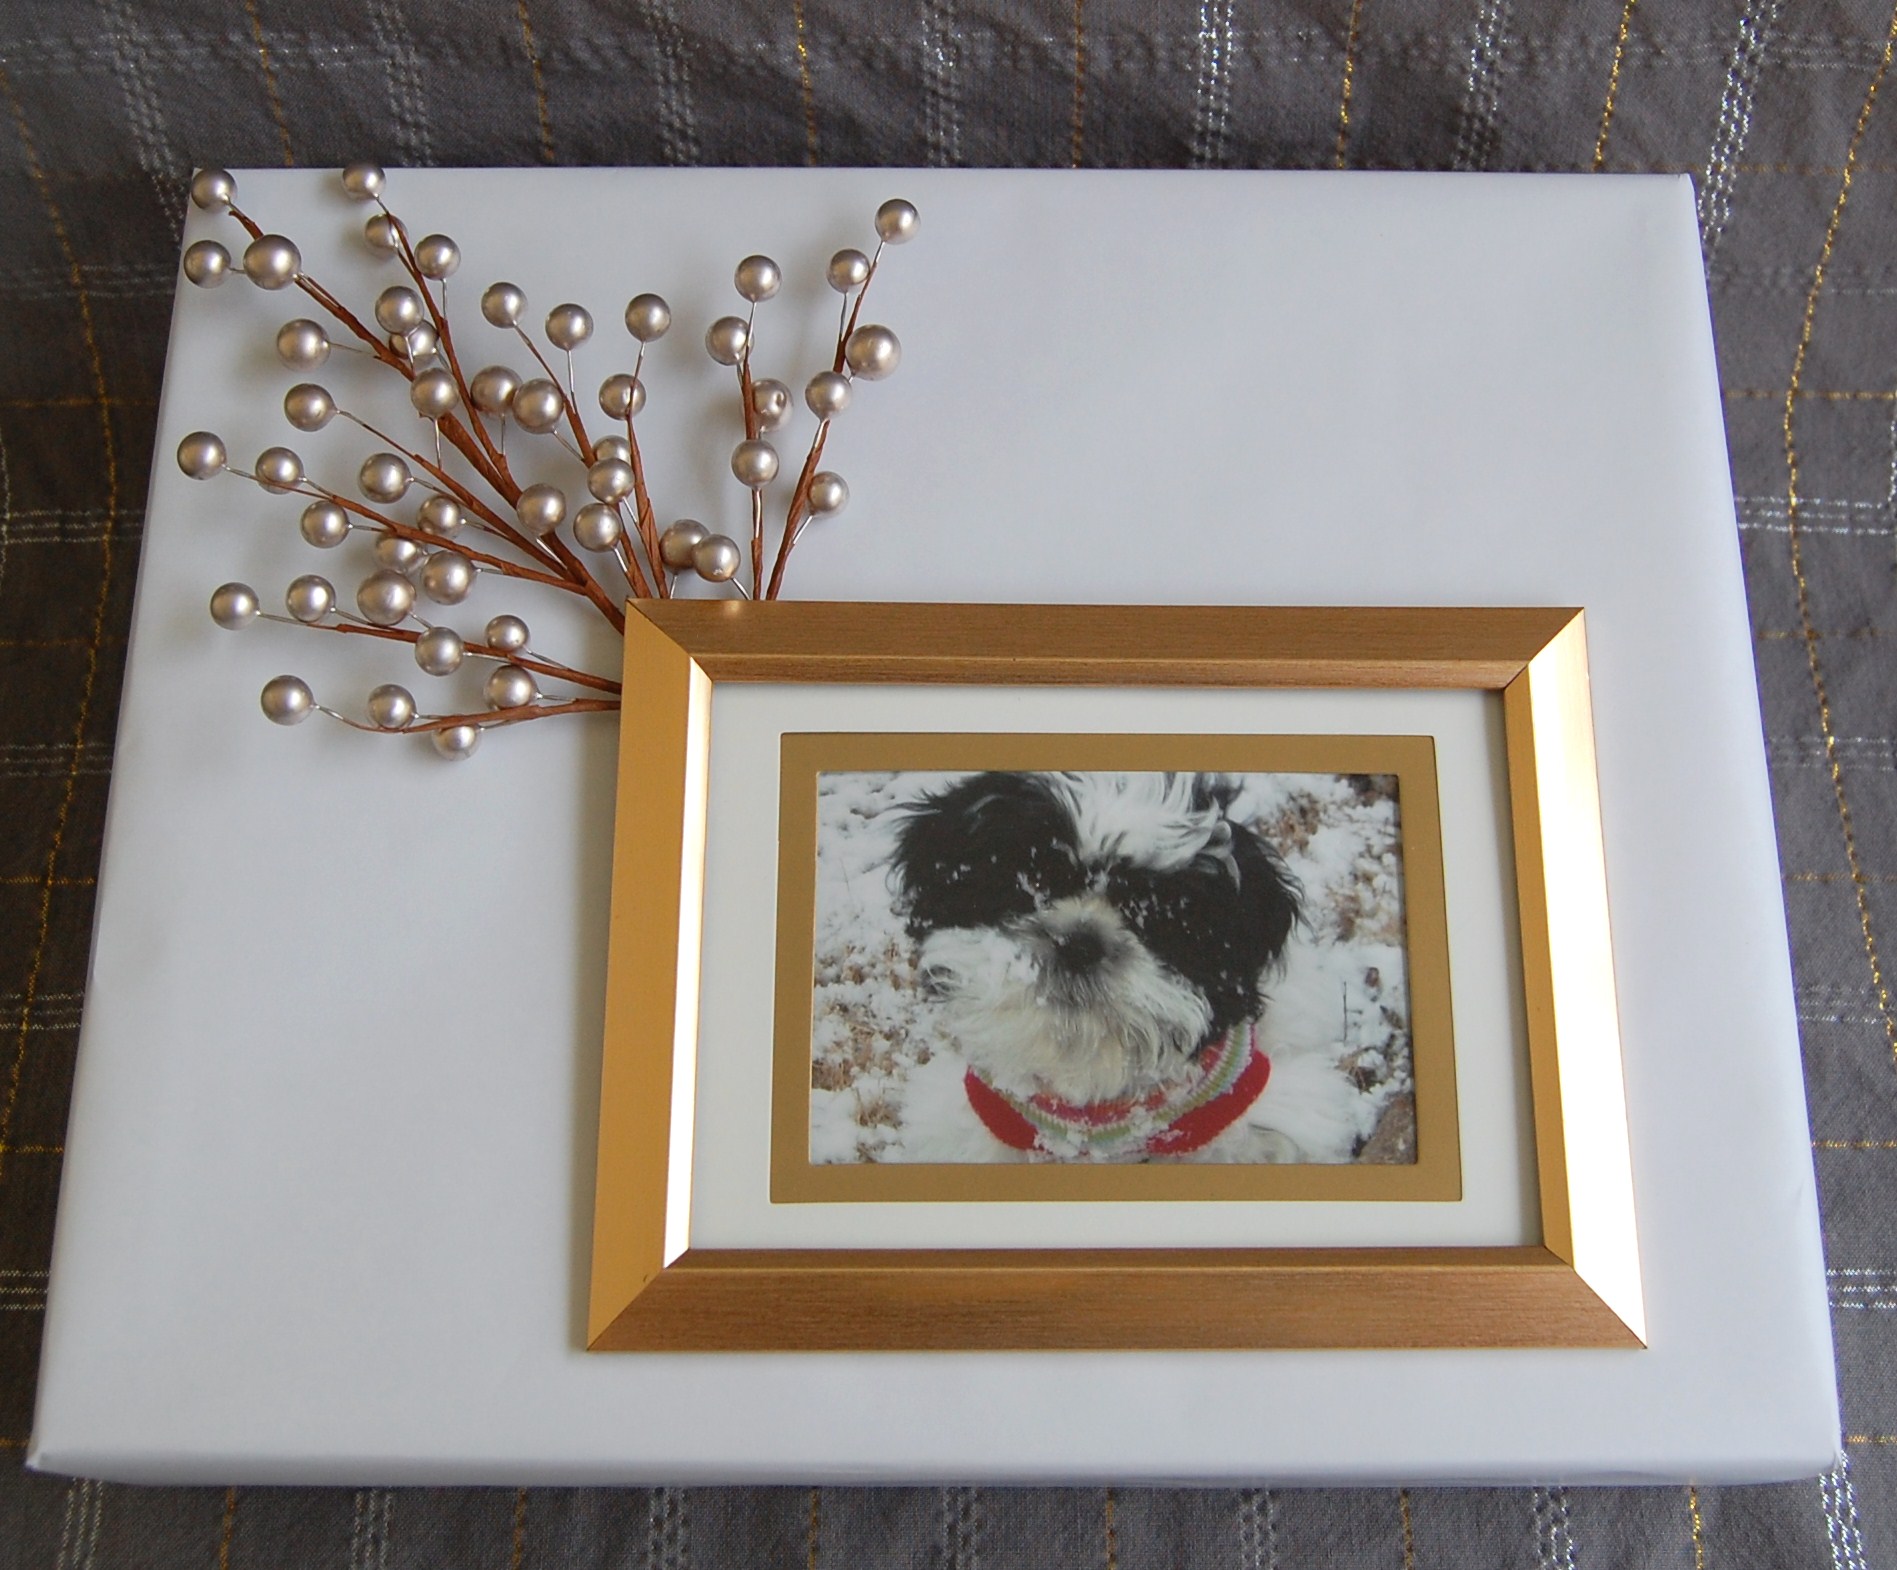
BOOK COVER
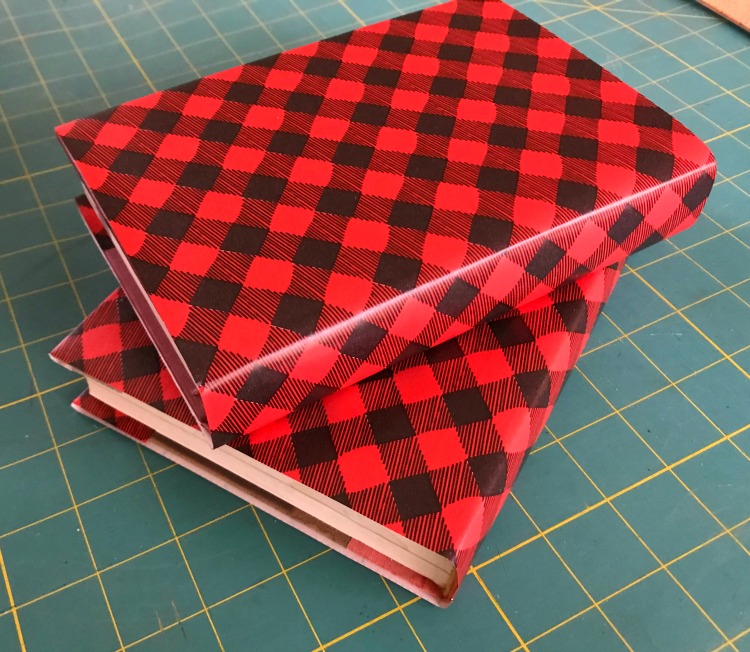
Very temporary – use books you have on hand. Novels, textbooks, even cookbooks will work.
Lay book on back of wrapping paper and mark length.
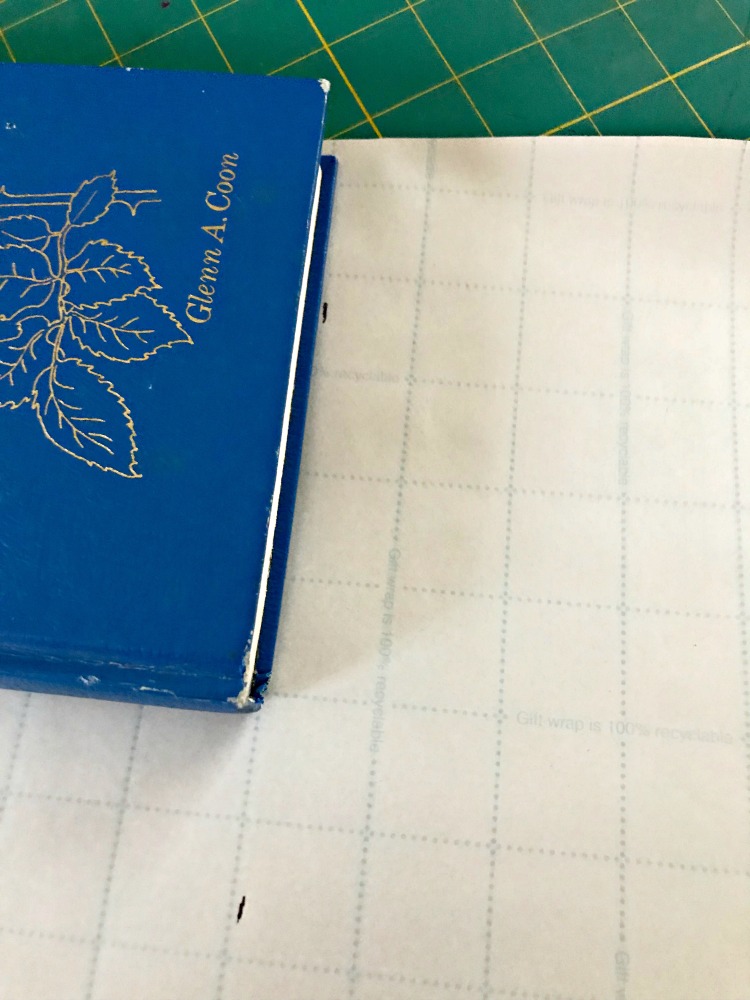
Pull paper around book to measure length needed.
Allow approximately 3″ – 4″ total to fold inside book.
Cut both edges.
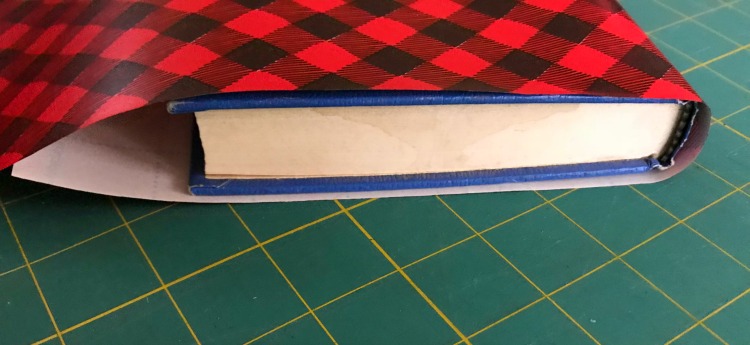
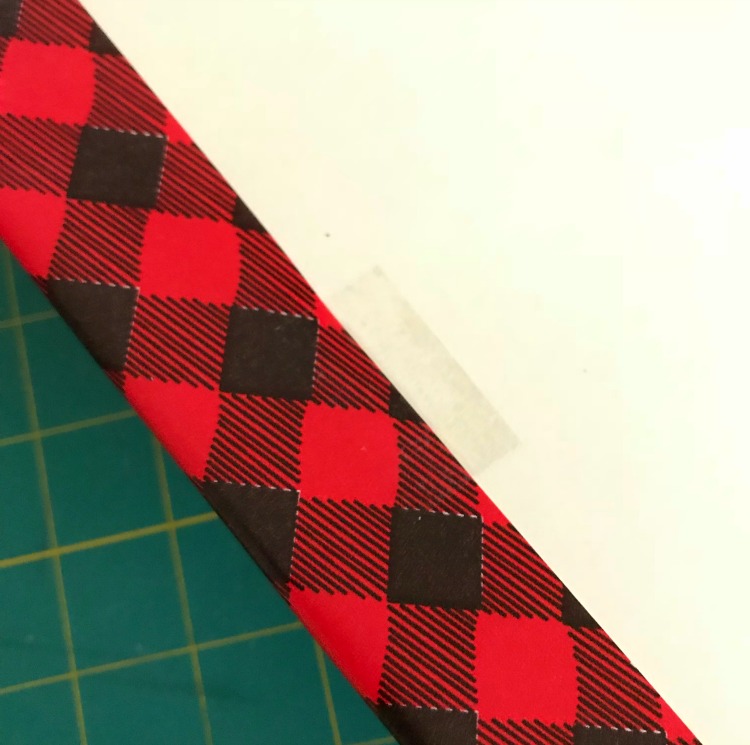
Fold one edge in about 1 1/2″ and place in book.
Always crease your edges.
Pull paper around book to fit to other side.
Crease this edge.
If you want a better hold, place a piece of tape on inside cover to hold paper.
You will find increment markings on the back of a lot of paper now to make measuring and cutting easier.
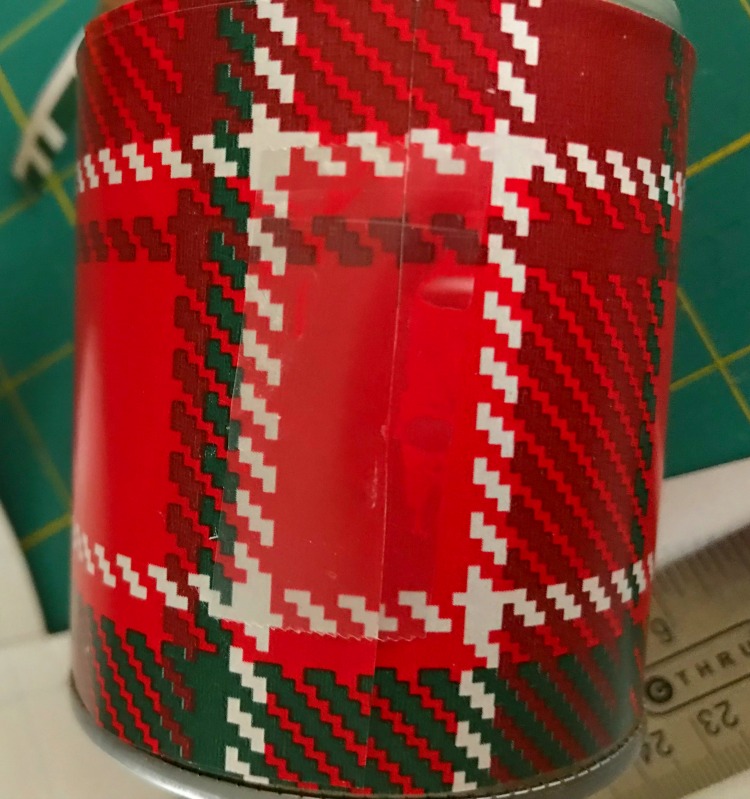
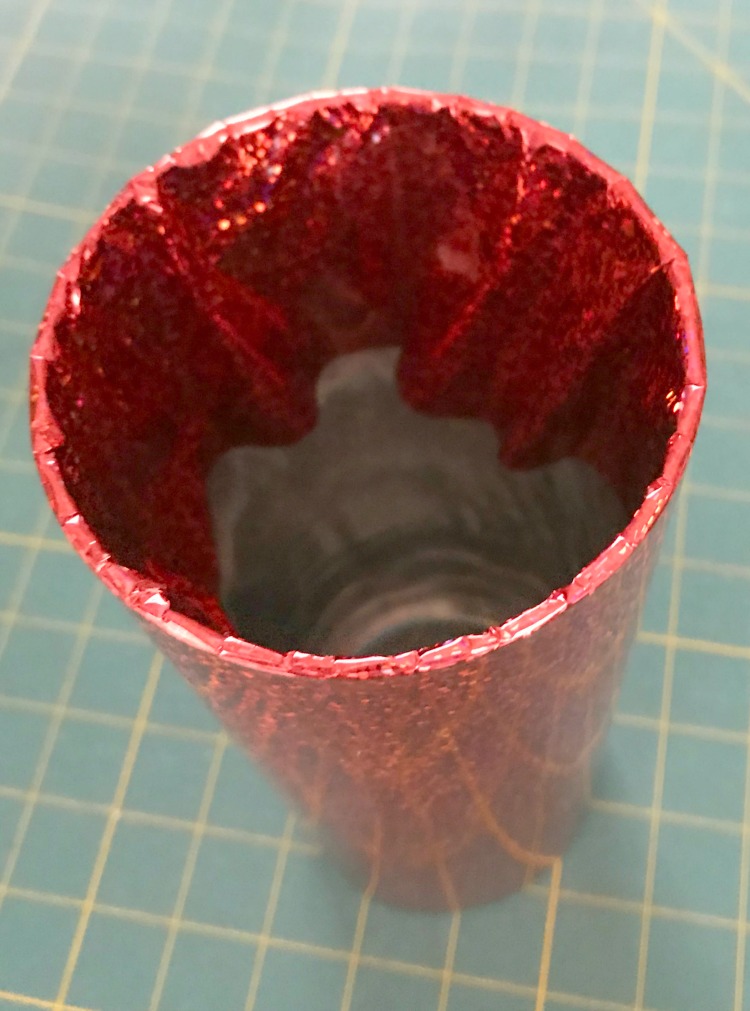
CAN COVER
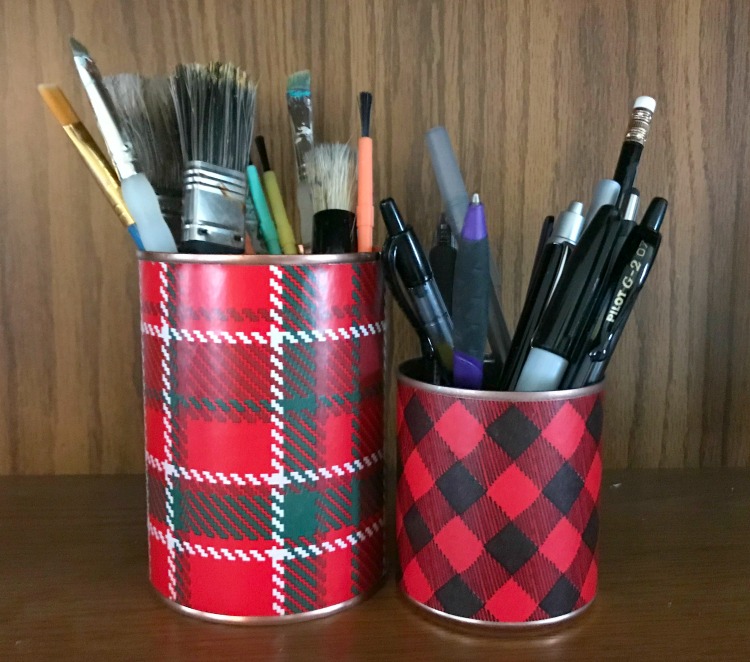
Many uses – decorate your desk, fill with paint brushes, kitchen utensils, cutlery, florals.
Wash cans.
Check for rough edges. Sand or press down with pliers.
Spray paint can with color of choice – if desired.
![]()
Always make sure the inside, upper edge is painted also.
Measure from rim to rim or edge to edge.
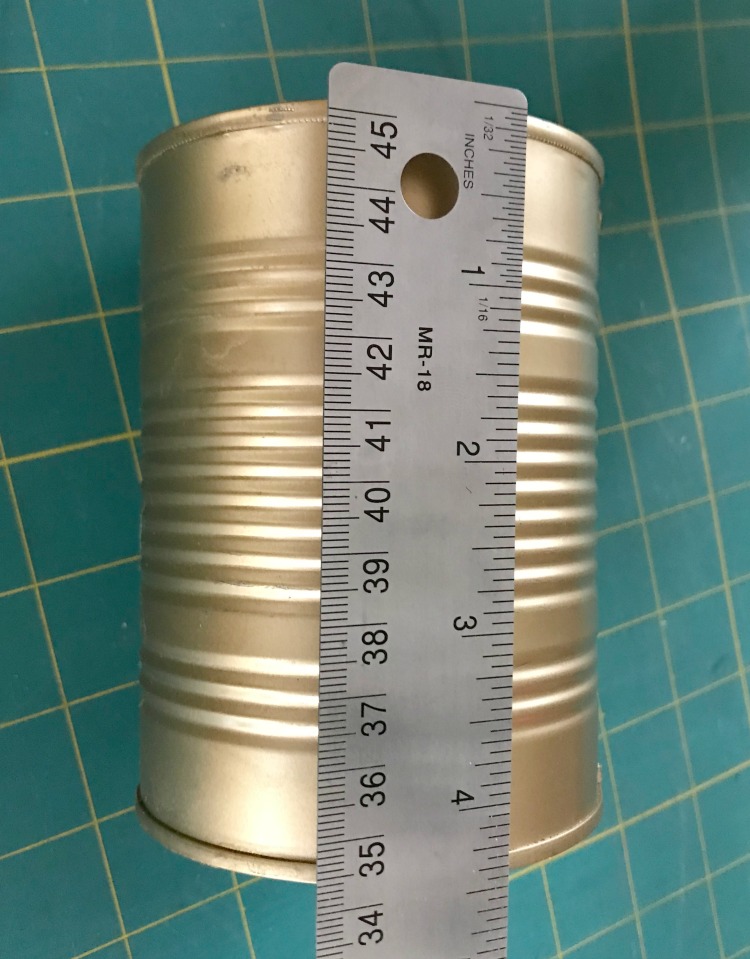
Measure around can, add approx 1/2″ – 1″ to overlap.
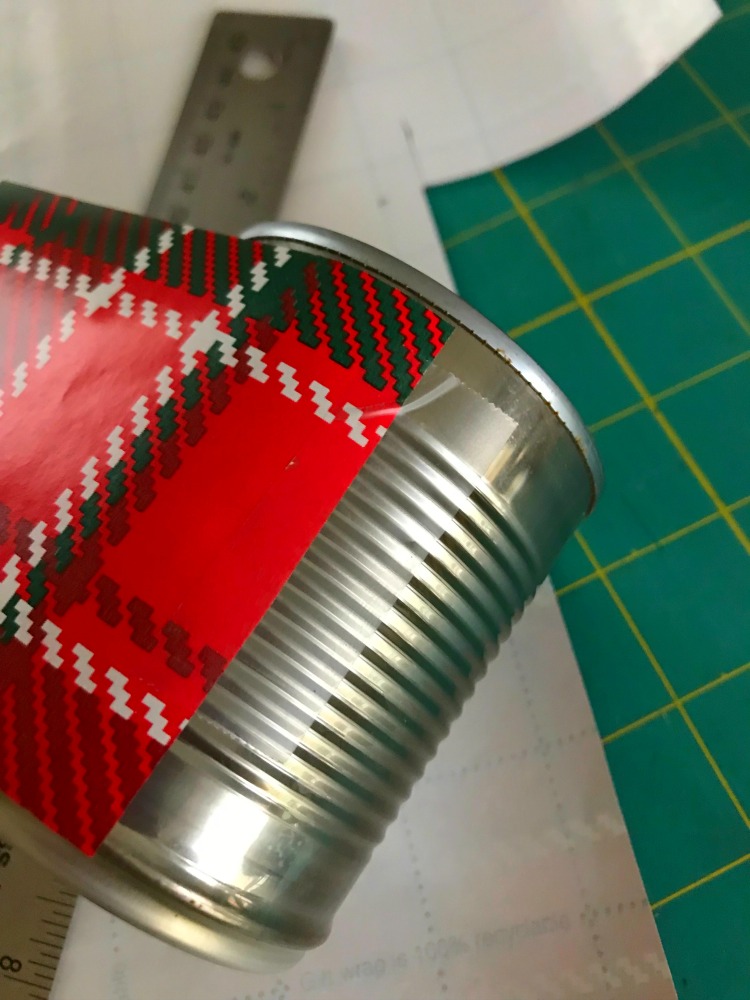
Cut this width and length of paper.
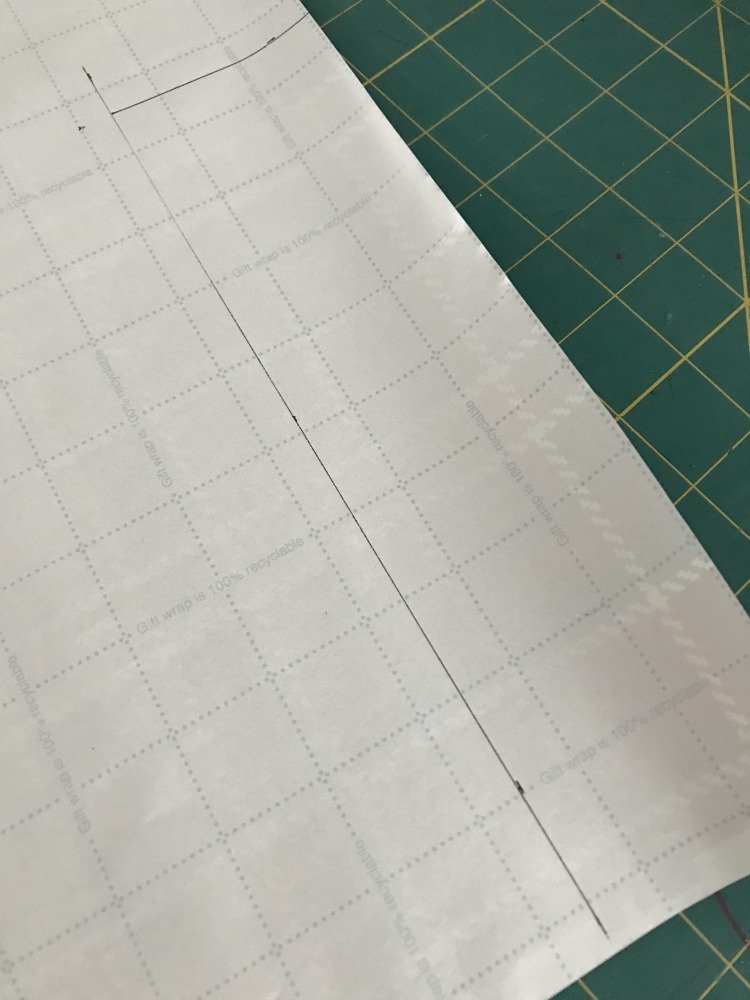
Secure with tape or glue.
VASE COVER
A straight side works best.
Measure around vase.
Measure height of vase and add 2″.
The extra on top can be folded down inside so upper edge is covered.
If using fresh flowers, keep water level below paper.
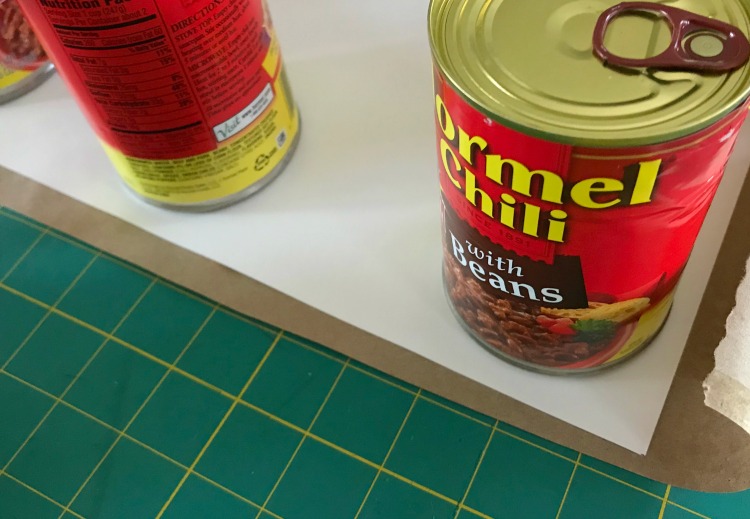
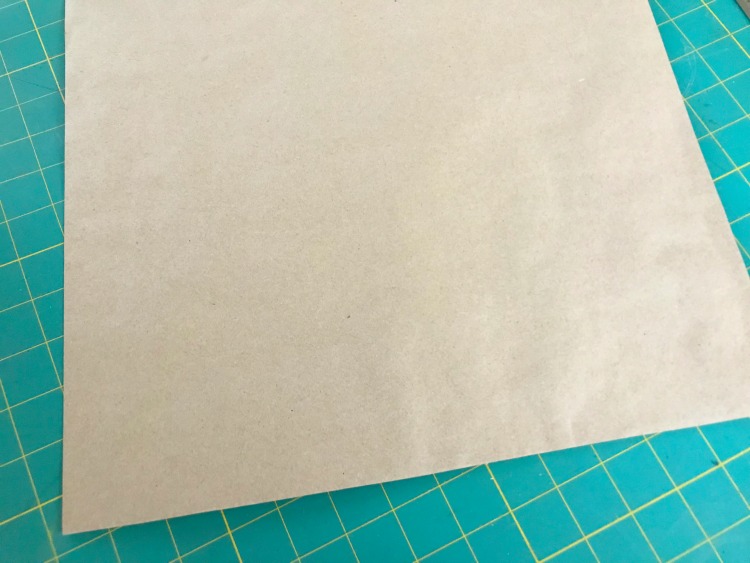
KRAFT PLACEMAT
Cut posterboard 14″ x 14″. Sharp scissors will work, or my choice is a rotary cutter on a self-healing mat.

Cut kraft paper approximately 15″ x 15″.
Using a glue stick, apply adhesive over all outer edges well of posterboard.
Place posterboard onto kraft paper, pressing to remove any wrinkles.
Weight this down – cans, books, anything to press down.
Let dry – approximately 1 hour.
Using a rotary cutter or exacto knife on mat, cut away excess paper.
These are now ready to decorate – markers, stickers, rubber stamps.
After decorating, these can be covered with clear contact paper to preserve them.
If using paper with a slick finish, such as wrapping paper, some markers will smear. Sharpies would work well for this, with supervision or with older children.
PLACEMAT
Cut a piece of foam core 15″ x 15″.
Cut a piece of wrapping paper approximately 18″ x 18″.
Wrap the foam core as you would a present.
Secure the paper on back with tape.
This is a great decorative addition to your table.
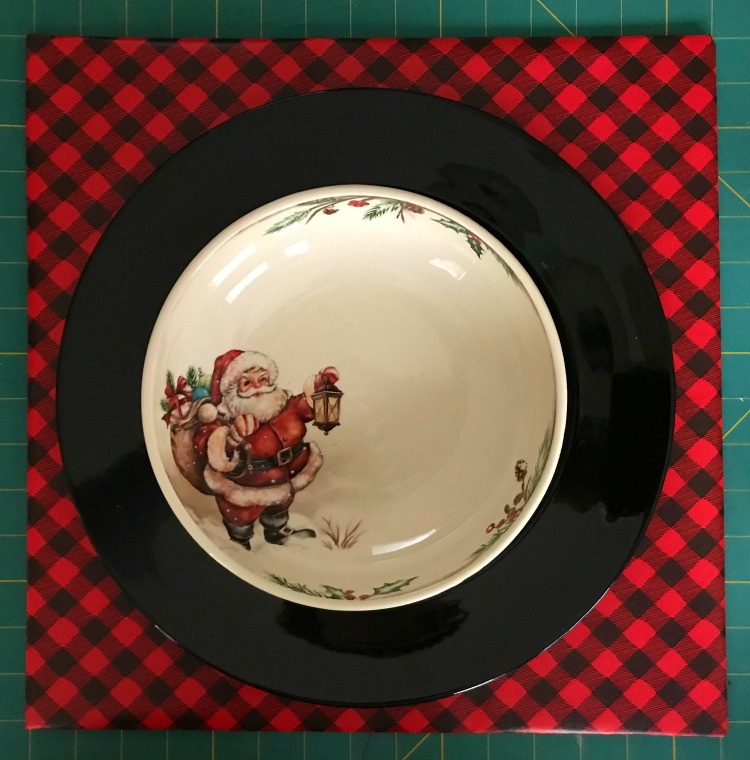
These are so easy and cheap to make, if you use it and it gets spotted, just make another one.
Make any size desired.
The 15″ x 15″ is large enough to still use a standard charger with it.
SHELF LINER
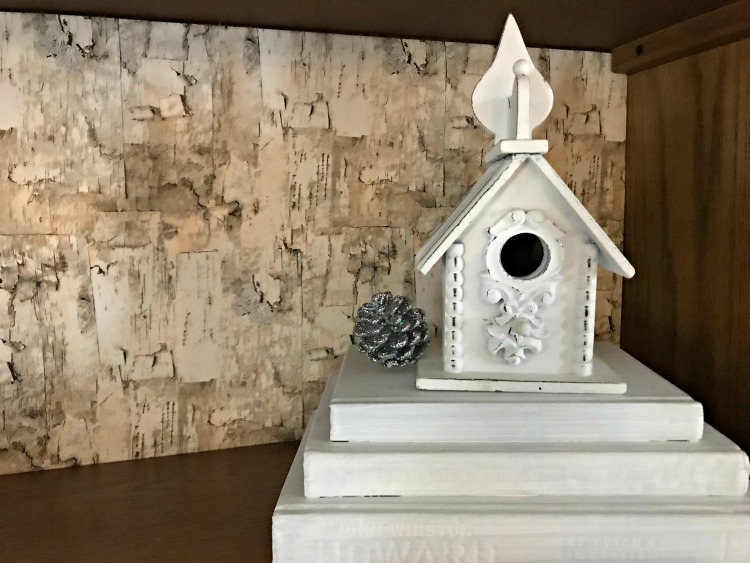
This is a great way to add color to a book shelf or in the back of a china cabinet shelf.
This could line the shelf or also the back of the shelf.
Measure the size needed.
Posterboard or foam core works well for this application.
Cut this just slightly smaller than size needed. Maybe about 1/4″ total.
Wrap your board as you would a present.
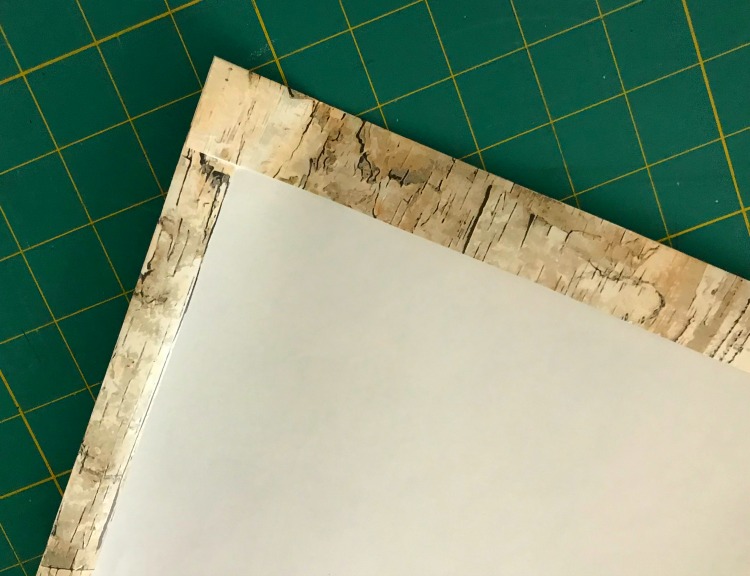
Secure the paper on back with tape.
If the board doesn’t seem secure enough on the shelf, use Command Poster Strips to secure.
These will pull off without damaging the space when you are ready to remove.
TABLE RUNNER
Can’t find the right color runner, make it yourself.
Measure the size needed and complete as you would the shelf liner above.
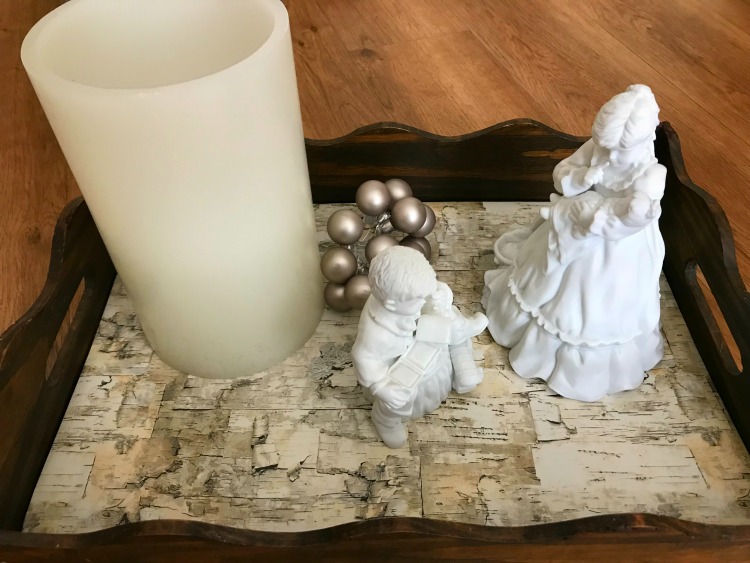
Don’t just think of these ideas with Christmas wrapping paper, but other holidays and for everyday. This birch paper would be great for any woodland or rustic decor. What about as a backdrop for winter decor?
Other tips and hints:
What about for a party – stripes and polka dots would brighten your setting.
I have a self-healing mat and rotary cutter which is great for any paper or fabric project. Never use a rotary cutter or exacto knife without a protective mat.
Use the edge of your ruler or an old credit card to make a sharper crease in the edges of your paper.

I’ve included affiliate links to Amazon for you to find some products easier. I may receive a small commission, but the price is the same for you. It just helps my blog out.
Happy Travels,
Rosemary