Bulletin Board to Jewelry Wall
Does your jewelry look like this? Do you need a little organizing? Is it time for a jewelry intervention? So from a bulletin board to jewelry wall was in the works.
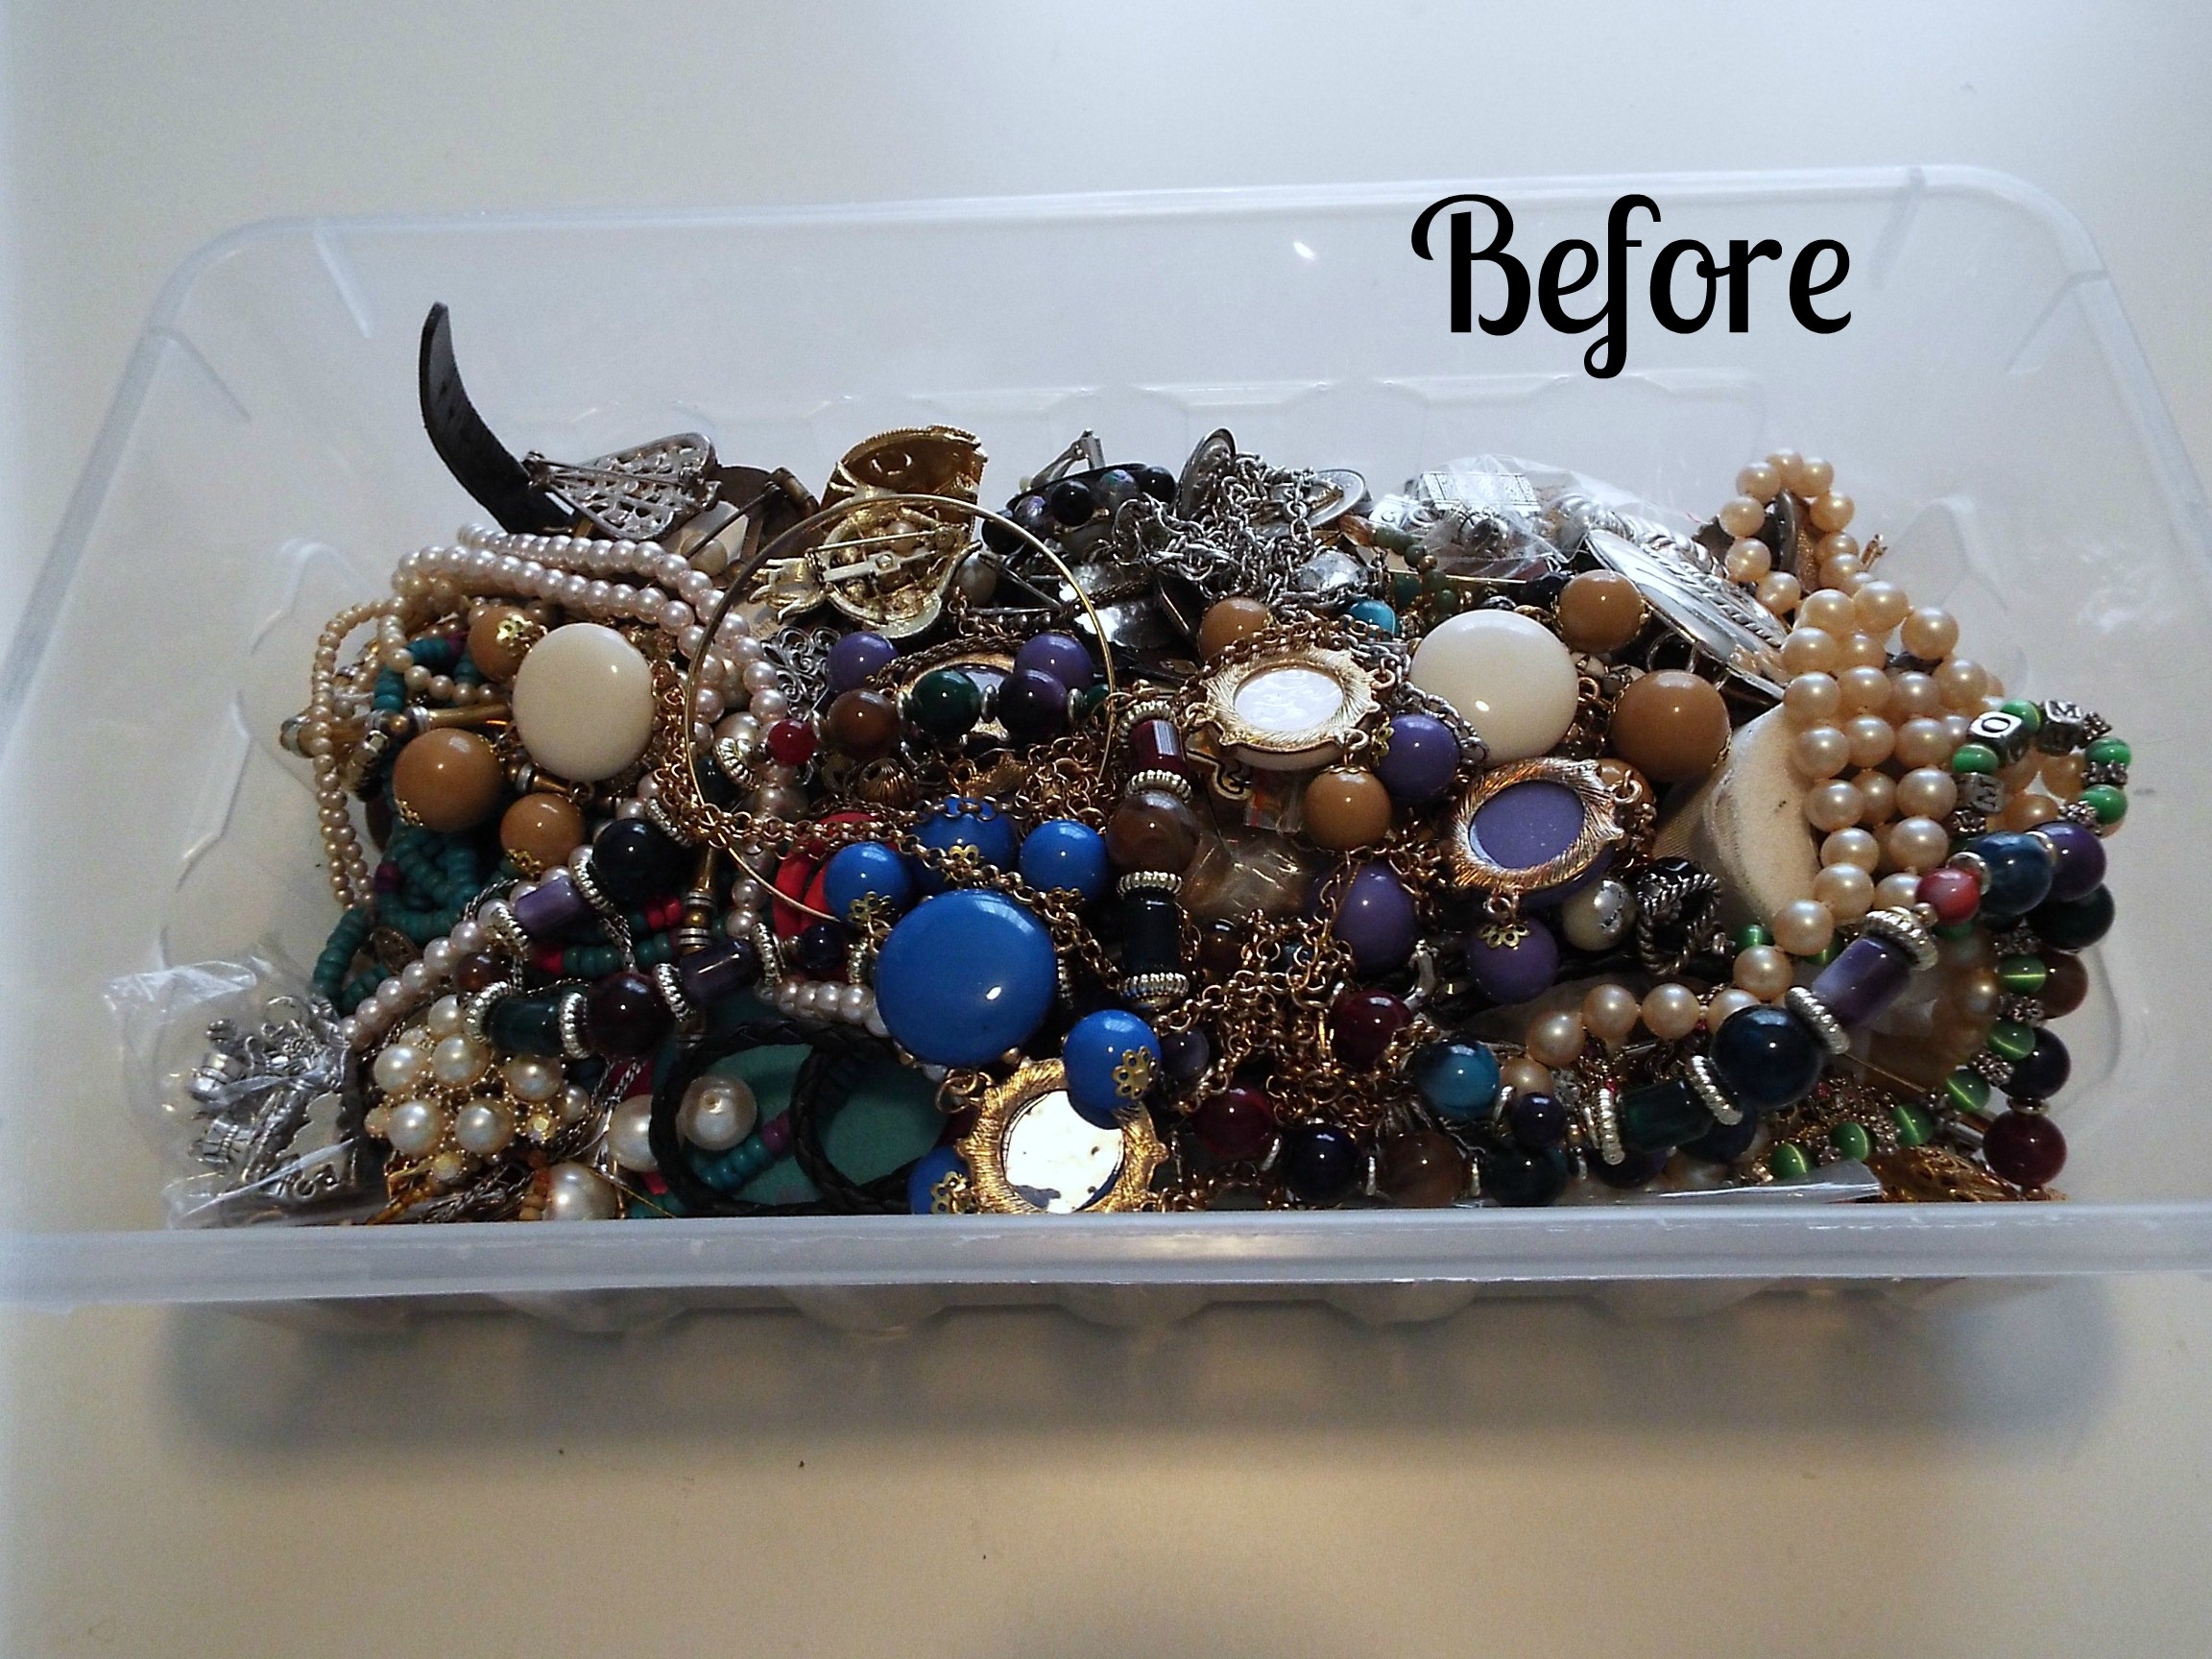 I did, especially for all of the necklaces I had accumulated from Ebay and clearance sales.
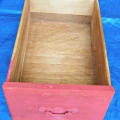
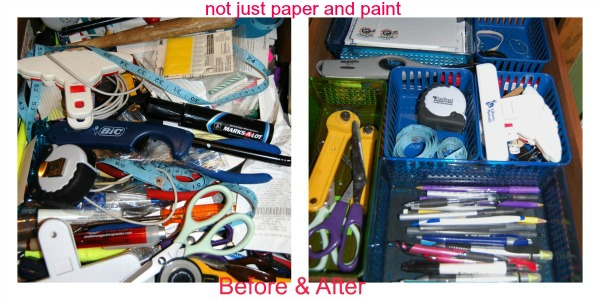
After getting home from a cruise a few months ago a lot of my things just got thrown into this box while unpacking so that was a good indicator it was time to get something done.
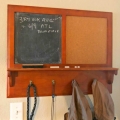
There’s a wall behind the bathroom door that was perfect for hanging my necklaces so now to plan. I had an old bulletin board which would work great, but just need a little TLC to make it work. Knowing I wanted it to be “pretty”, burlap and lace was the perfect solution.  Before starting, think about what direction it will hang and add hooks to the back if necessary. Most of these will come with a package of hooks when you buy it.
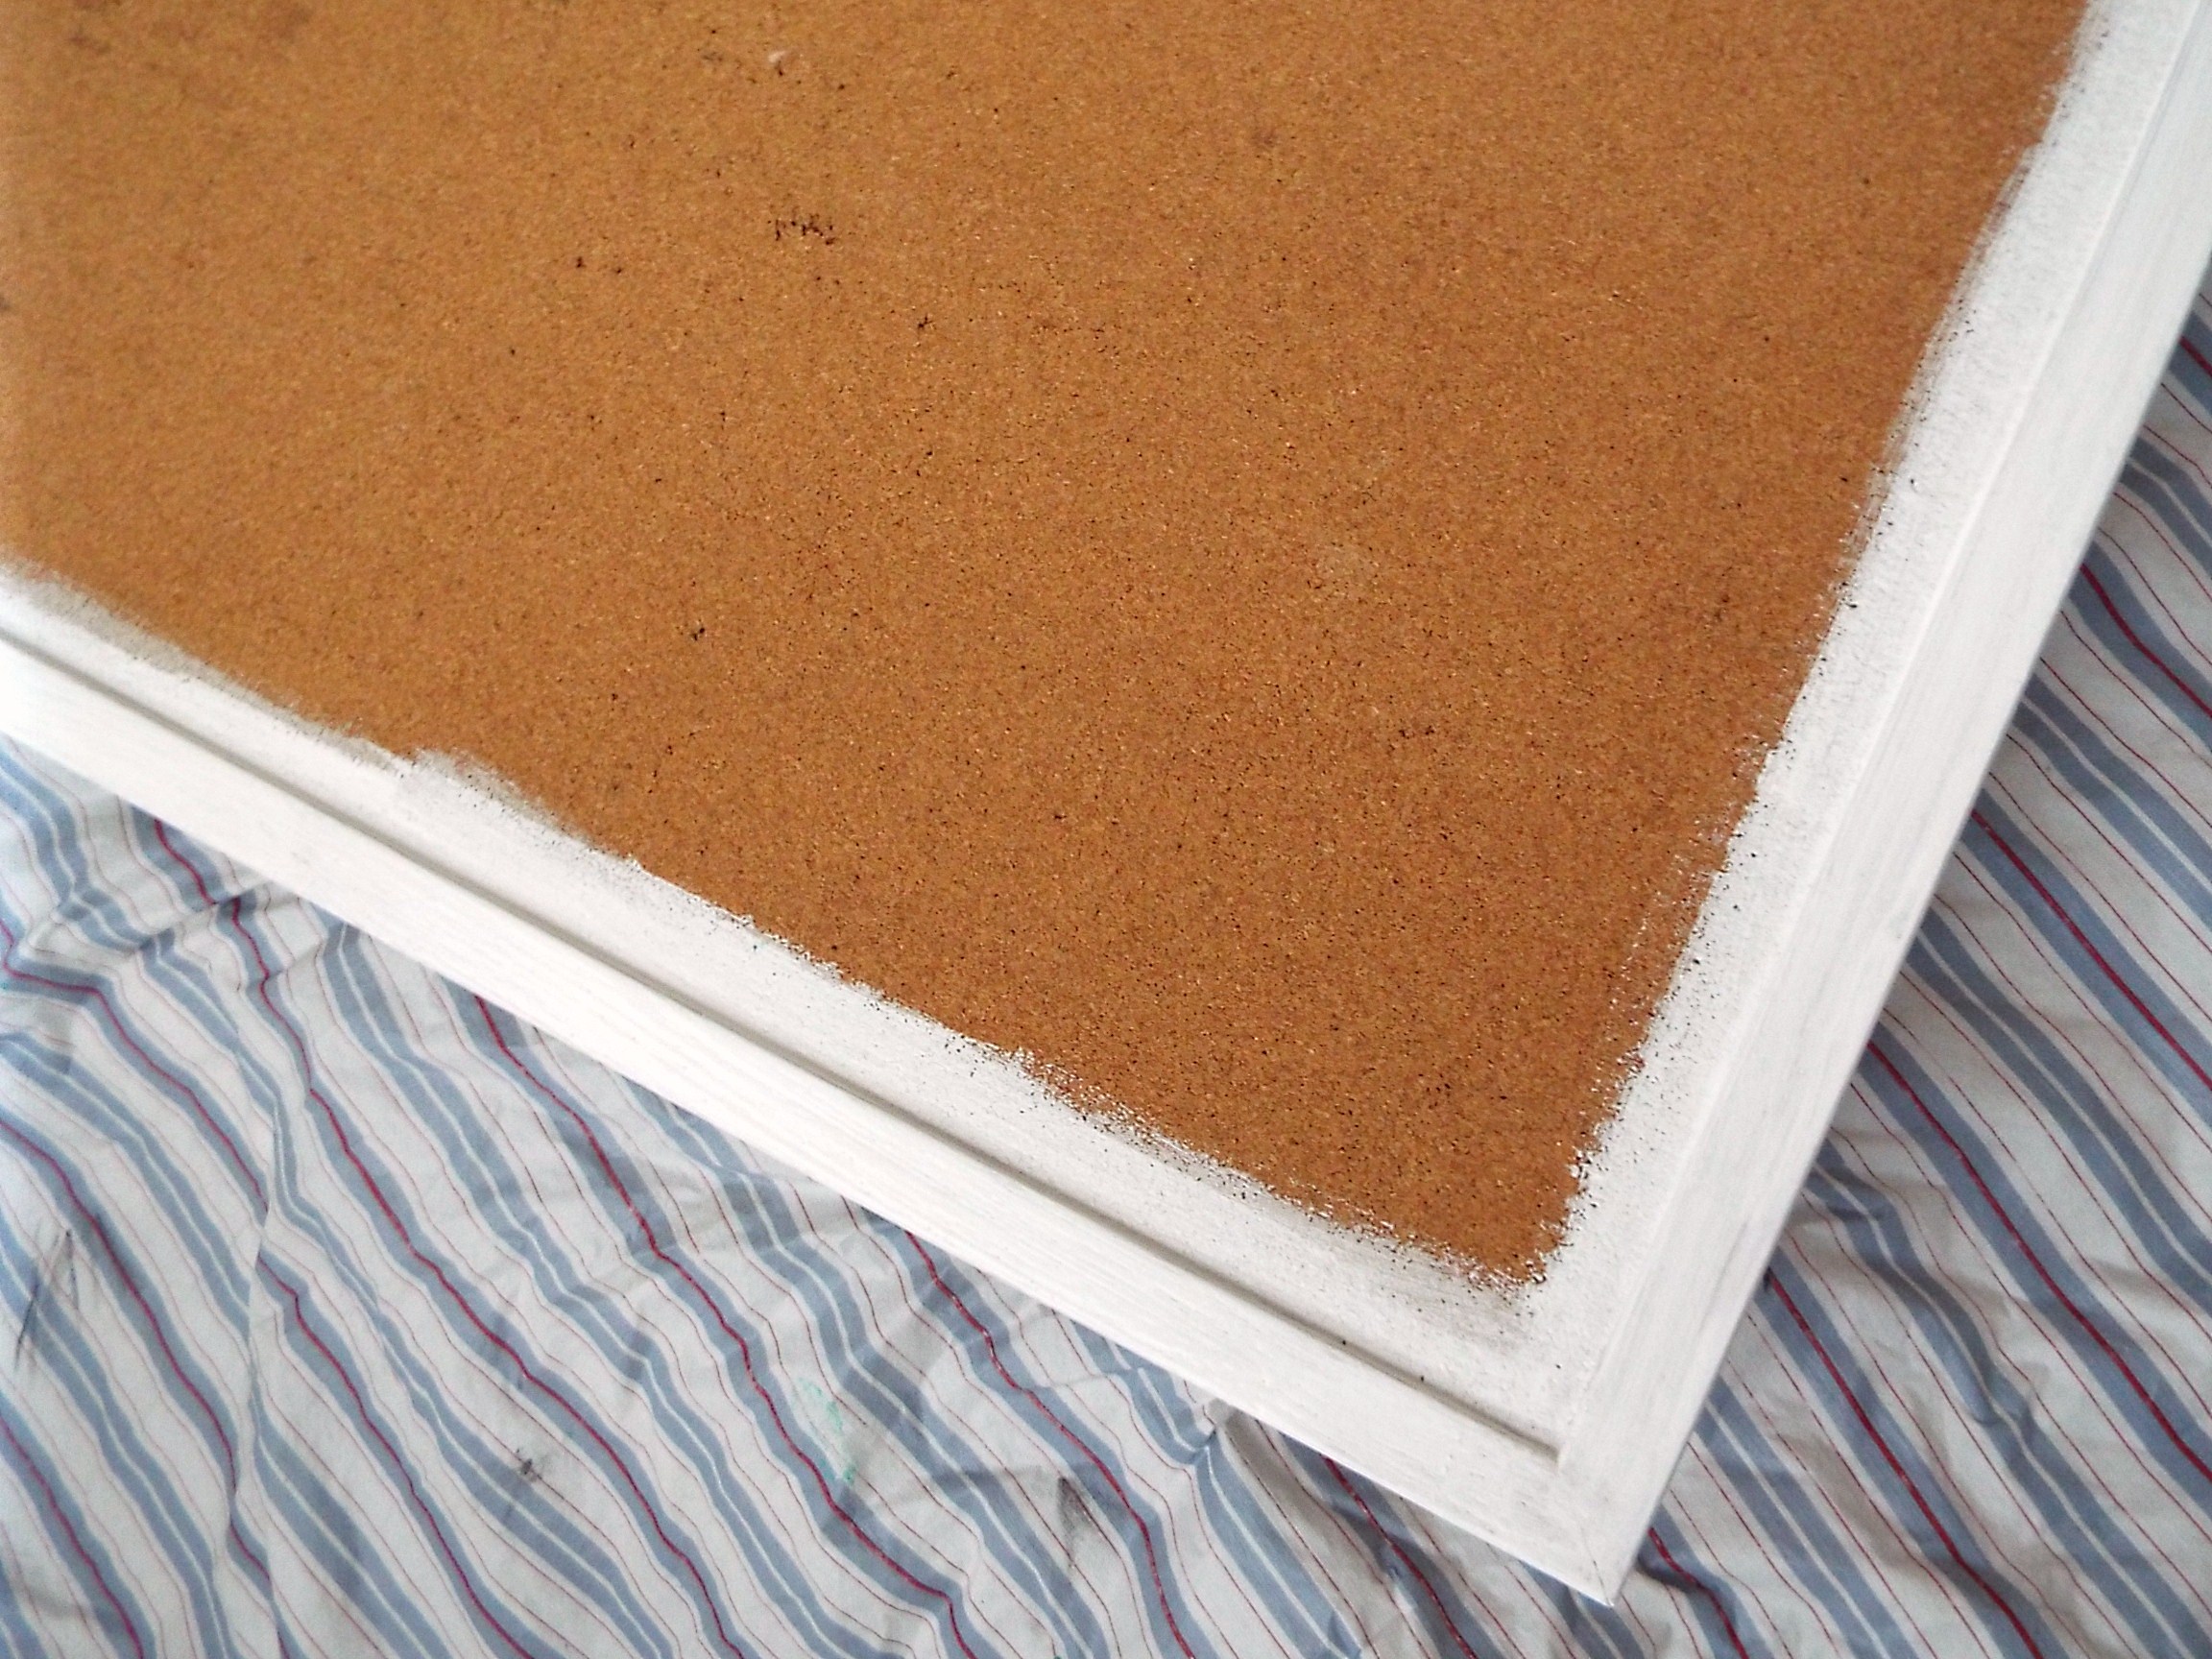
First I painted the frame with just some white milk paint I had on hand. You could even buy just a small bottle of acrylic paint at the craft store to keep the cost down. It did take a couple coats of paint. Don’t worry about paint getting on the cork part as this will be covered with the burlap.
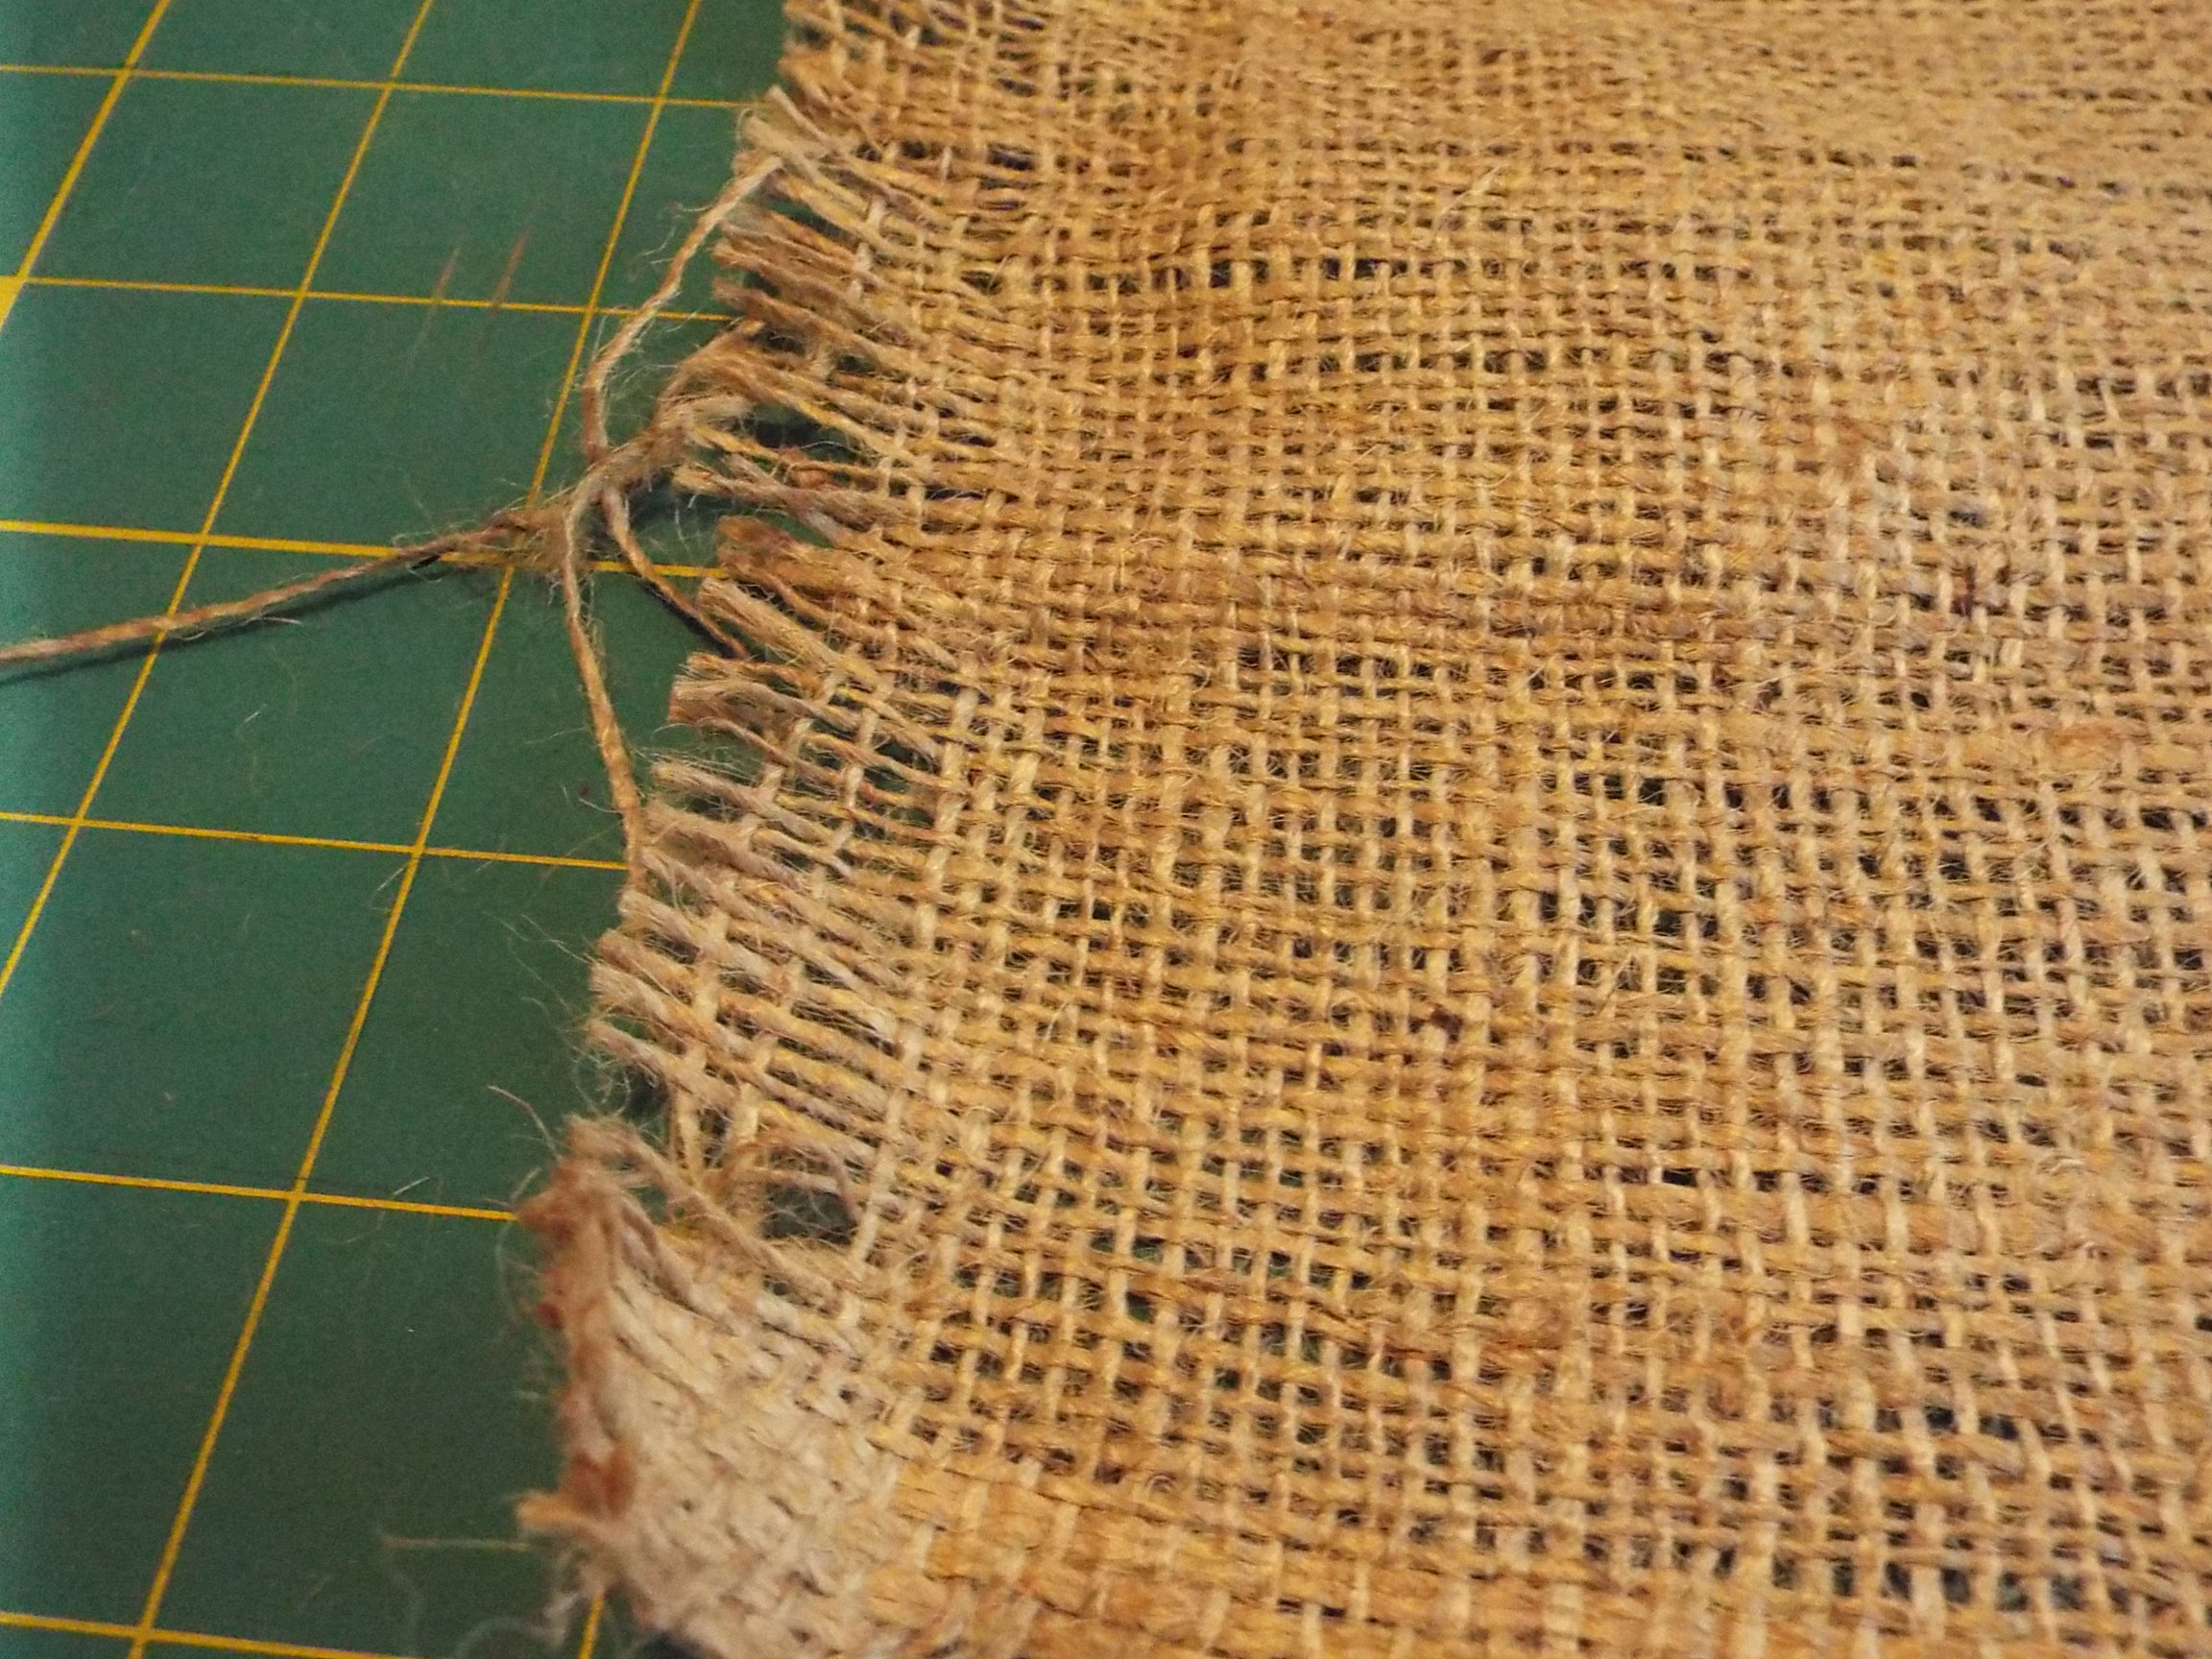
 After letting it dry, I measured for my burlap. Sometimes this can be a bit tricky as it will ravel easily. The best way to “cut” burlap is by marking where it needs to be cut then pull a thread out of it. This will produce a straight edge to cut. I find using a rotary cutter for any fabric makes life easier. Just make sure you have a cutting mat under the burlap so no to ruin the top of your table.
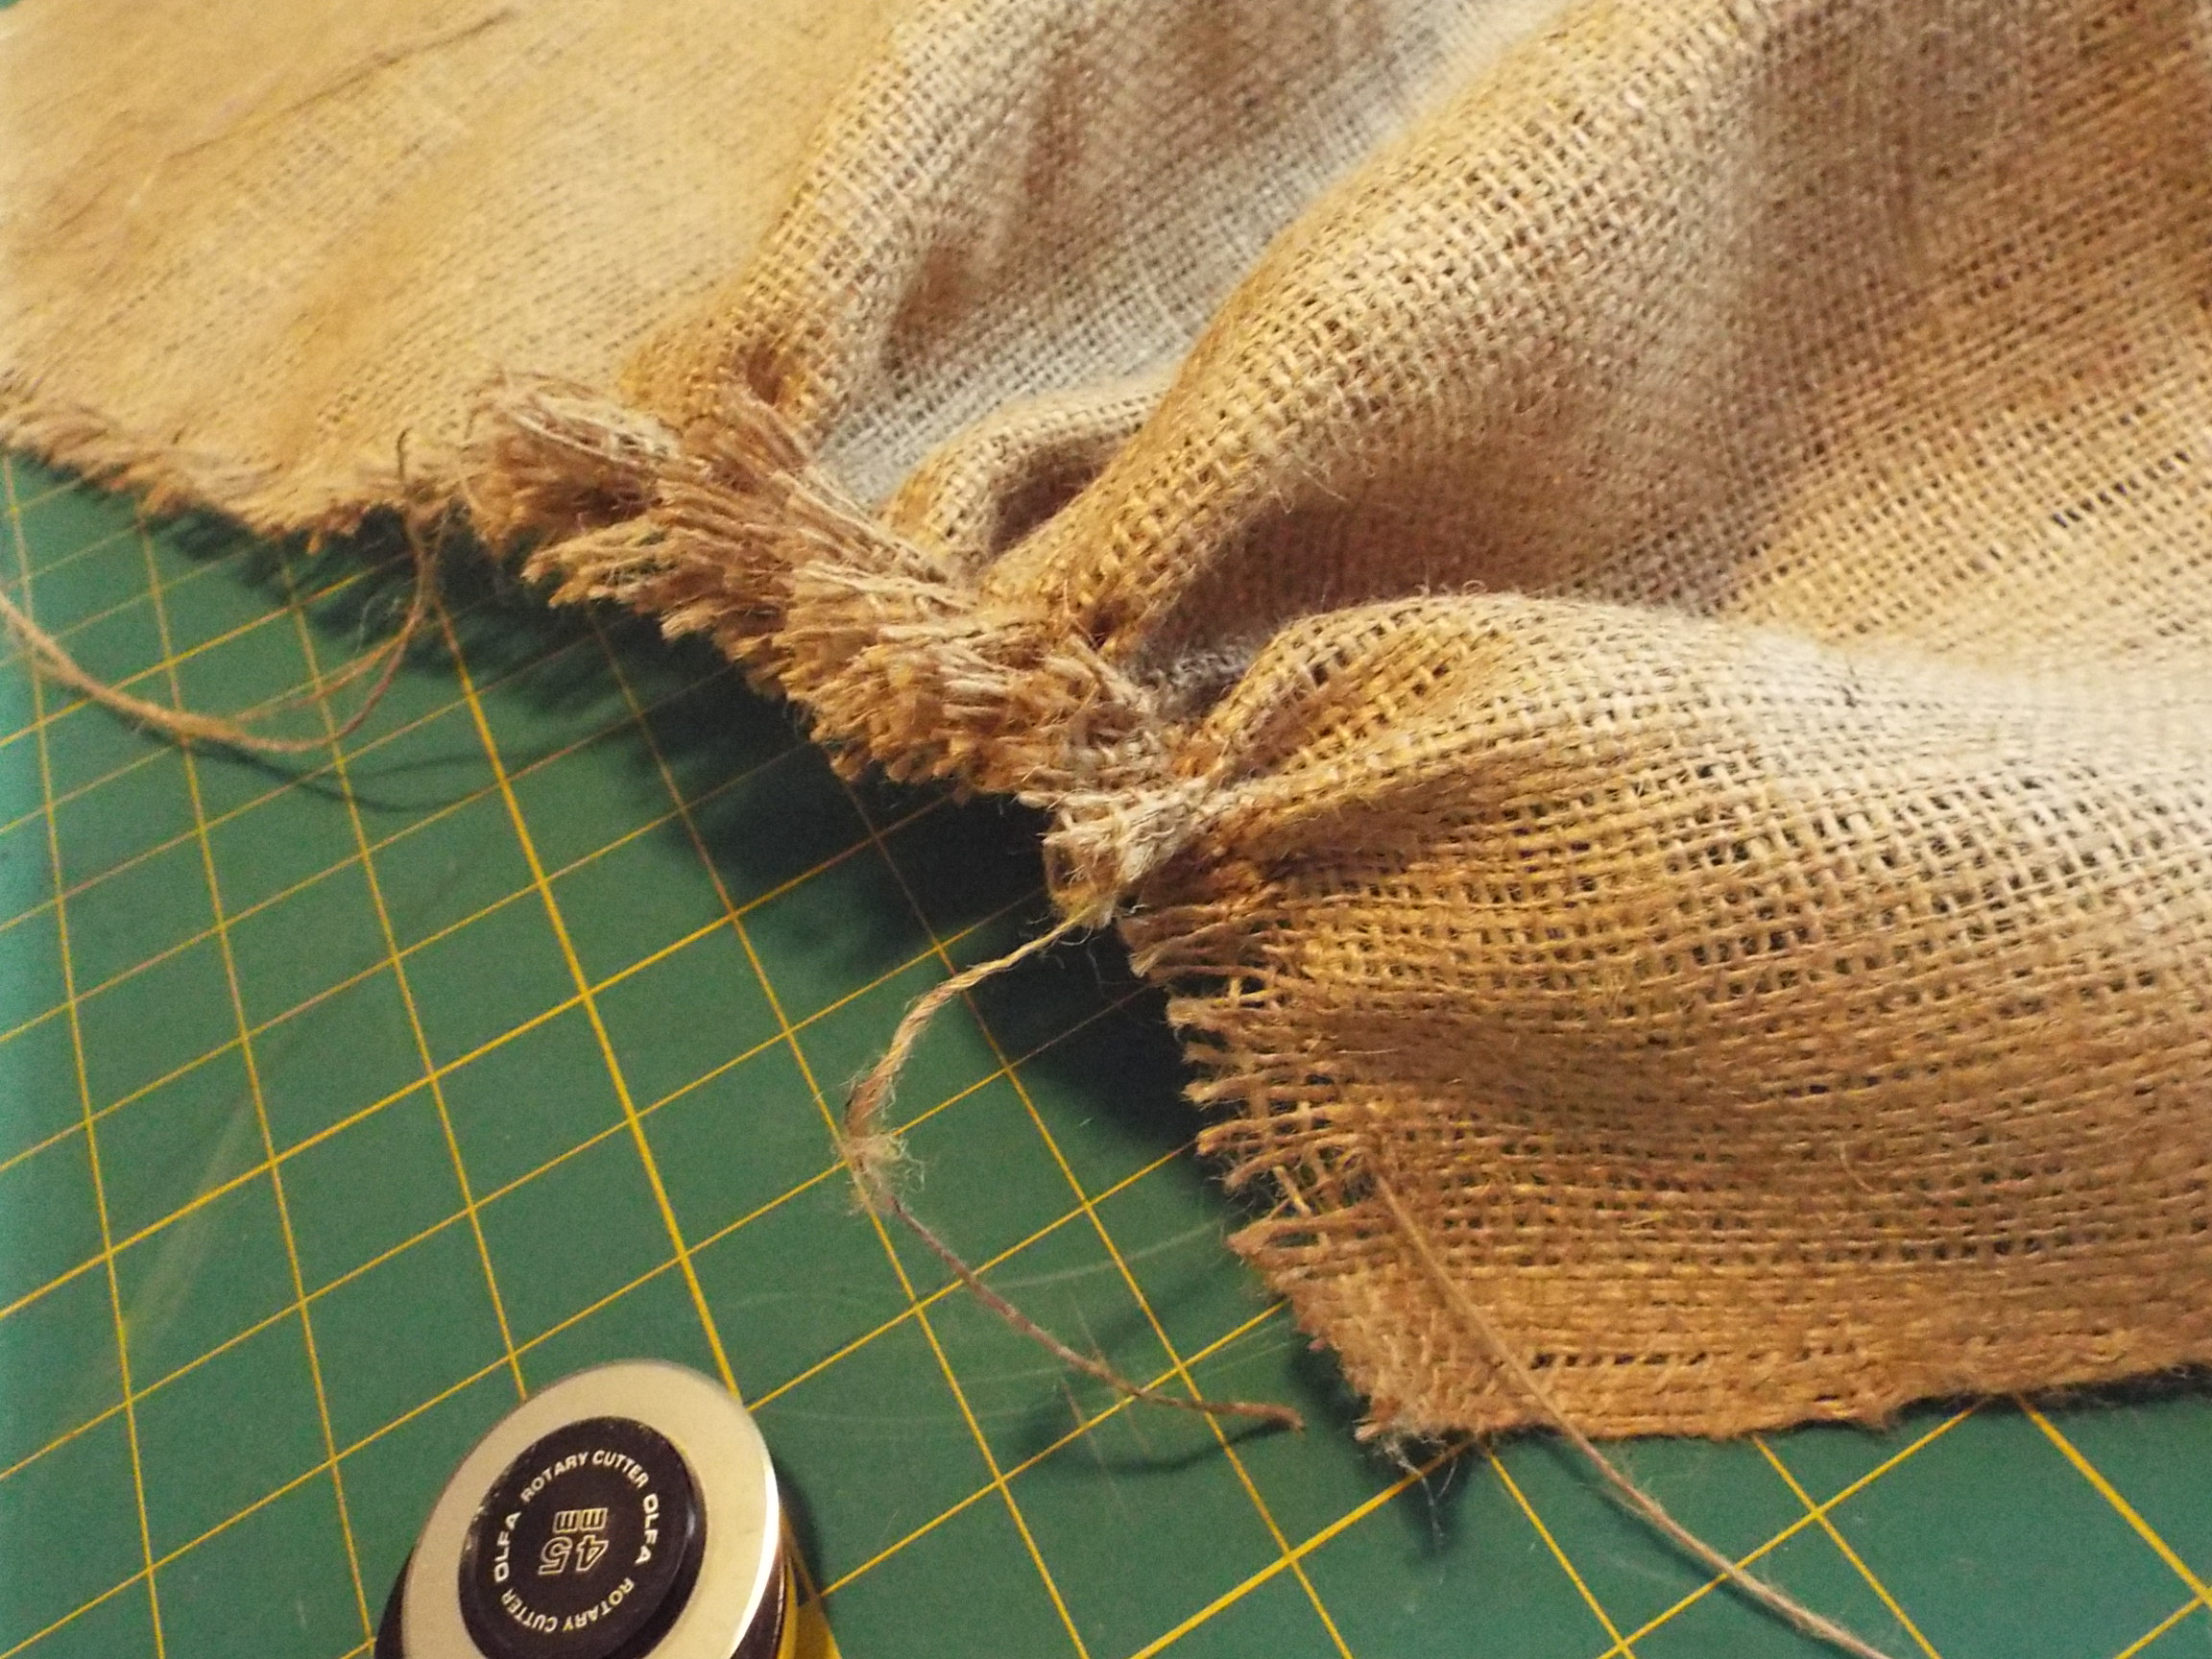
 A low temp glue gun is a simple way for attaching the burlap to the cork board. A thin line is enough to hold it. Just do a short section at a time. Place an object (empty bottles worked) across the board to hold the burlap in place while adhering the edges of the burlap down.
Advantage of using a glue gun is no wait time for it to dry. Love my glue gun. Any type of fabric glue will also work, just make sure it dries clear. This would also be useful if you are letting children help with the project.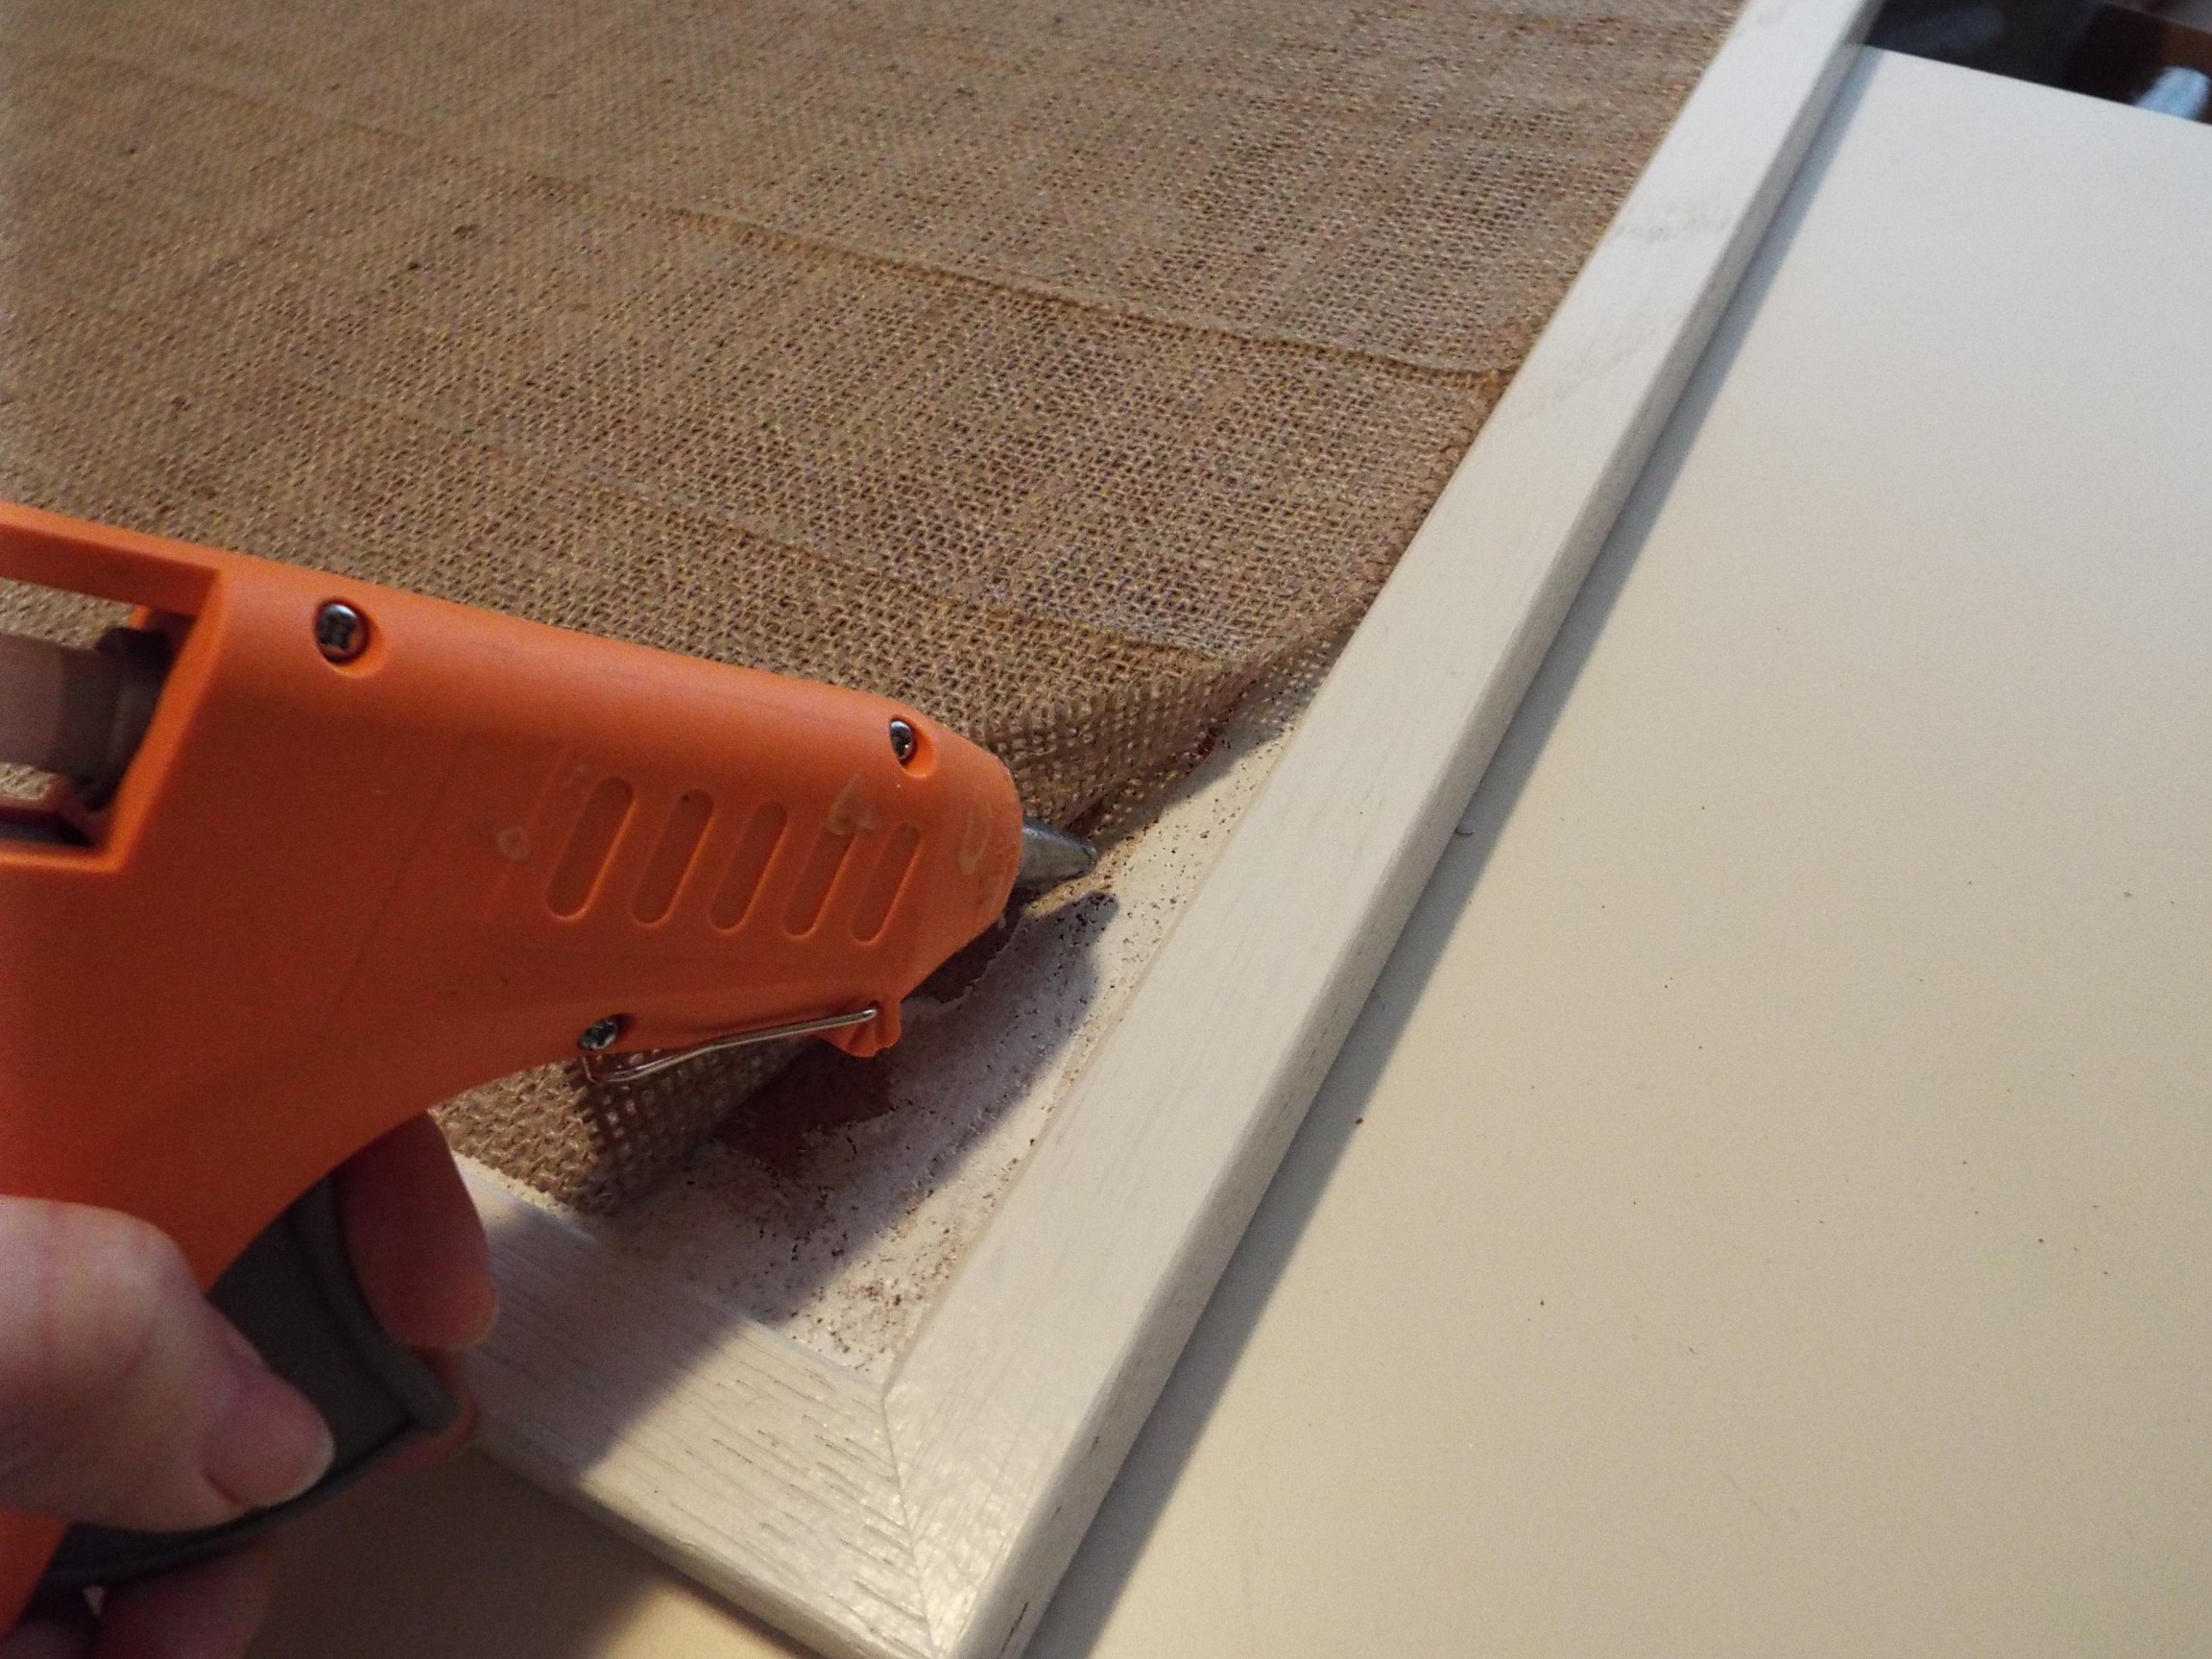 The lace was attached in the same manner as the burlap. With this lace, the corners were mitred to avoid any bulk and it would lay flat.
 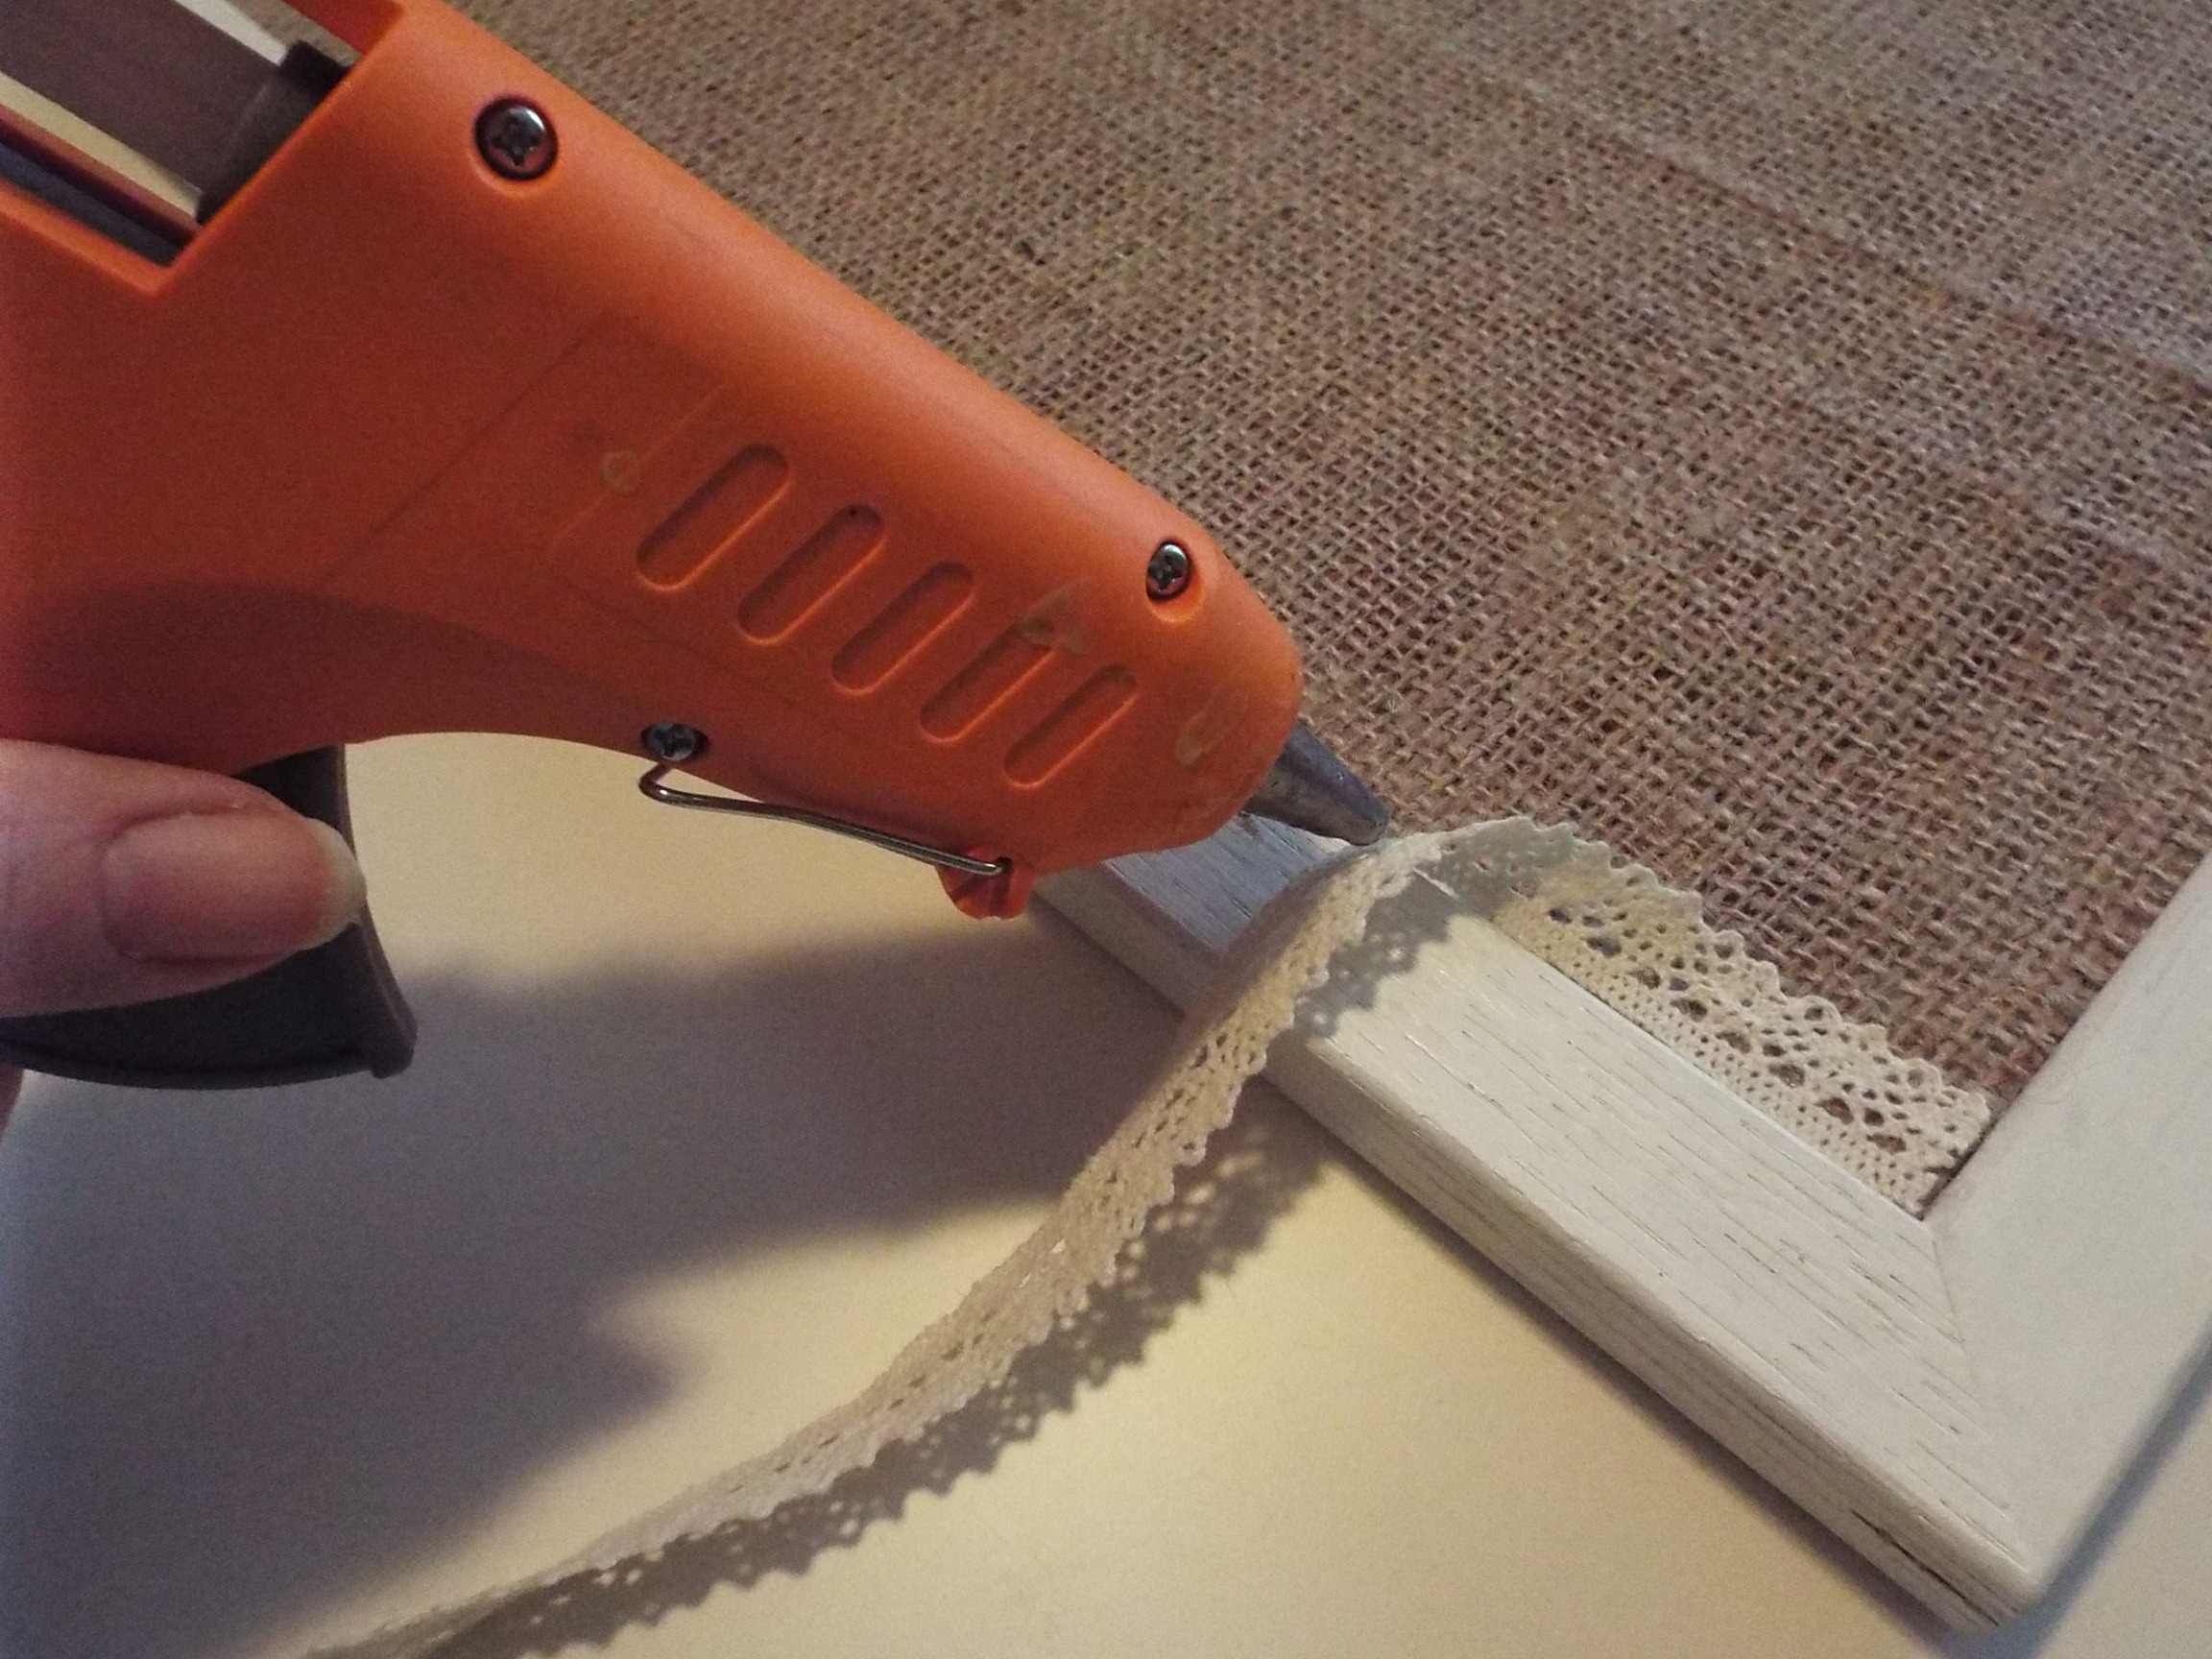 The pearls were added to finish the edge. I only put a little drop of glue every 6 – 8” to hold it down, pulling it tight as I glued. Also, if you cut the pearls instead of rounding the corner, you get a nice straight corner.
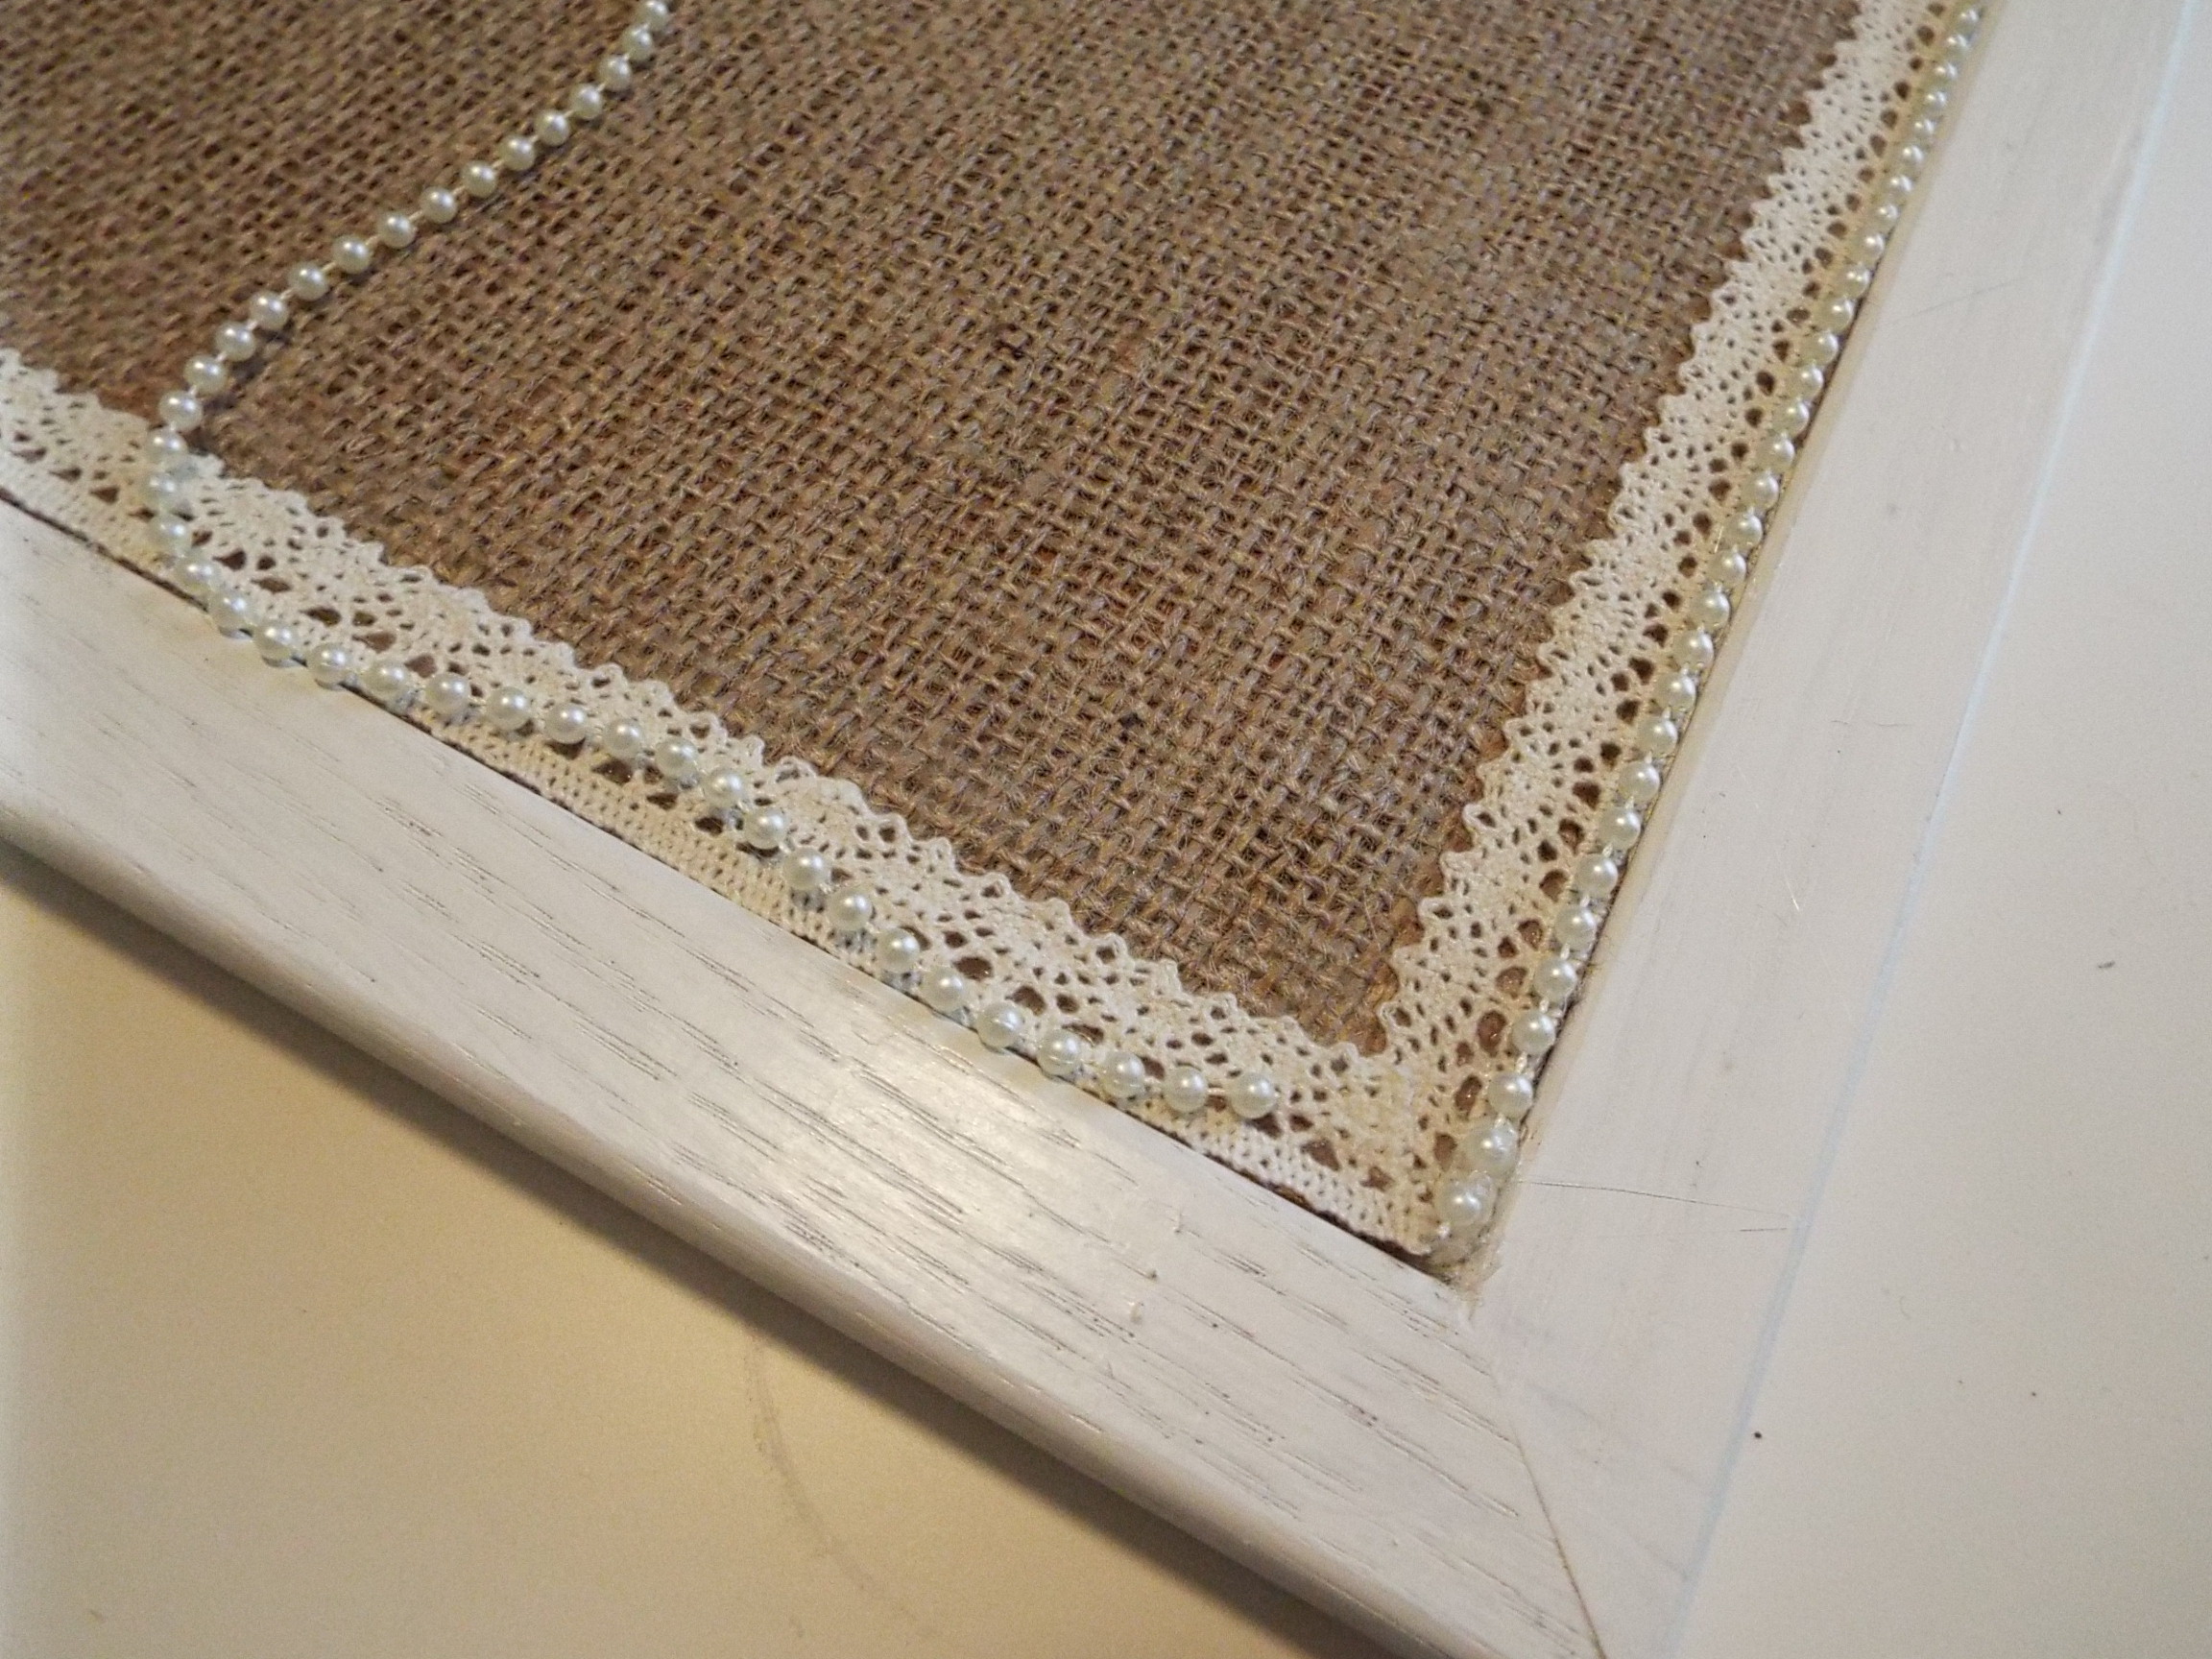 Push pins are great for using on these boards. To dress up the clear ones a bit more, I placed a pearl on some of them. These can be found in the scrapbook section of any craft store. Look for those with adhesive already on the back.
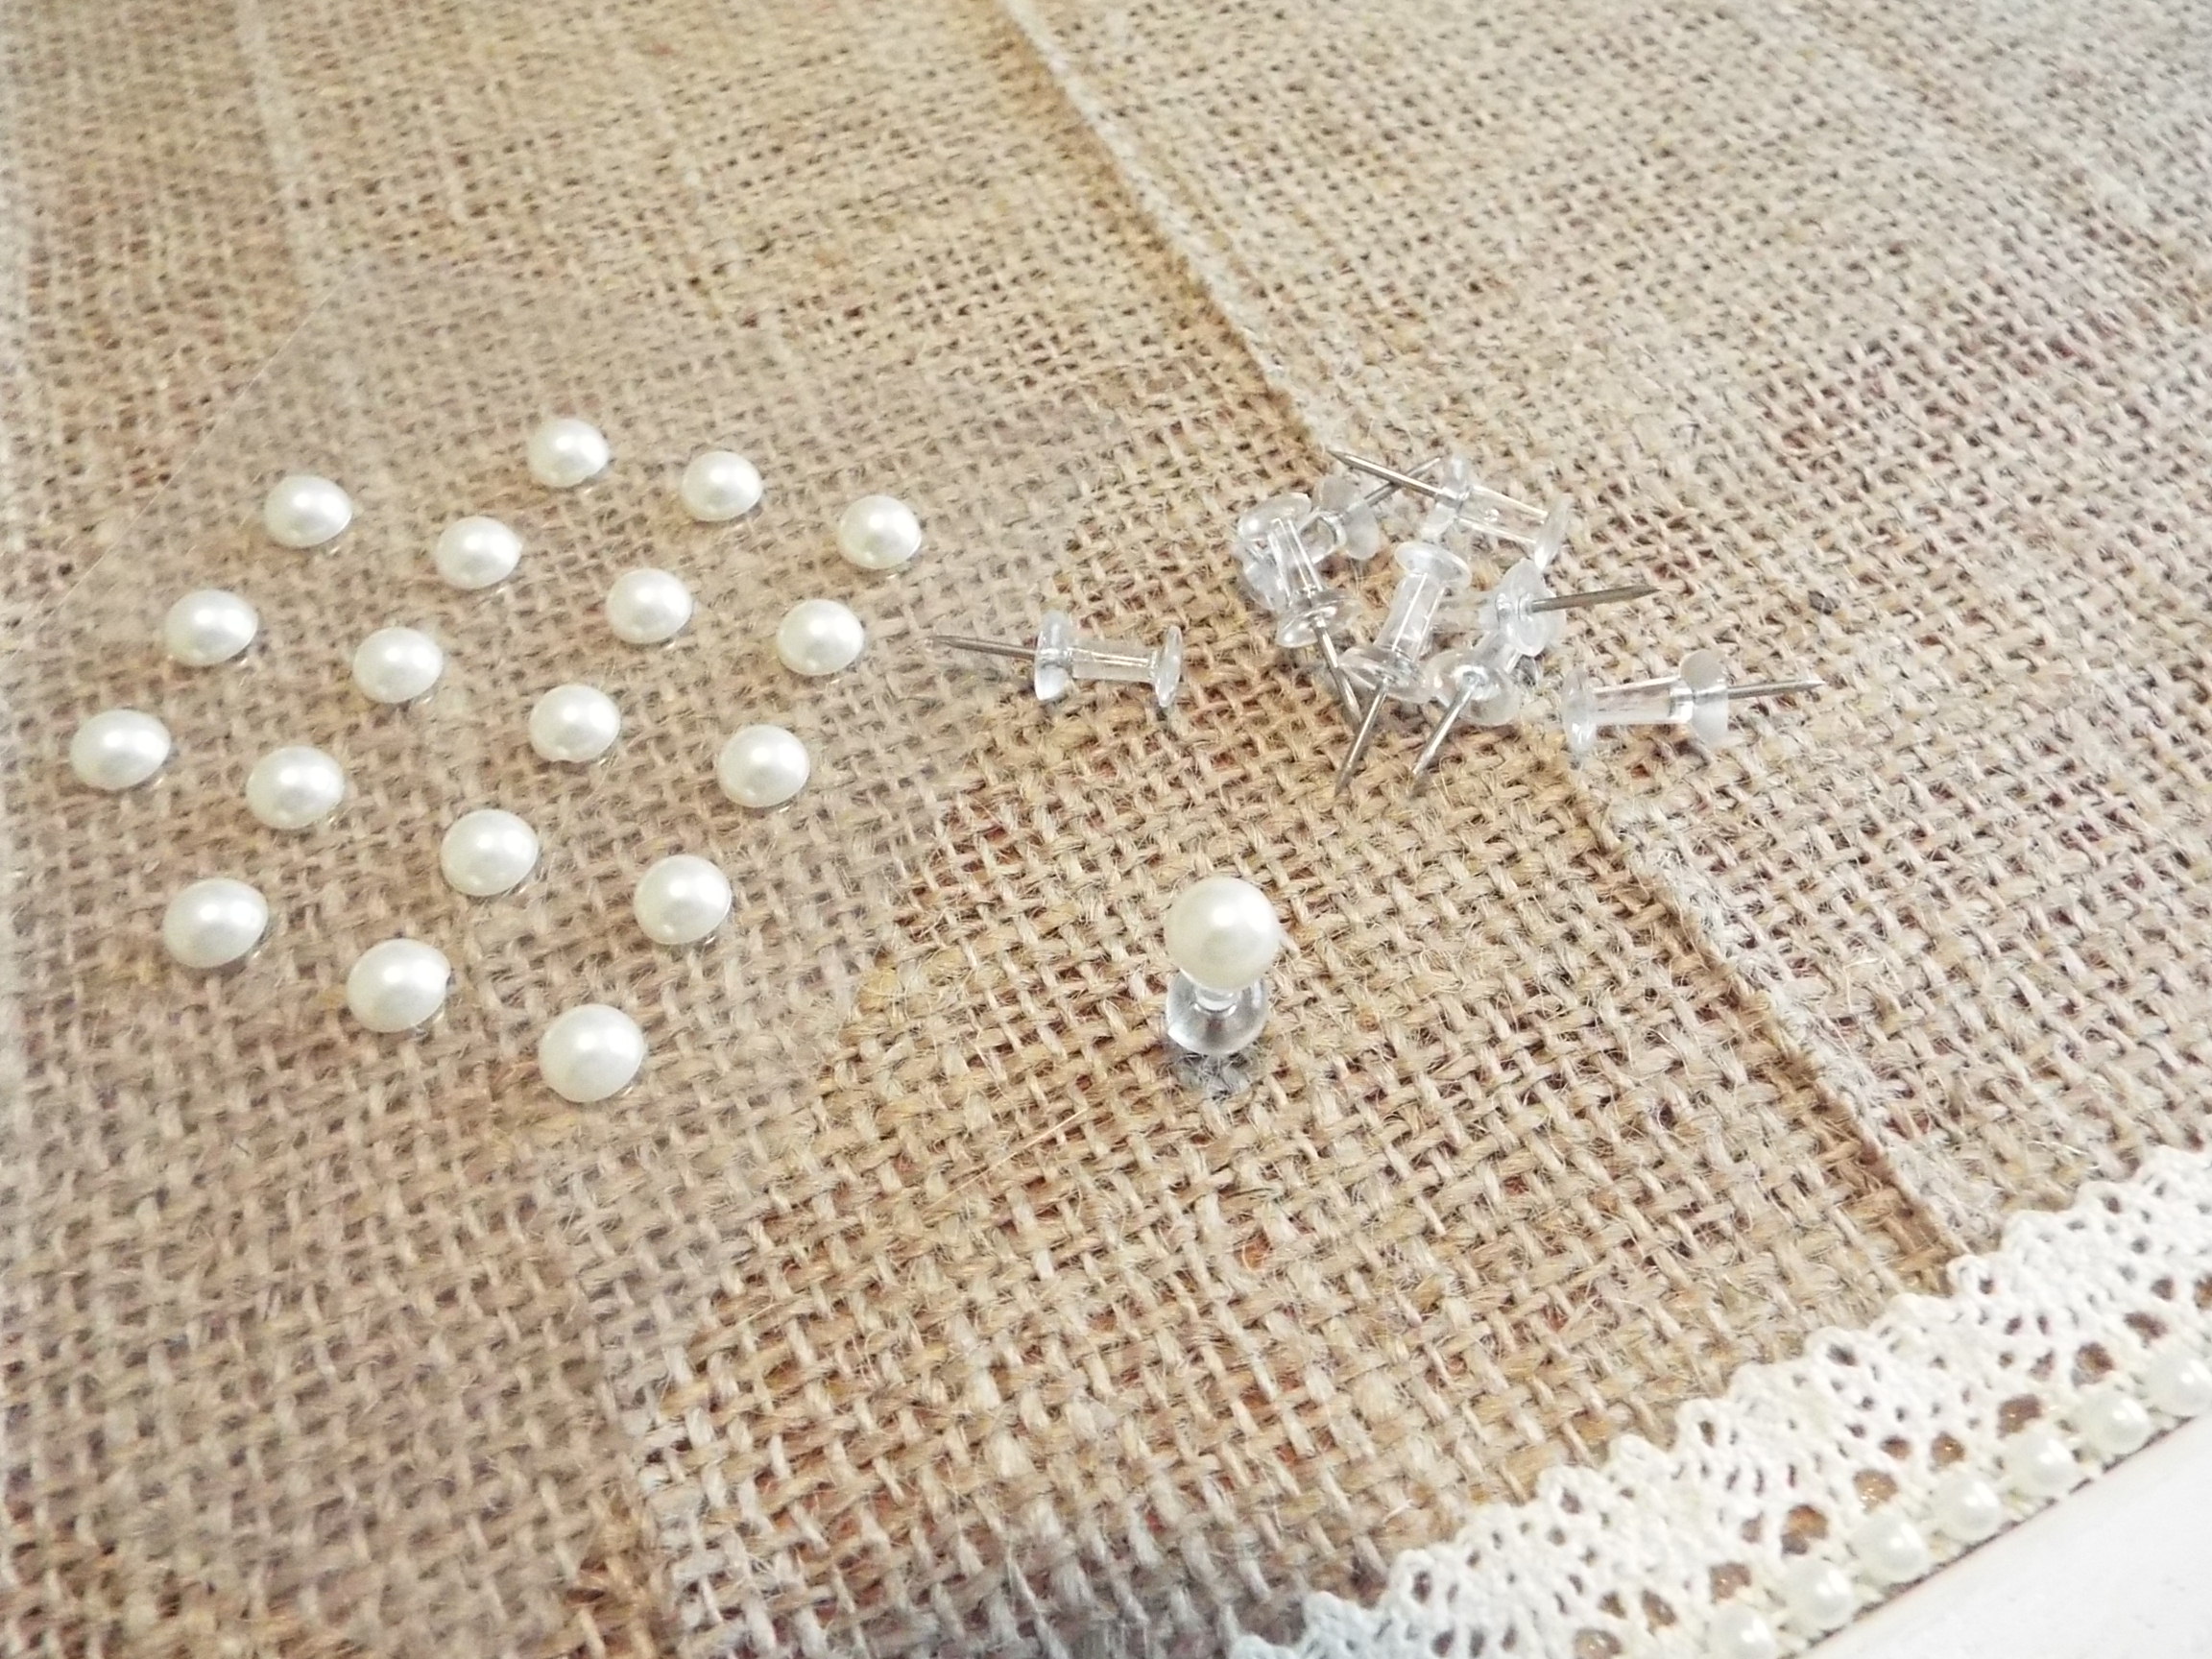 I measured for my first two rows of pins but it wasn’t exact. It was approximately 1 ½” from the top with 2” between each.
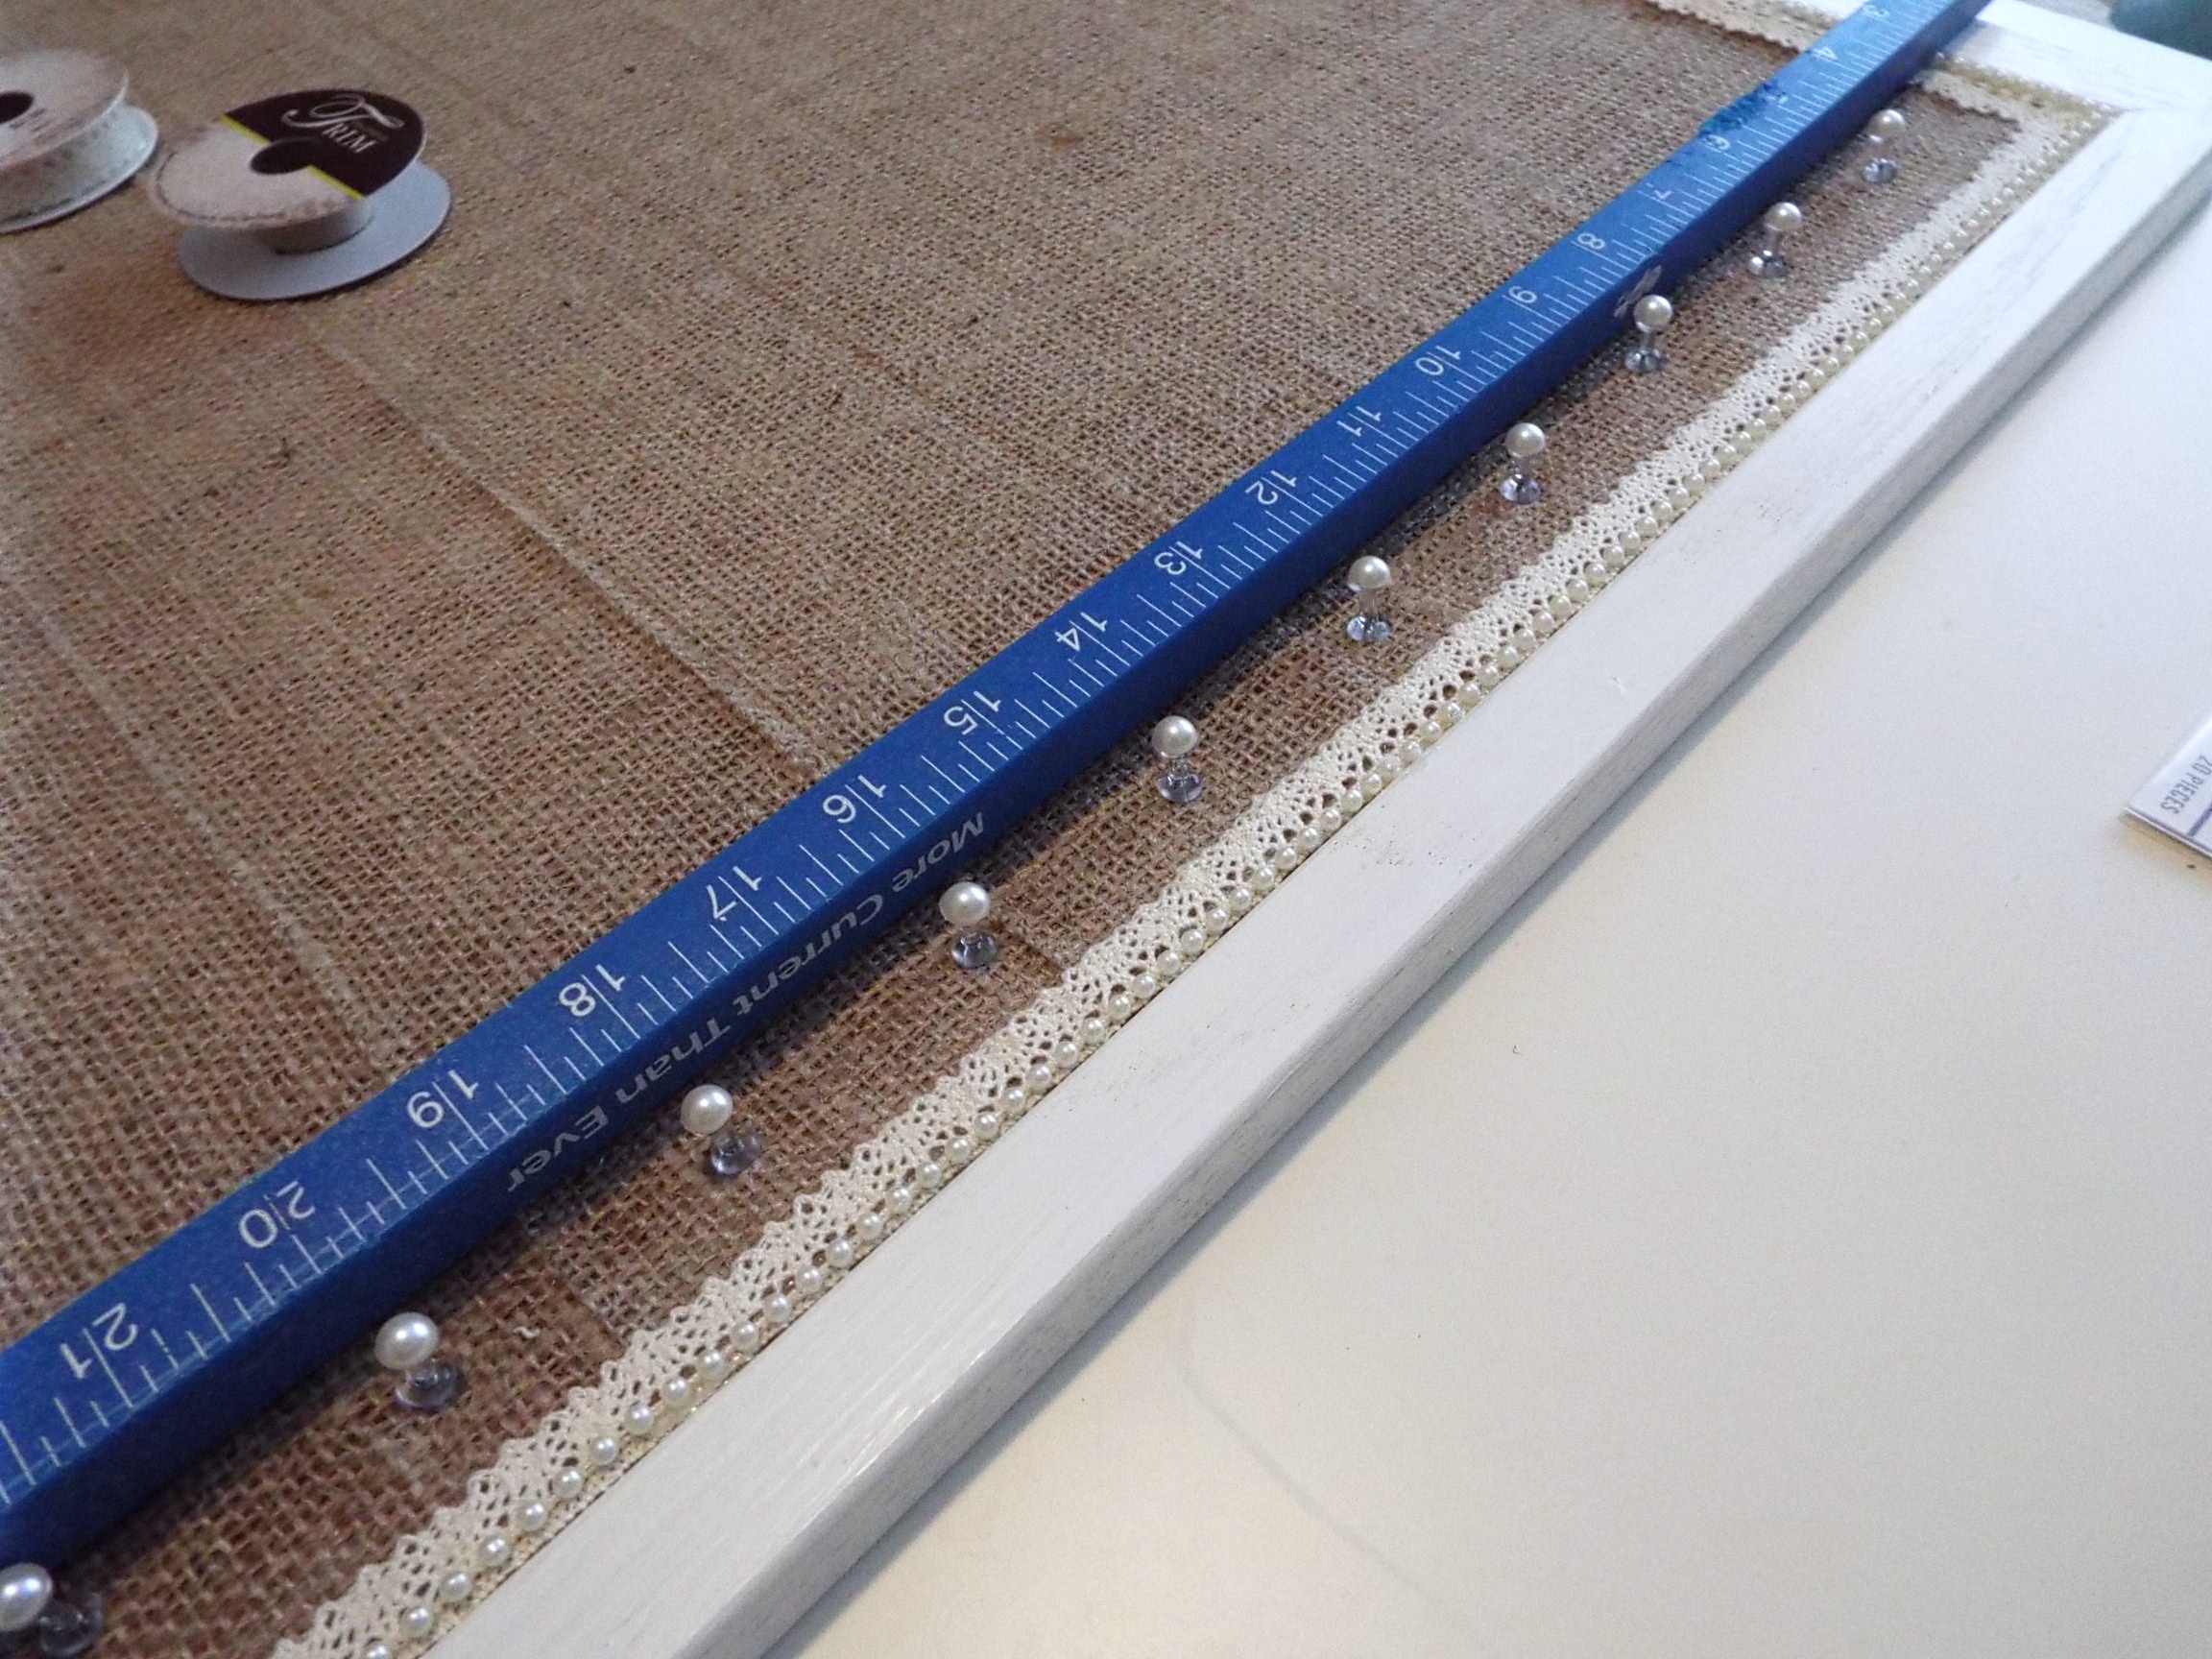 After hanging it on the wall, I proceeded to hang my necklaces. This wasn’t done in any certain pattern but just mixing them up. After these two rows were done, then I just started eye-balling where to hang the remainder. Some room was left so new items could be added later.
About 3” from the bottom, I made a row for bracelets.
Better? I think so.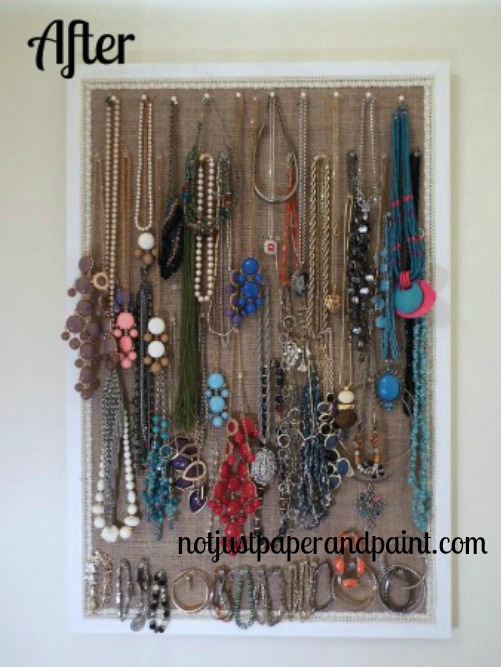 This could also be used as a bulletin board in your craft studio or a girl’s bedroom. Paint a color which would match or coordinate with the room. Dress it up with flowers, ribbons, or other embellishments which are at any craft or fabric store.
And not only is my jewelry a bit more organized, this project didn’t cost me anything since I used supplies on hand. Depending on what supplies you had to buy, you should be able to make this for about $15.
Think about all the upcoming events such as Mothers Day, Graduations, and Birthdays for this useful gift.

I’ve included affiliate links to Amazon for you to find some products easier. I may receive a small commission, but the price is the same for you. It just helps my blog out.
Happy Travels,
Rosemary

3 Comments