COASTAL MONOGRAM
Who’s ready for spring & summer? I think most everyone I know. Although my area has been spared the really harsh weather, everyone knows in the South just an inch of snow can shut your city down. Why not get a little head start on this coastal monogram so you can bring that feel inside?
![160x160[3][2][2][1]](https://myhomeandtravels.com/wp-content/uploads/2014/02/160x1603221.jpg)
Who’s ready for spring & summer? I think most everyone I know. Although my area has been spared the really harsh weather, everyone knows in the South just an inch of snow can shut your city down. Why not get a little head start on this coastal monogram so you can bring that feel inside?
When I was contacted by Hometalk.com about the upcoming Michaels Pinterest Party, I was immediately drawn to the burlap canvas. Now what was I going to do with it. With the thoughts again turning to spring and summer, I want to redecorate my dining room in a country coastal theme so why not start there. After visiting with Terry, my local events coordinator at the Hamilton Place location, I got even more excited about the event. She already had a few samples made plus she was very helpful in sharing some of her goodies with me.
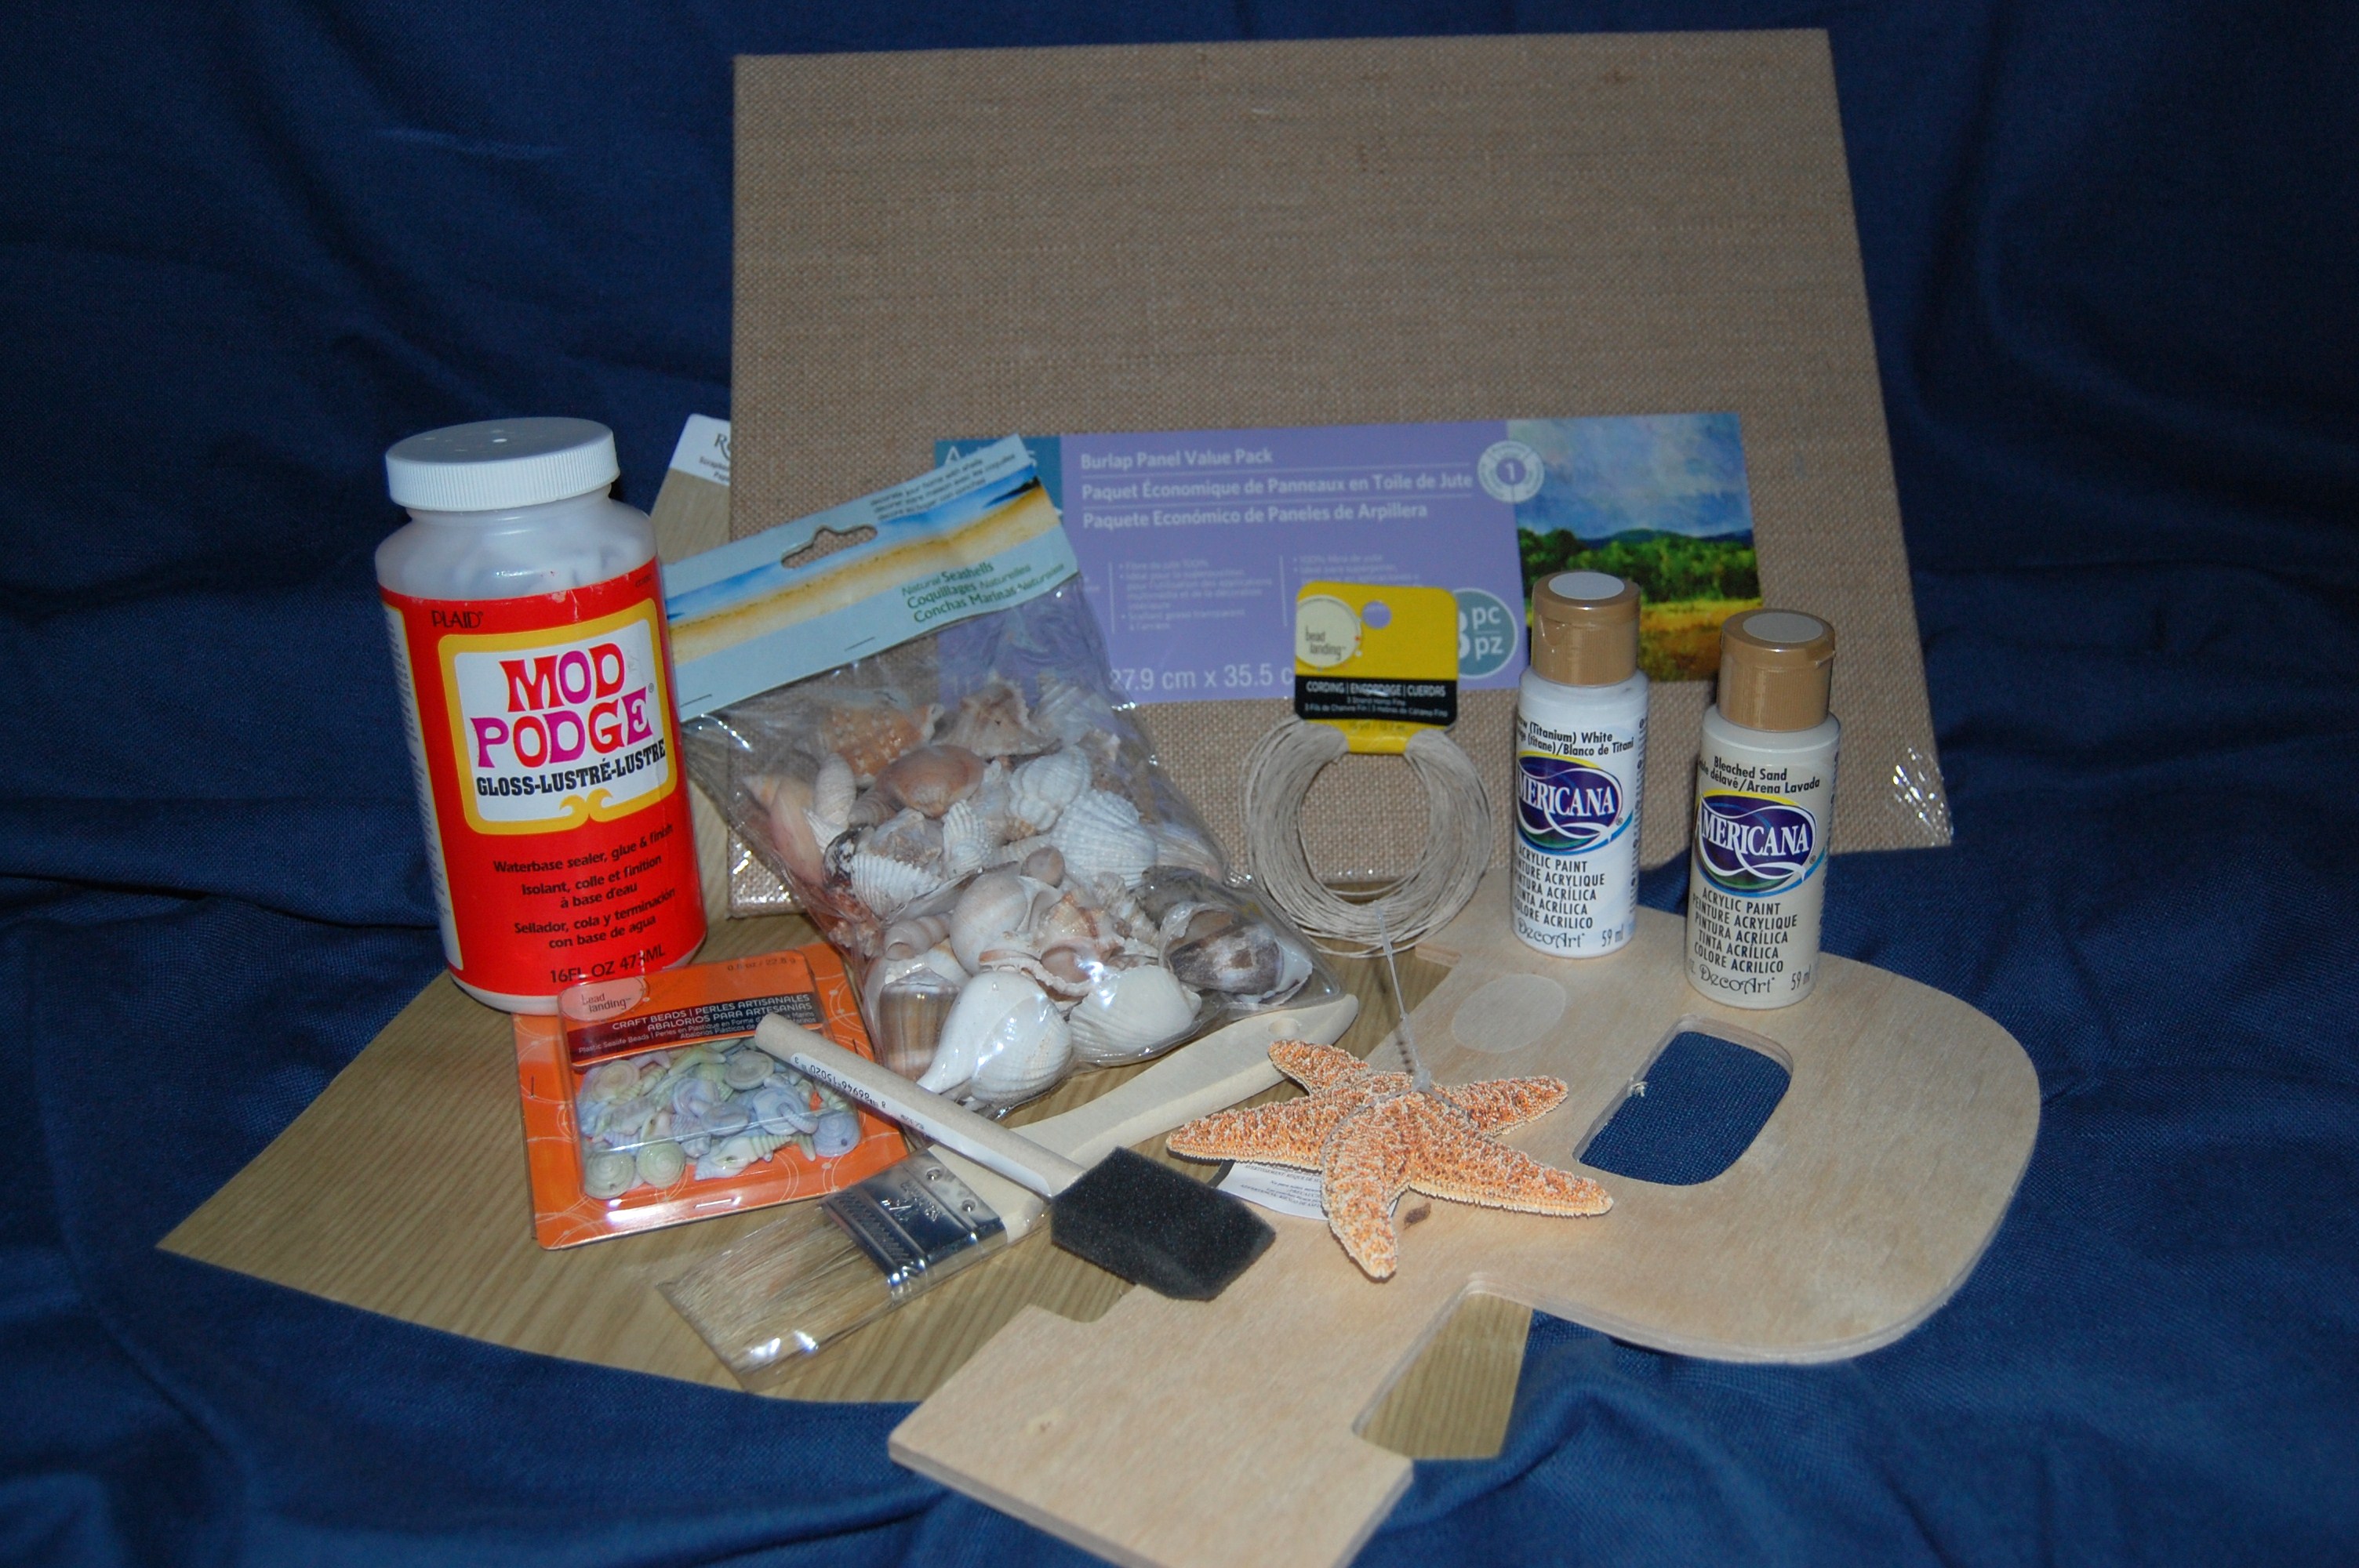
Here’s my supplies – Burlap canvas, scrapbook paper, Mod Podge, sea shells, sponge brush, paint brush, wooden letter, star fish, Tim Holtz Distress Paint, and hot glue gun. A couple of things pictured ended up not being part of the project. Does a project ever come out or end up as you plan? I know mine doesn’t.
I knew I didn’t want to leave the burlap as is. I used white acrylic paint and did a dry brush method over most of it, plus using the bristle brush to actually scrub the paint into areas to give it a more covered look, but not a solid cover.
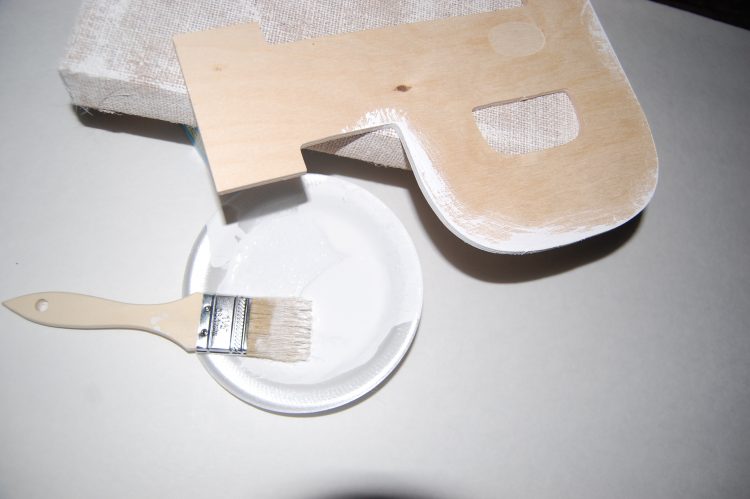
While this was drying, I painted the edges of my “P”. The good thing about acrylic paint is it will almost dry immediately so not a lot of time to wait.
After this dried, I traced my “P” onto the reverse side of the wood look scrapbook paper I had selected. Make sure you turn the letter over so you will get it right side up. Since I knew I was going to sand the edges of the letter for a little distressed I made my lines about ¼” larger than the letter.
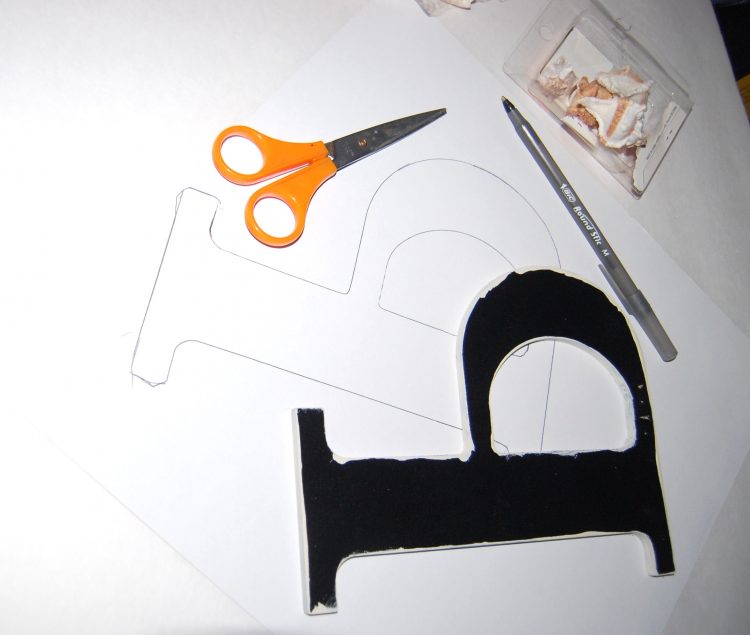
After cutting out my letter, I used Mod Podge to adhere it to my letter. Make sure all of the surfaces are covered. After placing my paper on the letter, I used an old gift card to smooth it out and avoid air bubbles. Drying time on this will have a lot of factors depending on how much product is used plus the humidity and temperature. **Here is where my pictures might look a bit different. After doing my first letter (unfinished wood), I didn’t like the size of it on my canvas so I got a smaller one (black). So I basically started over on the letter.
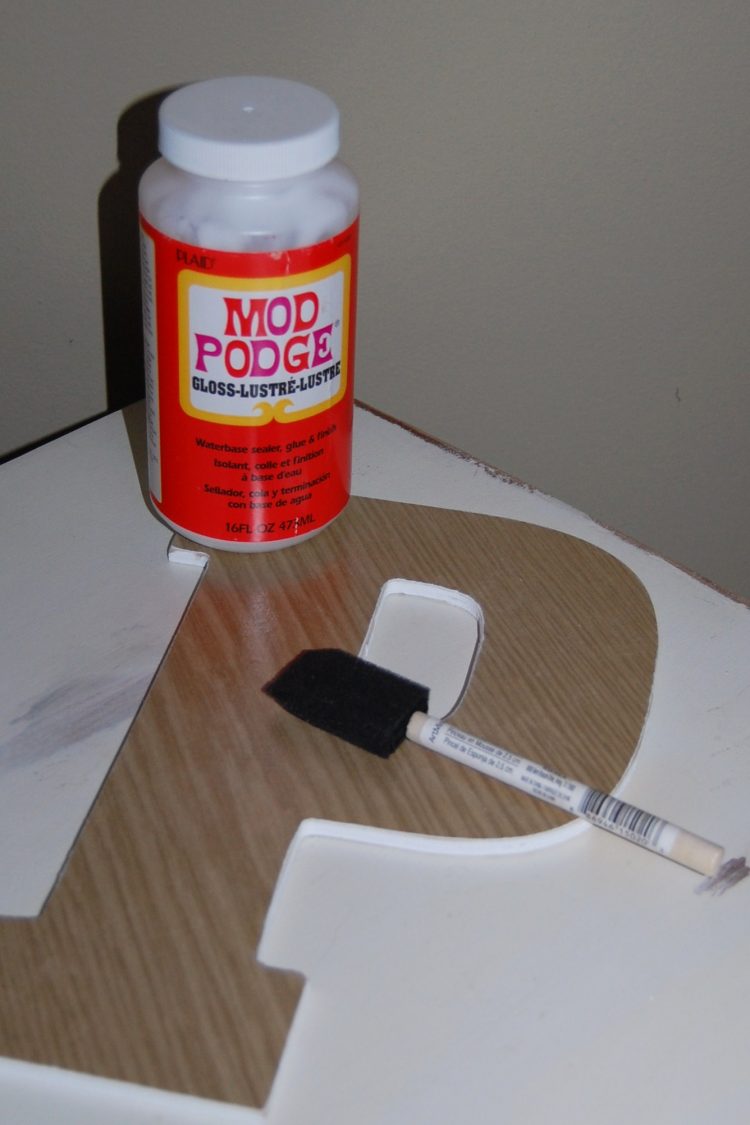
After the Mod Podge dried, I used sand paper in a downward motion on the edges which will trim the paper away from the edges. Thanks to the suggestion of Terry at Michaels one of my new favorite products is the Tim Holtz Distress Paint. This has a sponge applicator (dabber) which makes application easy. If you get a bit too much on the edges, you can immediately wipe any excess off with a dry rag, but remember this will dry pretty quickly.
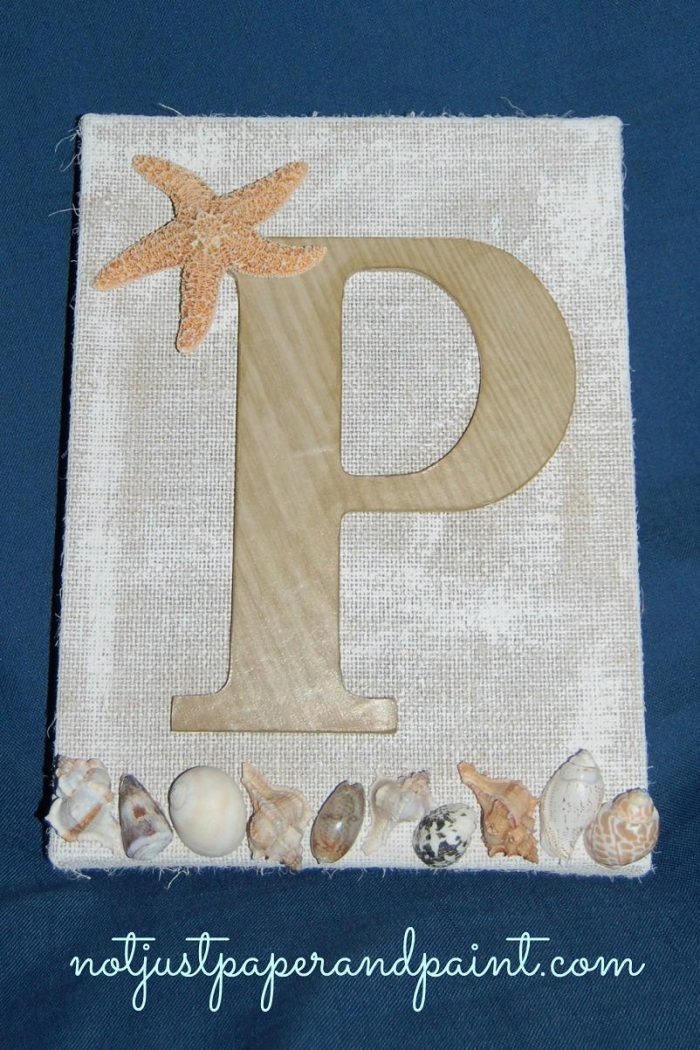
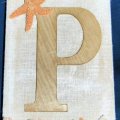
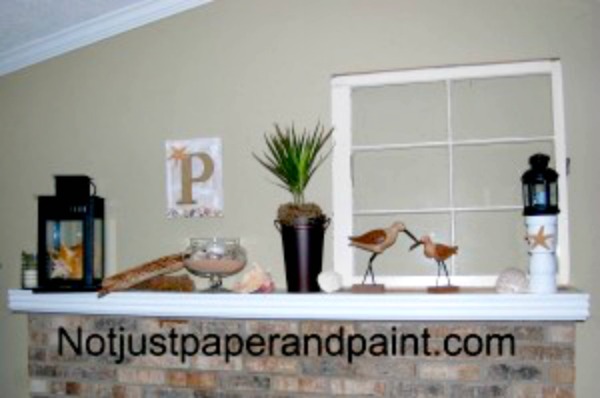
Now to finish it up – decide your layout, then get out your hot glue gun and attach the sea shells across the bottom, then my “P”, and lastly the starfish in the corner. I will be using the 3M command strips on the back when I hang it on the wall.
Hope you enjoy.
Come back later this week as I share some of my favorite projects done by some of my blogging friends. So much creativity. See you on Sunday.
Did I mention you could win a gift card?

I’ve included affiliate links to Amazon for you to find some products easier. I may receive a small commission, but the price is the same for you. It just helps my blog out.
Happy Travels,
Rosemary