Silhouette Art
Do you need a simple project for some of the upcoming events or holidays? You know it’s getting that time of year for Mother’s Day, Father’s Day, graduation, and all of those baby and bridal showers. Not only is it a great gift idea, but a wonderful keepsake for the future.
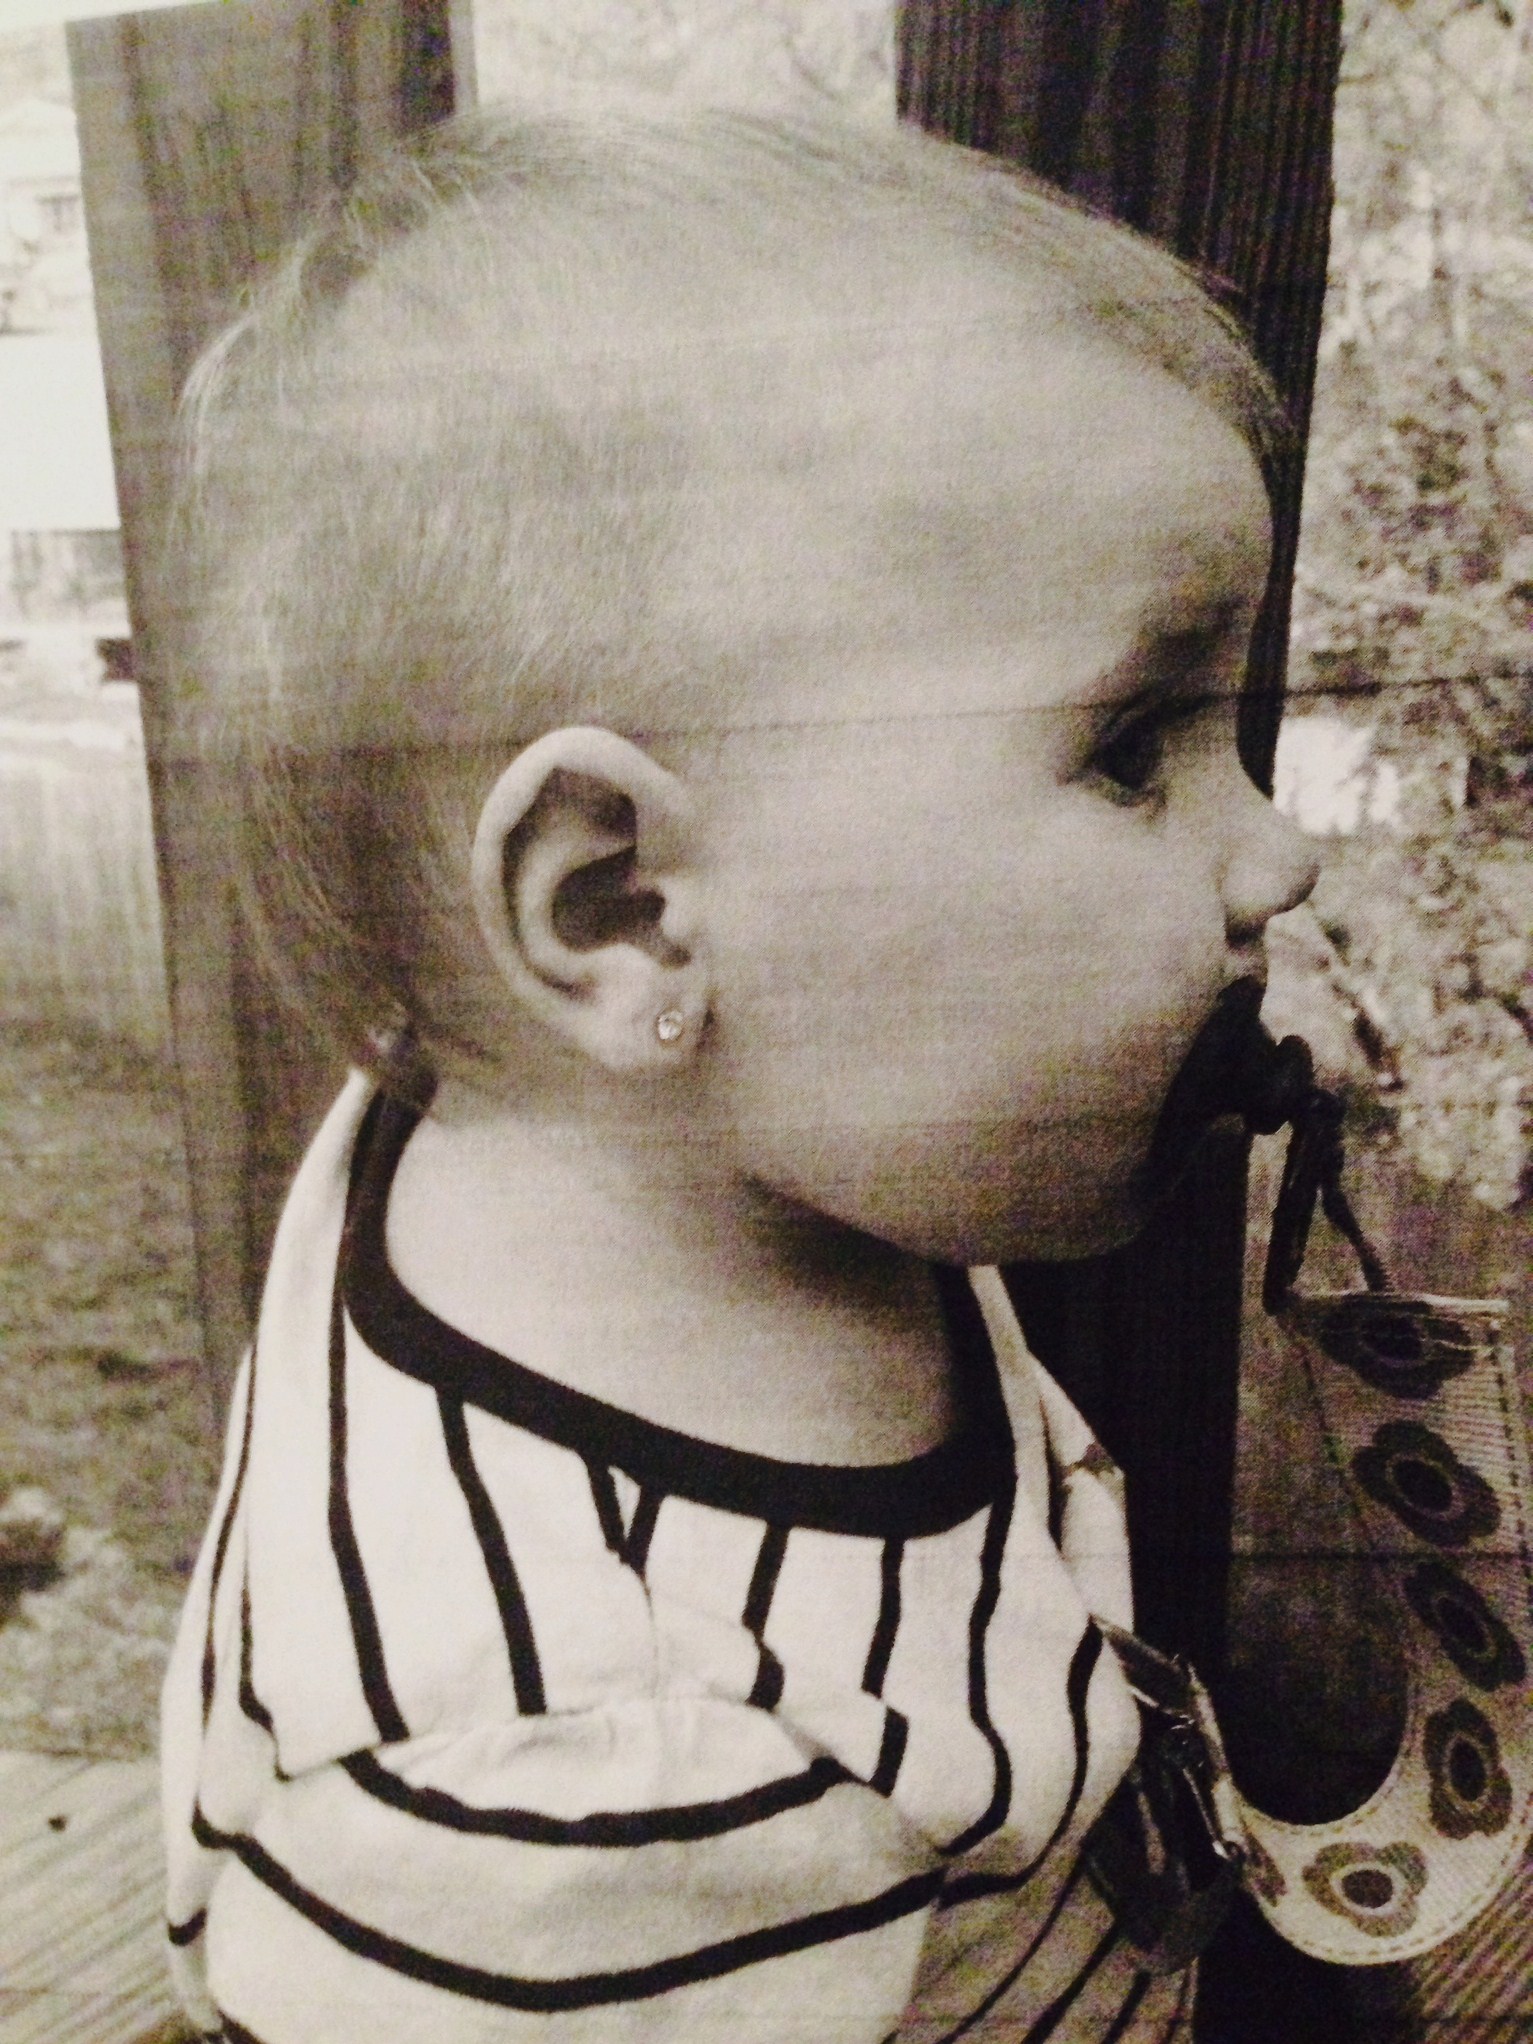
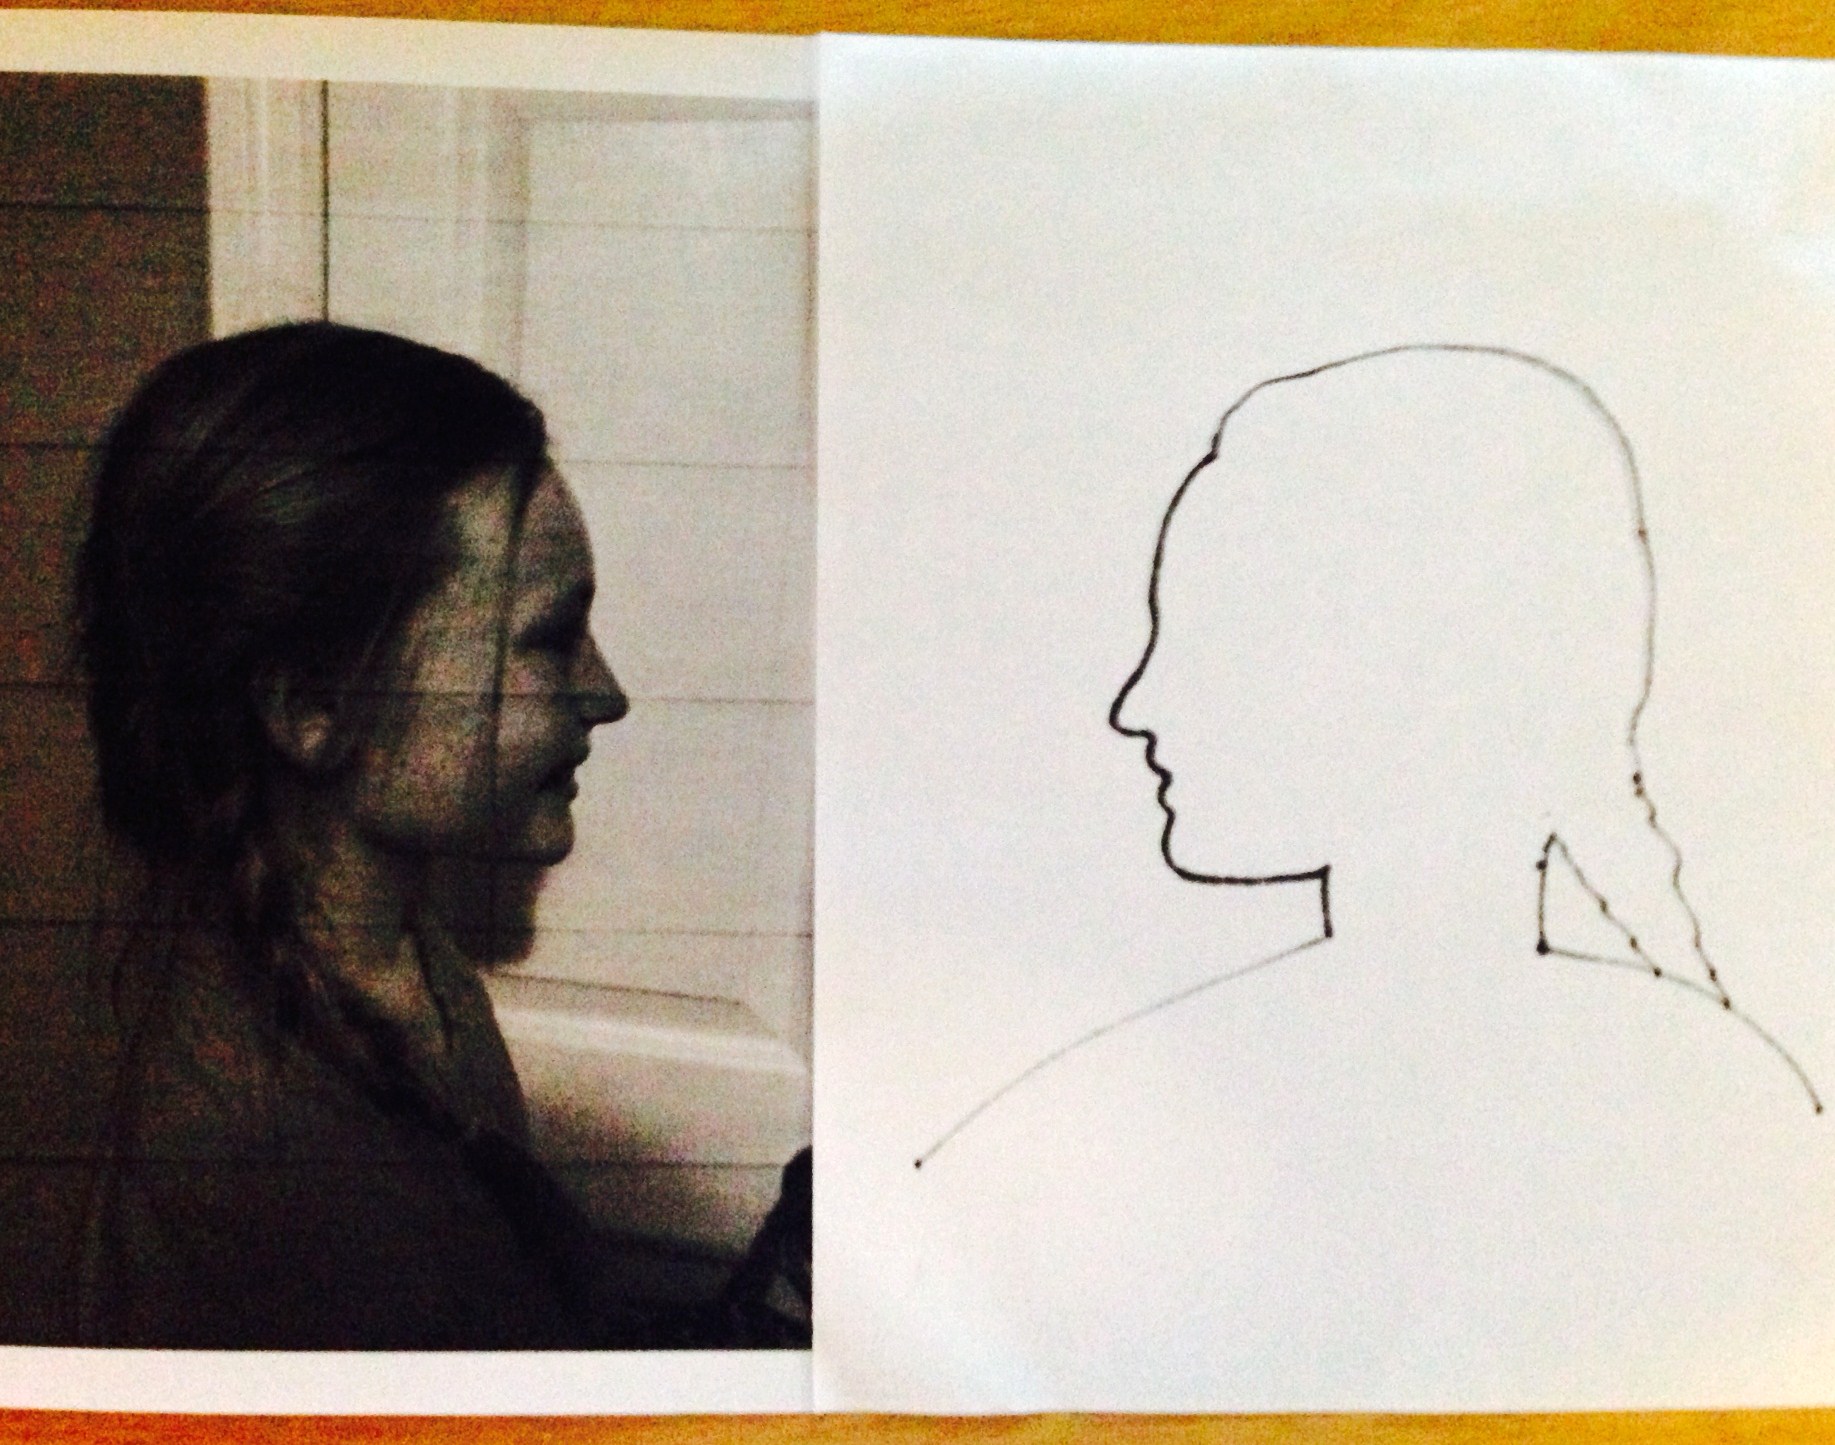
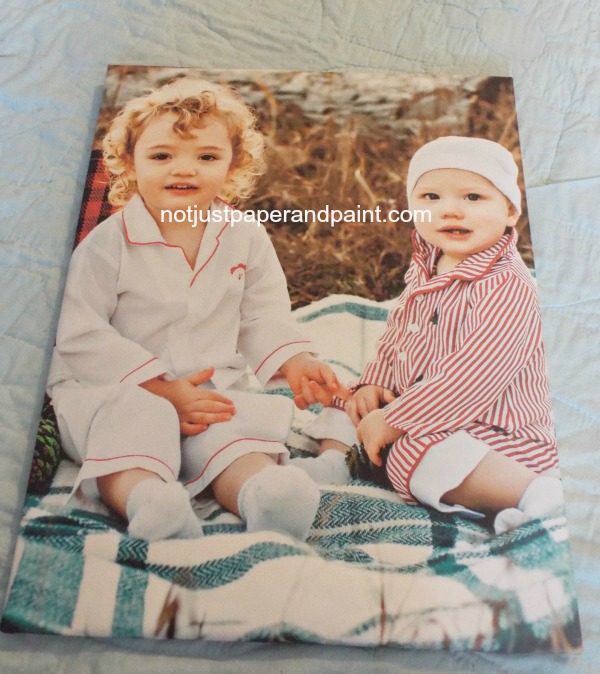
Start by taking a profile picture. Depending on the age, this might be the toughest step of the whole project. Plus, as you are just using this as an outline, the quality of the picture isn’t that important. Grab your phone for this.
Print this off on your own computer onto regular copy paper. You will either need to enlarge it, or most have programs to choose what size to print, so this is done as an 8 x 10 since I was putting it into an 11 x 14 frame. You would just adjust the size of your print to the frame you chose.
After printing it, and don’t worry so much about the quality of the print since you are basically using this as an outline.
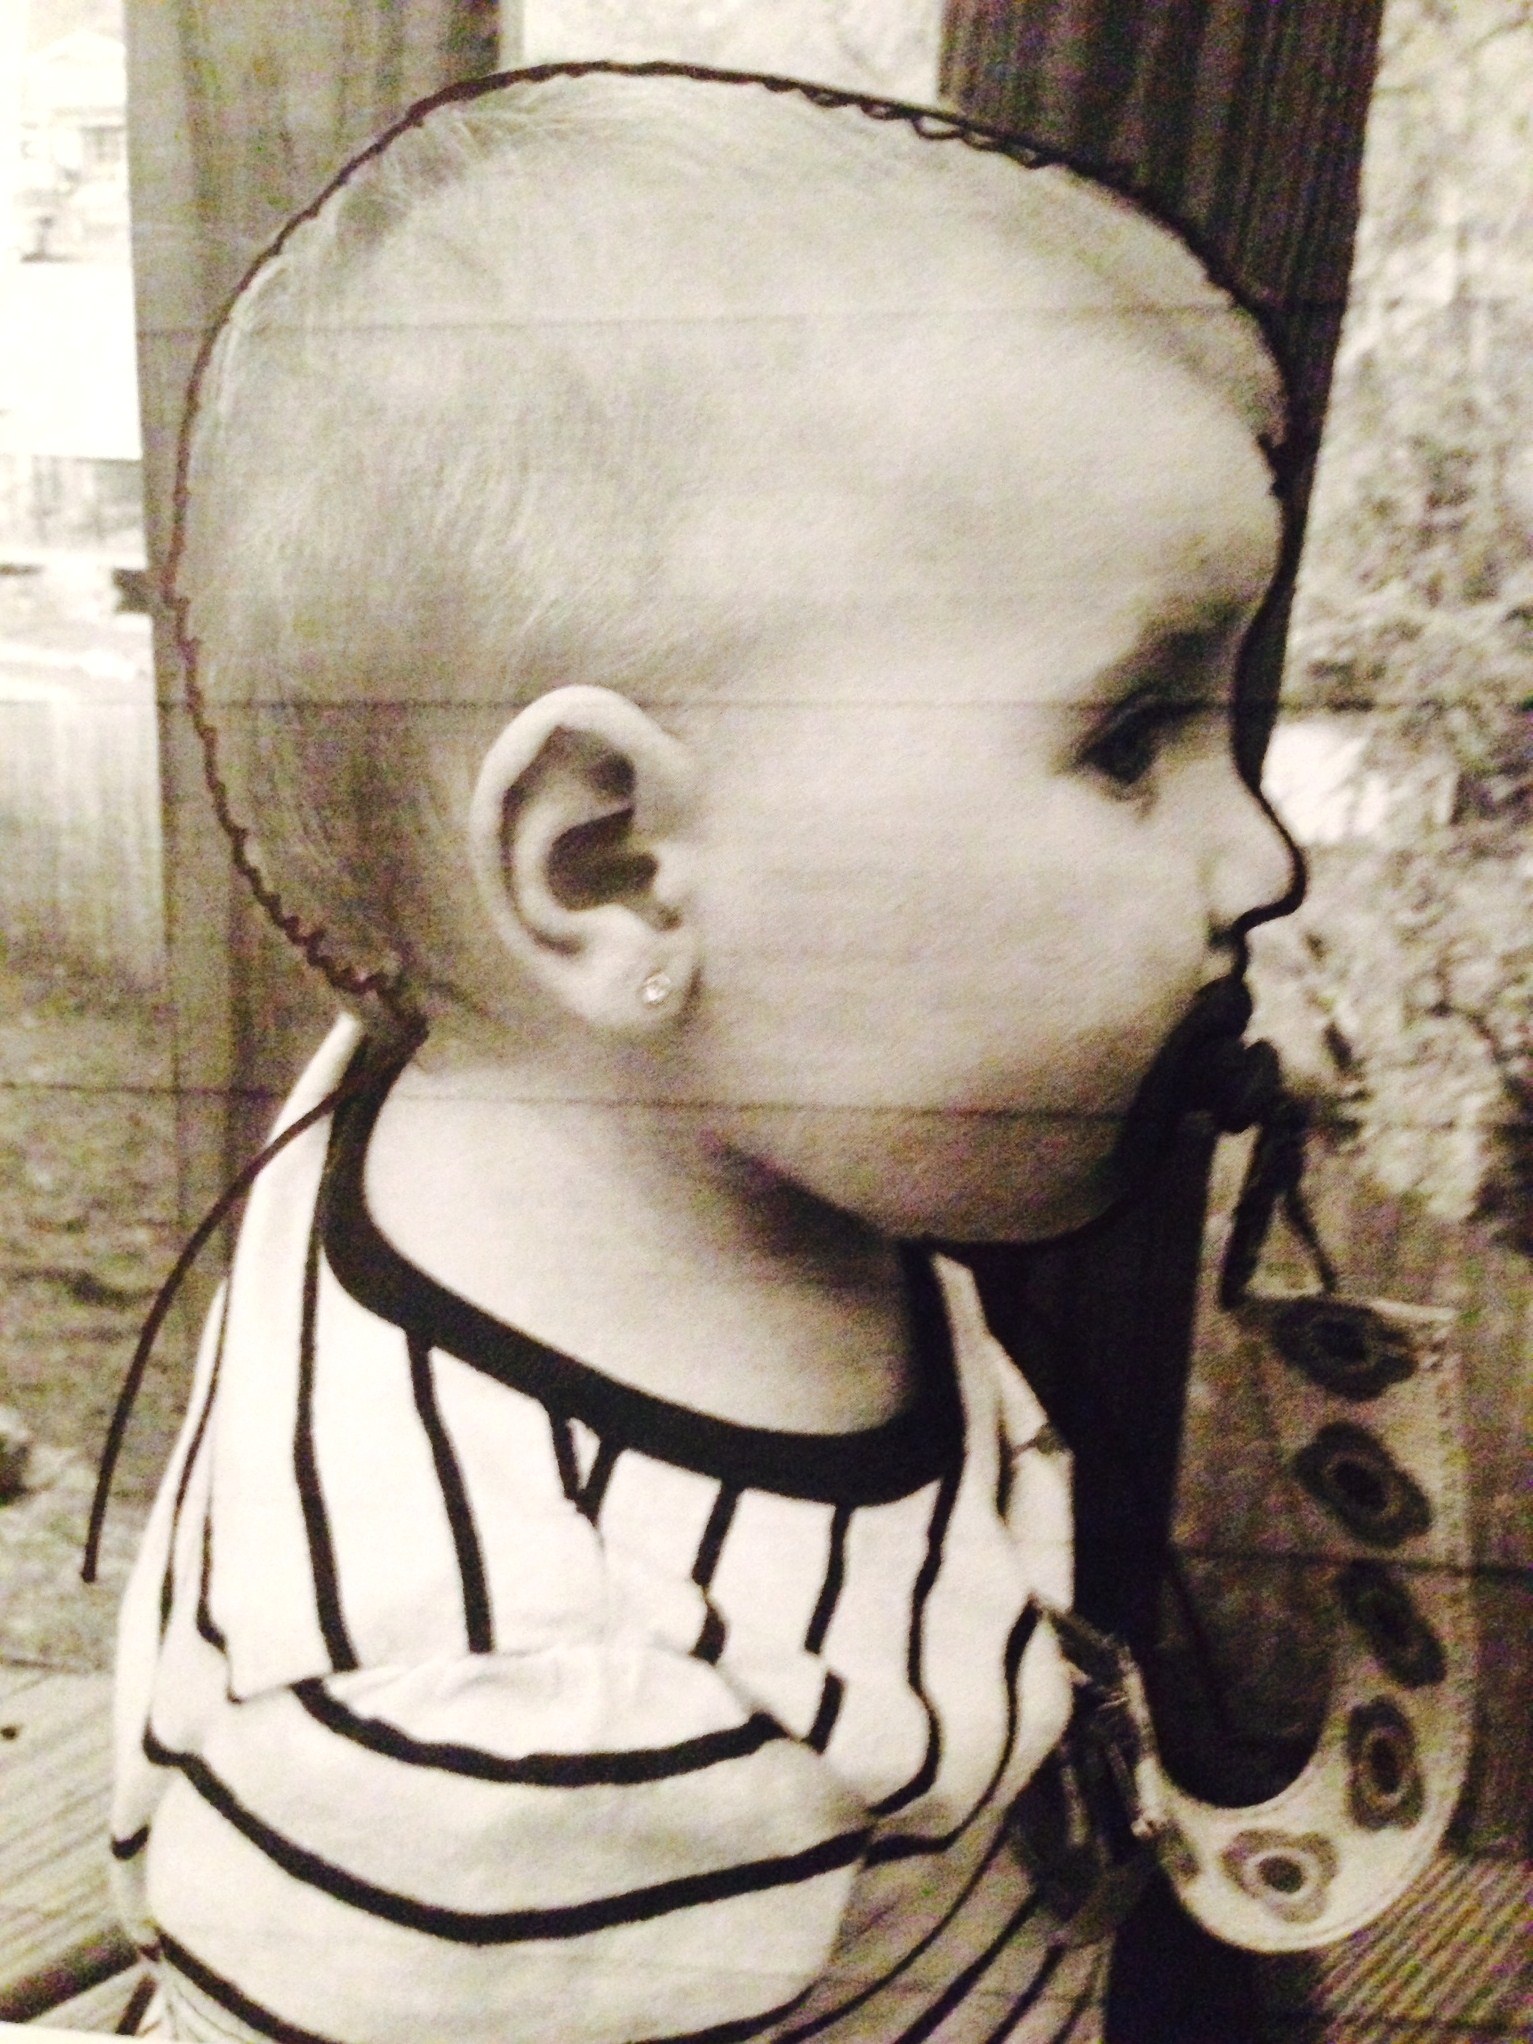
Place your photo onto another sheet of paper and trace around the profile with a Sharpie. This Sharpie will bleed through to the other side and make an outline for you to cut out. The extra sheet of paper gets some of that “bleed through” of the Sharpie so you need to watch what kind of surface you are using as not to damage it from the Sharpie.
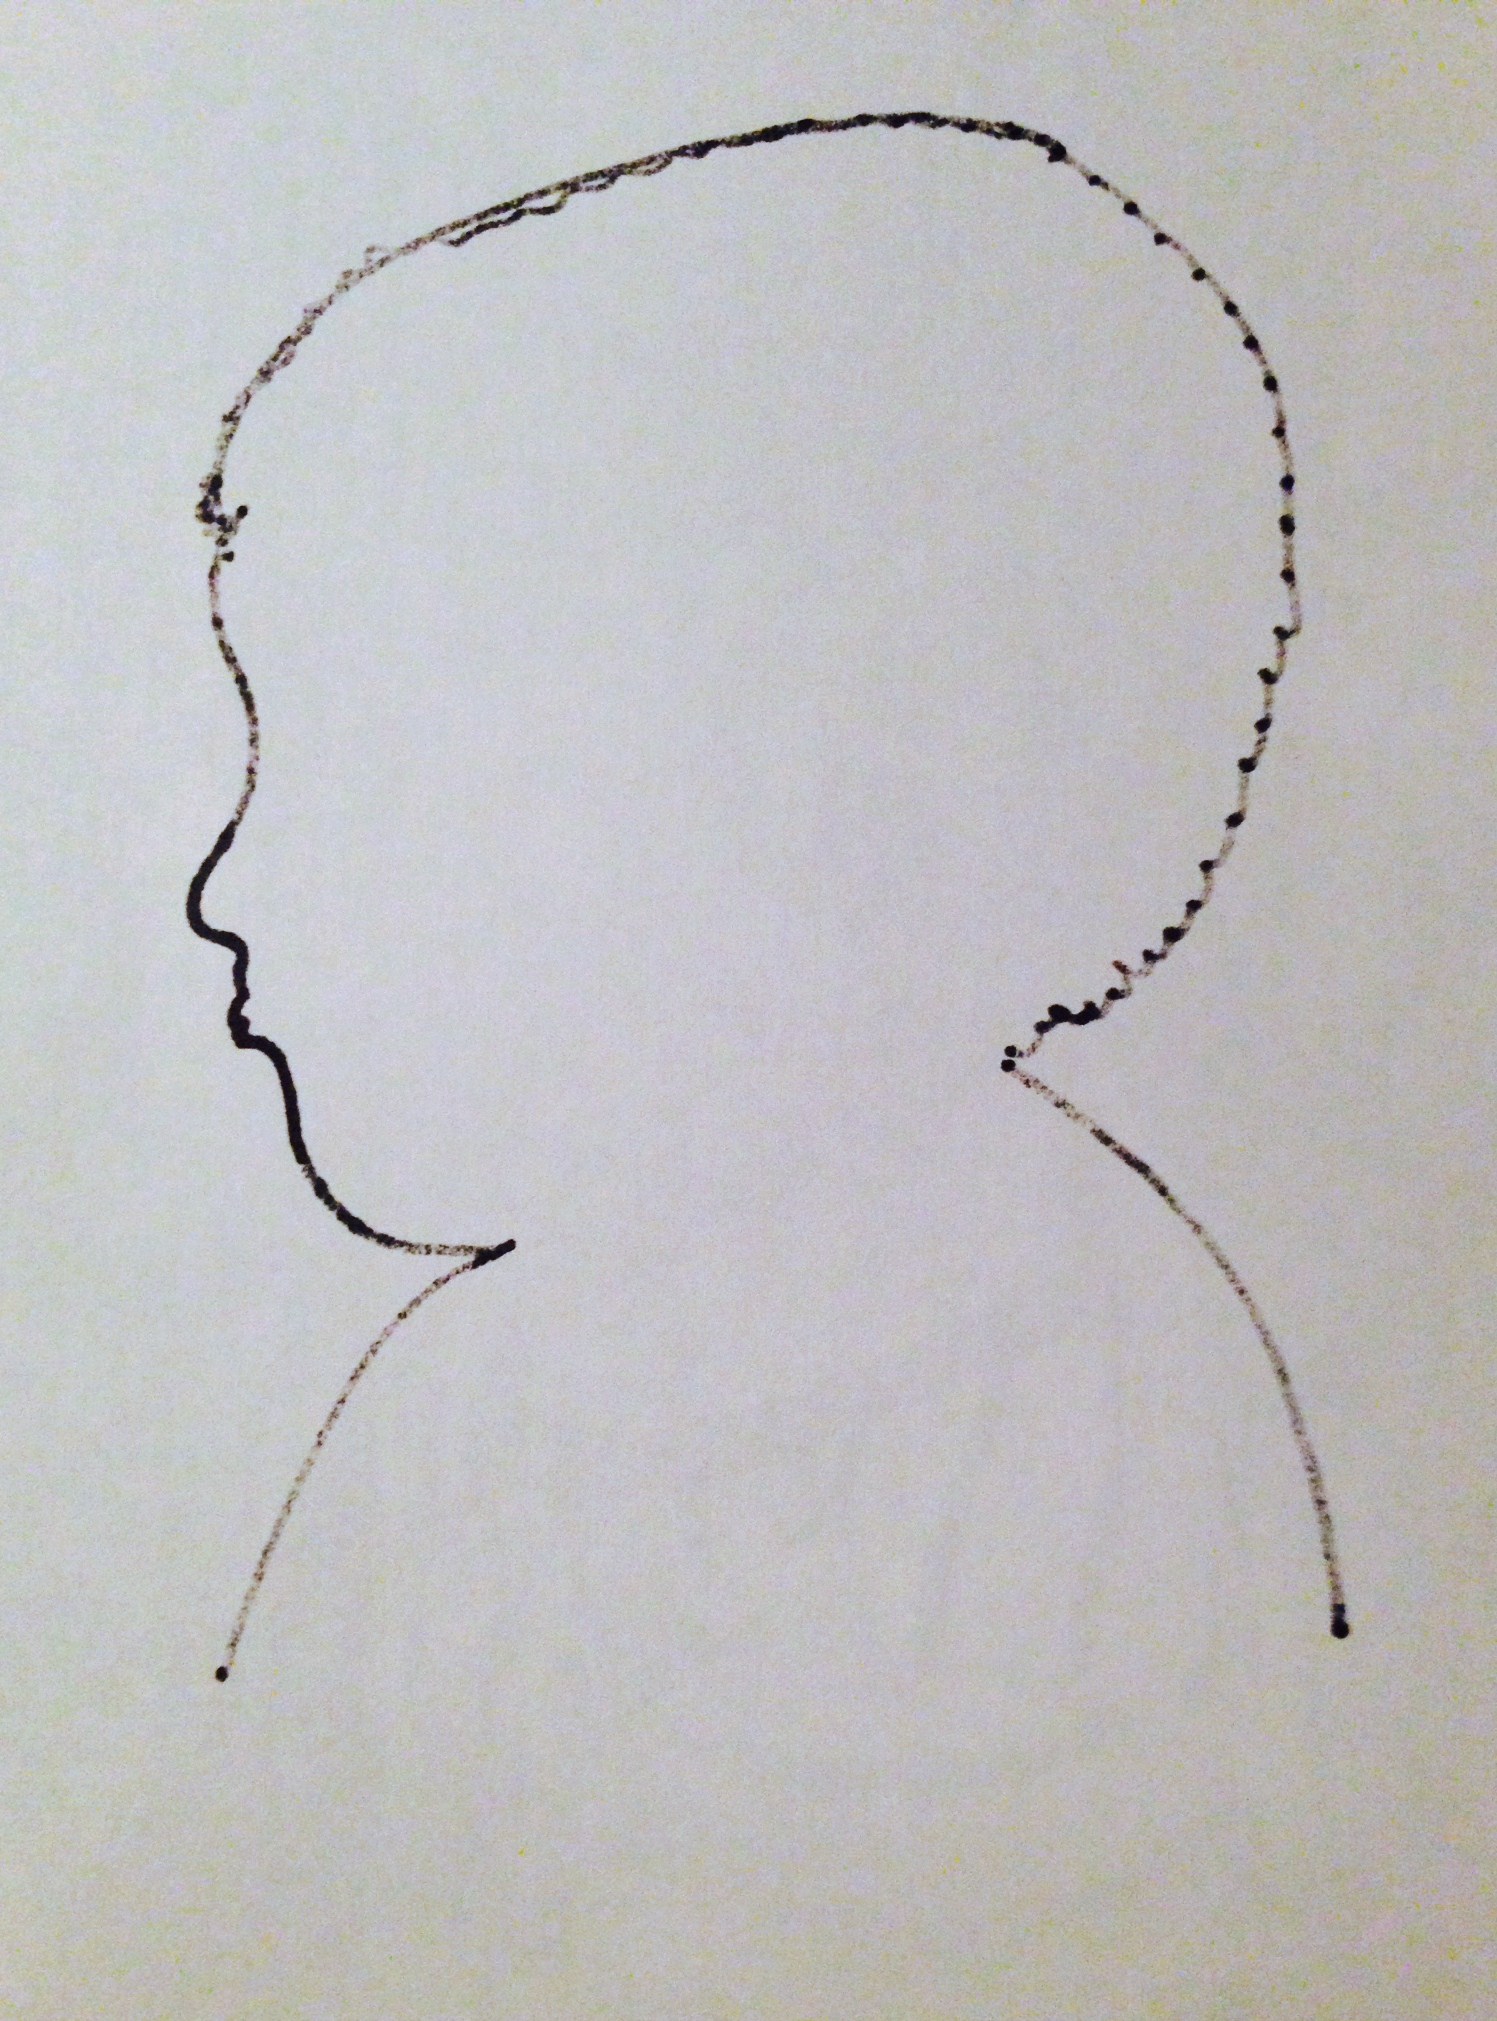
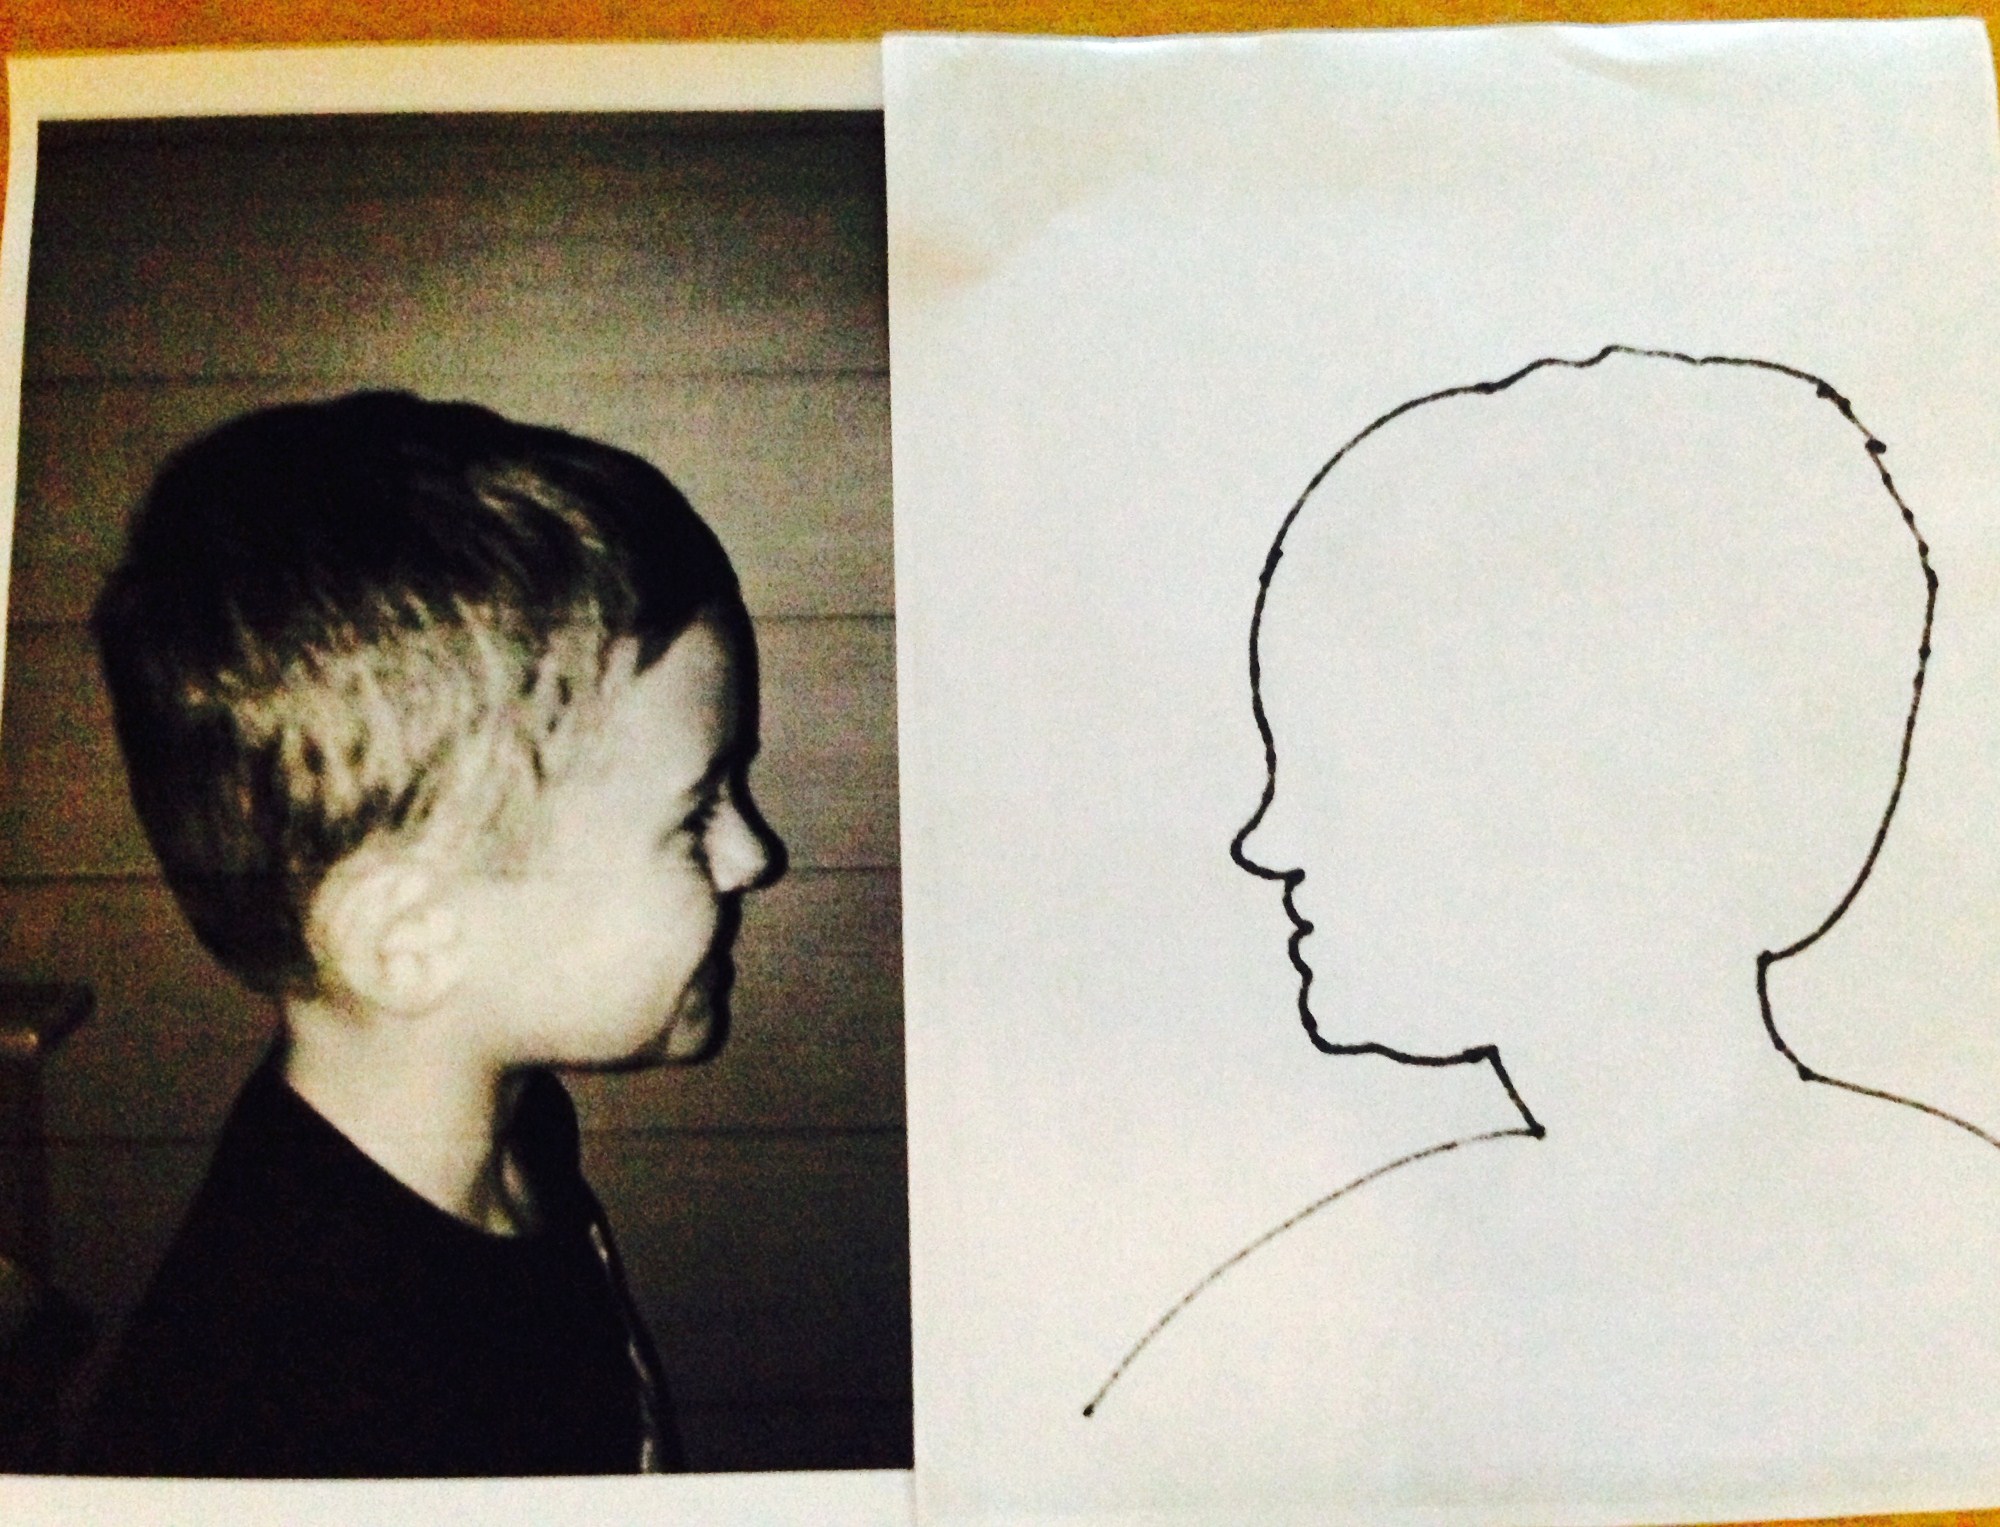
After you get it outlined, turn it over and see if it looks like the profile you want. This is when you miht want to touch up the outline to define facial features or hair details. Either using an exacto knife and mat, or good sharp scissors, cut around the lines. You will need to determine how much of the base “shoulders” you want exposed. This will be in proportion to the rest of your pattern then make a straight cut for your base.

Now you are ready to trace it onto your paper. If you are using black paper, a very sharp pencil works great to make a line you can see. Chalk or chalk marker would also work for this. This is also when you will decide which direction you want it facing. The side you make your outline on, will be the opposite facing so when you cut it out, you don’t have to worry about your drawing lines showing.
After tracing, you are again ready to cut it out using your exacto knife or scissors. An exacto knife works great especially if you have a lot of details in your pattern.
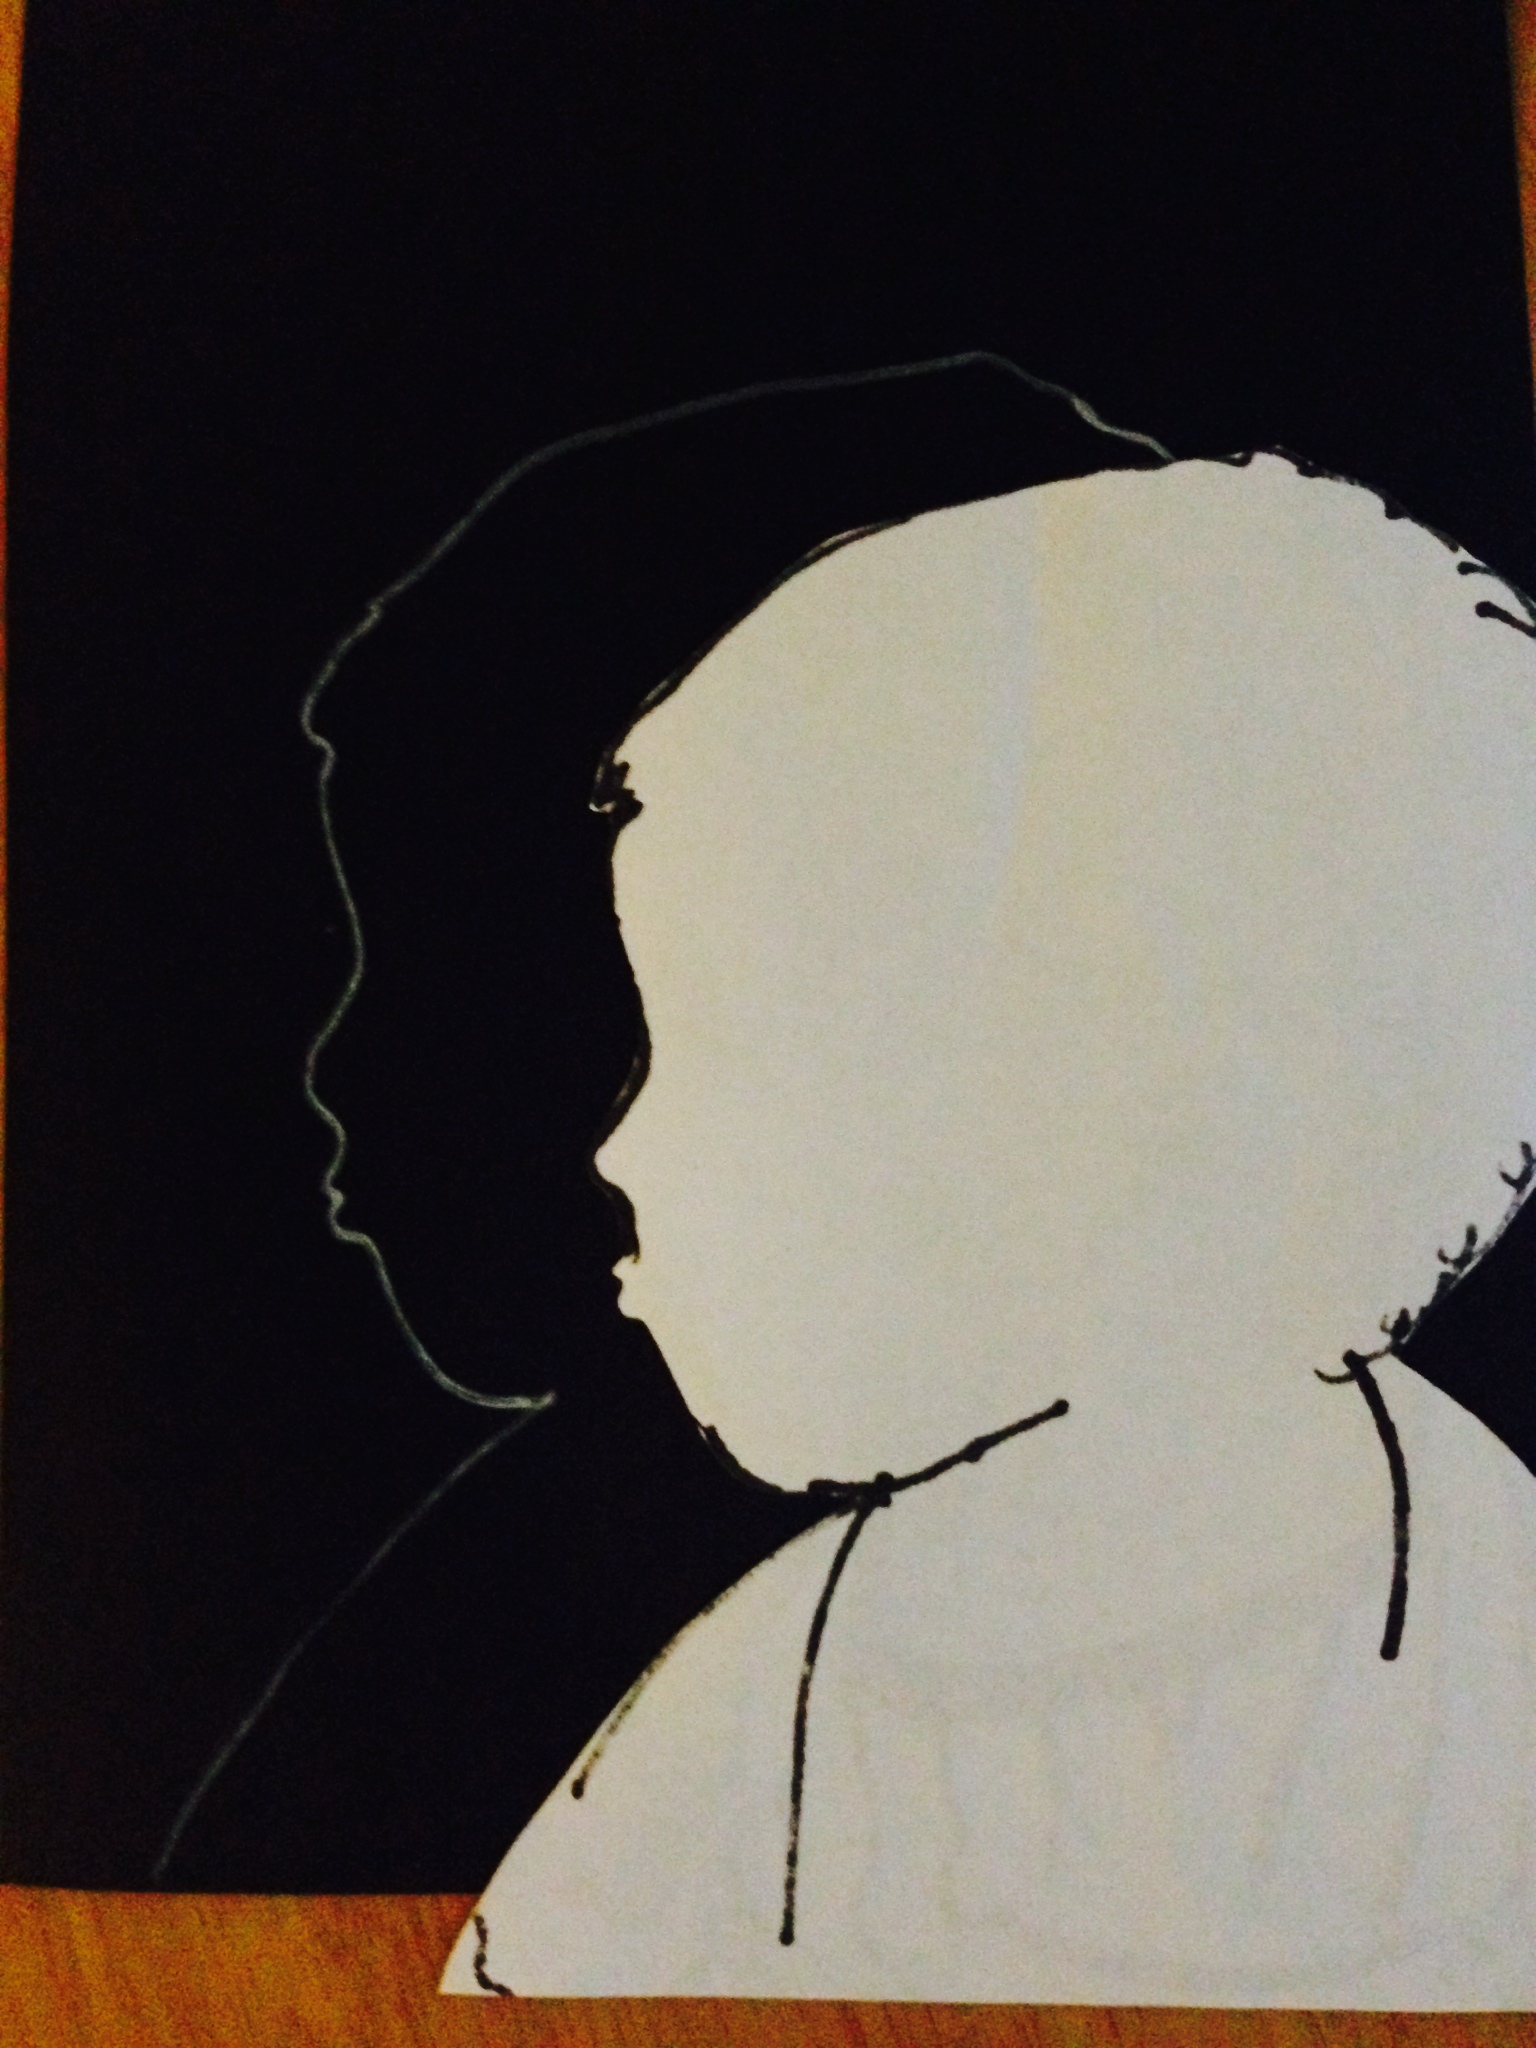
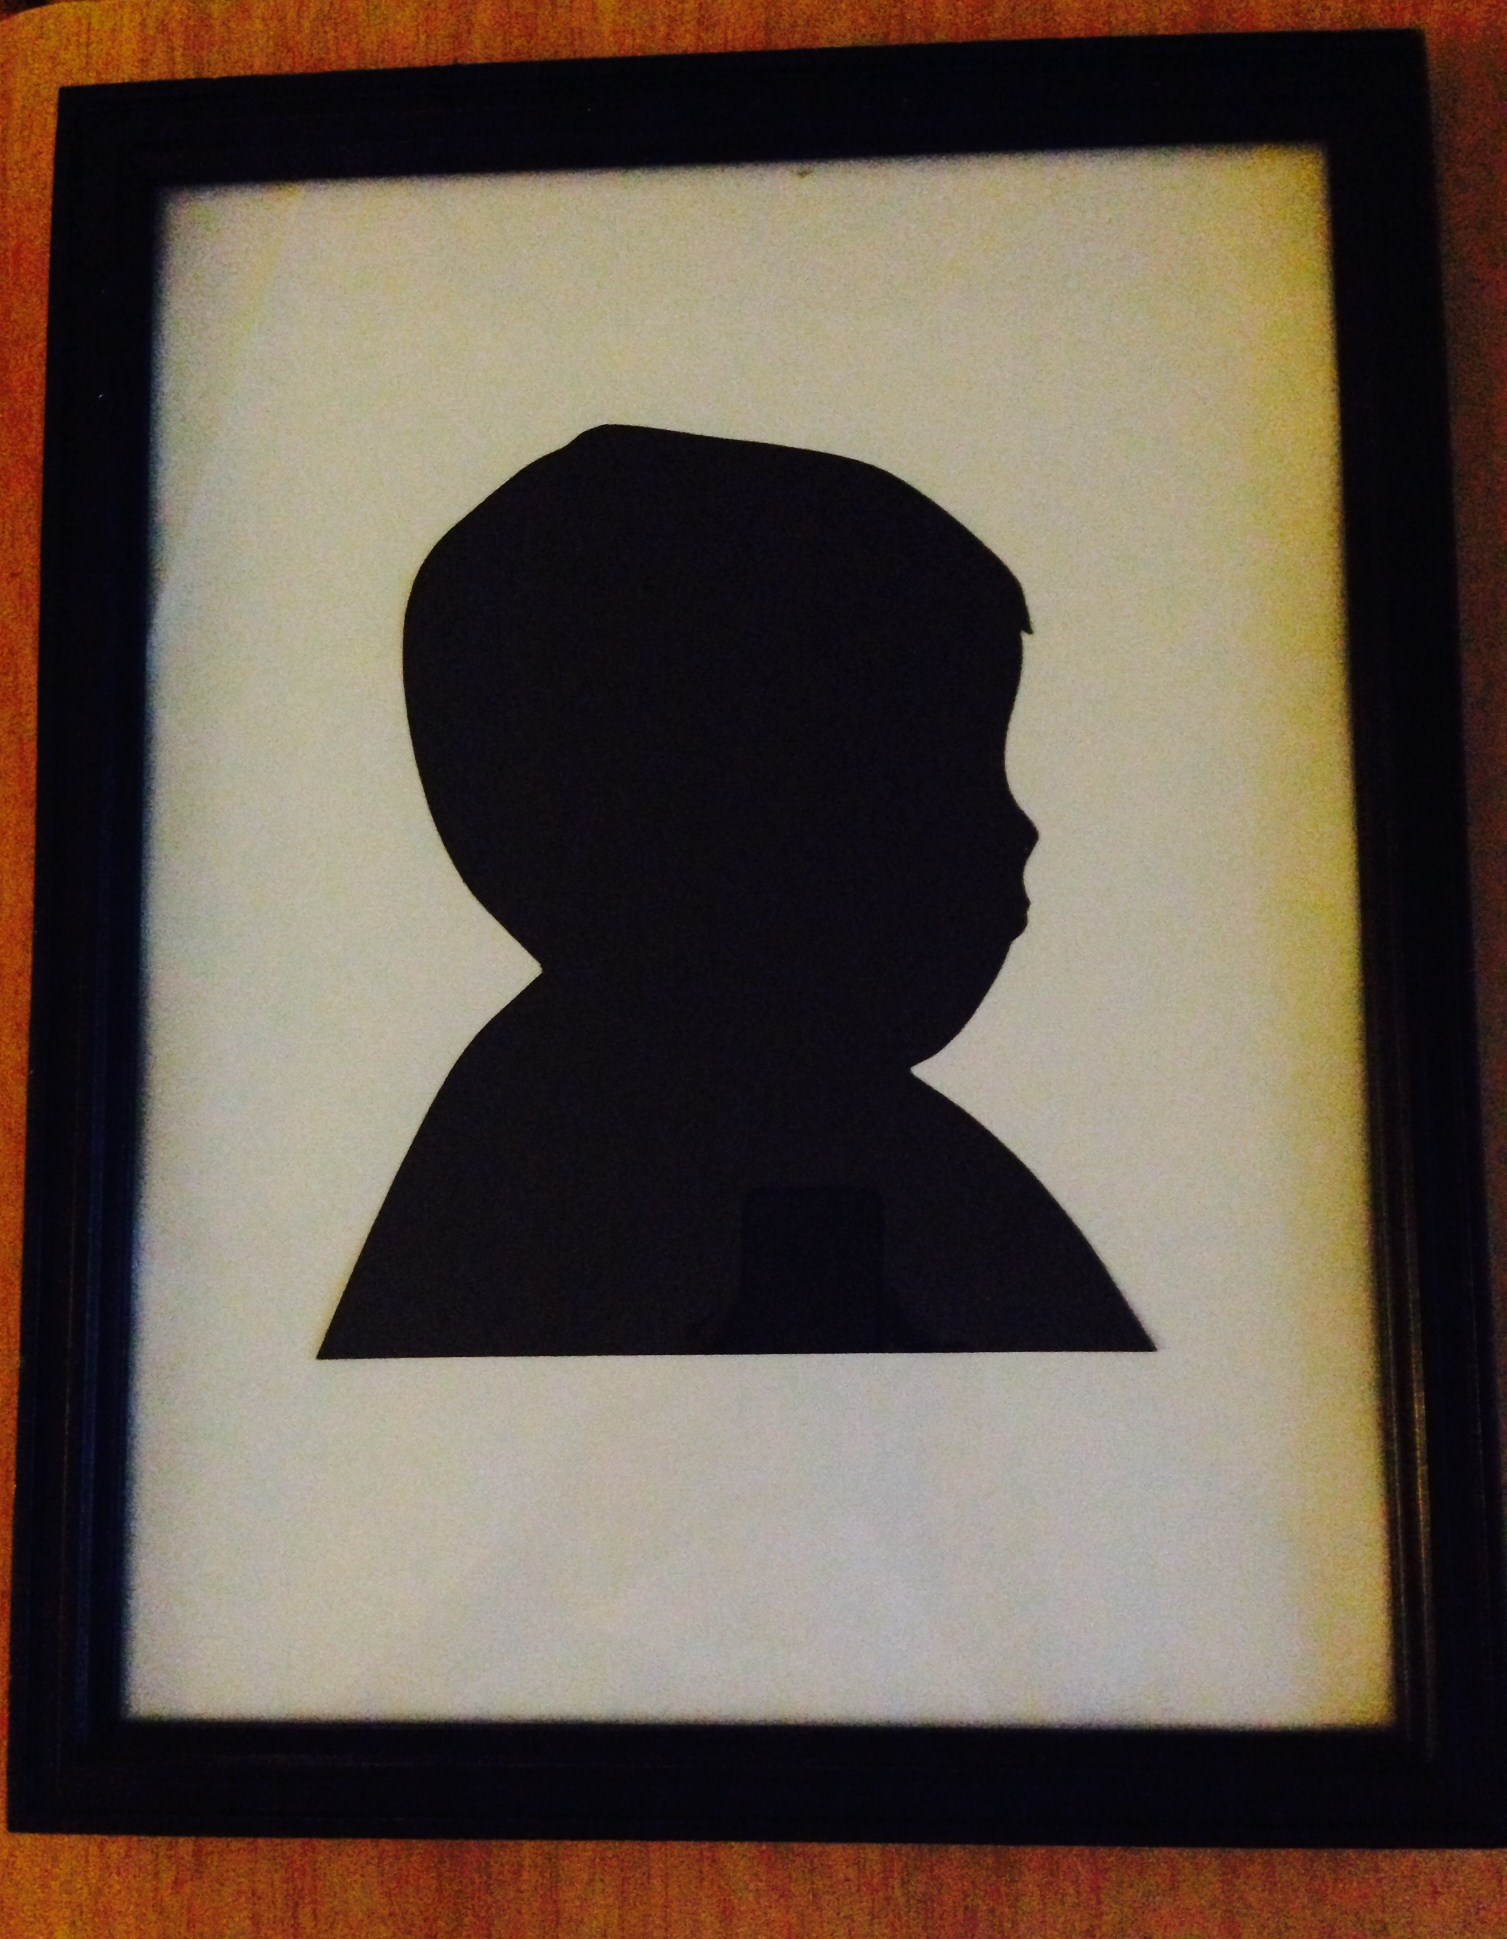
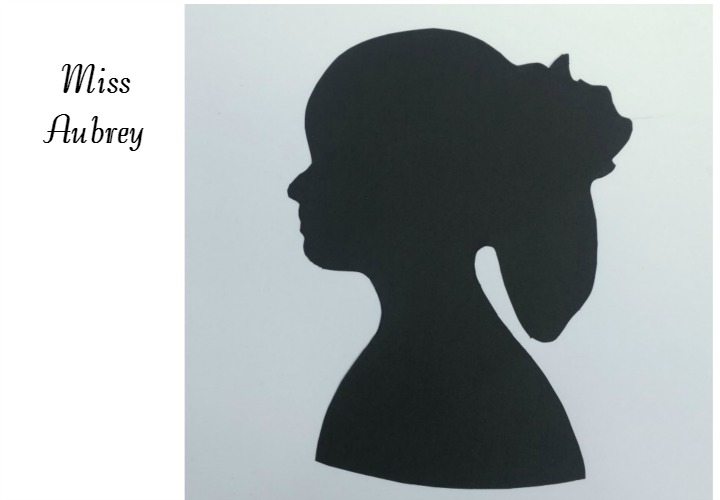
Cut it out and you are ready to frame. Use a little spray adhesive or even a glue stick to adhere your profile to you background paper. Proceed to frame as usual. Now hang it up and admire your masterpiece you have created. You could even add their name or the date.
For a fun no sew pillow, you can make a profile of your favorite pet and cut it out of felt. Using a generous amount of spray adhesive especially around the edges, spray the reverse side of your felt, then place on your pillow. I just used one I already had on hand. Since the felt wont fray around the edges, don’t worry about sewing it.
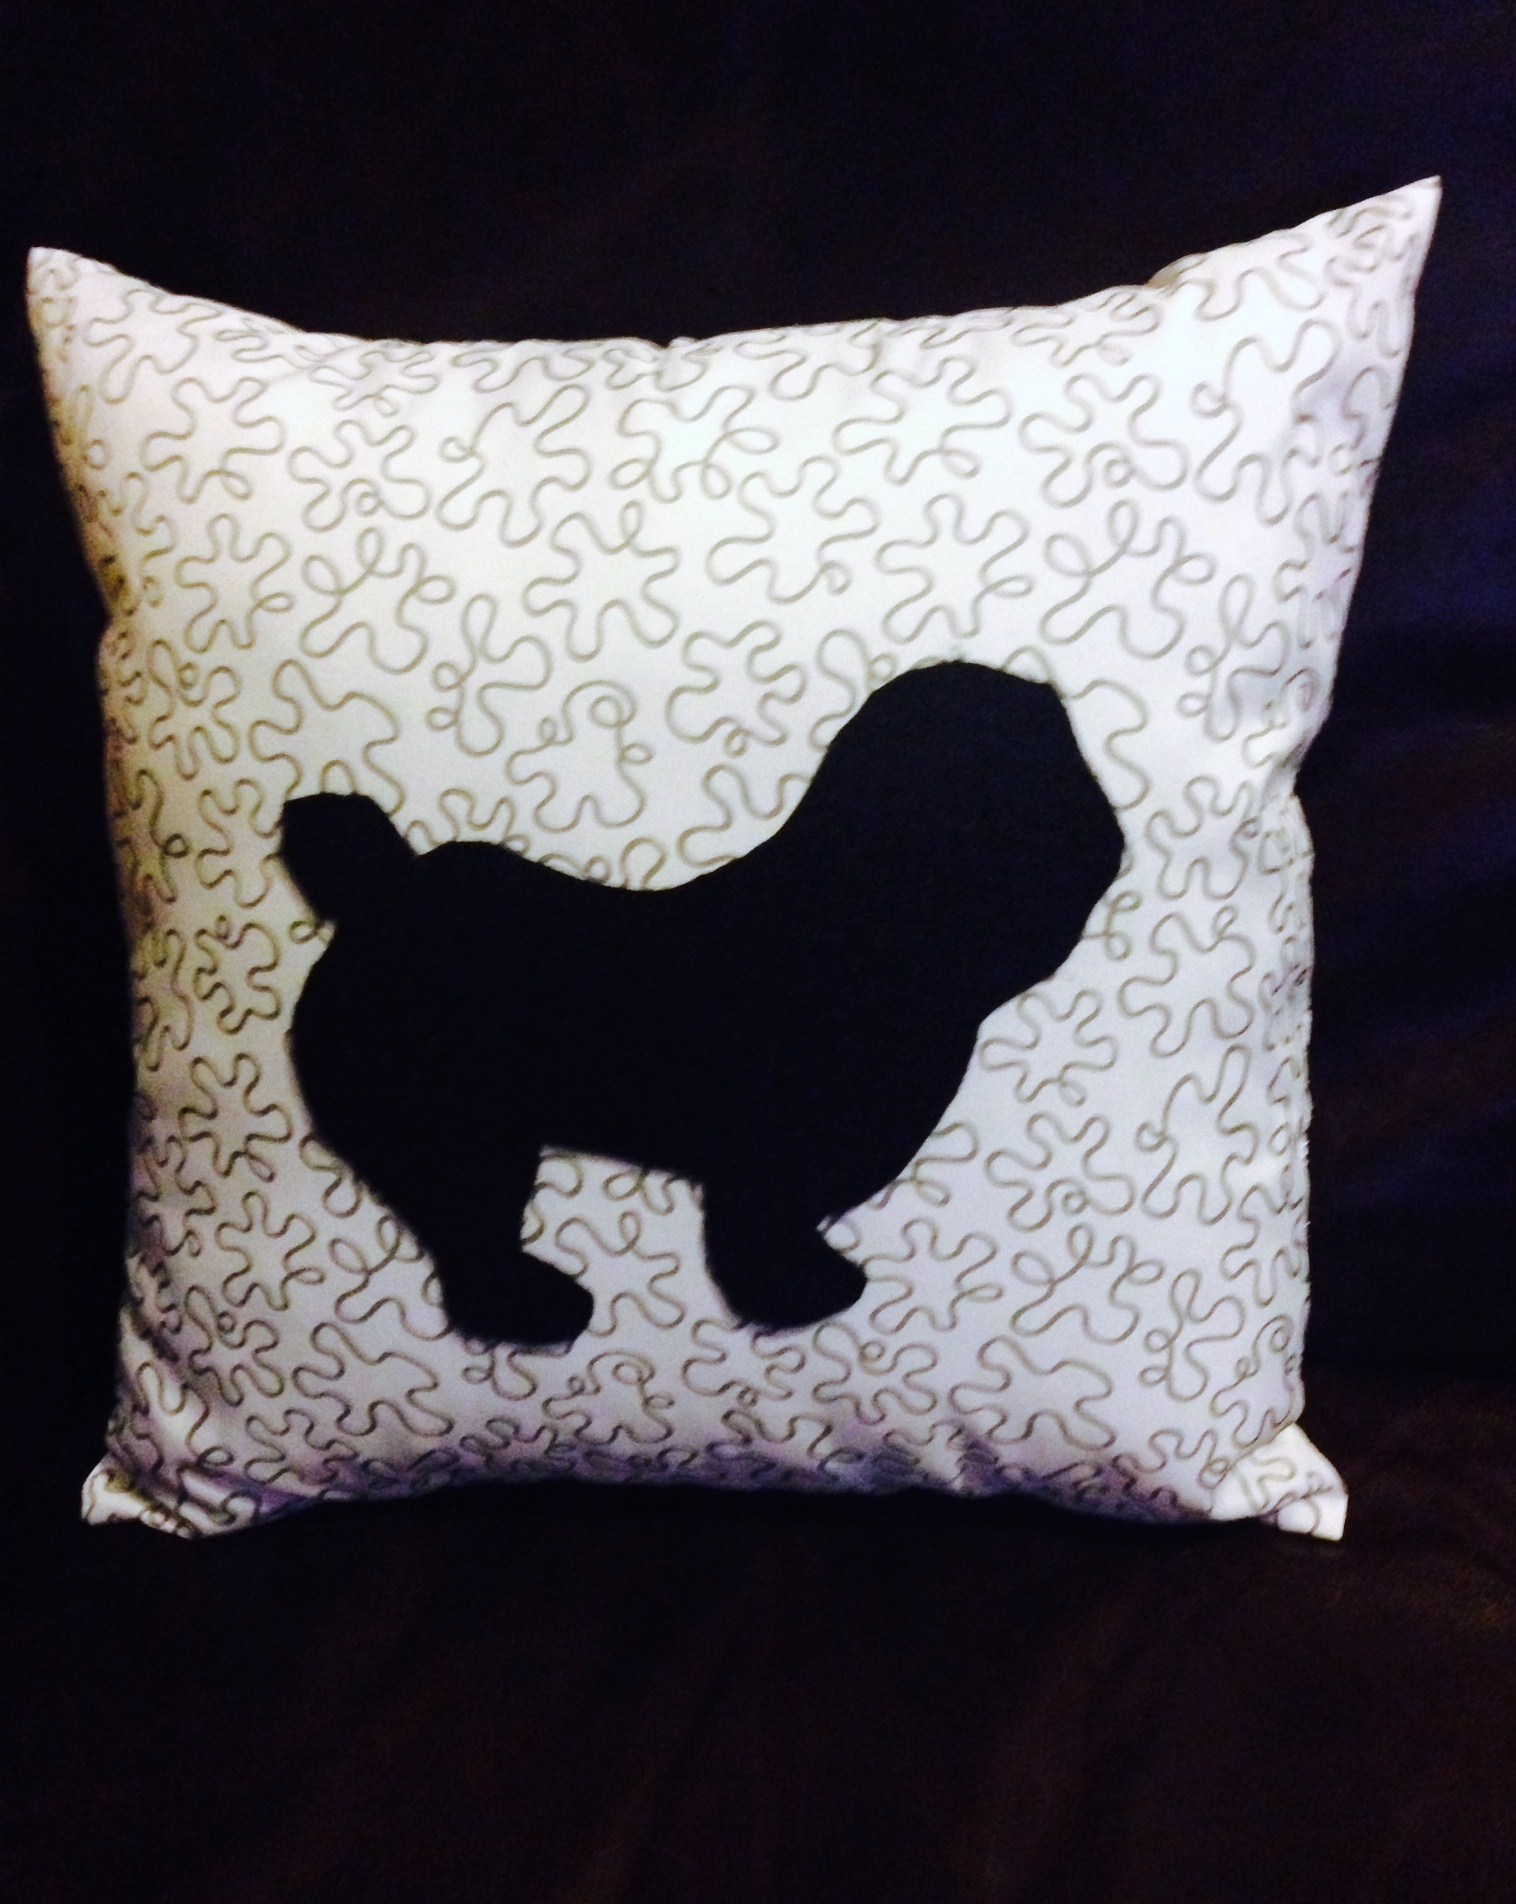
Remember, when using spray adhesive, it’s best to do this is a well ventilated area, and cover other surfaces to allow for the overspray. This stuff is super sticky.
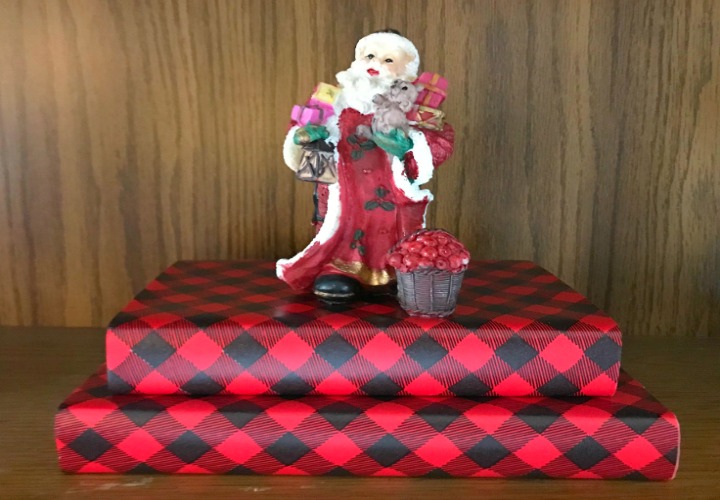
This same idea can be used to make home décor for your home. Consider bunnies for Easter, a Santa for Christmas, or a deer head or other wildlife for that man cave. Or what about that favorite car or boat? Maybe hand and foot prints of that new baby. You have an unlimited choice for your background, or even your silhouette. You can use leftover fabric or wall paper, scrapbook paper, wrapping paper, or even burlap not only for your background, but even for your silhouette.
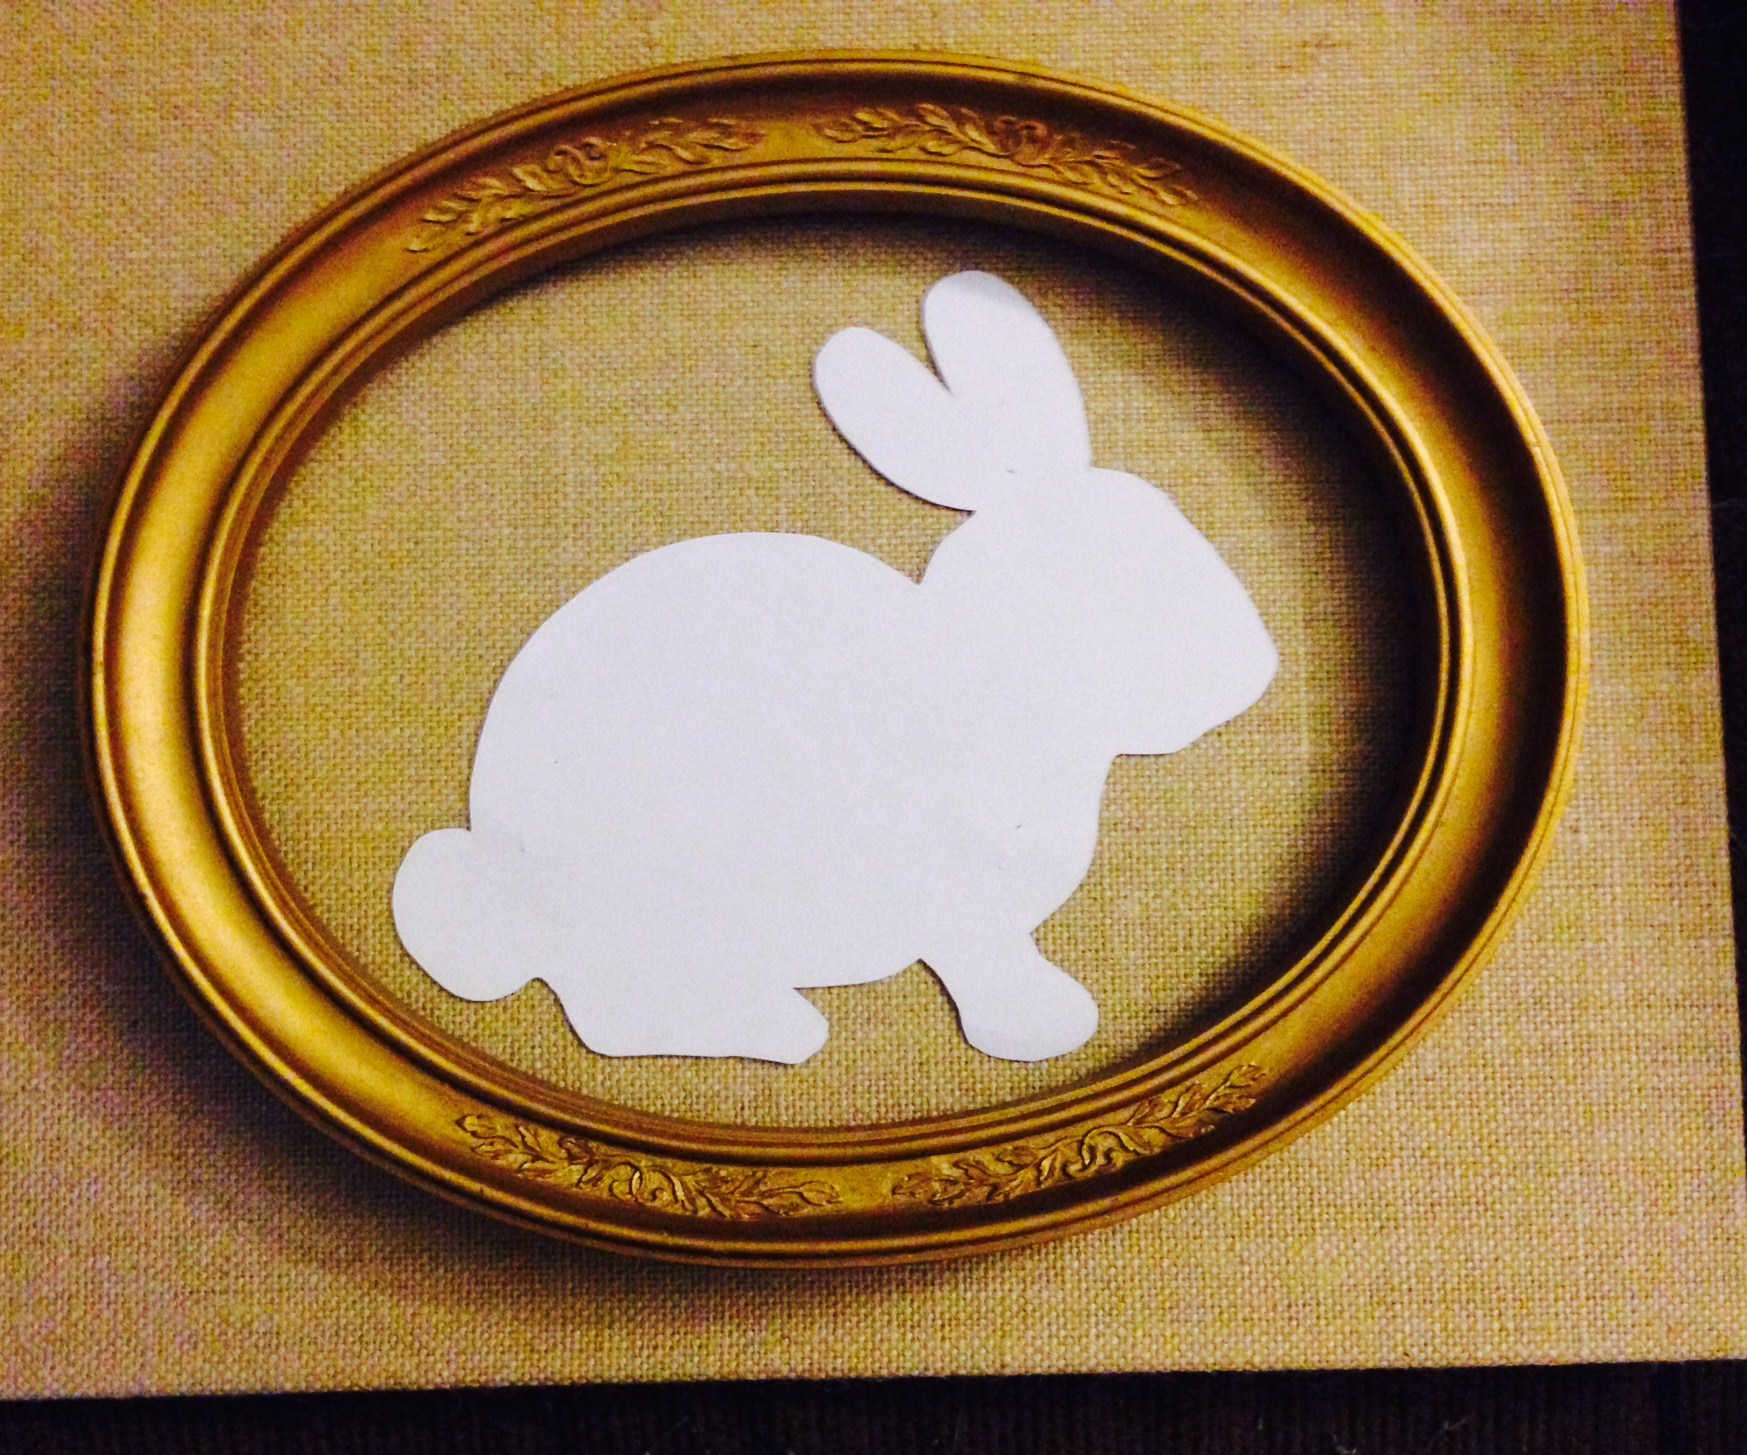
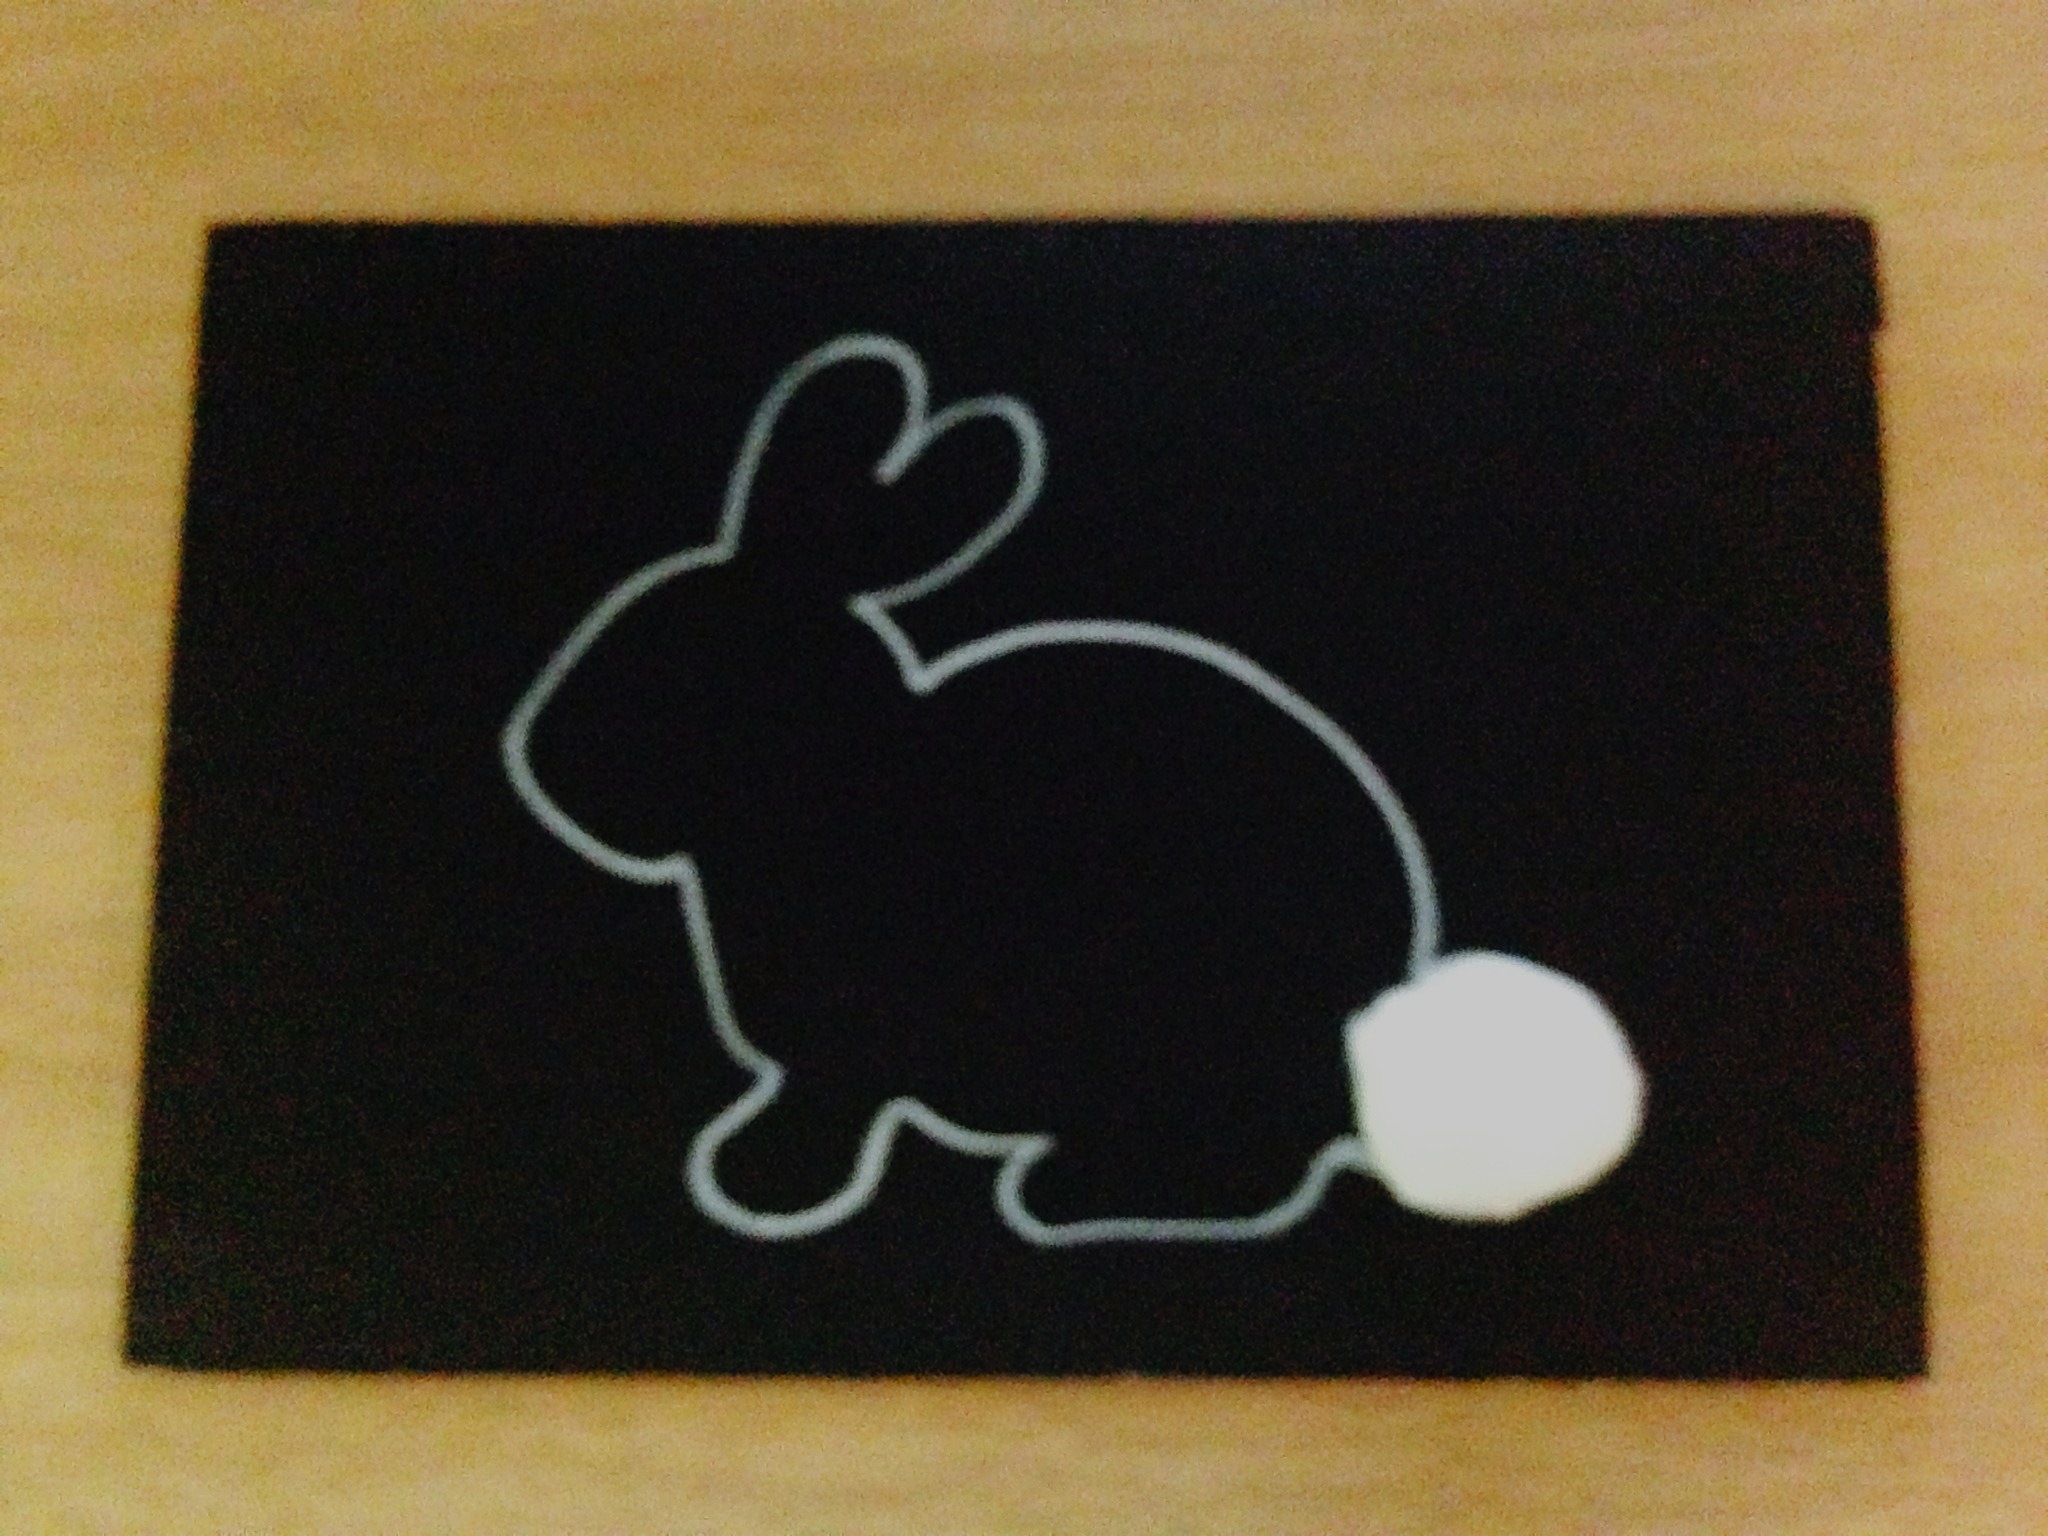
Chalkboard art is still a big trend. Outline your bunny onto a chalkboard painted board – add a cotton ball for a tail. Instant Easter art.
I’ve included affiliate links to Amazon for you to find some products easier. I may receive a small commission, but the price is the same for you. It just helps my blog out.
Happy Travels,
Rosemary
I love silhouettes. They are classic and pretty. Well done.
Good morning!! I love how your silhouettes turned out. This is a fantastic idea and what a great gift for someone. Thanks for including an easy to follow tutorial. 🙂
I never realized really how easy these could be. Can’t believe I don’t have one of my own child who is now 27. Going back and looking at old pictures to try to do one. Thanks for checking out my blog.
I love Silhouettes, and I love the idea of one on a pillow. It looks so easy, but I am always afraid that mine will not come out looking as good as the tutorial. I have been deceived by “easy” looking tutorials before, lol. 🙂
I hope you try – this is really an easy project and not expensive to try. Let me know if you have any questions when you try this.
Such a cute idea. I’ve seen these before but never knew how to do them. Not nearly as difficult as I thought! Thanks for sharing
I am pleased at how easy they do turn out. Plus, it is such a low cost item, if you do make an error cutting it out, it just takes another sheet of paper.
Thanks. I feel they are really simple to do. Hope you try one.
I’ve always wanted to make one of our little guy but he is tough to get to be still sometimes. Your how to is perfect and easy to follow!
Trying to get my Derby to stand still was a bit challenging too. Hope you enjoy trying it.
My 9 yr old will be so interested in this… I may have to make this a summer project for her.
Definately a very cool idea! Thanks for sharing your art, very creative 🙂
Thank you for checking it out. Hope you will see my other posts in the future.
I’ve always loved silhouettes—thank you for sharing how to make them!
Glad you enjoyed this. Share with us what you make.
Those came out great. I had a few from when I was younger! They actually are much easier than you think to make them.
They are easy and ideas are endless. A quick art project to change up in your home, especially for any holiday.
Great idea. It makes me, the non visual arts talented person, want to try my hand at it! Thanks for sharing.
Thanks for stopping by. I hope you make some now. Let me know if you do have any other questions.
My son had one of these done in preschool and it looked just like him. I always wanted to know how the silhouette looked so perfect. Thanks, Julie
I wished I had realized 27 years ago how easy they were when my son was born. No pinterest, hometalk or blogs back then though.
What a great tutorial. I always wondered how someone could create these.
Jennifer @ The Jenny Evolution
I never realized they were so easy. Most just cut out the pictures, but I found using the Sharpie gave me a better cutting line, plus you could make a few changes if needed.
Fun project and a great keepsake!
So many great ideas – wish I had one of my son who is now 27. I need to find an old picture and make one.
This IS a great Mother’s Day idea! Thanks for sharing…pinned! 🙂
– Brooke –
They are pretty easy and really a cost effective gift. Thanks for stopping by.
I have a collection of family silhouettes. This will be a fun way to add to it. Thanks!
I can’t imagine I don’t have one of my son when he was little (he’s now 27). I’m trying to find an old picture to make one.
Very Cute!
Thanks Tammy – I have so many ideas now on where to use them. Now, find the time.
I love silhouettes – they do make such great gifts! And that little bunny is adorable!
Oh I loved the bunny too. It’s amazing all the designs you can find on google images.
This is so sweet. 🙂
Thanks – I think they are really cute and such a great keepsake.