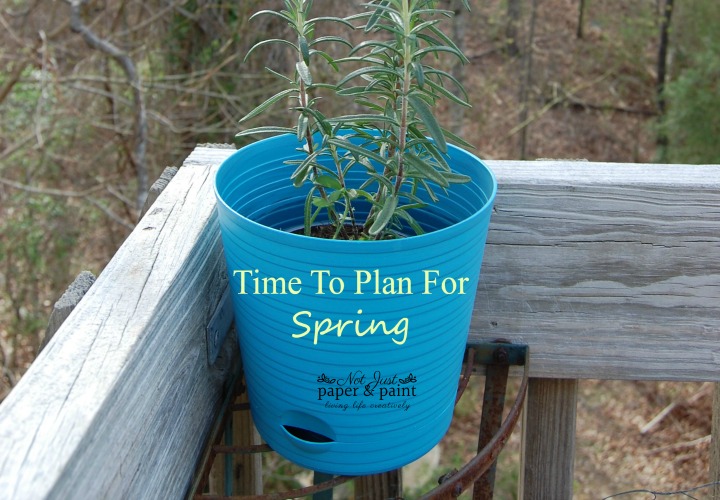
Planting a Herb Garden Container
Recently I attended Haven, a DIY/blogging conference in Atlanta. Not only is it a great event to learn about blogging, doing hands on DIY, meeting celebrities in the DIY/HGTV world, but also getting to know others that have the same passion you do.
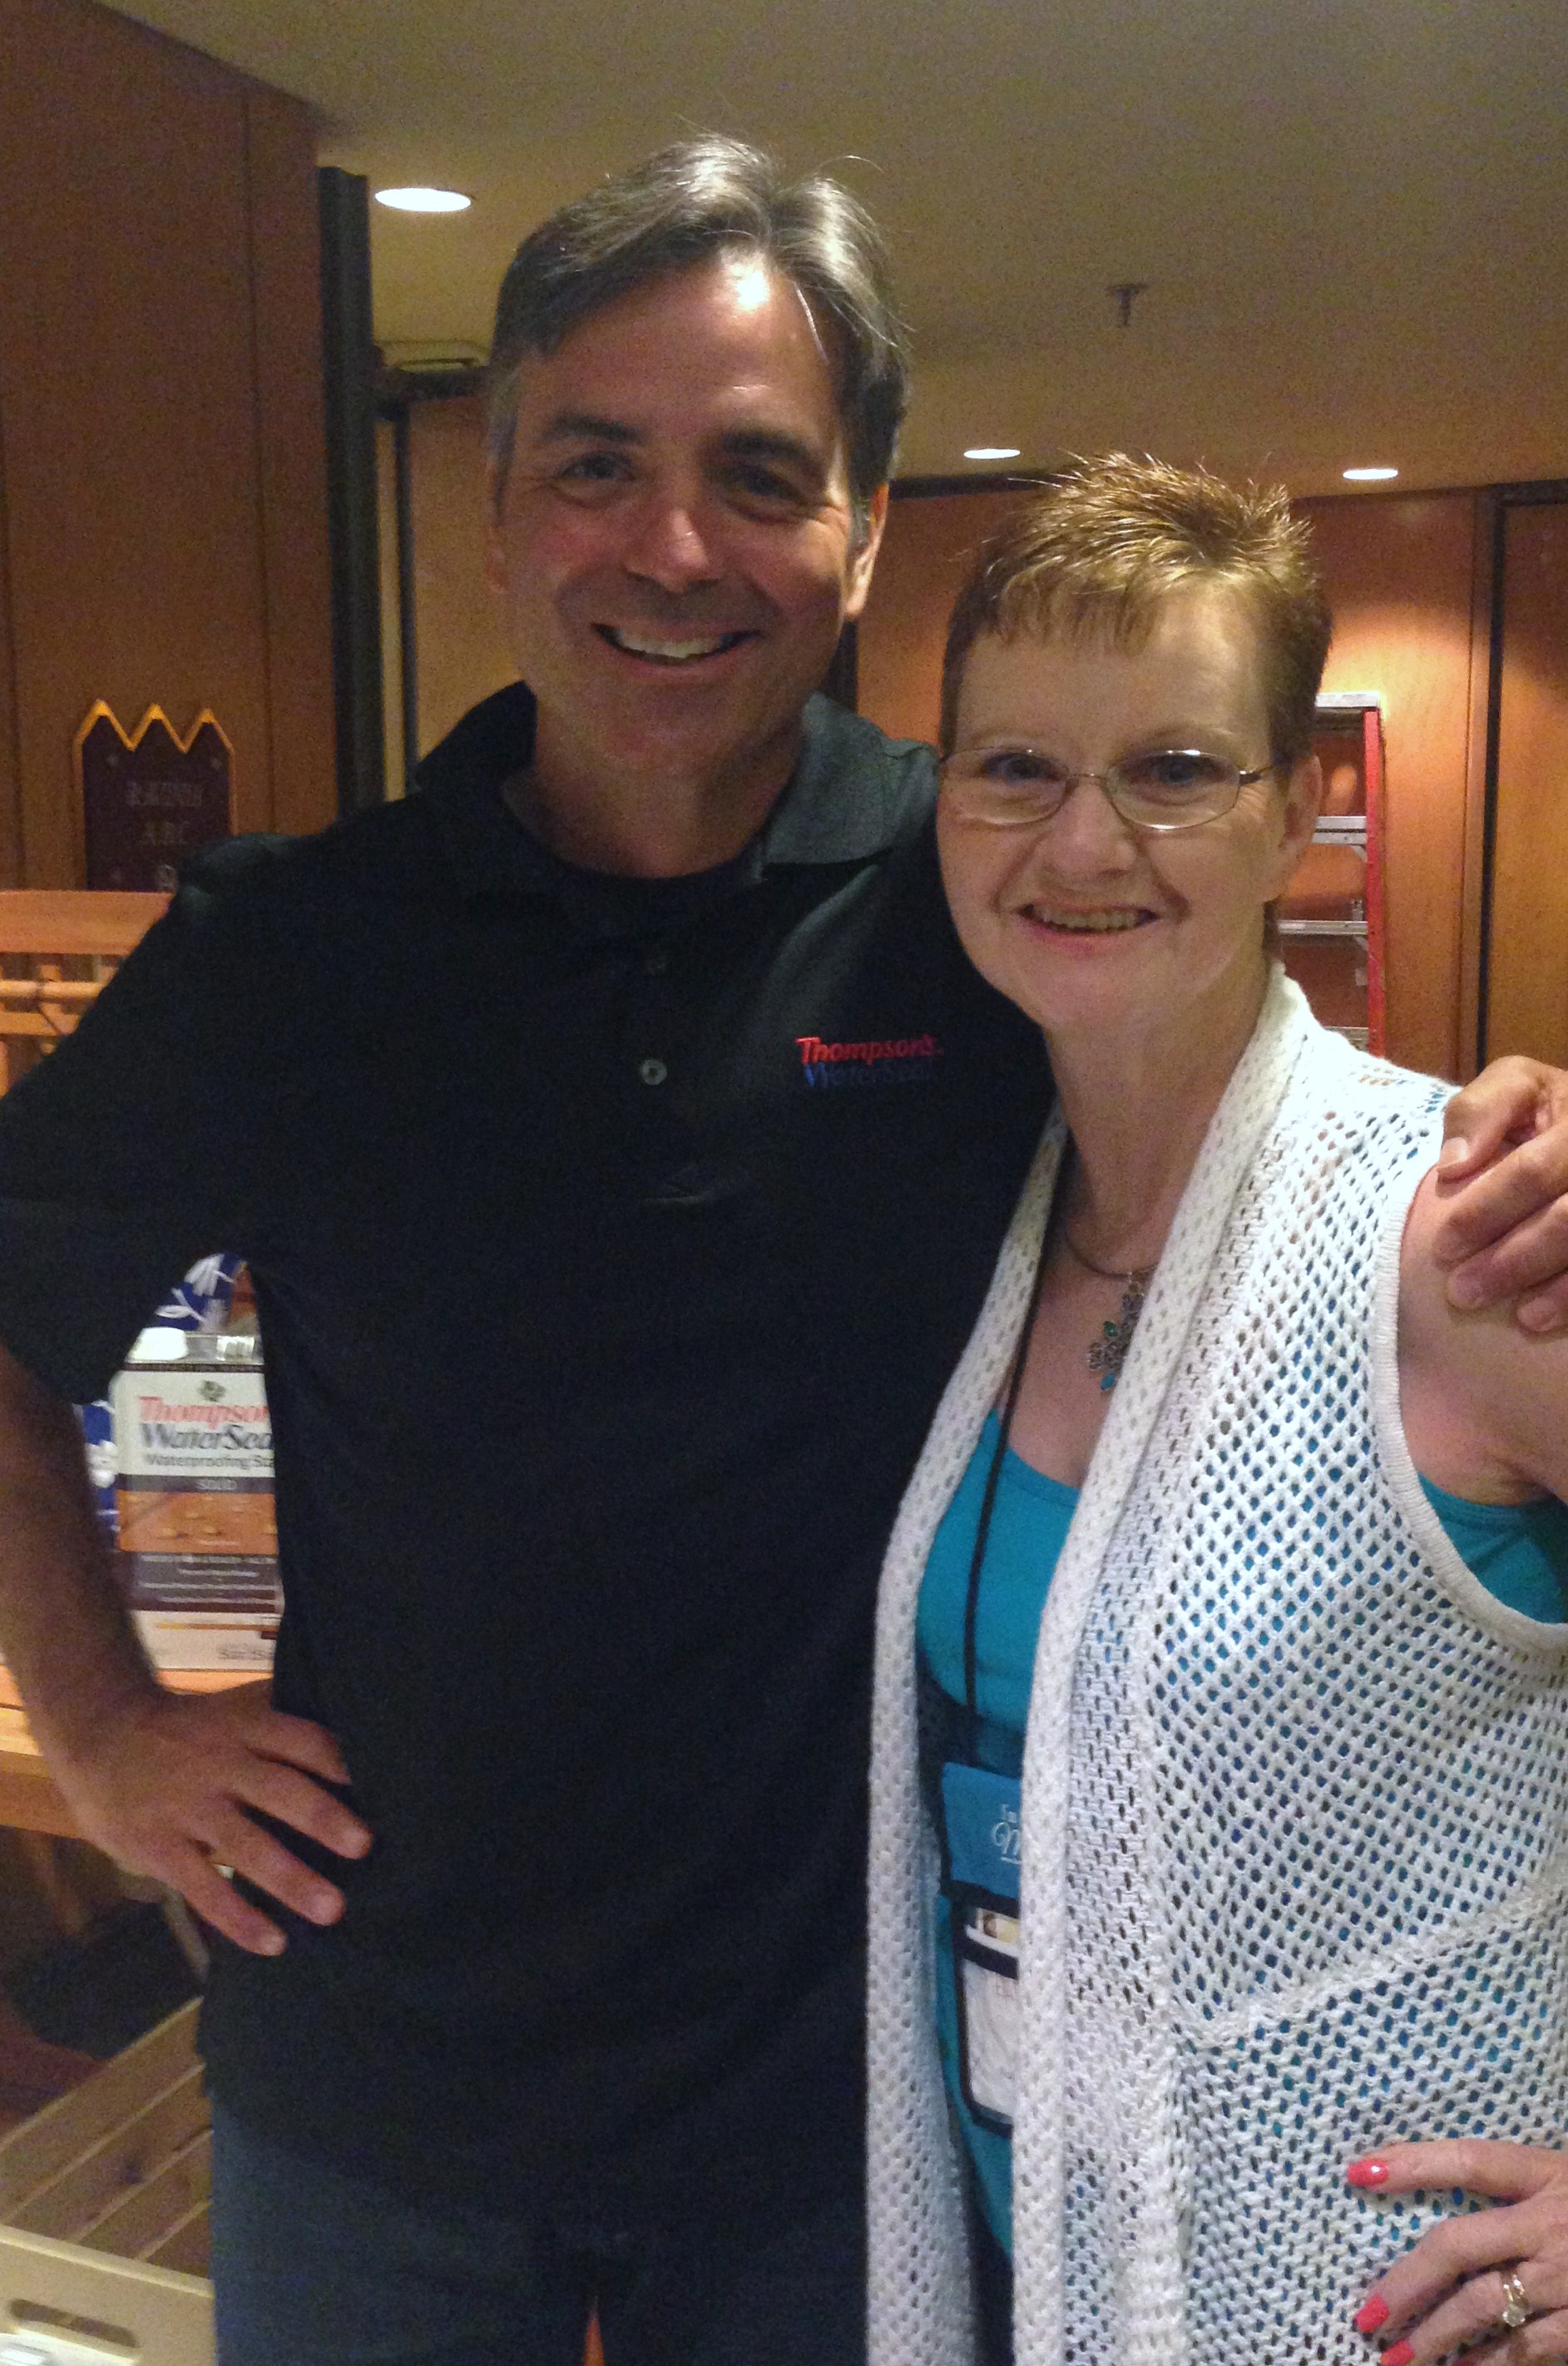
After a day and a half of soaking up all of the technical stuff associated with blogging, my little brain was on overload and I needed something fun. Outdoor Inspirations sponsored by Thompsons Waterseal and Southern Living Plant Collection was just the thing. Jeff Wilson, spokesman for Thompsons, gave out great tips on creating an outdoor living area, including pictures from his new deck and outdoor kitchen.
Carmen Johnston with SL Plant Collections gave us so many tips on container gardening. There should always be the 3 T’s in any container – Tall, Trailing, and Thick. For instant gratification (which we all seem to want these days), use full size plants so that your container looks full. Also in her tips was creating centerpieces using shrubs which can then be transplanted into your garden, use a good potting mix for containers such as Miracle-Gro, start your fall containers in August, make sure you have proper drainage in all containers, and herbs can add such a fragrance to any container. My favorite herb is Rosemary (wonder why) and I love having it in several places around my home.
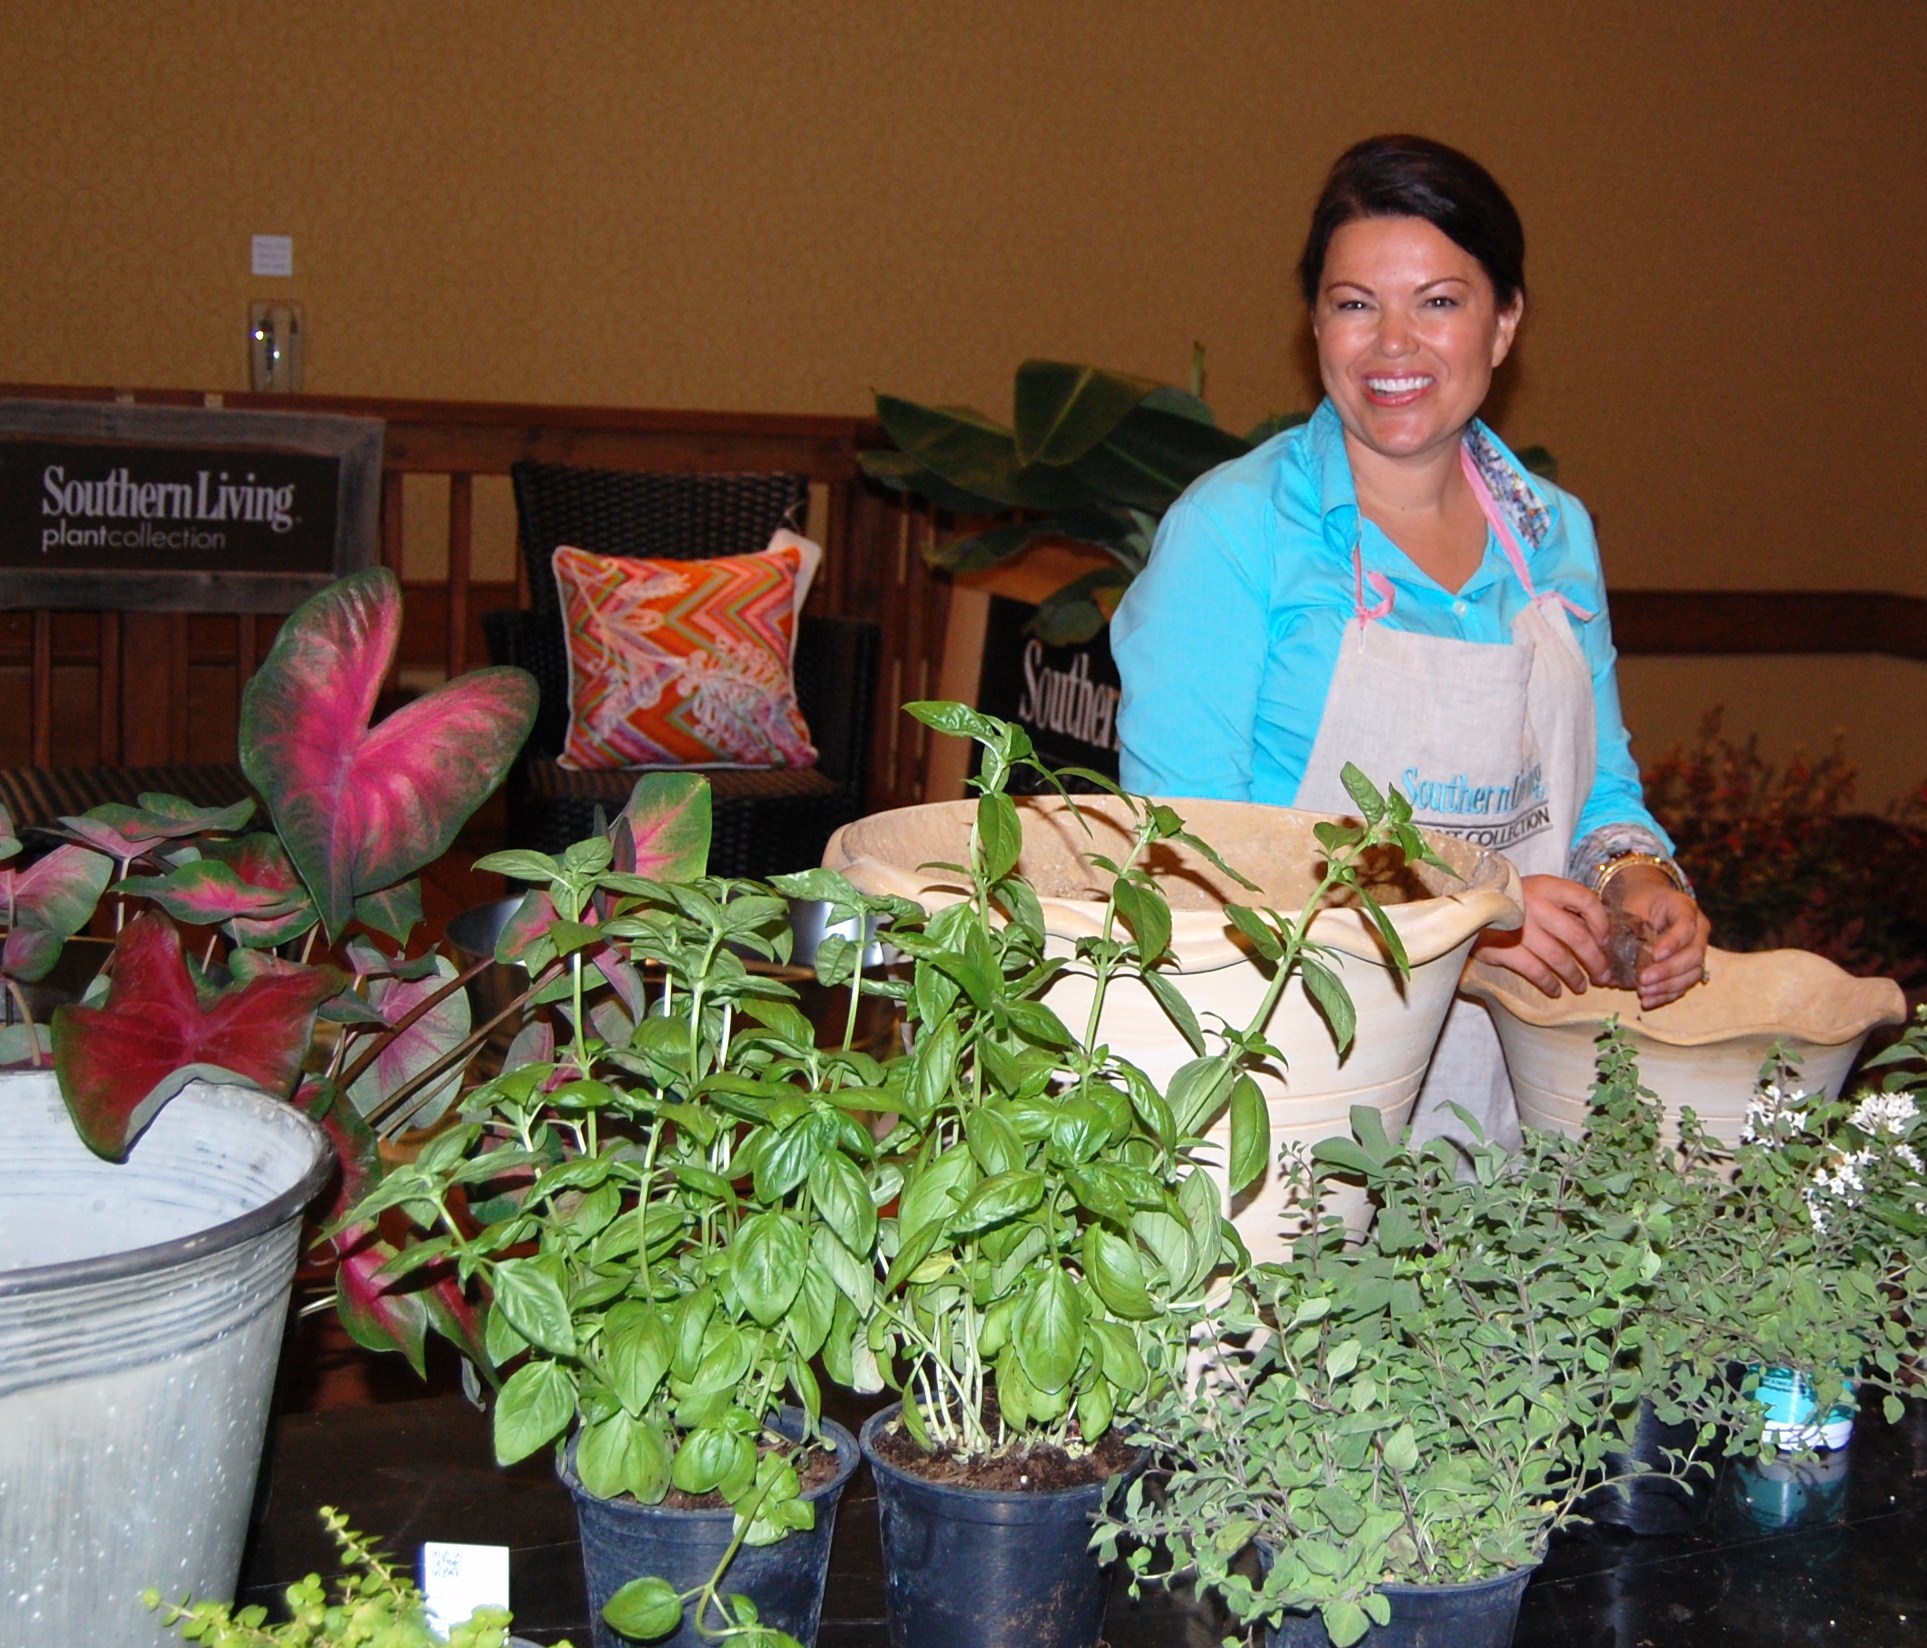
Not only was I lucky enough to win a door prize which included 2 large pots with lots of herbs and plants, but Southern Living Plant Collection was kind enough to have several plants to give away to attendees of Haven.
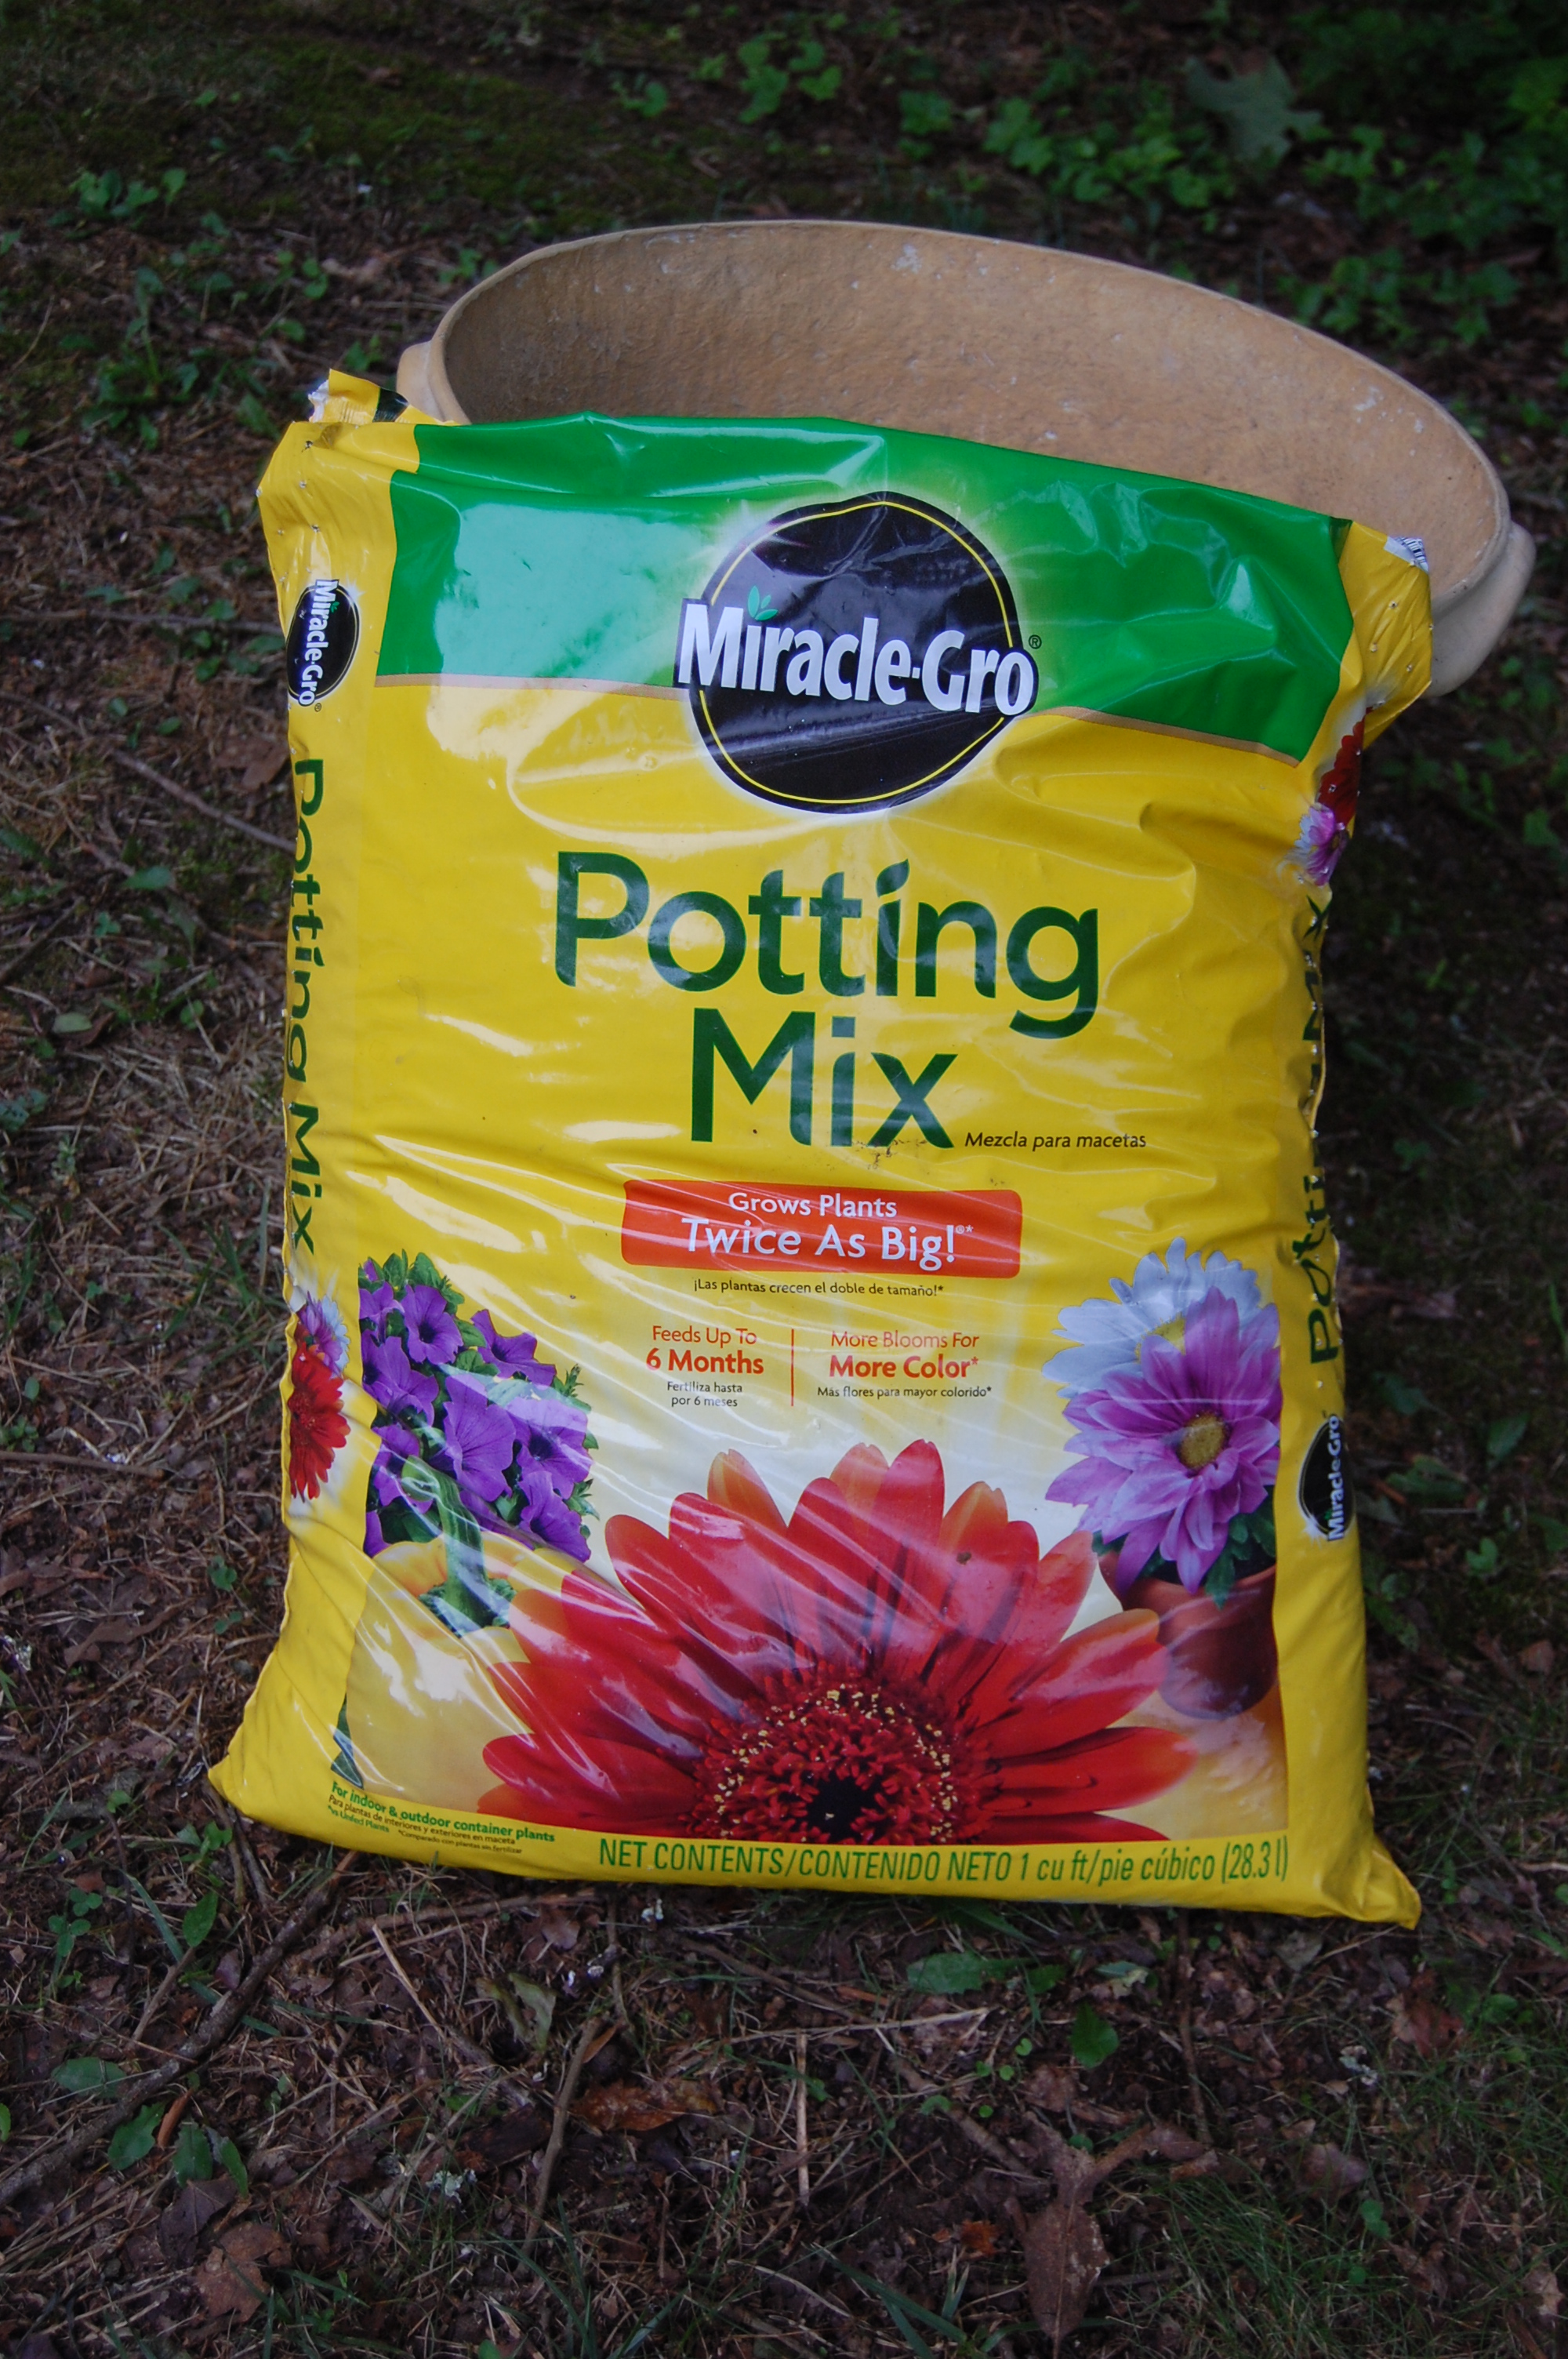
I’m not known for having a green thumb, but I keep trying. I have always wanted an herb garden but just never took the time and effort to do it. Fresh herbs are such a great way of adding an extra boost of flavor to any dish and I’m enjoying them now. One of my problems could have been not using the right type of “soil” in my pots in the past but from now on, only Miracle-Gro for me. No more dirt, which is what is found in the ground.
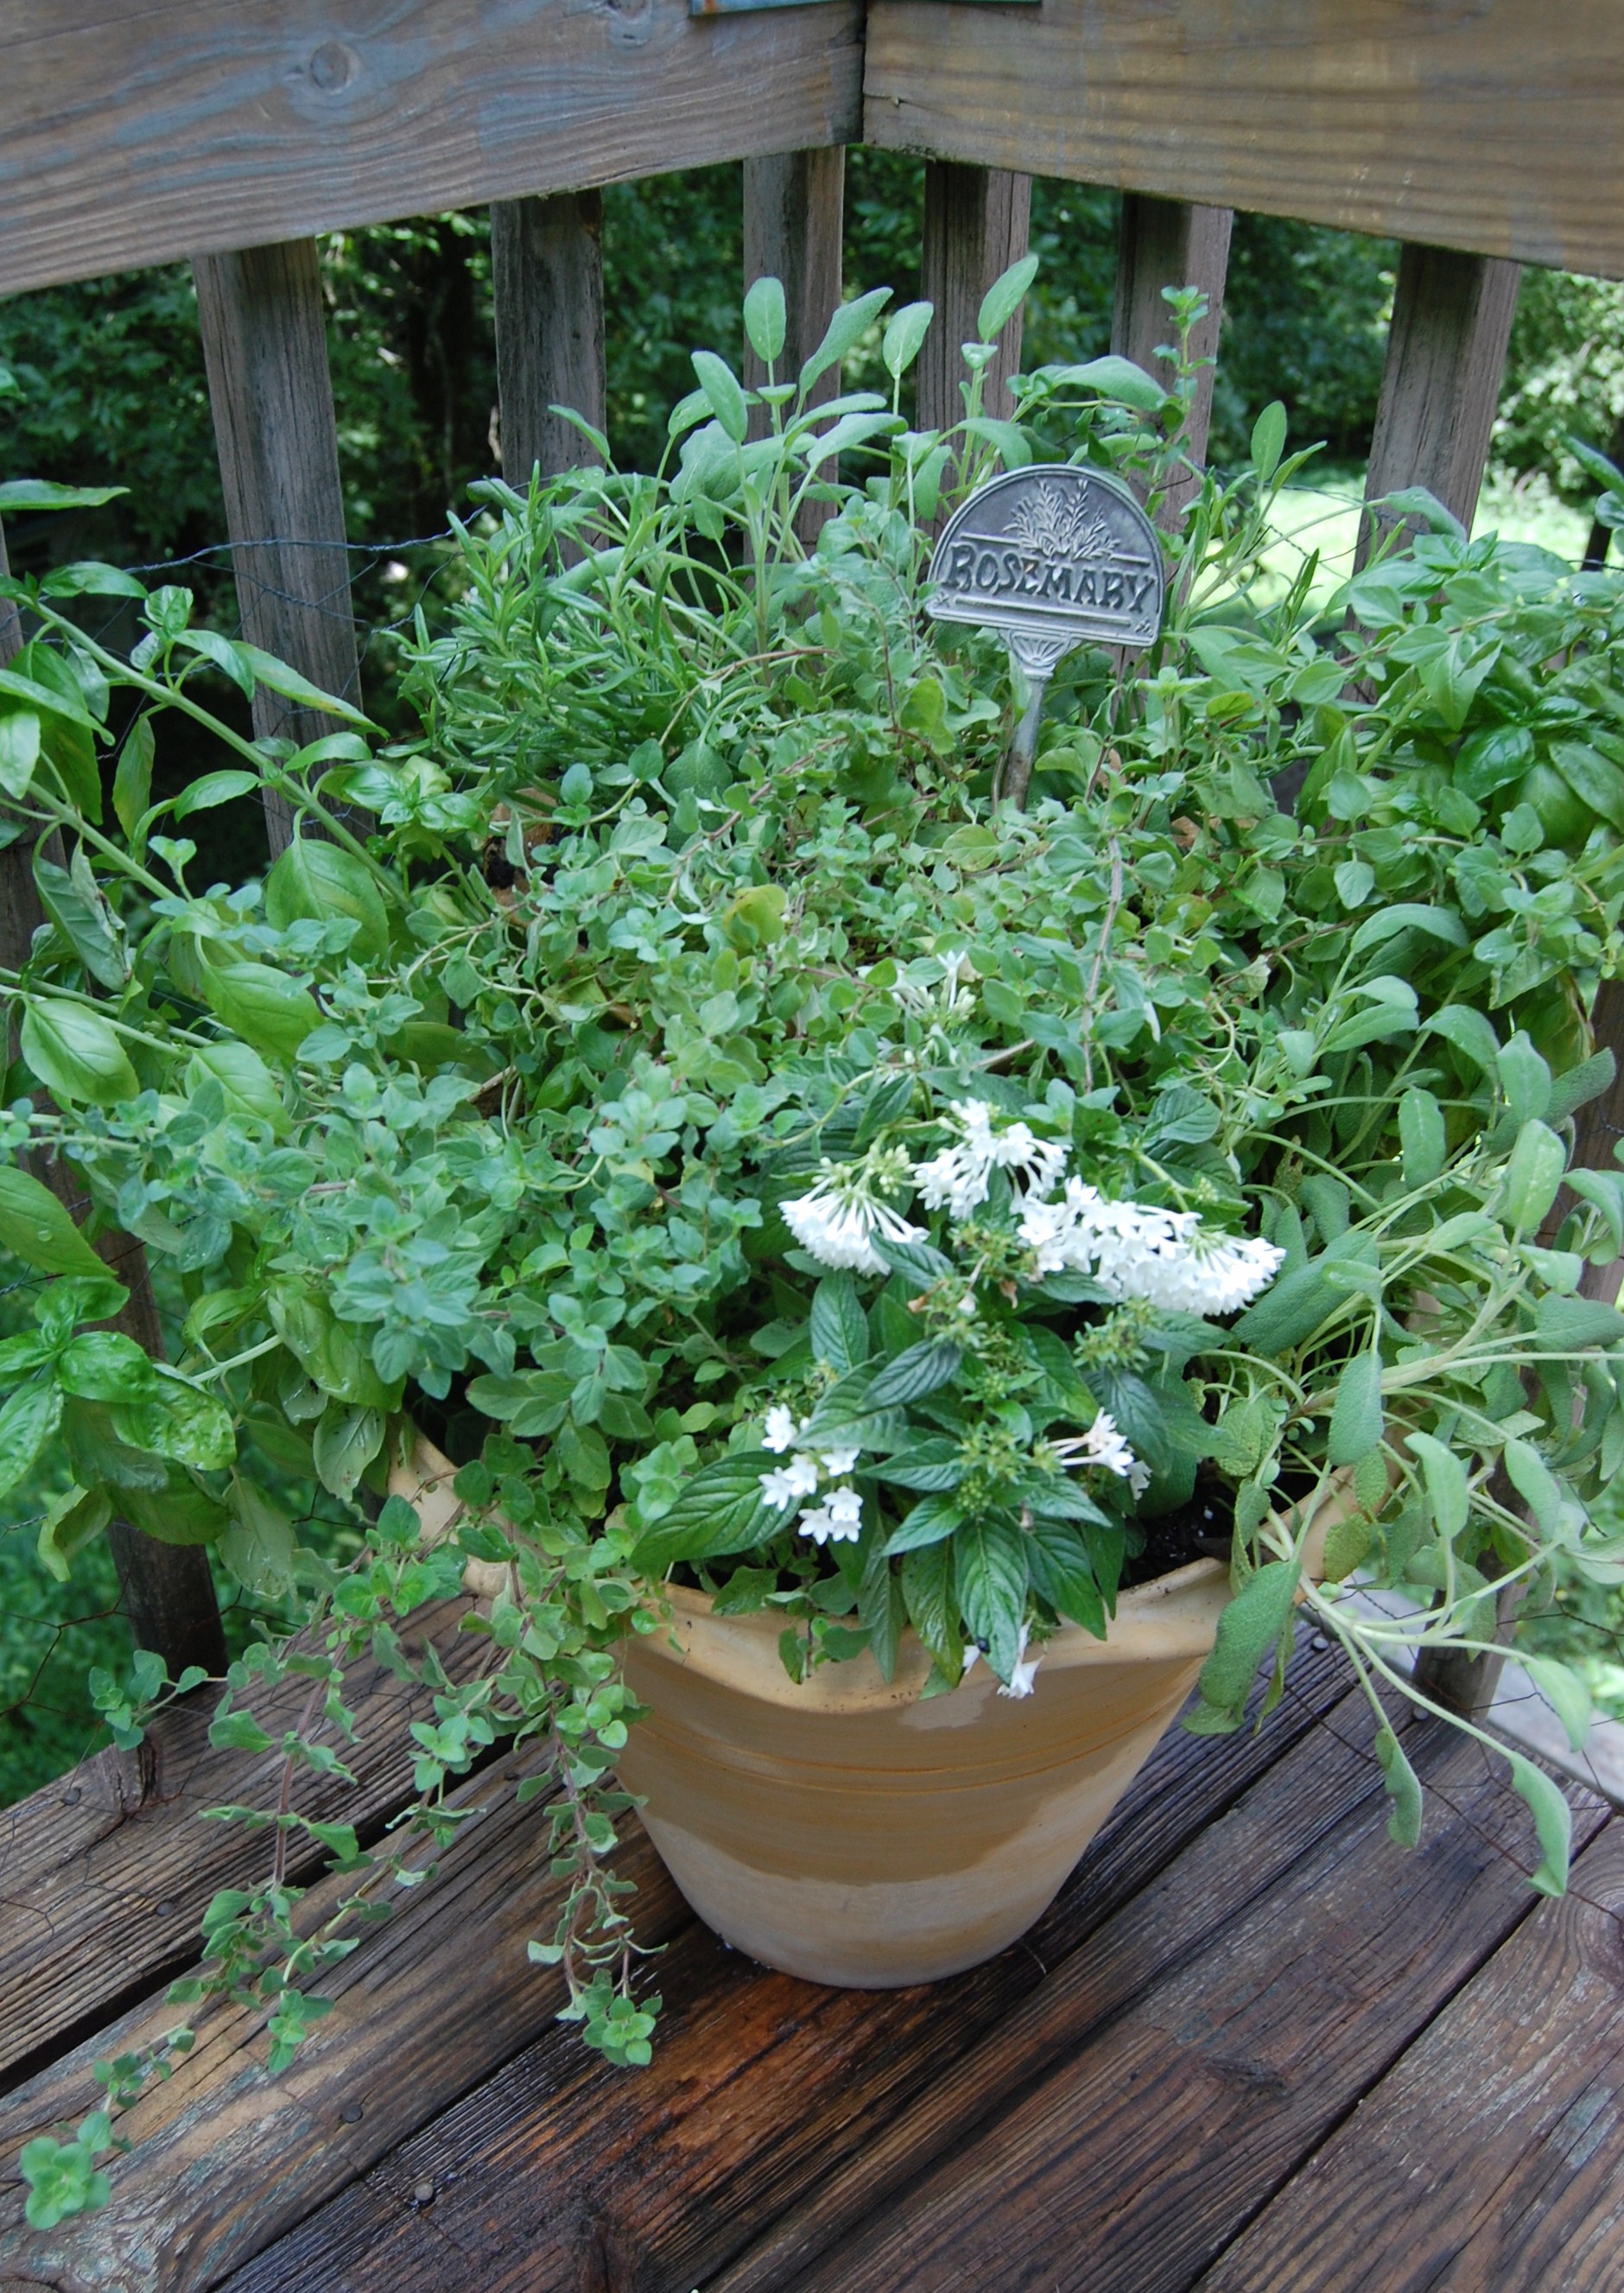
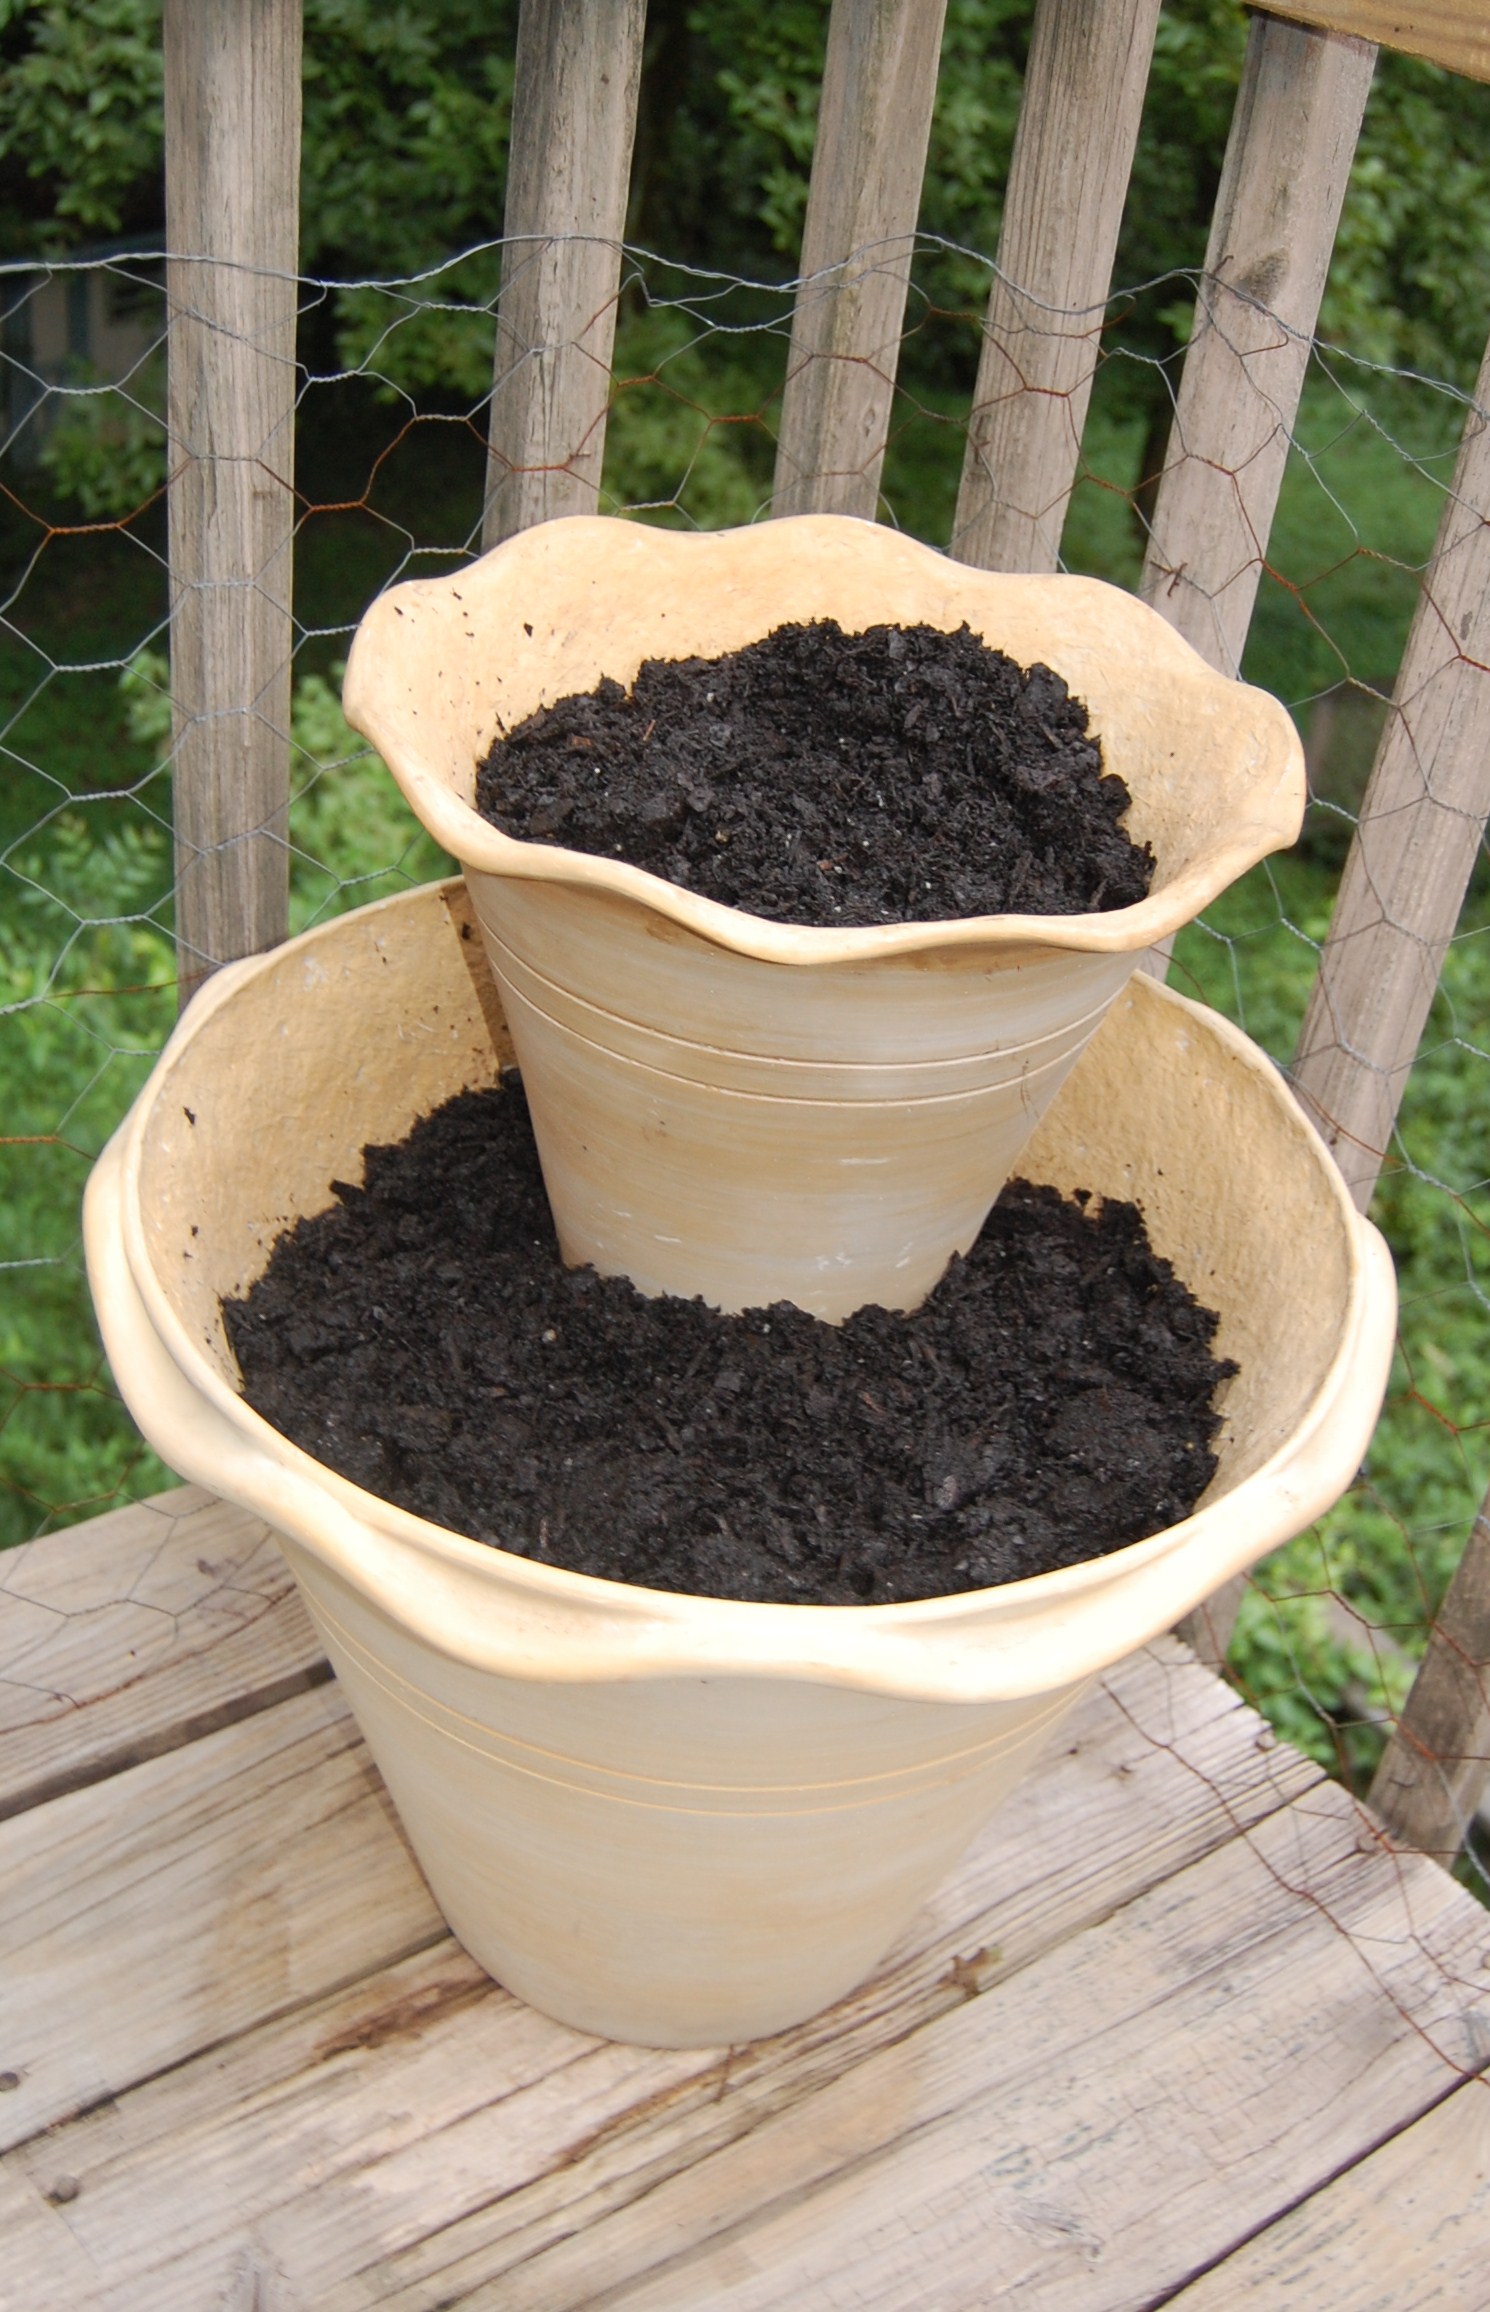
The pots are made from a natural stone and mineral but more lightweight than your traditional terra cotta pots and available from Home Depot. That is a great feature so in the future if it needs to be moved to another area of your deck or yard. By using an 18” and 11”, it was good sizes for stacking.
As in any project, gather all of your supplies you need for the project. If possible, go ahead and place the large pot in your space where you want it. Fill both pots leaving about 3” of space at the top with Miracle-Gro. Place the smaller pot at the back edge of the lower pot. By doing this you are leaving more surface area in the large pot for planting. I always like to do a practice round of the placement of the plants before actual planting.
Now you are ready to plant. All of these plants are from SL Plant Collections with the exception of the two Rosemary plants I picked up at a local grocery store.
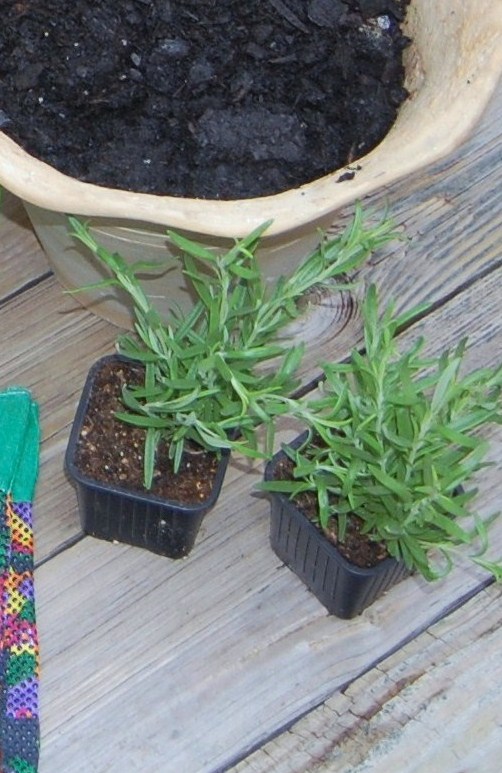
Plant the bottom pot first. Always loosen the roots when you take them out of the pots so it encourages growth. The depth you place the plants will depend on the size of the plant itself. You want to dig a hole, which you can do with your hands easily since you have loose soil, a little bigger than the root of your plant. Pack soil firmly around the base of the plant. You may then need to add more Miracle-Gro to fill in any spaces left around the plants.
After everything is planted to your satisfaction, give it a good watering. A watering can with a sprinkle attachment works best as it has a more gentle flow of water for your fresh plantings. This is also a good place to add any signs or ornaments to your garden. My “Rosemary” had the perfect spot.
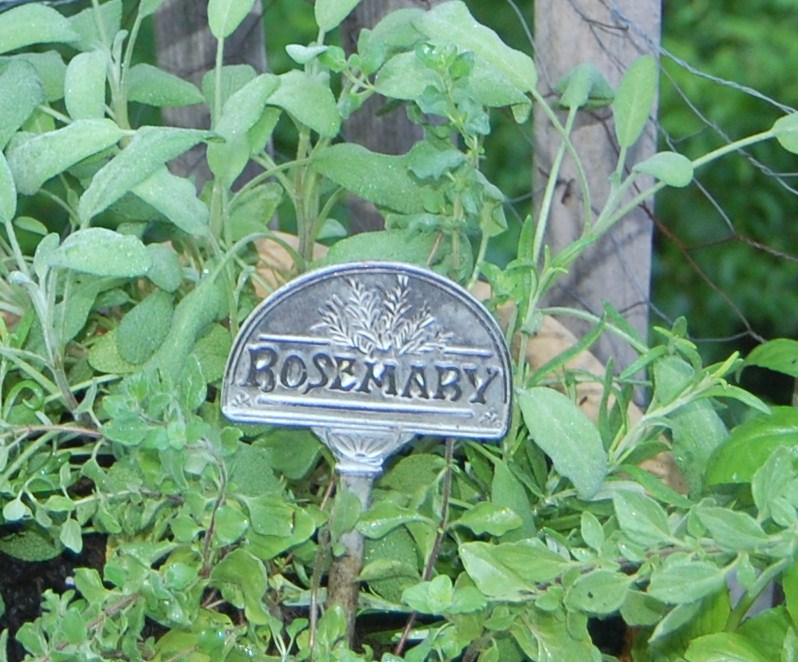
When I was younger, I never could find my name in anything at stores or tourist places, so now I always look at any garden center. I love adding these to pots, even if it doesn’t have Rosemary in it.
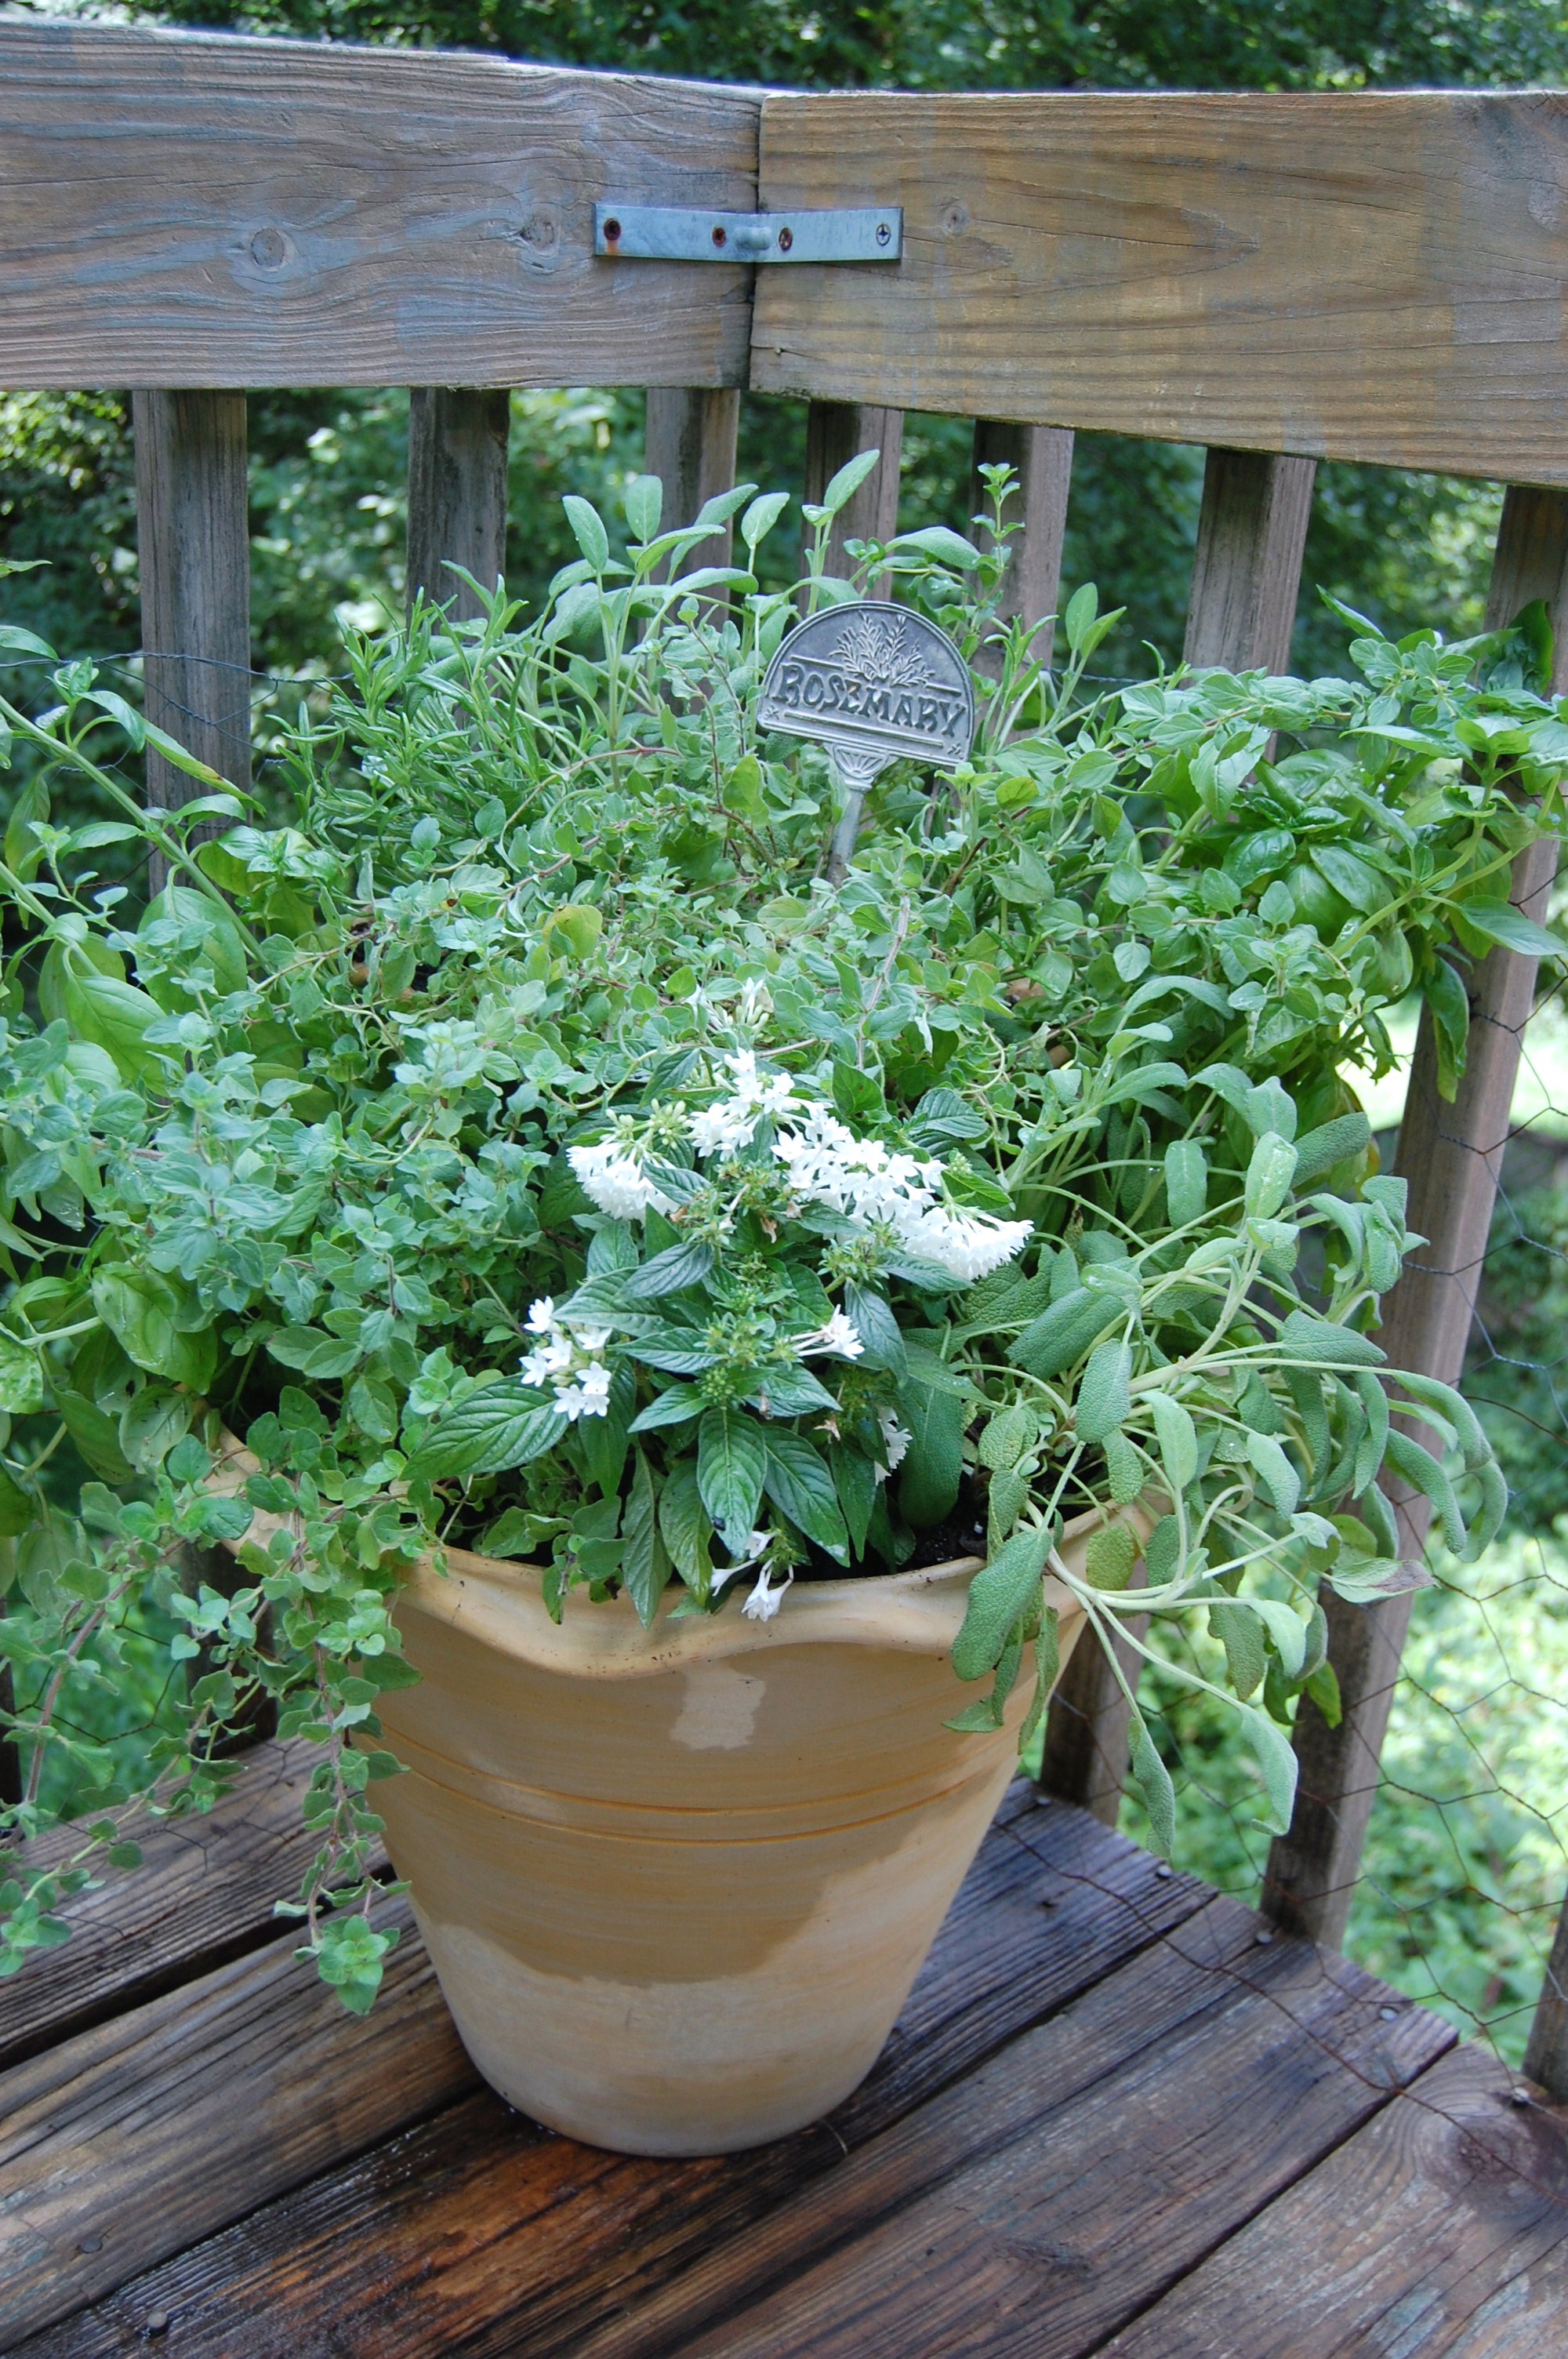
All of these plants are tolerant of the full sun and needs to be watered on a regular basis. Remember, containers do tend to get drier quicker, plus they need nourishment, such as Miracle-Gro plant food, about every 6 weeks. It’s been about 6 weeks now since I planted mine and I’m happy to say all the plants are still alive and thriving. I even use the herbs in cooking several times a week. Another plus to this type of herb garden, is the lovely fragrance I have on my deck.
I’ve included affiliate links to Amazon for you to find some products easier. I may receive a small commission, but the price is the same for you. It just helps my blog out.
Happy Travels,
Rosemary


great idea to stack the planters for height!
I had seen pots being stacked but had never done it before. I love it and will have to do more of it. Thanks for stopping by.
These are great tips! I keep hoping one of these days I’ll somehow get a green thumb but I am horrible with plants. We planted a garden for the first time this year though and it has done ok for our first try! Hopefully next year will be even better.
I would love to have a small garden but our back yard is lower from our decks and completely shady. Thought I would try some containers but just never got it done. Kids love a garden.
I love fresh herbs outside my kitchen, Rosemary. I really like the stacking idea & think some trailing herbs would look beautiful in them! Enjoy your pretty herb pot 🙂
I’m glad I have kept it alive and well this long. I’ve tried some inside and my house just doesn’t have great natural light for plants.
Great tip! I love planting and playing with heights, but it never came to my mind to put two pots together! I will remember it on my next planting session, thanks für this cool inspiration! Hugs, Baerbel
Luckily here (Tennessee) our seasons can be a bit longer. Love the stacking too.
I have always wanted an herb garden, these are great tips!
Such a cute idea. I have a black thumb when it comes to plants of any kind, but I think I may be able to handle this!
I’m happy if I can keep an inside plant alive for 2-3 months, but we don’t have the best lighting either. Containers are the way to go. They do take more water and feeding though.
I love fresh herbs! I too am not know for my green thumb. This looks easy enough and I might just have to give it a try. Thanks for sharing.
How fun that you went to Haven! Cute project.
Thanks – I’m glad I’m keeping it alive. Haven is great. You should check it out for next year.
I love the tiered pot – what a great idea for planting in small spaces! This would even be great for apartment dwellers!
It would be great in any small space. We don’t have the best layout in our yard plus all of the back is complete shade so it does make it more difficult to have plants I want. Going to look for more pots at yard sales this morning.
Oh how I wish I had a green thumb. I enjoyed your photos and hearing about your going ons.
My thumb is a lot more black than green, but I’m attempting to “baby” may plants more.
Great project — I so need to try this!! I have herbs in my garden but they get trampled by my cat who likes to roll in them.
We only use our decks in our back area so containers are great for there. Give it a try.
Great tips a d ideas!!
Thanks for stopping by. I can see this stacking done with so many plants.
Such a fun idea! I’d love to pick from my own herb garden when I’m making dinner!
I love it too. Taste so much better when you grown your own.
This turned out lovely. Having it right outside on your deck sure makes it convenient for using the fresh herb. Like the Rosemary sign!
Love how it turned out. Wish I had a green thumb.
No green thumb here – I am just making sure I do better on having the right plants for the area and watching the water. It’s helped that we’ve had lots of rain showers so that helps me too.
I LOVE the 2 tier planting system! We go through Mint and basil like crazy in this household. Great tutorial
Thanks. I use some basil but really want to try some different varieties.
What a great prize and I like how you’ve stacked them too!
I love these pots and so happy I have kept it alive. Of course starting with the great soil and plants help too.