Making A Classic Silhouette
Here’s a pretty quick, easy and inexpensive project for that last minute Mother’s Day gift idea. Making A Classic Silhouette. For Mom or Grandma, everyone will love it.
You may have your own photo editing software, but I use PicMonkey for a lot of quick edits. There is a free version which this project can be done on. And most PCs have some kind of software built in.
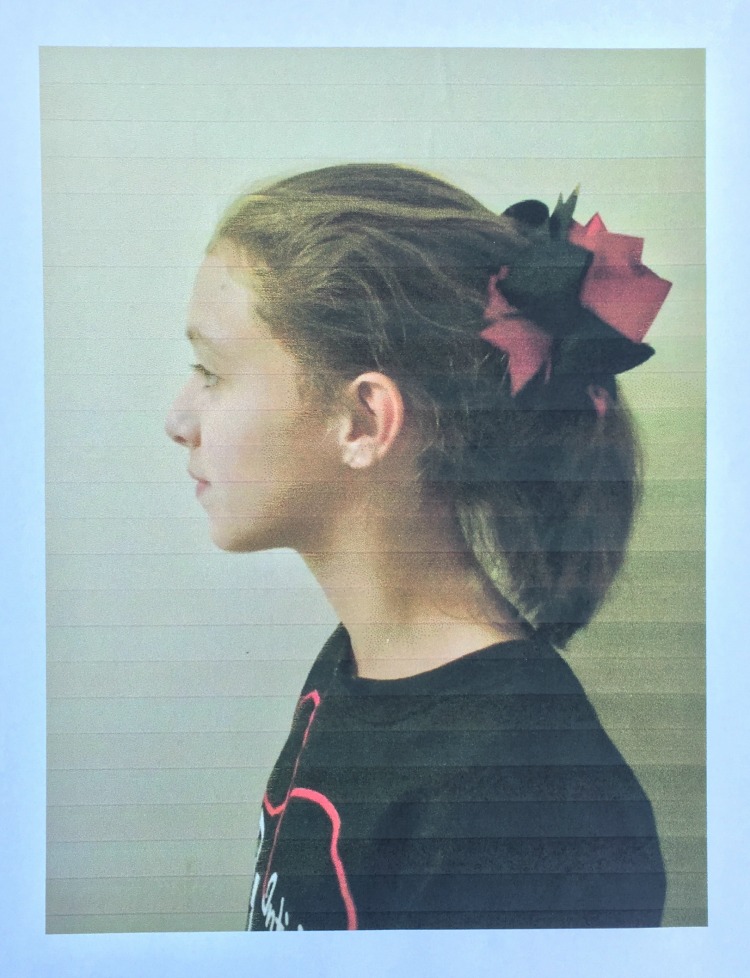
Start by taking a profile picture. Depending on the age, this might be the toughest step of the whole project. Plus, as you are just using this as an outline, the quality of the picture isn’t that important. Even just a picture off your phone works fine.
You are looking for a good contrast between the profile and background so a plain wall or even the outside sky is good.
Some of these instructions can depend on the size you want your finished product to be so you may need to make a few adjustments.
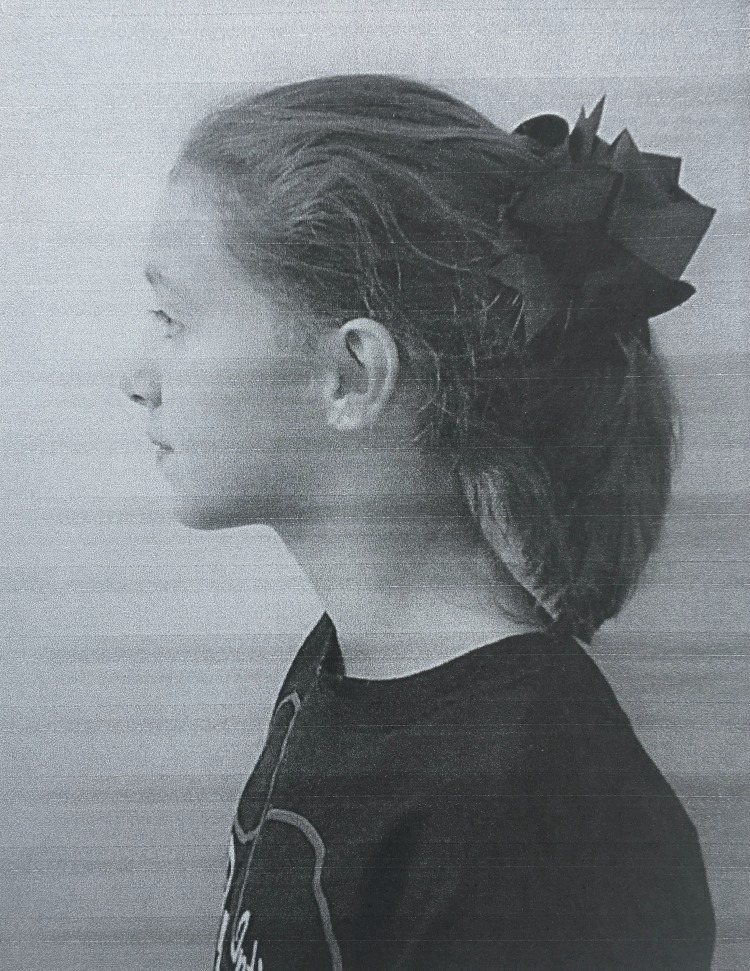
Print this onto regular copy paper.
Sometimes you can get a better contrast if you adjust the color to black and white.
For this one, I printed it close to 5″ x 7″ so it works great in an 8″ x 10″ frame. As I was printing, I noticed I was low on ink, but I wasn’t worried about picture quality for this. The pictures were actually lighter but I edited them for this post for better viewing.
Remember to think about what size of frames you are using so adjust your pictures accordingly.
This print basically acts as your outline.
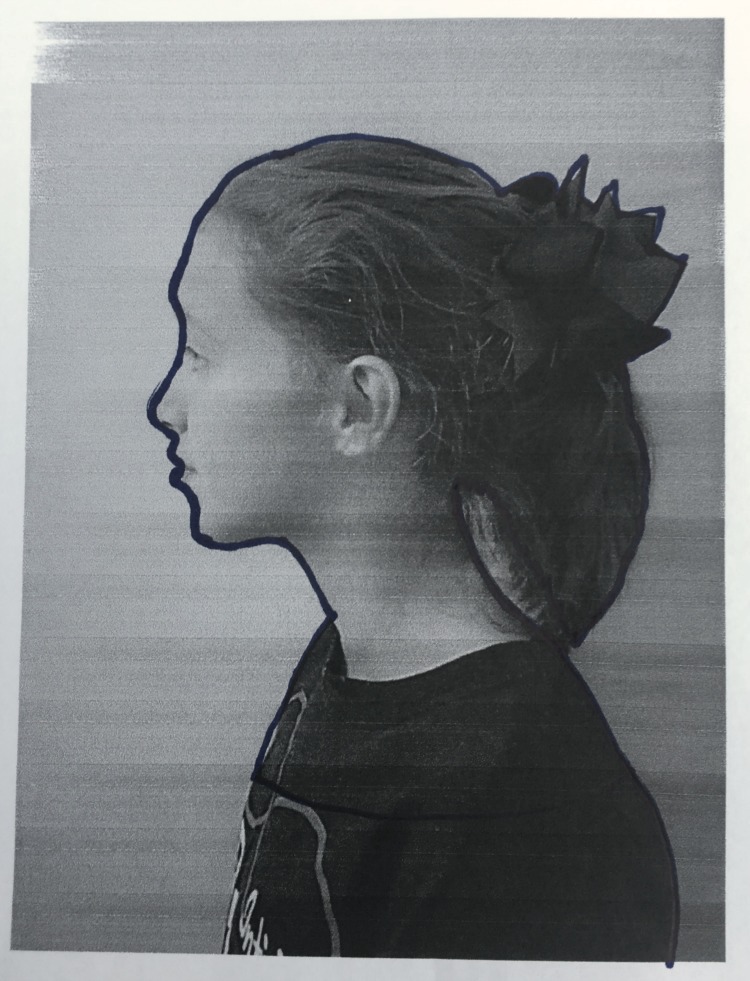
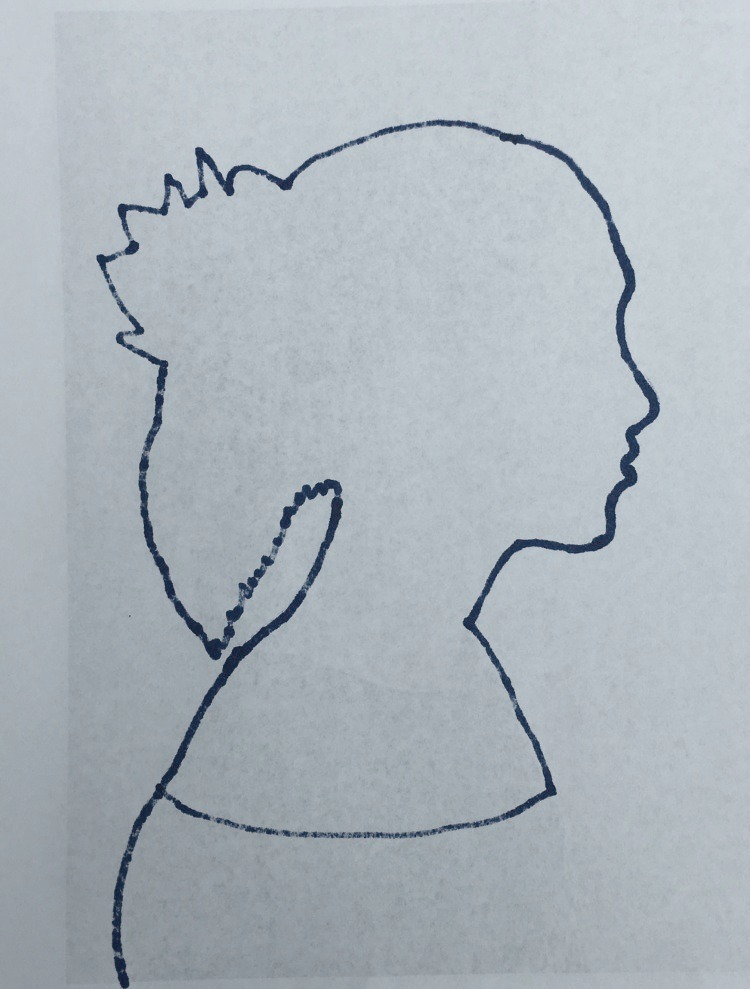
Place your photo onto another sheet of paper and trace around the profile with a dark Sharpie.
The Sharpie will bleed through to the other side and make an outline for you to cut out.
The extra sheet of paper catches that “bleed through” of the Sharpie so you need to watch what kind of surface you are using as not to damage it from the Sharpie. I usually grab an old newspaper.
After you get it outlined, turn it over and see if it looks like the profile you want.
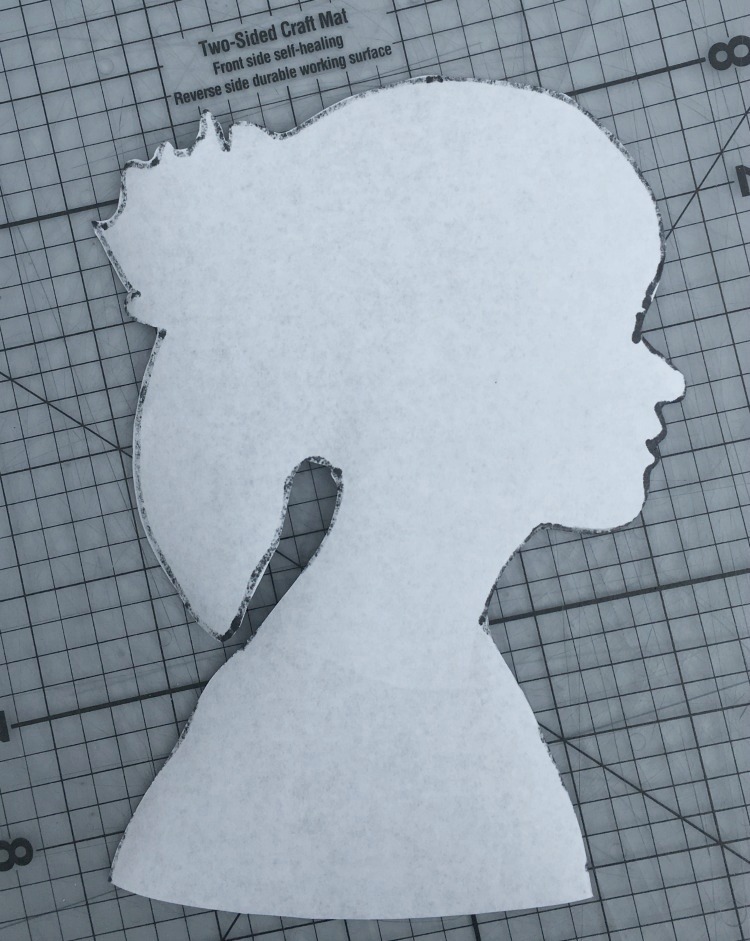
This is the time to make any adjustments to better define facial features or hair detail. The ponytail blended into the neck too much, so I outlined it a bit smaller to have a better definition between the neck and ponytail.
Either using an exacto knife and mat, or good sharp scissors, cut around the lines. You will need to determine how much of the base “shoulders” you want exposed. This will be in proportion to the rest of your pattern then make a curved or straight cut for your base. This is a preference for you.
Now you are ready to trace it onto your black paper using a sharp pencil. This is also when you need to decide which way you want your silhouette facing as you will draw on the opposite side.
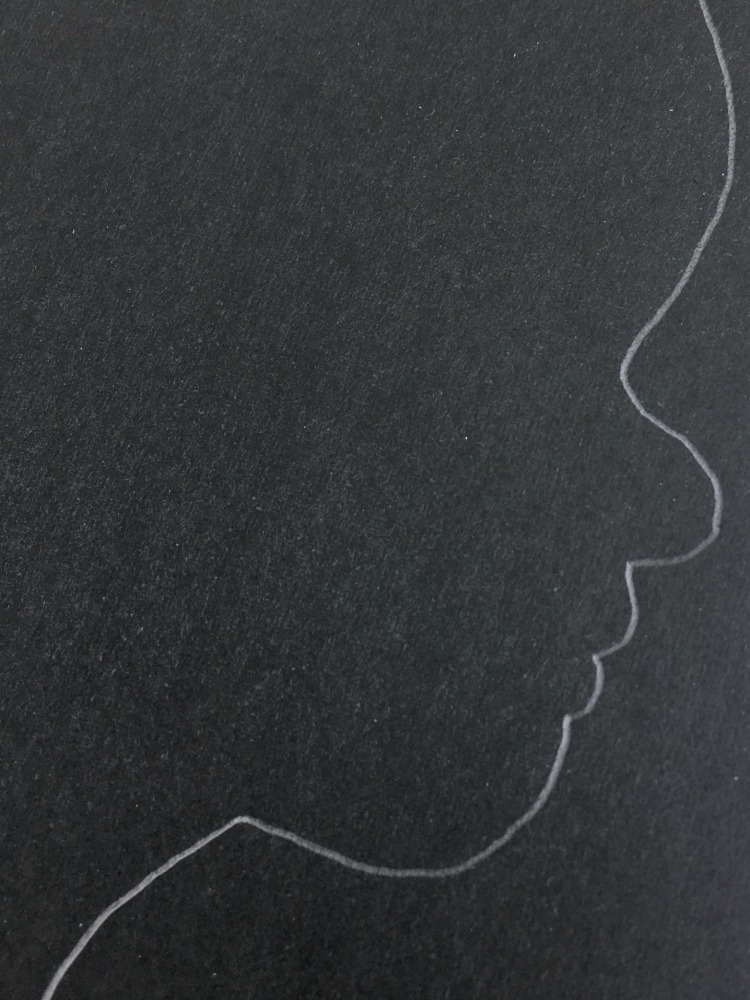
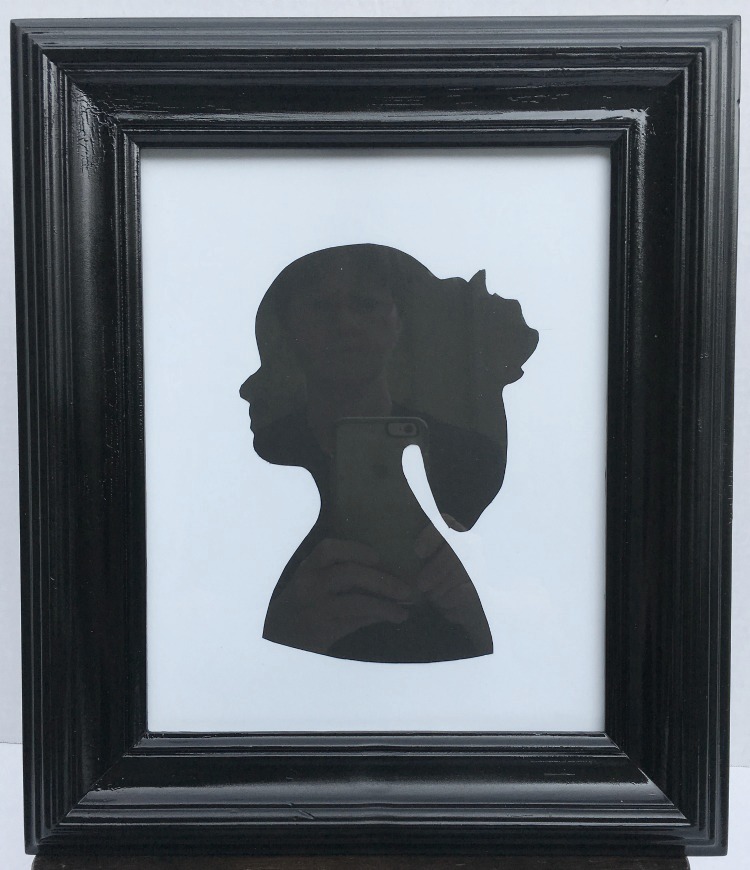
The classic silhouette is black placed onto a white background.
After tracing, you are again ready to cut it out using your exacto knife or scissors. An exacto knife works great especially if you have a lot of details in your pattern.
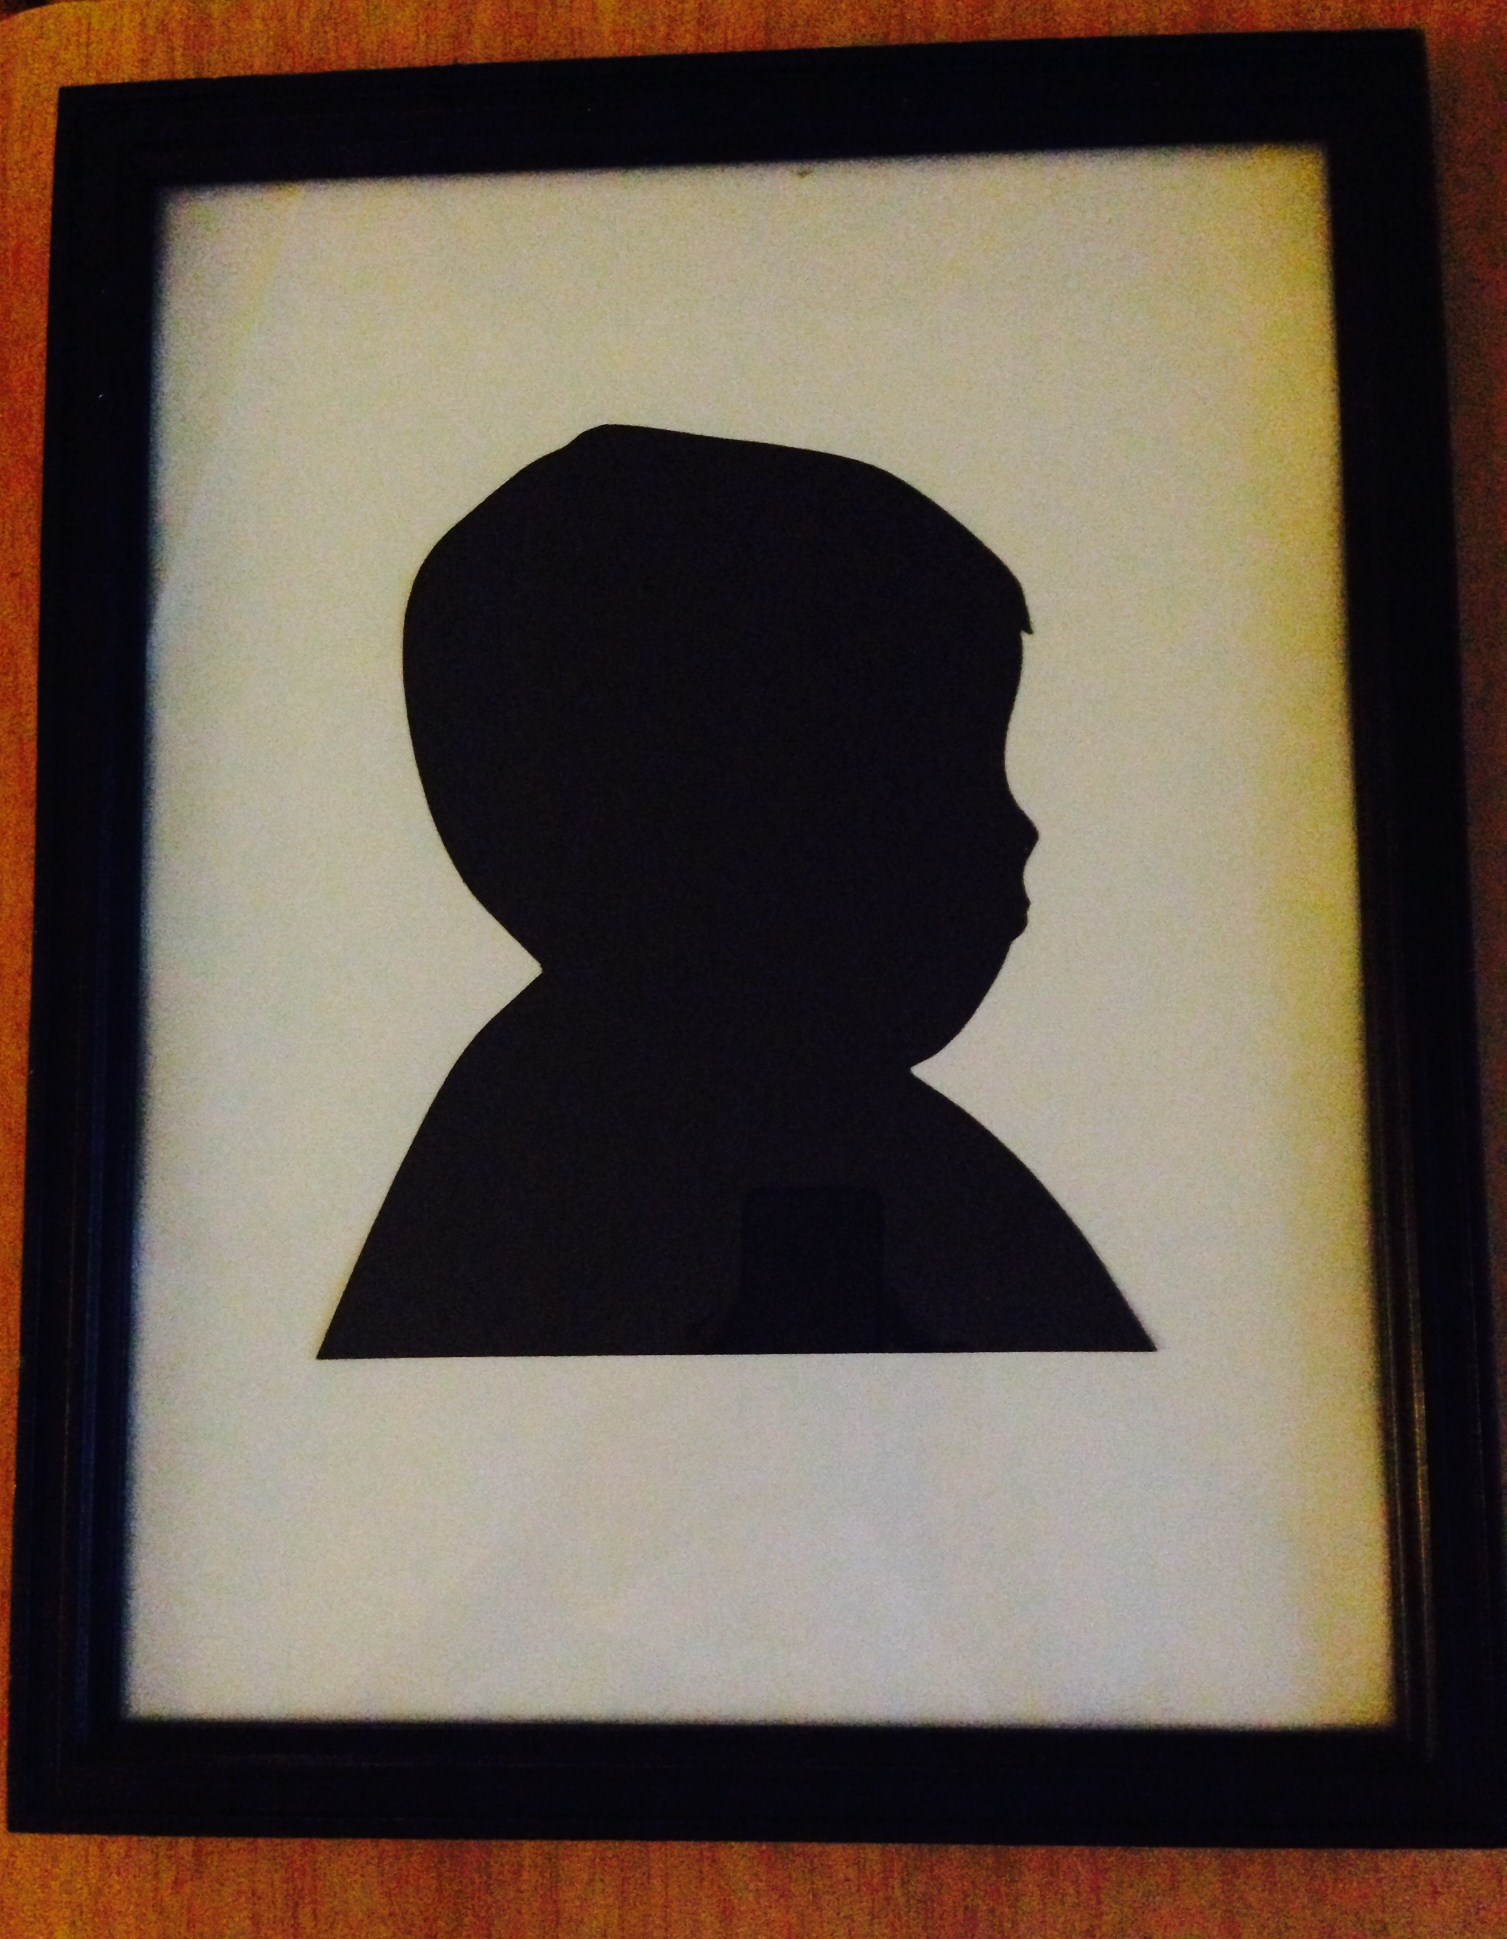
Cut it out and you are ready to frame. Use a little spray adhesive or even a glue stick to adhere your profile to your background paper. If using spray adhesive, there is sticky overspray so I suggest doing it outside if possible. Follow directions on the can of adhesive.

Proceed to frame as usual. Now hang it up and admire your masterpiece you have created. You could even add their name or the date.


I’ve included affiliate links to Amazon for you to find some products easier. I may receive a small commission, but the price is the same for you. It just helps my blog out.
Happy Travels,
Rosemary


One Comment