How to make a Grapevine Wreath – Perfect Winter or Christmas Wreath
Grapevine Wreath
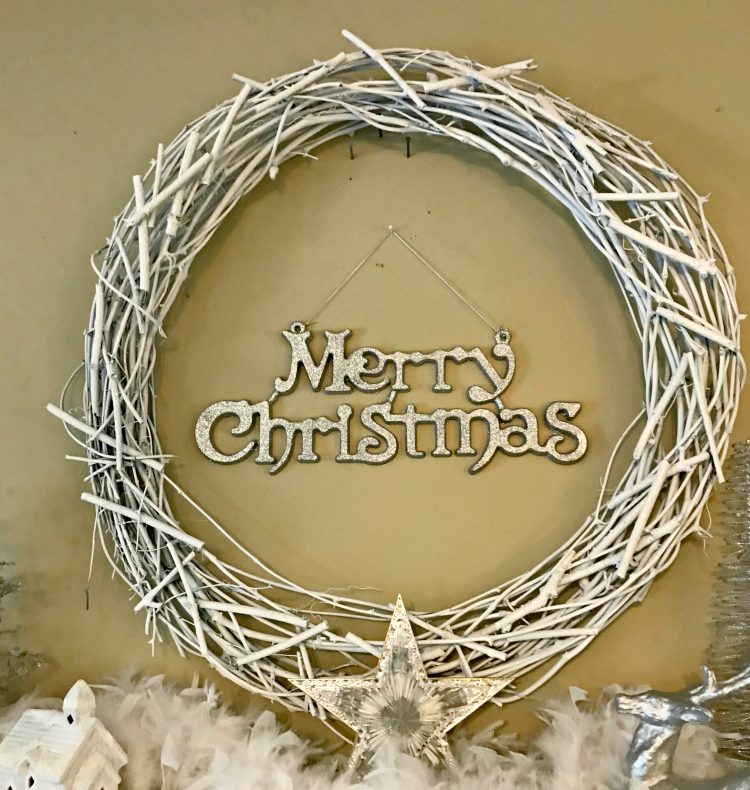
This white grapevine wreath is perfect for all of the Winter and Christmas.
Does it seem like when you take down all of your Christmas decorations your house just seems blah? Mine too. But I love to have a few wintry or snowy items up before transitioning back to everyday decor, or making a push for spring.
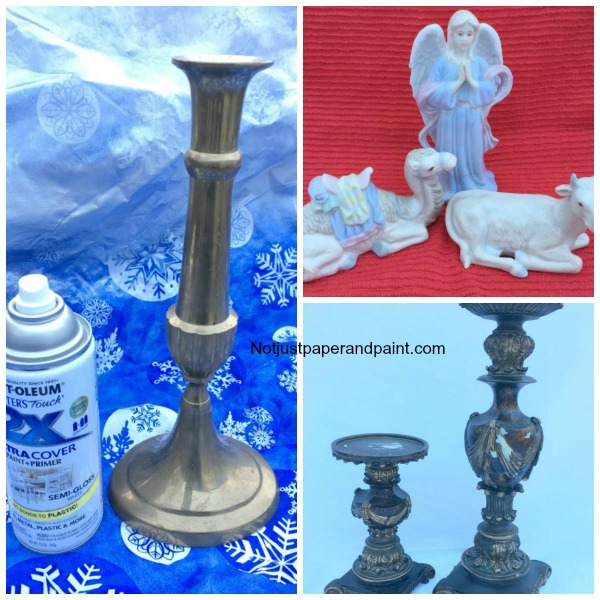
No winter or snowy items – just incorporate a few white and silver items such as candles, candlesticks, bowls and lanterns, and you will keep that feeling. You know spray paint is always good for making some of these.
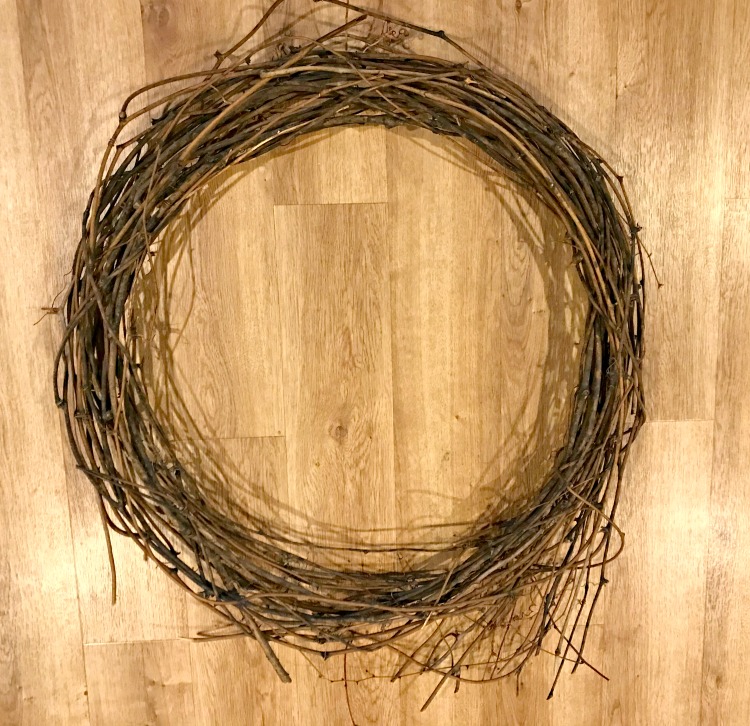
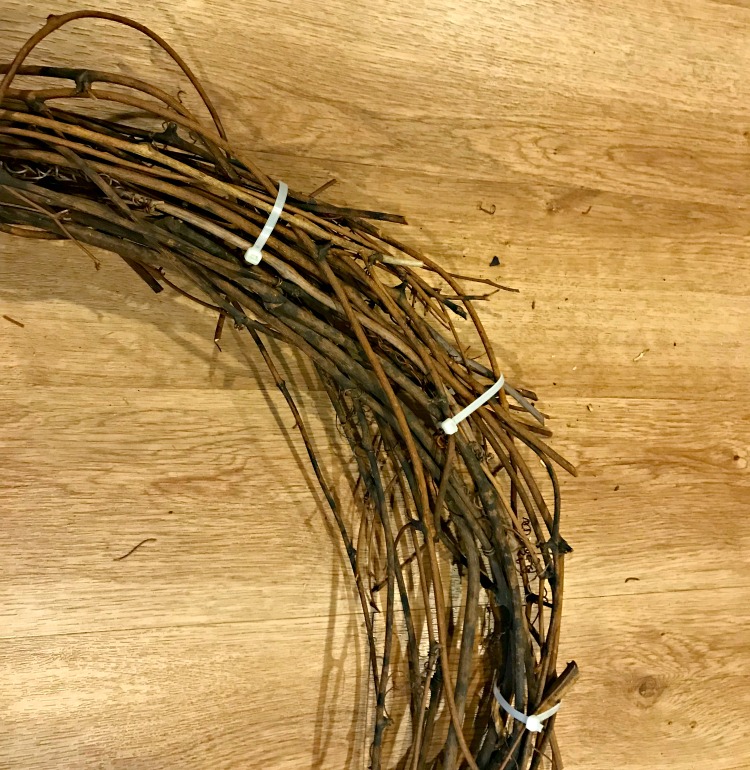
I had seen a wreath in a local store and it was $50. It was basically nothing more than a white grapevine wreath, with a few sticks and glitter. I could make that for a lot less. In fact, I made it for ZERO, and mine was much larger. With all of the supplies I had on hand and an old wreath I had picked up at a sale a few years ago, I was set.
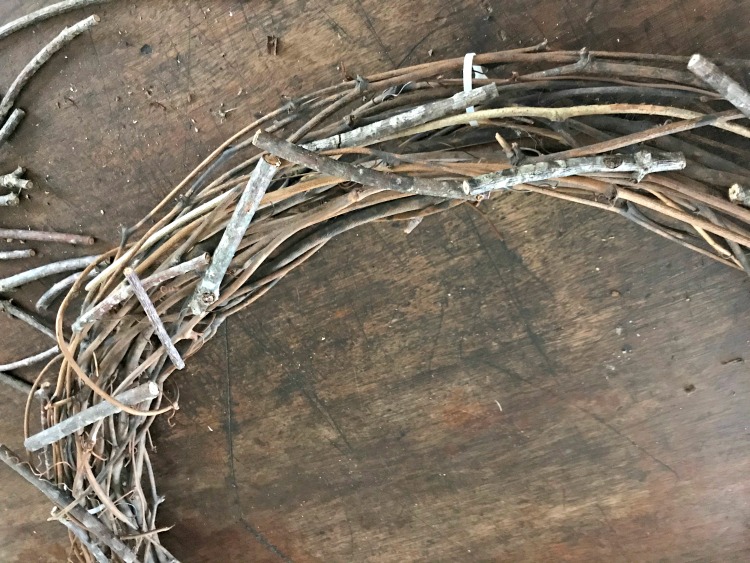
The wreath wasn’t in the best of shape so I took zip ties to get it back in shape. With the added sticks and painting, they wouldn’t but I did pick out which would be the front and did the ties on the back side.
The sticks I would add came from the yard. Another freebie.
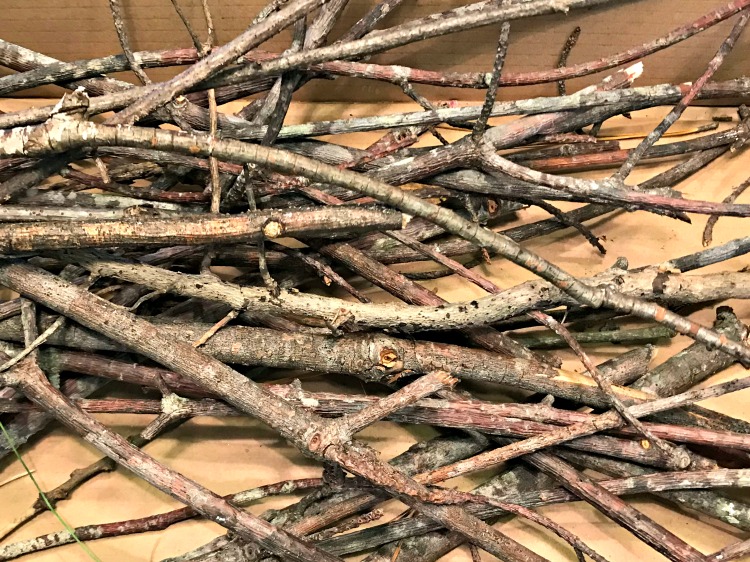
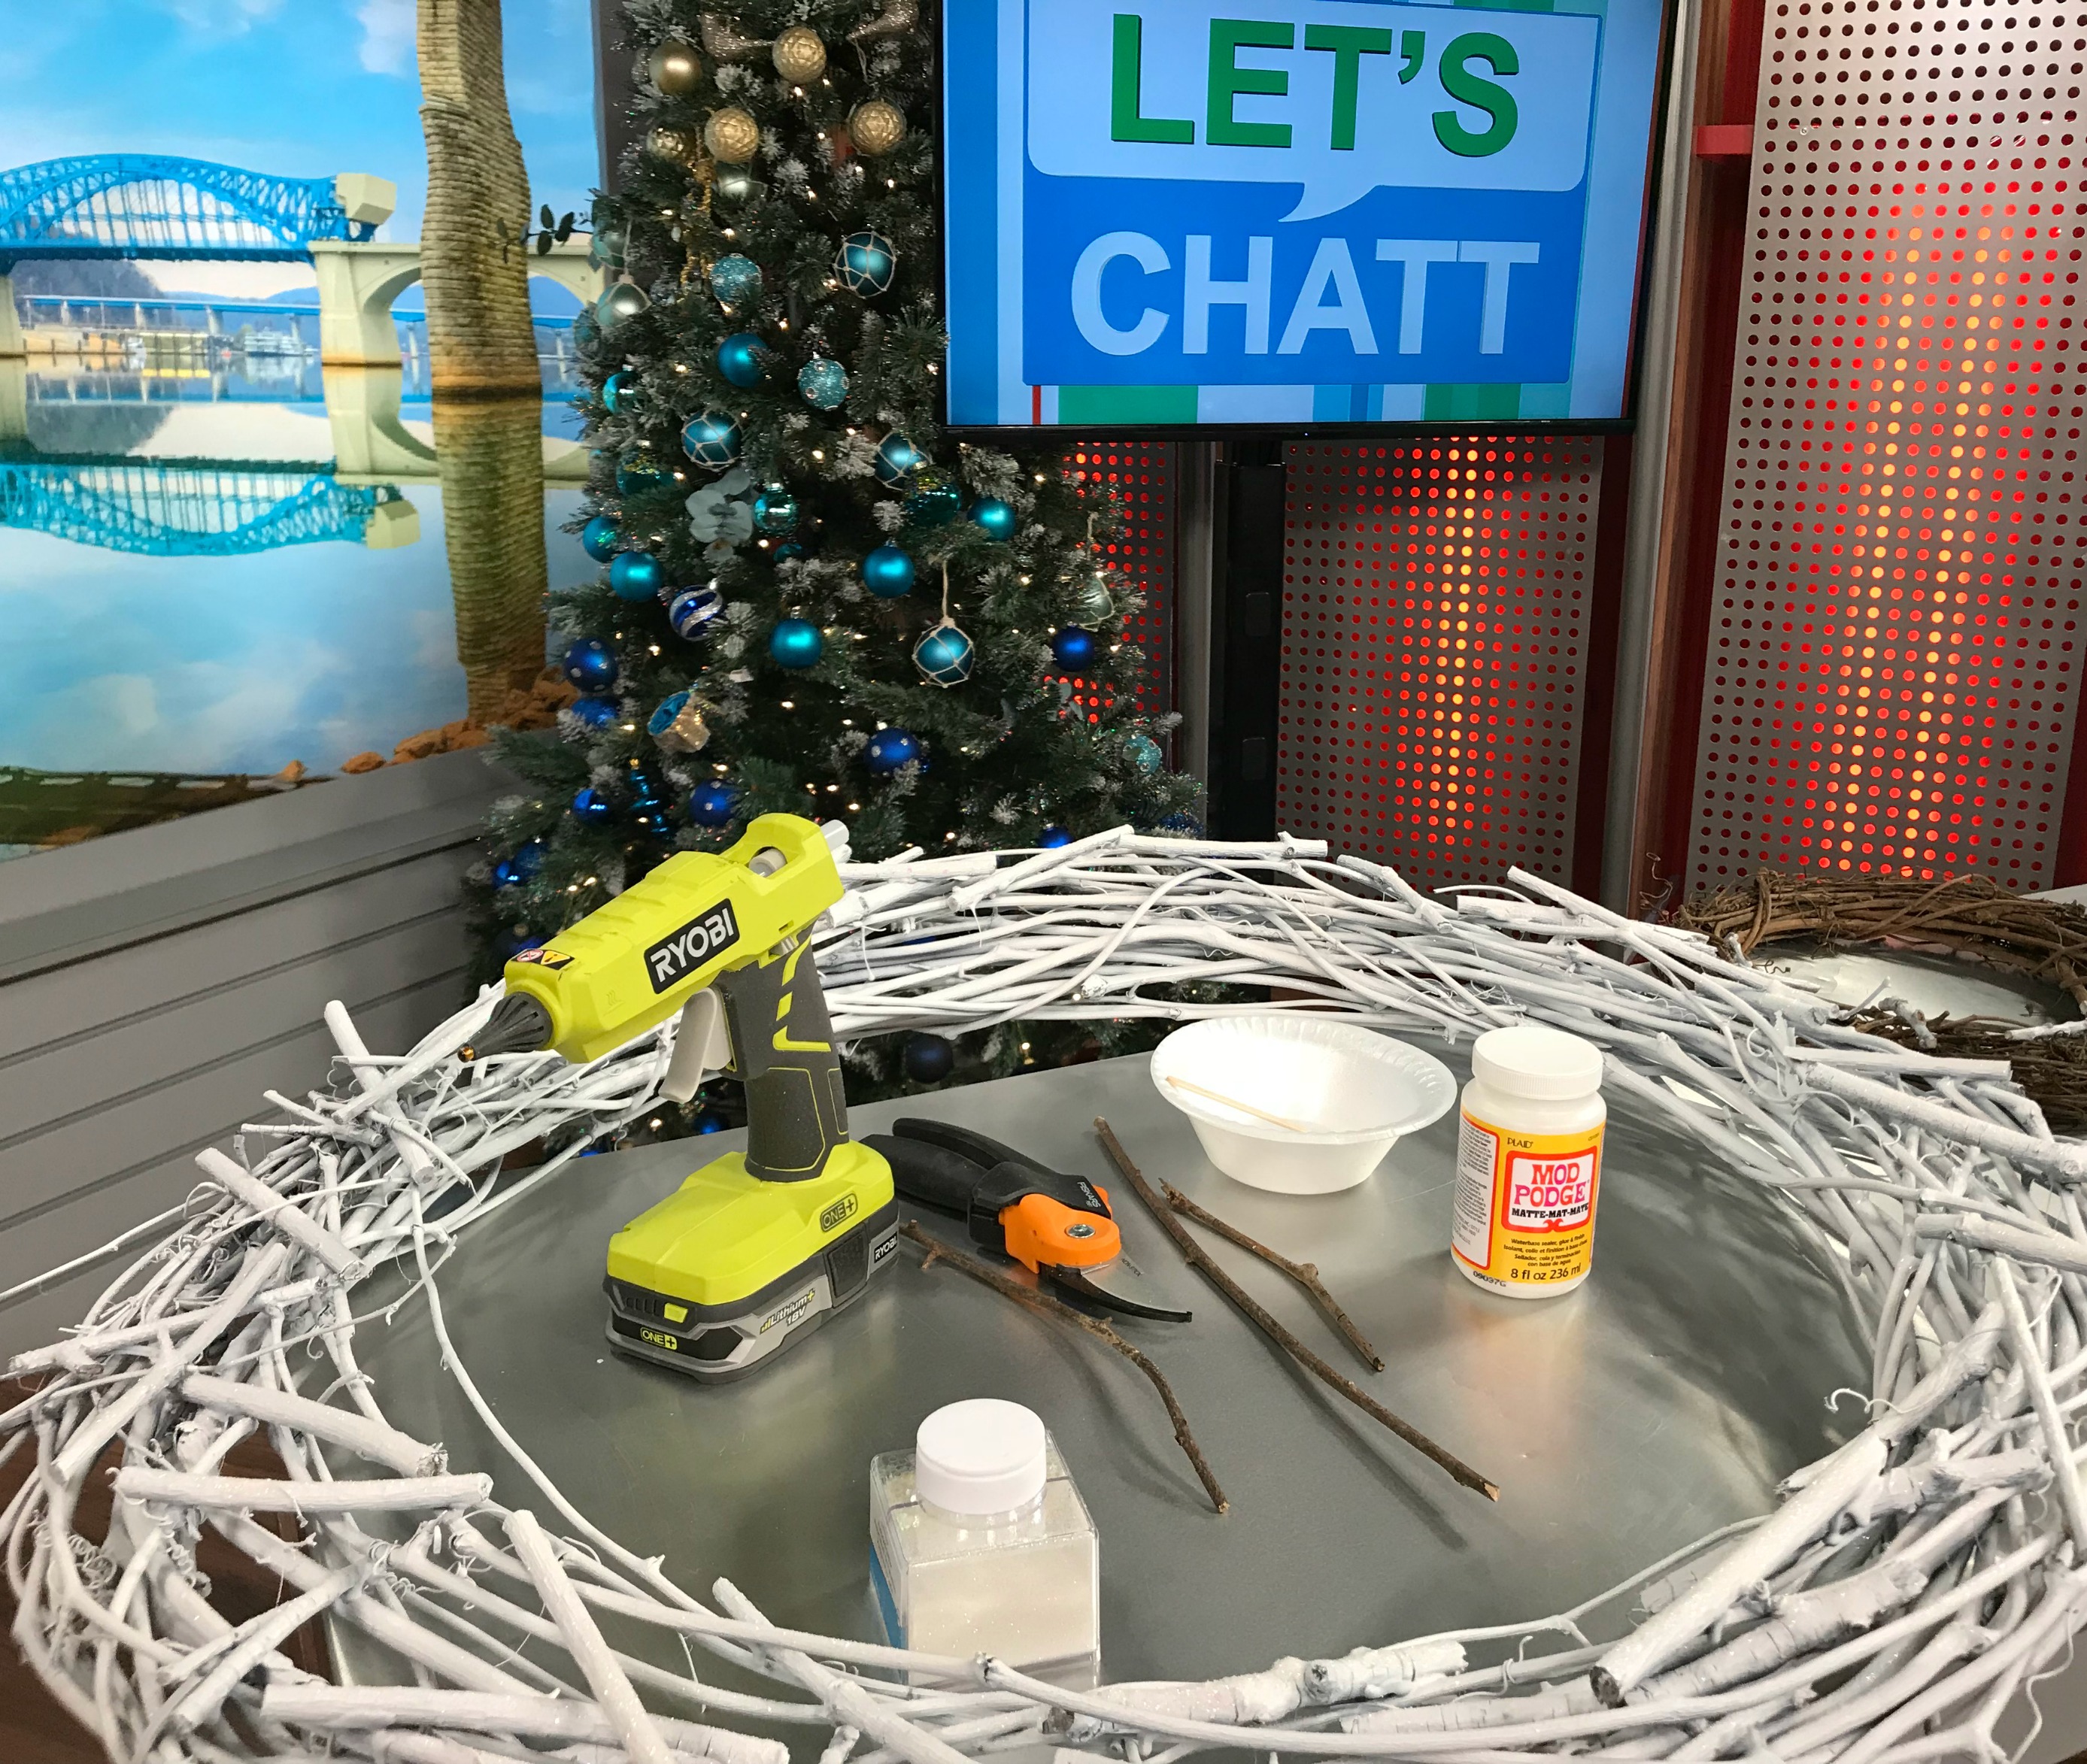
My Fiskar shears are great to use for clipping these off, and cutting into the proper length for my wreath. These are just a few of my favorite tools for many projects.
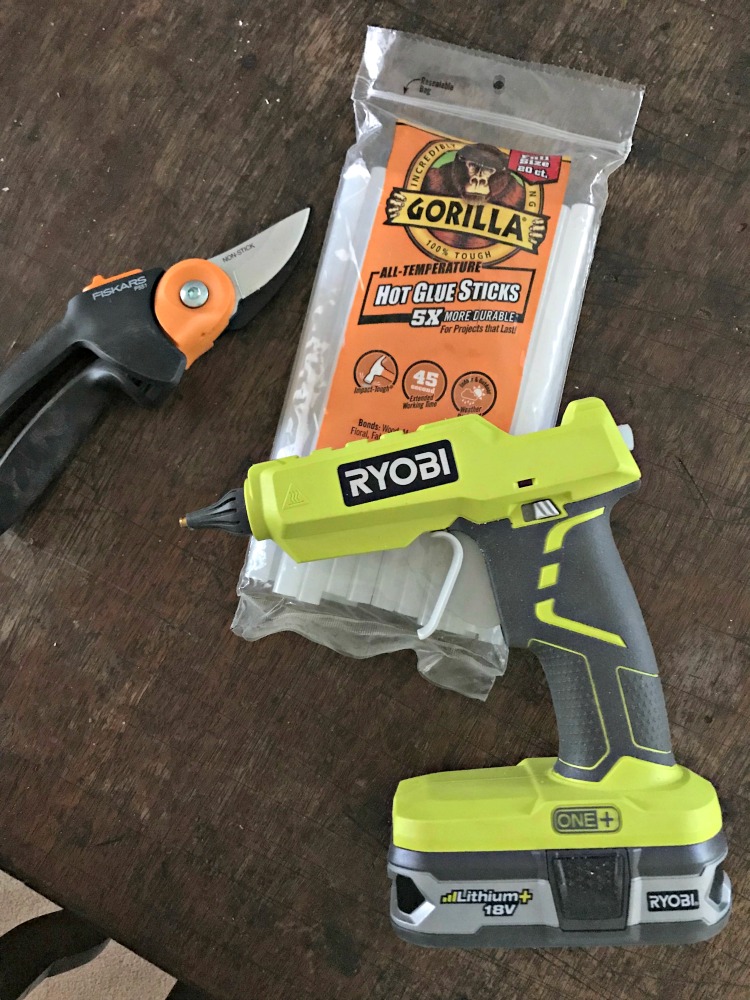
After securing the grapevine branches on the wreath, I trimmed most of the yard clippings between 4″ and 6″ then hot glued them randomly to the wreath.
My go to spray paint for most any project is Rustoleum 2X – paint with primer. Even with this paint, I sometimes like to go ahead and apply a coat of primer just for better coverage when going from dark to white.
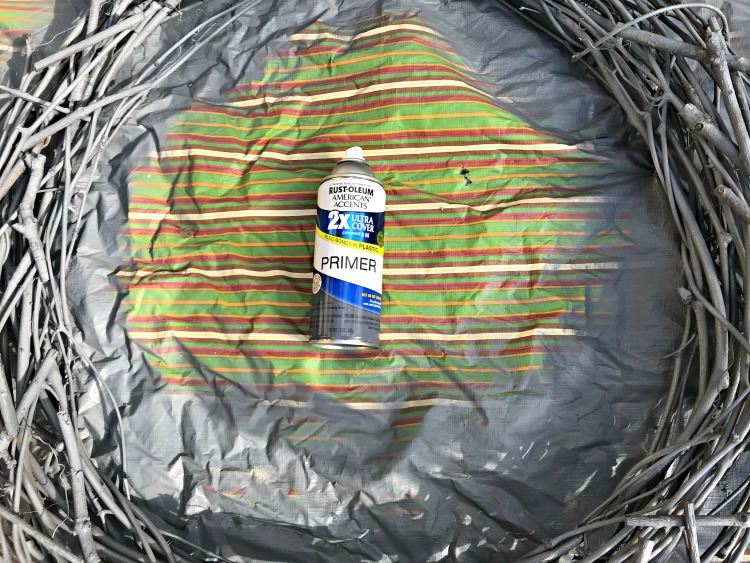
After the primer was allowed to dry – always follow directions on the paint you are using, two coats of white was added. I did mine in flat finish but glossy or matte would work well too. It’s your preference.

When the second coat was sprayed on and before it dried, I immediately sprinkled fine iridescent glitter all over it, but not too heavy. I just wanted a hint of glitter.
If you are adding glitter to an already painted item, spray-on adhesive is great for this, but a word of caution. This is very sticky and there’s a bit, well, a lot, of overspray. I prefer to do this outside to keep the overspray out of the house.
After letting this dry a few hours, I wanted to add more glitter, but only to some of the sticks which I had added. For this, I applied Mod Podge rather thick to random sticks with a craft stick. The same glitter was used.
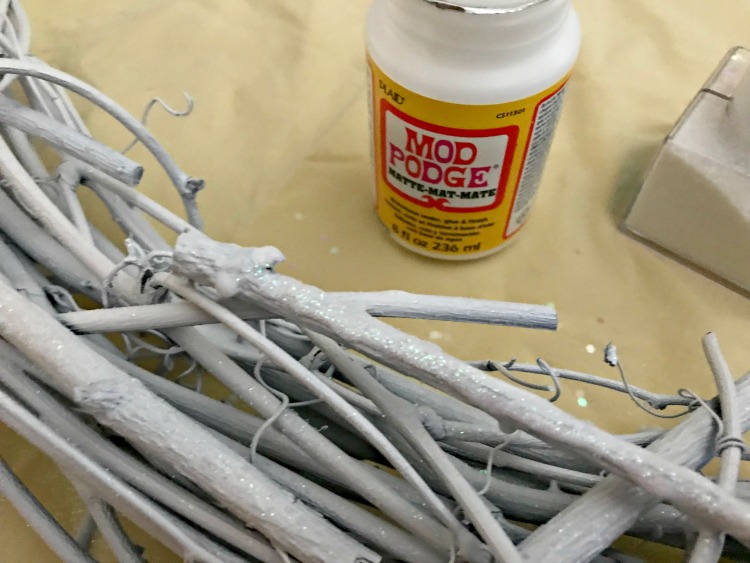
A little hint when using Mod Podge on projects – pour a small amount into a styrofoam bowl so you don’t contaminate the jar, especially when glitter is involved.

You can see there’s a heavier glitter look on some than all over.
Allow this to dry several hours, and this can depend so much on where you are working on it this time of year. I was inside so I just moved it to a safe spot and allowed to dry overnight before hanging it.
A silver MERRY CHRISTMAS was added so I will change that after Christmas and remove the stocking, but the mantel will stay like this at least through January. Maybe I can find a few new silver or white Snowmen to add. After Christmas sales are great for this.
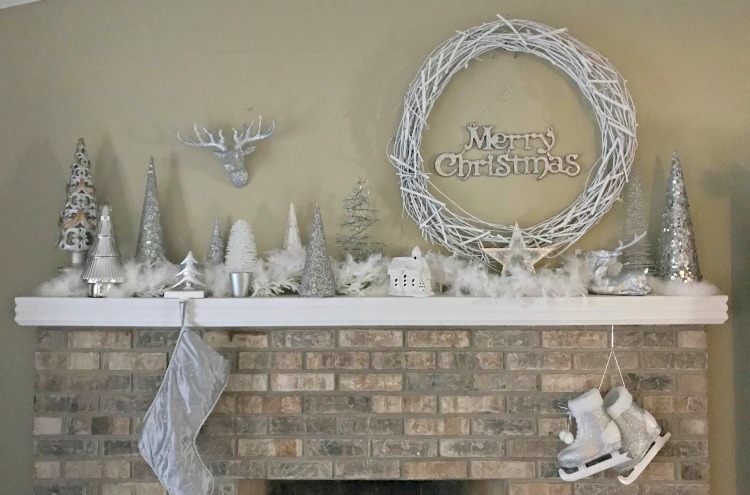
Do you decorate for winter? I also have snowmen dishes that will get pulled out when the Christmas comes down.
All of these favorite items I use, would also make great last minute gifts.
Here’s a link to the recent Let’s Chatt segment with this and a few more “white” projects. Let’s Chatt

I’ve included affiliate links to Amazon for you to find some products easier. I may receive a small commission, but the price is the same for you. It just helps my blog out.
Happy Travels,
Rosemary