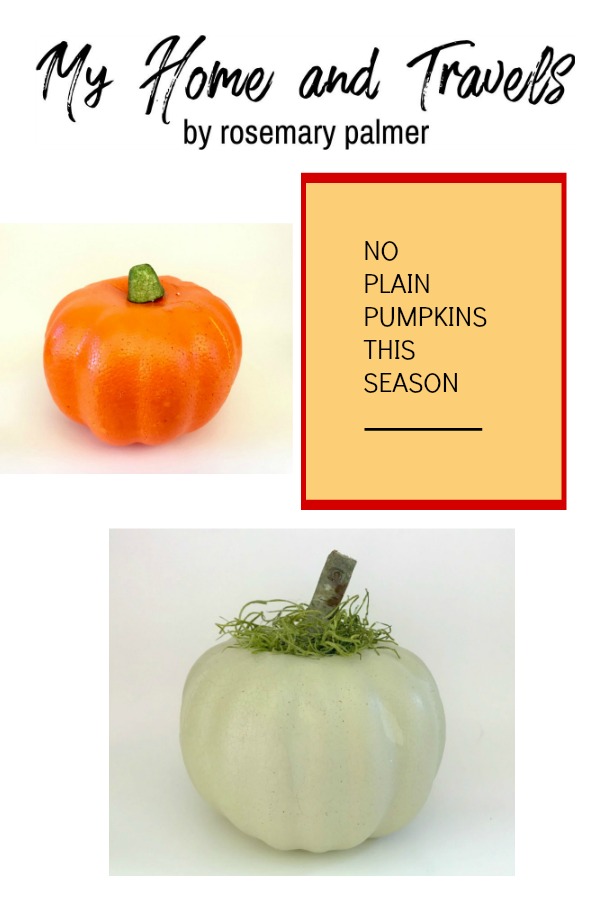
No Plain Pumpkins When You Can DIY Them
Anyone can put a pumpkin out and decorate around it, but there’s no plain pumpkins here. It’s so easy now to bring life to cheap pumpkins, or transform them from year to year. It’s so easy to DIY a plain pumpkin to a fabulous one.
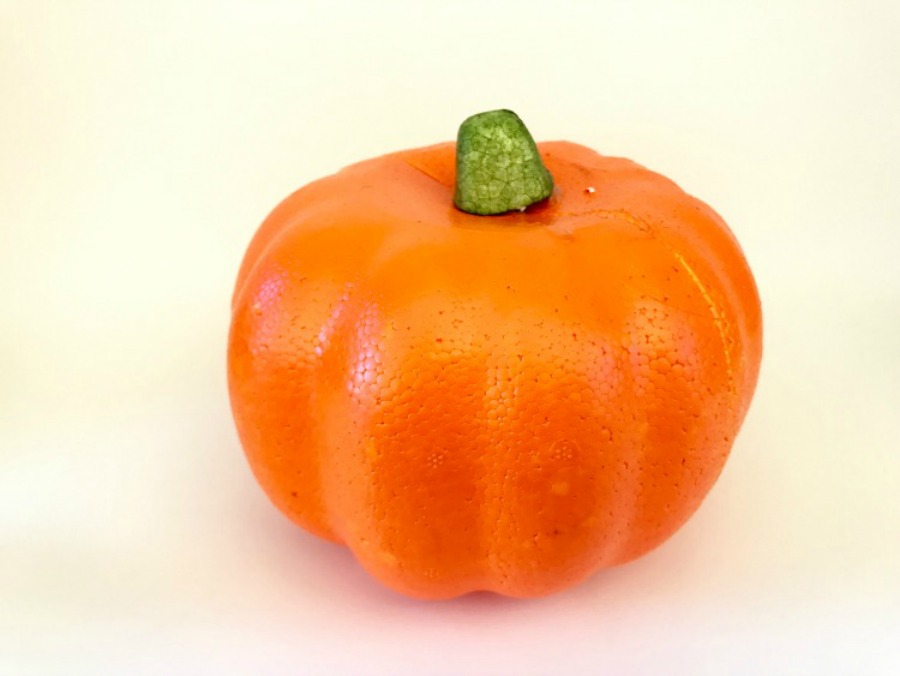
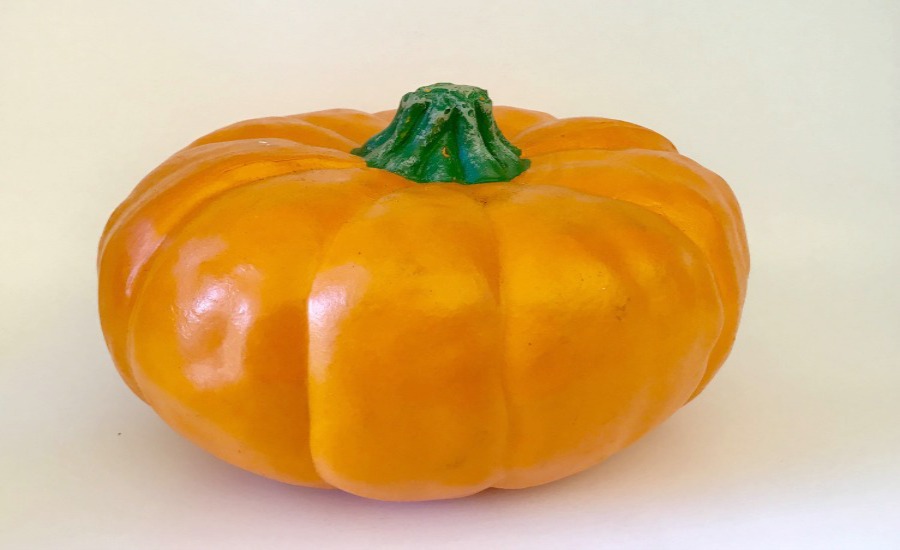
One of my favorite pumpkins to use are these from Dollar Tree.
Always use a paint or finish designed for the surface you are working on and follow their directions. Regular spray paint doesn’t work on most of these foam pumpkins.
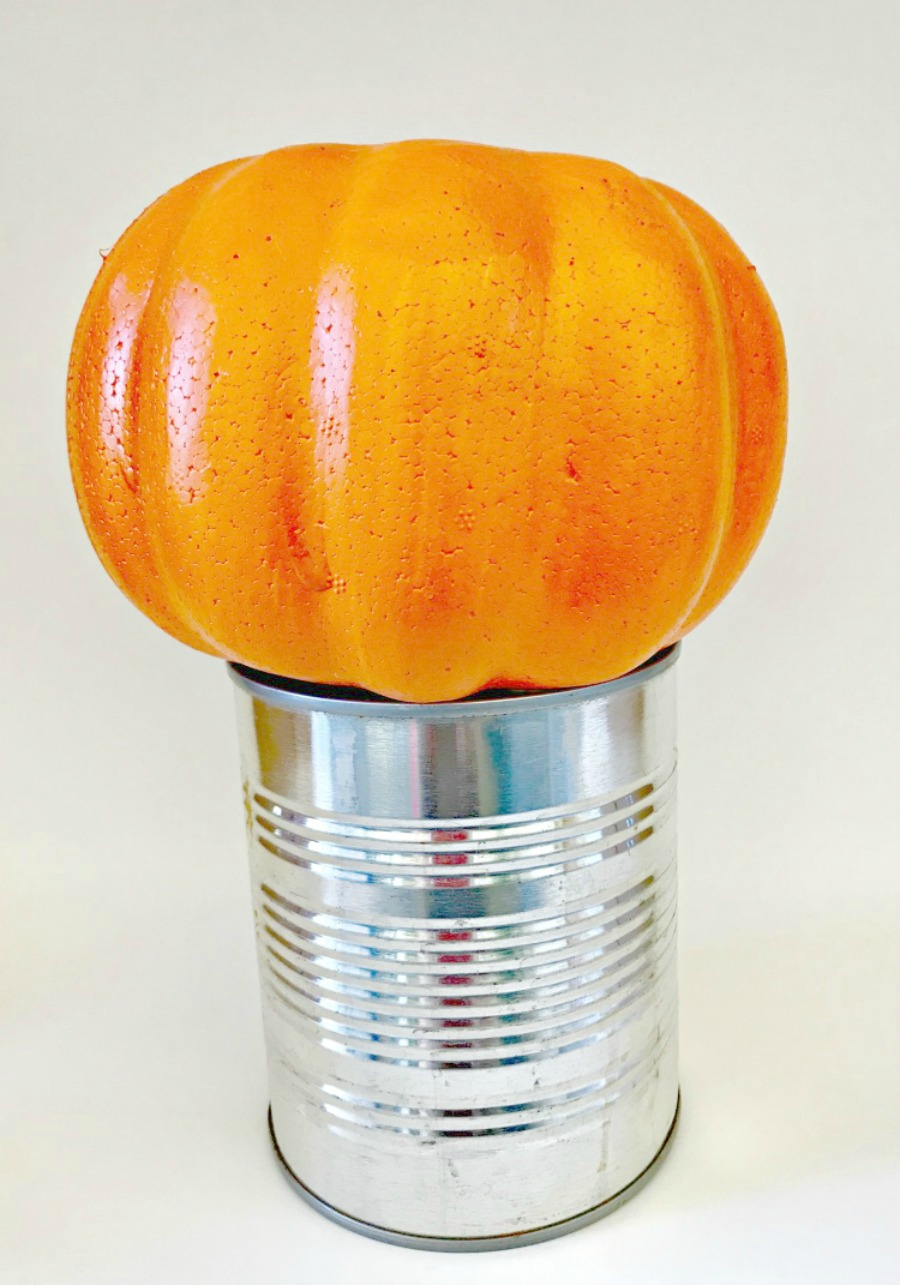
Another little hint, I like to paint the bottom of any item first then let dry completely. Keeping a few old cans around make great supports.
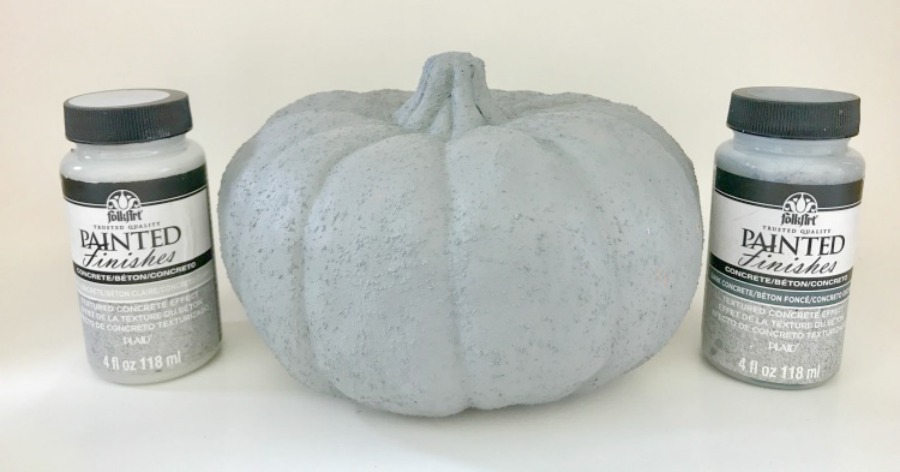
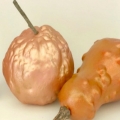
CONCRETE FINISH
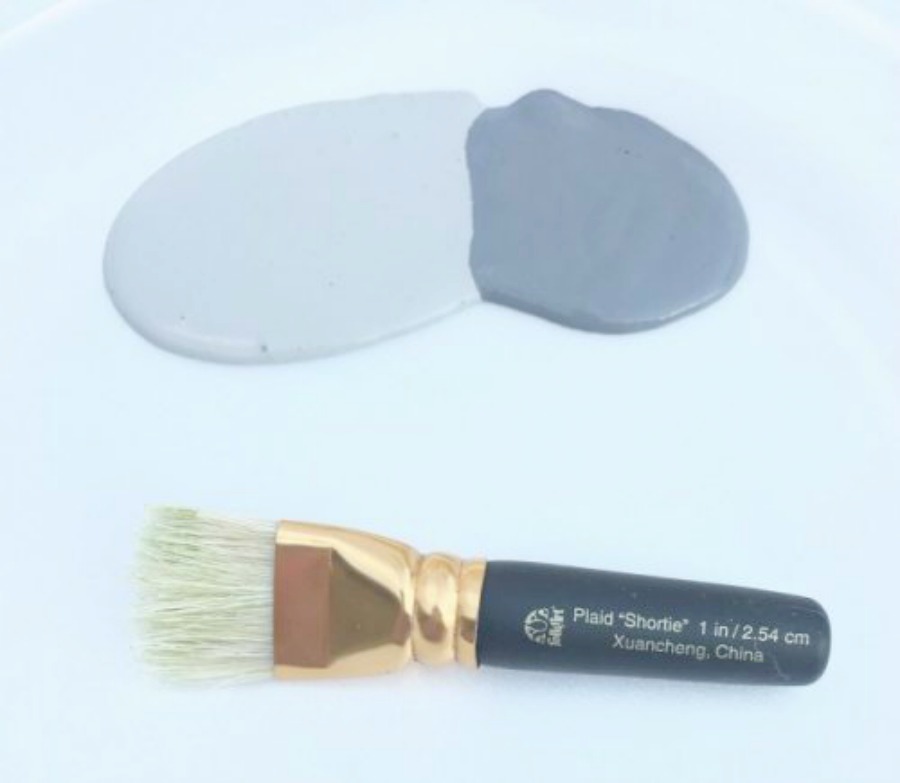
I LOVE this Painted Finishes Concrete. I used it in the spring for a planter you can find HERE. This was done with the two-step method of a lighter base coat then using the darker to give it a realistic look.
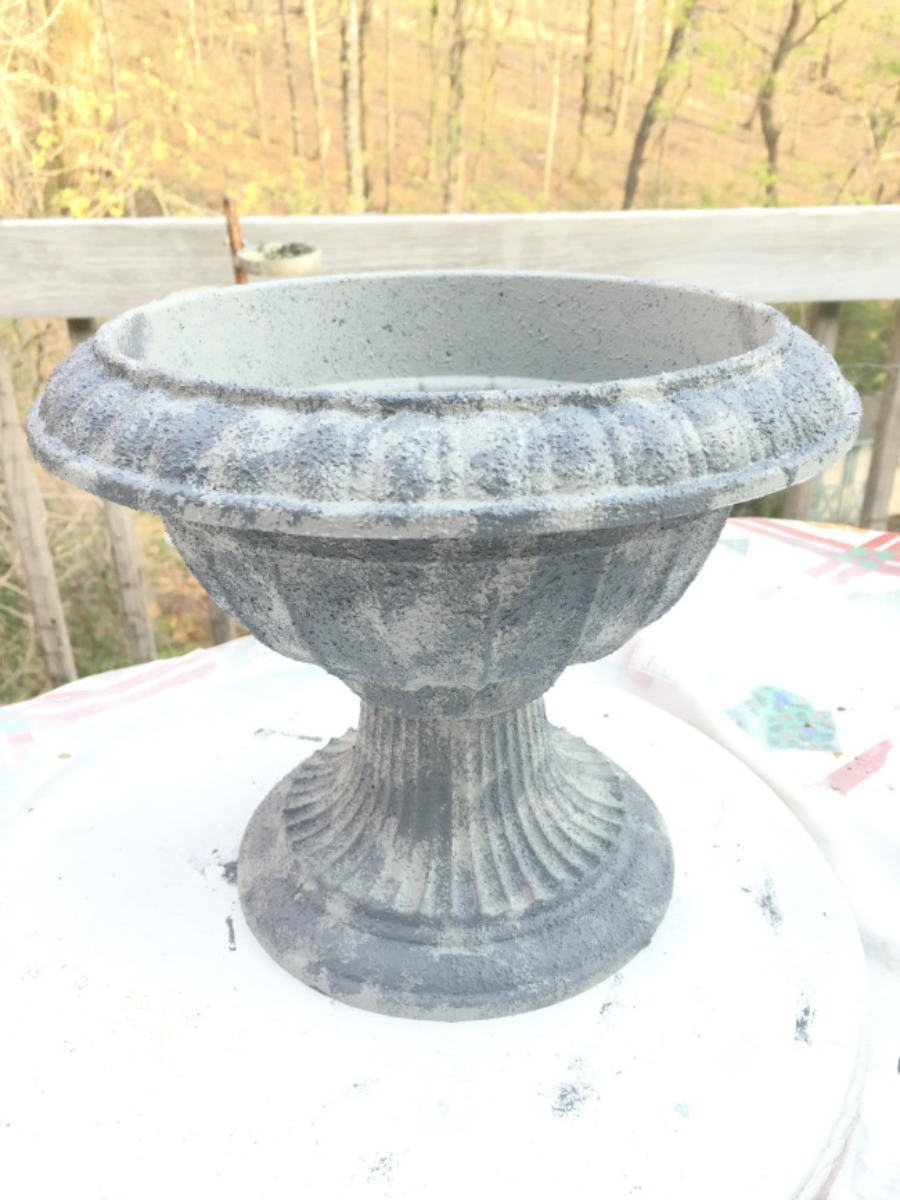
This time I mixed the dark and light on a paper plate just slightly by pulling a toothpick through the two colors. It was then painted all over with the shortie brush in a stippling motion.
Remember the Painted Finishes Faux Concrete is great for the outdoors if you have it covered completely. I’m thinking this might be added to one of my large planters.
How about this for a before and after?
CASCADE CHALK PAINT AND GOLD LEAF
You have probably discovered how easy it is to change the look of most anything with paint, but Liquid Leaf Classic (Gold) is another quick way. You can find this in liquid or sheets, and in a multitude of colors.
After this faux pumpkin was given two coats of Home Decor Cascade Chalk Paint then let it dry overnight to cure.

For this step I recommend wearing gloves. Using an old cotton, lint free rag, apply the Gold Leaf in an up and down motion on the pumpkin. Add as much or as little to achieve the look you desire. Use a second cloth to wipe away the excess.
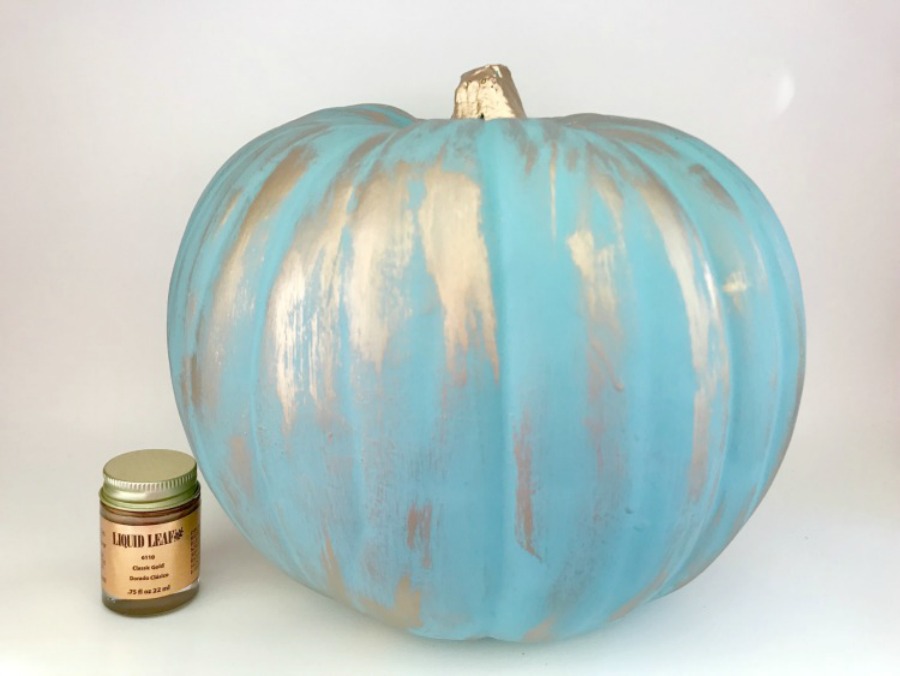
Getting it into the grooves of the pumpkin can add a little more dimension to these.
Click on the video link below to see my demo recently on a TV segment.
PAINTED STEMS
One of the easiest ways to transform a pumpkin. Just paint the stems. Just remember to look for pumpkins with a longer stem when you buy them.
I used Gold Metallic and Cascade Chalk Paint on these. It will usually take two to three coats, depending on your desired finished look.
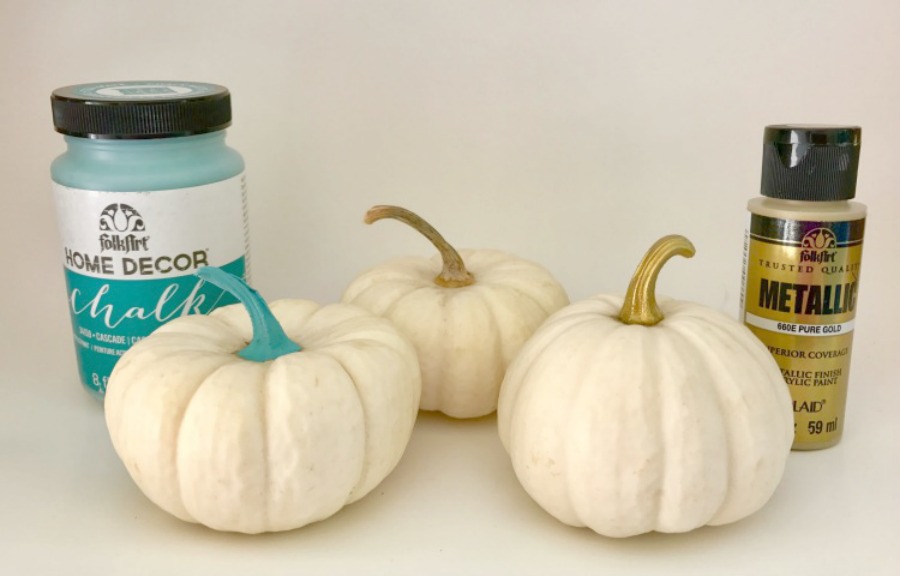
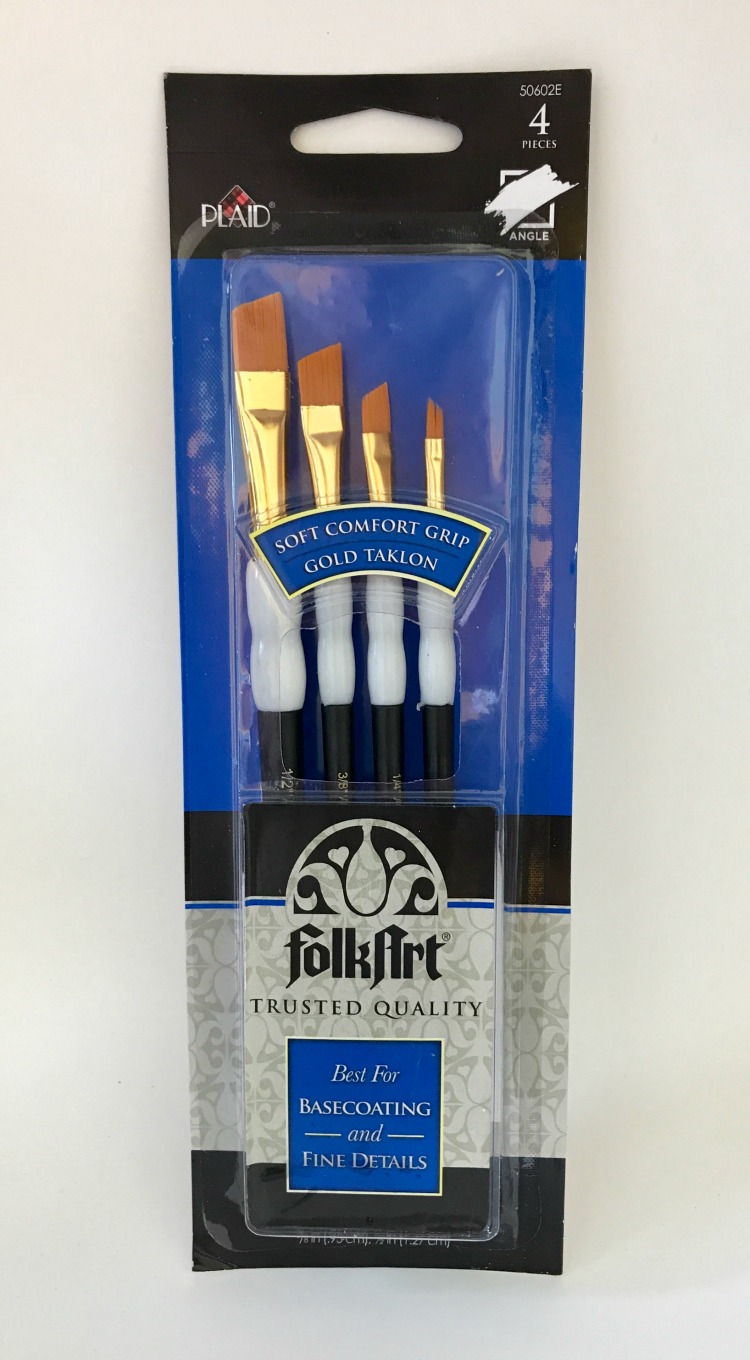
Using a smaller Plaid angled brush makes it easier for projects like this. Buy good brushes and take care of them and you will find you get better results on your painting projects.
OATMEAL CHALK PAINT AND WAX
Overall one of my favorite pumpkins I have painted this year is this one. I love the results.
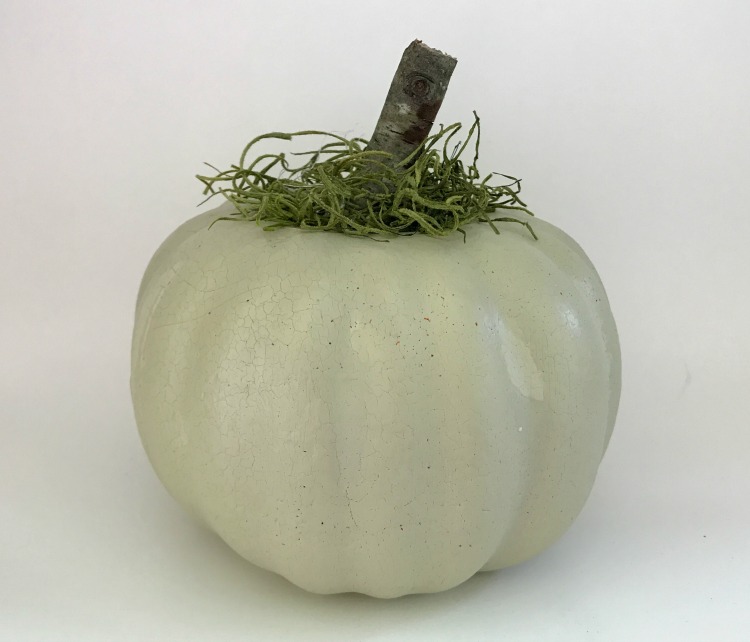
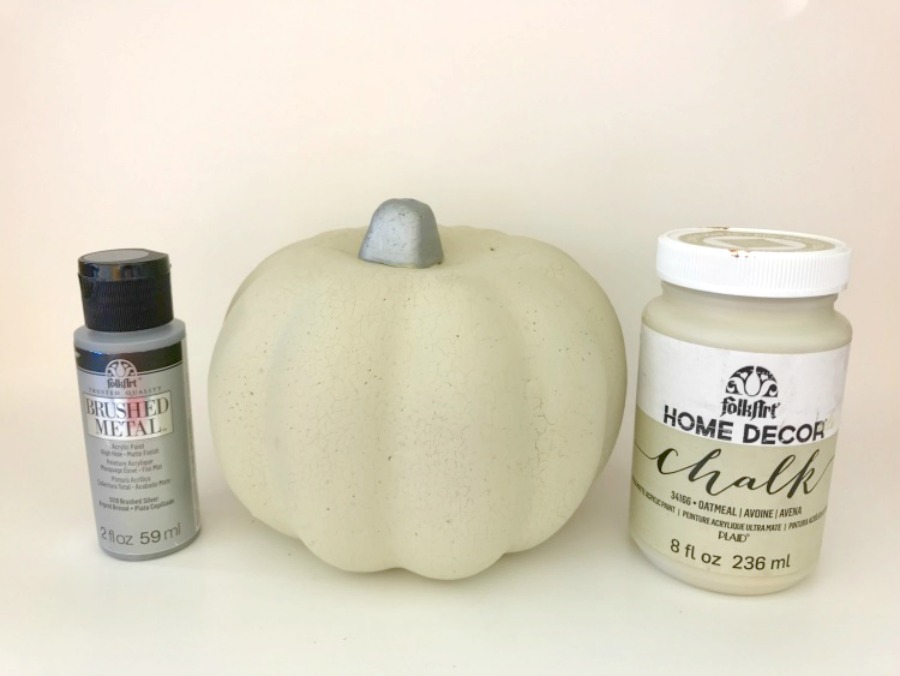
It started with the $1 pumpkin I mentioned above and given two coats of Home Decor Oatmeal Chalk Paint and allowed to dry overnight. The old stem was removed.
Chalk paint dries pretty quickly, but just to make sure it cures, I like to give it extra time.
Home Decor Clear Wax is used as a sealer over chalk paint, but it also adds a little sheen to it.
All I did to finish this was to find a stick from the yard and glue it and a little moss with my Ryobi Glue Gun. Be careful and only use a small amount of a low-temp glue as it can melt the styrofoam. If needed, you can use a serrated knife to cut a whole in the top of the pumpkin.
This one is unwaxed with Brushed Metal Silver added to the stem.
It’s really amazing what mixing different types of paints and finishes can do to just a plain orange pumpkin.
Here’s a link to my recent TV segment on Good Morning Chattanooga Weekend talking about these methods.
For all paint descriptions and project ideas, check out Plaid.
How are you decorating for the fall? You will have to watch to see how I use all of these in my home.
Always save ideas to Pinterest for later when the inspiration hits.

I’ve included affiliate links to Amazon for you to find some products easier. I may receive a small commission, but the price is the same for you. It just helps my blog out.
Happy Travels,
Rosemary


Yeah, plain pumpkins are so boring, aren’t they? I love how creative you got with yours. Super cute.
I use these pumpkins from Dollar Tree over and over again. I love all the different colors you used. I also love where you just painted the stems. It takes a regular pumpkin over-the-top pretty!
Those are all such cute ideas. I like that you can get so many different looks from dollar store pumpkins!
Oh how awesome do they and it is really rather cheap and easy to do, I may just have to give it a whirl for my door step as I’ve been trying to think of something cute to do.
I love seeing all the cute ideas people come up with for halloween. This one is really creative and I can see how easy it is so I could actually do it.
All those pumpkins turned out really pretty. Thinking I can paint these and make them look wonderful.
I just love this! I need to pick up a few of these and paint them. They turned out fabulous.
You have such creative ideas and obviously some crafting and artistic talent. I am using your ides for the concrete look and doing some pumpkins like that.
I like the painted stems! That is a really simple way to add a pop of color. I think this is a good way to have colors that I decorate with year-round blend in with my fall decor. Thanks for the idea!
You have so many great ideas for decorating pumpkins. I usually just leave mine as is but this post might have convinced me to decorate them!
Thank you for giving me a new pumpkin painting idea. I love to redo them every so often. Great ideas.
These are great! I love the blue and gold one.
Wow, you are really creative! I love the pumpkins you came up with. I am more of a natural girl and prefer the plain old and quirky pumpkins to put on our doorstep…the squirrels tend to love them, too!
I am not a fan of the color orange but during the fall I do like to see orange pumpkins out on display. The concrete finish pumpkin really does look like concrete.
What an awesome idea. I would have never thought to do this. They came out awesome, I love it!
The redesigned pumpkins looks really awesome. They can indeed be great home decors.
Your pumpkins turned out beautifully. Will you come over to my house and paint some for me?
This idea comes like a breath of fresh air. Plain pumpkins look so cute and with the different shades of pain they are absolutely dazzling.
Love them, especially the cement colored pumpkin!
So many gorgeous pumpkins. Love, love, love the blue and gold one. That’s stunning Rosemary
So pretty! You provided great tips!!