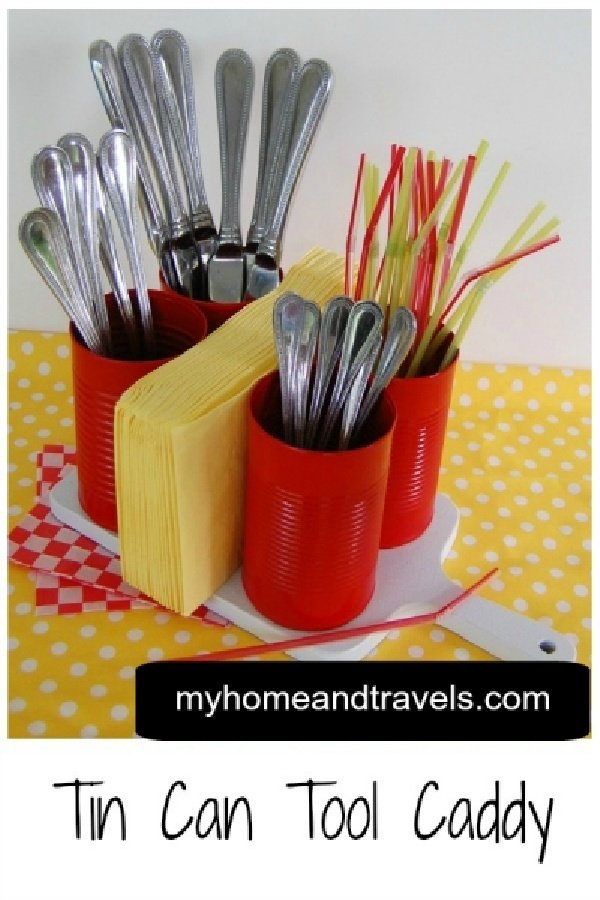
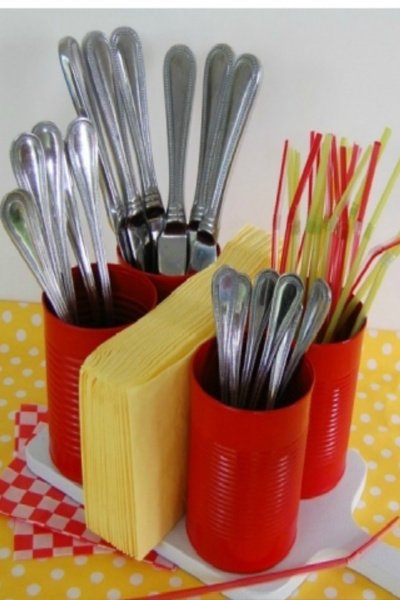
This tin can tool caddy is perfect for silverware, whether you are using what I call “real” silverware or plastic ware. Great also for the kids area for crafts, markers or crayons, or for holding paint brushes.
Making a Tin Can Tool Caddy
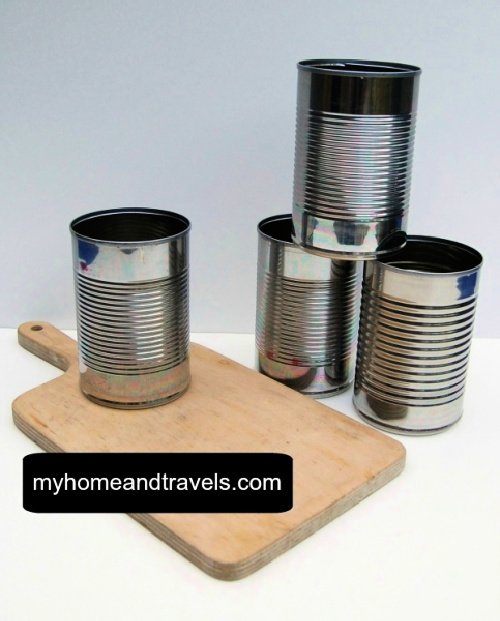
I started off with an old cutting board which had been picked up at a yard sale. If you can’t find one, you can always think about a scrap piece of wood.
Think about the size of cans which will fit on your board. Collect cans over time, or if you get in a hurry, make a large batch of Marinara Sauce so I could get my 4 cans quickly.
When using a tin can, just remove the label and wash. Check the inside lip of the can to make sure there’s not rough spots which could cut you. Any sharp spots can usually be flattened with a pair of pliers.
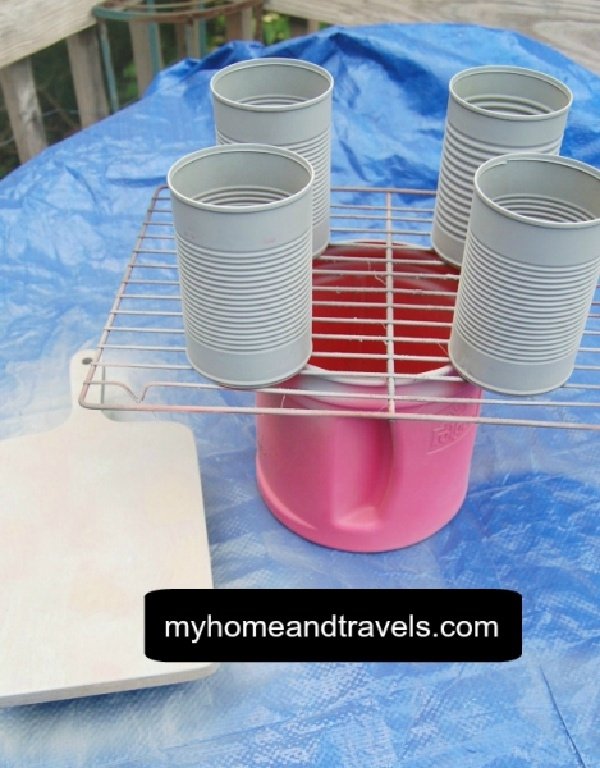
Start with a coat of primer on all pieces if needed.
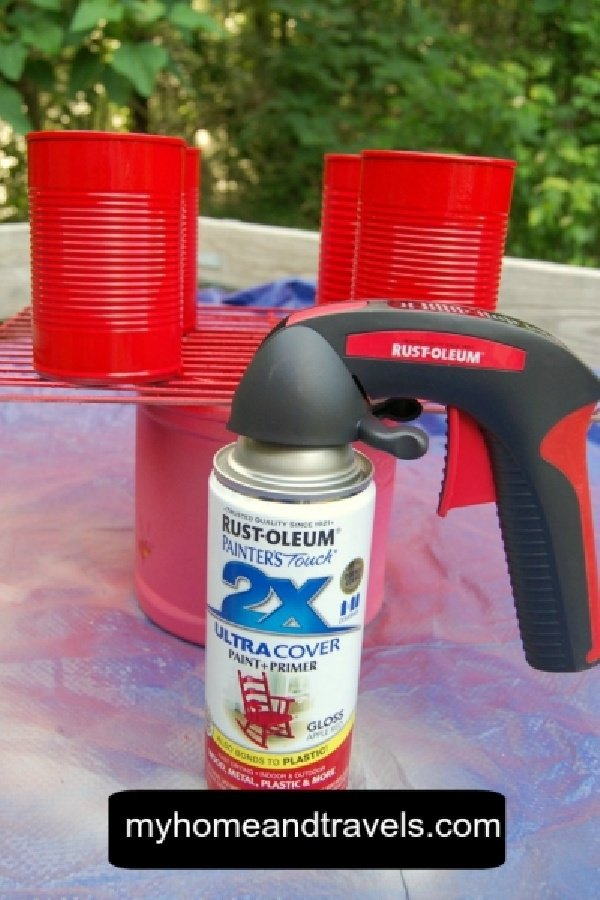
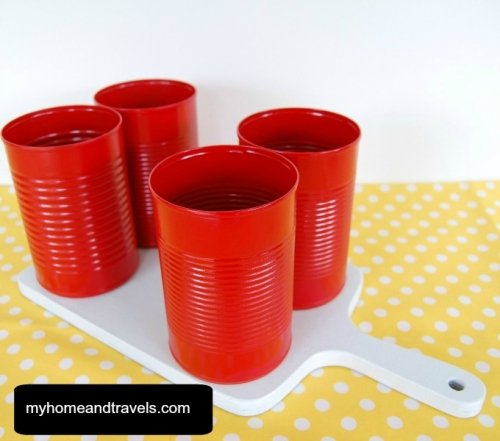
The cutting board was done in white gloss and the cans in candy apple. If you’ve never used a Comfort Grip for spray painting, you’ve been missing out. This not only helps in the control of the nozzle, but keeps your fingers and hand from tiring if you are doing a big project.
It will usually take at least 2 coats of paint to reach a full coverage. I also sprayed the inside of the can, especially around the upper part so you won’t see the silver.
After the paint is dry, you are ready to assemble your caddy. I left a space between the two rows to hold napkins also.
Several adhesives will work well whether you do it the easy and quick way with a hot glue gun, or another adhesive I use is E6000. For added durability, you could also use a small screw to hold the cans.
Combining two types of adhesive such as hot glue and E6000 will let it set up quickly, but dry longer and have more durability.
After applying your adhesive, place something on top of the cans to weigh it down. This doesn’t have to be extra heavy. I actually used a box of Little Debbies.
You are now ready to use your new tin can tool caddy whether you carry it out for your cookouts, or leave it on the counter and have it ready at all times.
A few other ideas:
After I had this painted, I happened to remember you can find plastic cutting boards in most dollar stores. Just use E6000 for this as a hot glue gun could melt it.
Keep this filled with straws and plastic ware for the kids to grab and use with their snacks.
Fill this with crayons or markers, put down a piece of paper, and have the kids entertained while cooking.
Or, leave on your craft table with your markers, scissors, and pens.
When you have a cookout, do you use paper products or your everyday dishes?
I’ve included affiliate links to Amazon for you to find some products easier. I may receive a small commission, but the price is the same for you. It just helps my blog out.
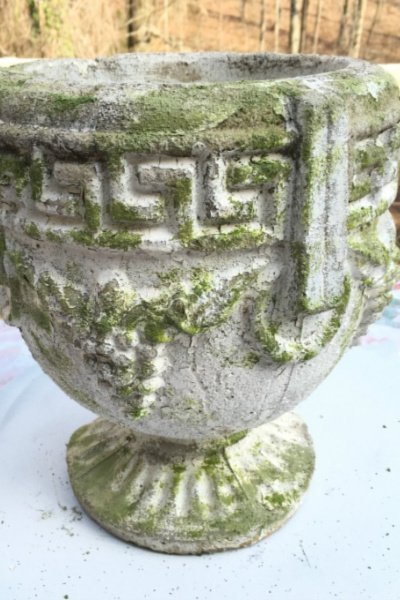
Who hasn’t drooled over those perfectly aged planters? All of those bits of moss growing over the years just adds to the appeal of planters. Don’t you wish there was a way you could achieve that look without waiting a few seasons? Well now there is a way and I’m going to show you how…
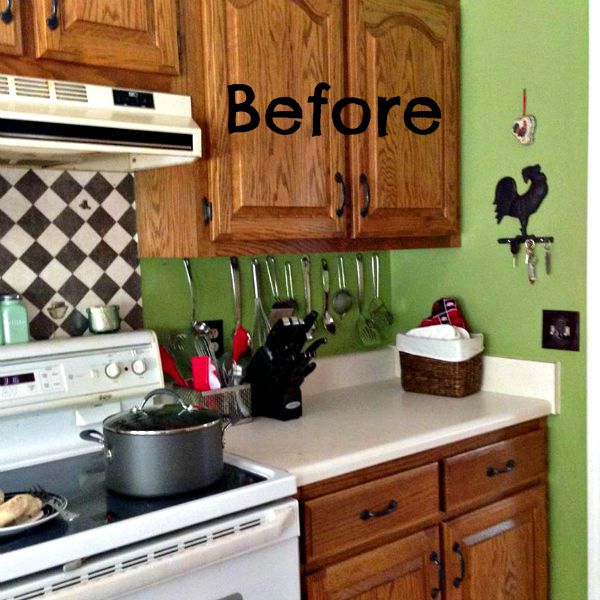
Where to start? How much to spend? What are the priorities? What color? These are just a few questions to ask before beginning. Our kitchen really hadn’t been touched in about 10 years except just some new accessories and trying to change out the table and chairs. A new floor was a must Get rid…
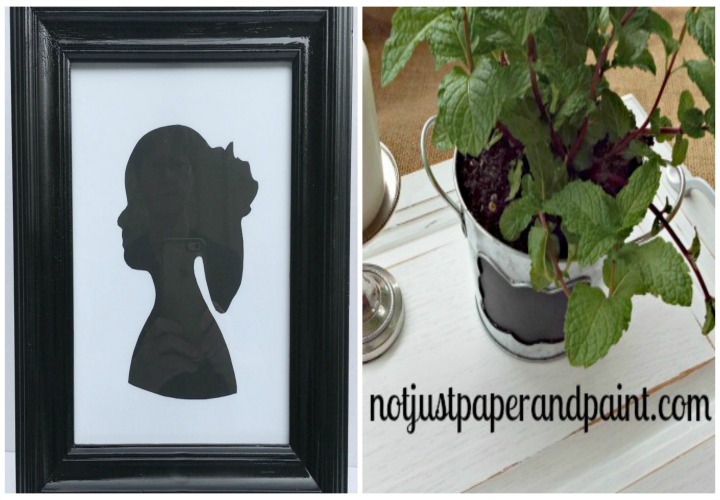
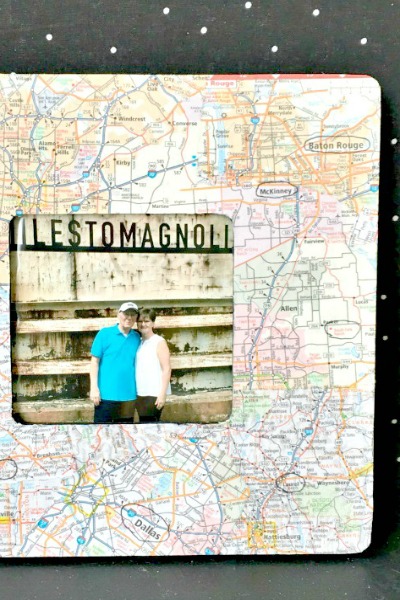
Do you need to know how to make an easy, DIY picture frame? Maybe you still need a Father’s Day gift? Graduation gift? Or, just because you have a special photo? These are also kid friendly. WOOD & JUTE FRAME The Easiest Frame You Will Ever Make – guaranteed Yes – this is super…
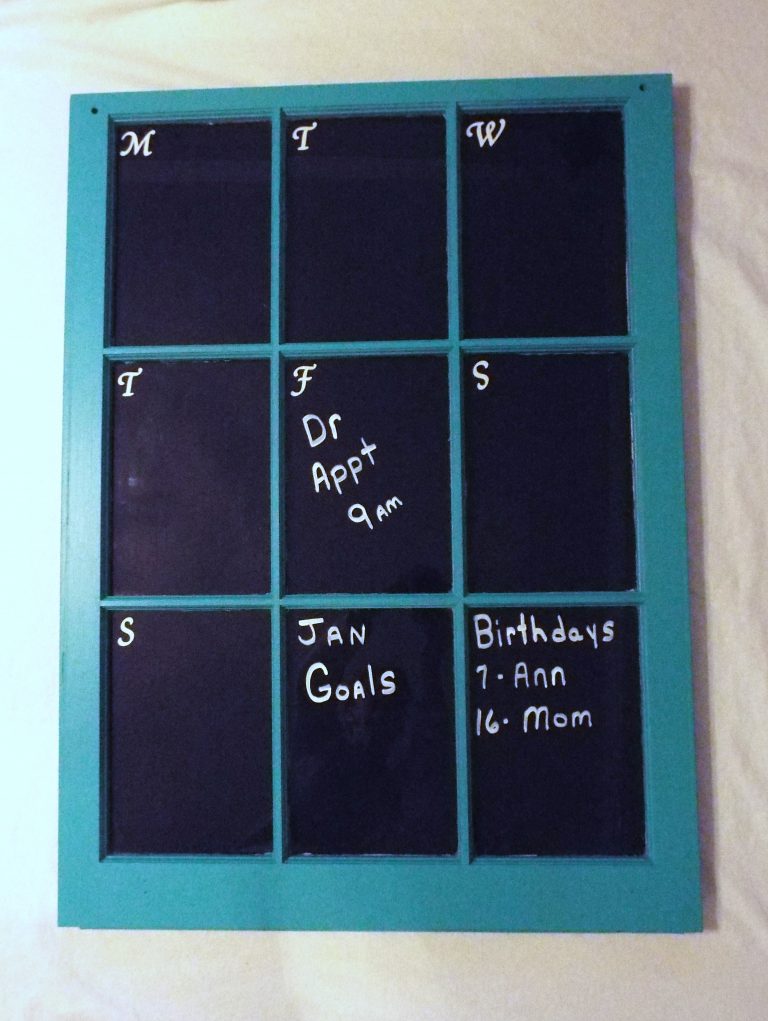
So we are already into the second month of the year and maybe still working on some of those resolutions you made. Here’s an idea to help out with the organizing one you might have made. Even with all the technology and gadgets out there, I’m still old school and love a calendar so I…
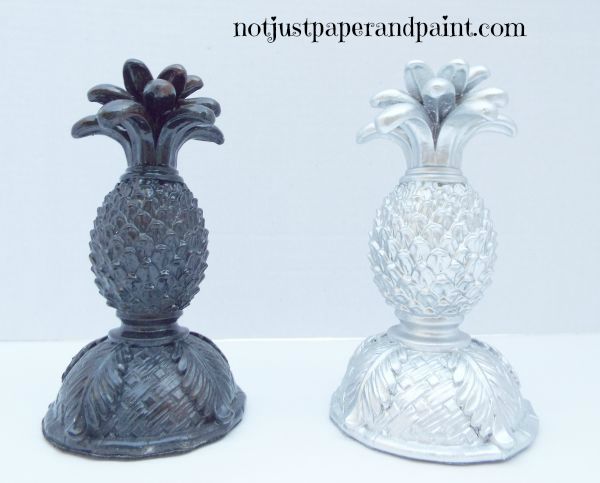
Many of you know I love spray paint – I’ve almost had a motto of “give me a can of spray paint, and I can change the world”. Although brass is making a comeback, I haven’t got onboard yet with it again. I lived with it through the 80’s so I’m a silver girl…
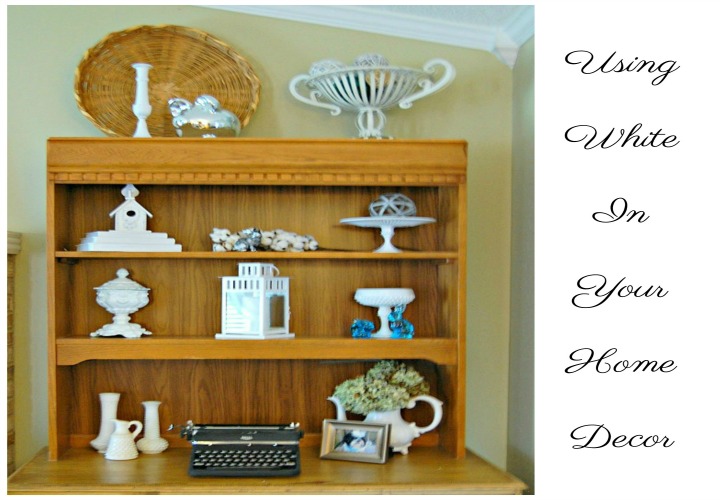
At this time of year you want to lighten things up and one of the easiest ways is by using white in your home decor. The trends over the past few years has been to have a lot of whites, creams, and grays in your home. Maybe you haven’t painted everything white yet, so adding…
I love this idea! I just did it for my son’s first birthday BBQ on July 4th – it looked so good. I adore finding new ways to use products that would otherwise end up in the bin!
What a great idea and I love to reuse and recycle things! This would be great for all of the parties we host throughout the year! I will be sharing this with my friend who always looks for interesting DIY projects!
I love these DIY projects! I’m not really good when it comes to things like this but I love looking at the cute little projects that people come up with!
This is totally an awesome idea and a great way of recycling indeed. I love the red color you painted them too. It would make a great center piece or an awesome convenience for a backyard barque. Thanks for sharing.
 Techtronics Ryobi ONE+ 18V ...Shop on Amazon
 E6000 Clear 1.9 Fl Oz Plus ...Shop on Amazon
 Rust-Oleum 327875 American ...Shop on Amazon
 Rust-Oleum 241526 Comfort G...Shop on Amazon
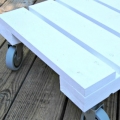
love love the new look!
Thanks – still a work in progress.
This is perfect for a summer bbq! I am always using plastic cups.
Easy to make – then it’s ready for your next cookout.
Love it for a dinner party, I hate setting a table!
I love a great tablescape but sometimes you want to make it easy.
I love this idea! I just did it for my son’s first birthday BBQ on July 4th – it looked so good. I adore finding new ways to use products that would otherwise end up in the bin!
I use tin cans for a lot of things. Hope you follow along for more ideas and recipes.
What a great idea and I love to reuse and recycle things! This would be great for all of the parties we host throughout the year! I will be sharing this with my friend who always looks for interesting DIY projects!
That is perfect for use while eating outdoors-whether it be an outdoor party in your back yard at a picnic at a park.
This is such a great idea and this would look great at parties. I normally just throw tin cans away, now I won’t.
Tin cans have always been great oranizers! I love how you painted them makes the caddys more chic!
Most people can always find a few tin cans to save. I use them for many things.
That turned out really nice. This would be so perfect for cookouts, barbeques and even picnics!
This is a really cute idea! It would be perfect for my kitchen table and I already have most of the supplies to make it.
Tin cans are always around and can be added to most any surface to make this.
This is such a cute idea. I was looking for something like this for our outdoor picnics. Thanks for the tutorial.
Great way to keep utensils ready to grab and go. Other organizing ideas too.
This is such a creative way to reuse cans and it looks great! We’ll definitely have to try this out!
Omg now this is genius!! I’m just thinking about all the different ways I could customize this for different party themes. Such a great idea
I really like recycling. This is a great little project. I think it would be great in red, white and blue for the 4th.
I love these DIY projects! I’m not really good when it comes to things like this but I love looking at the cute little projects that people come up with!
This is nicely done and very creative, thanks for sharing this DIY its so beautiful
This makes the old tin can really cool and vibrant. You can even play around with the colors here too.
What an awesome great creative idea indeed! Would love to do this too pretty soon.
This is totally an awesome idea and a great way of recycling indeed. I love the red color you painted them too. It would make a great center piece or an awesome convenience for a backyard barque. Thanks for sharing.
Now THIS is the kinda DIY I can actually handle. Great way to add a unique touch to the table…
Such a great idea. It really adds some wonderful colors to the table settings. Would be great for an outdoor party!
Could be done in many colors and used in so many ways. Thanks for coming by and hope you come back.