Focal Wall for Blush Magazine
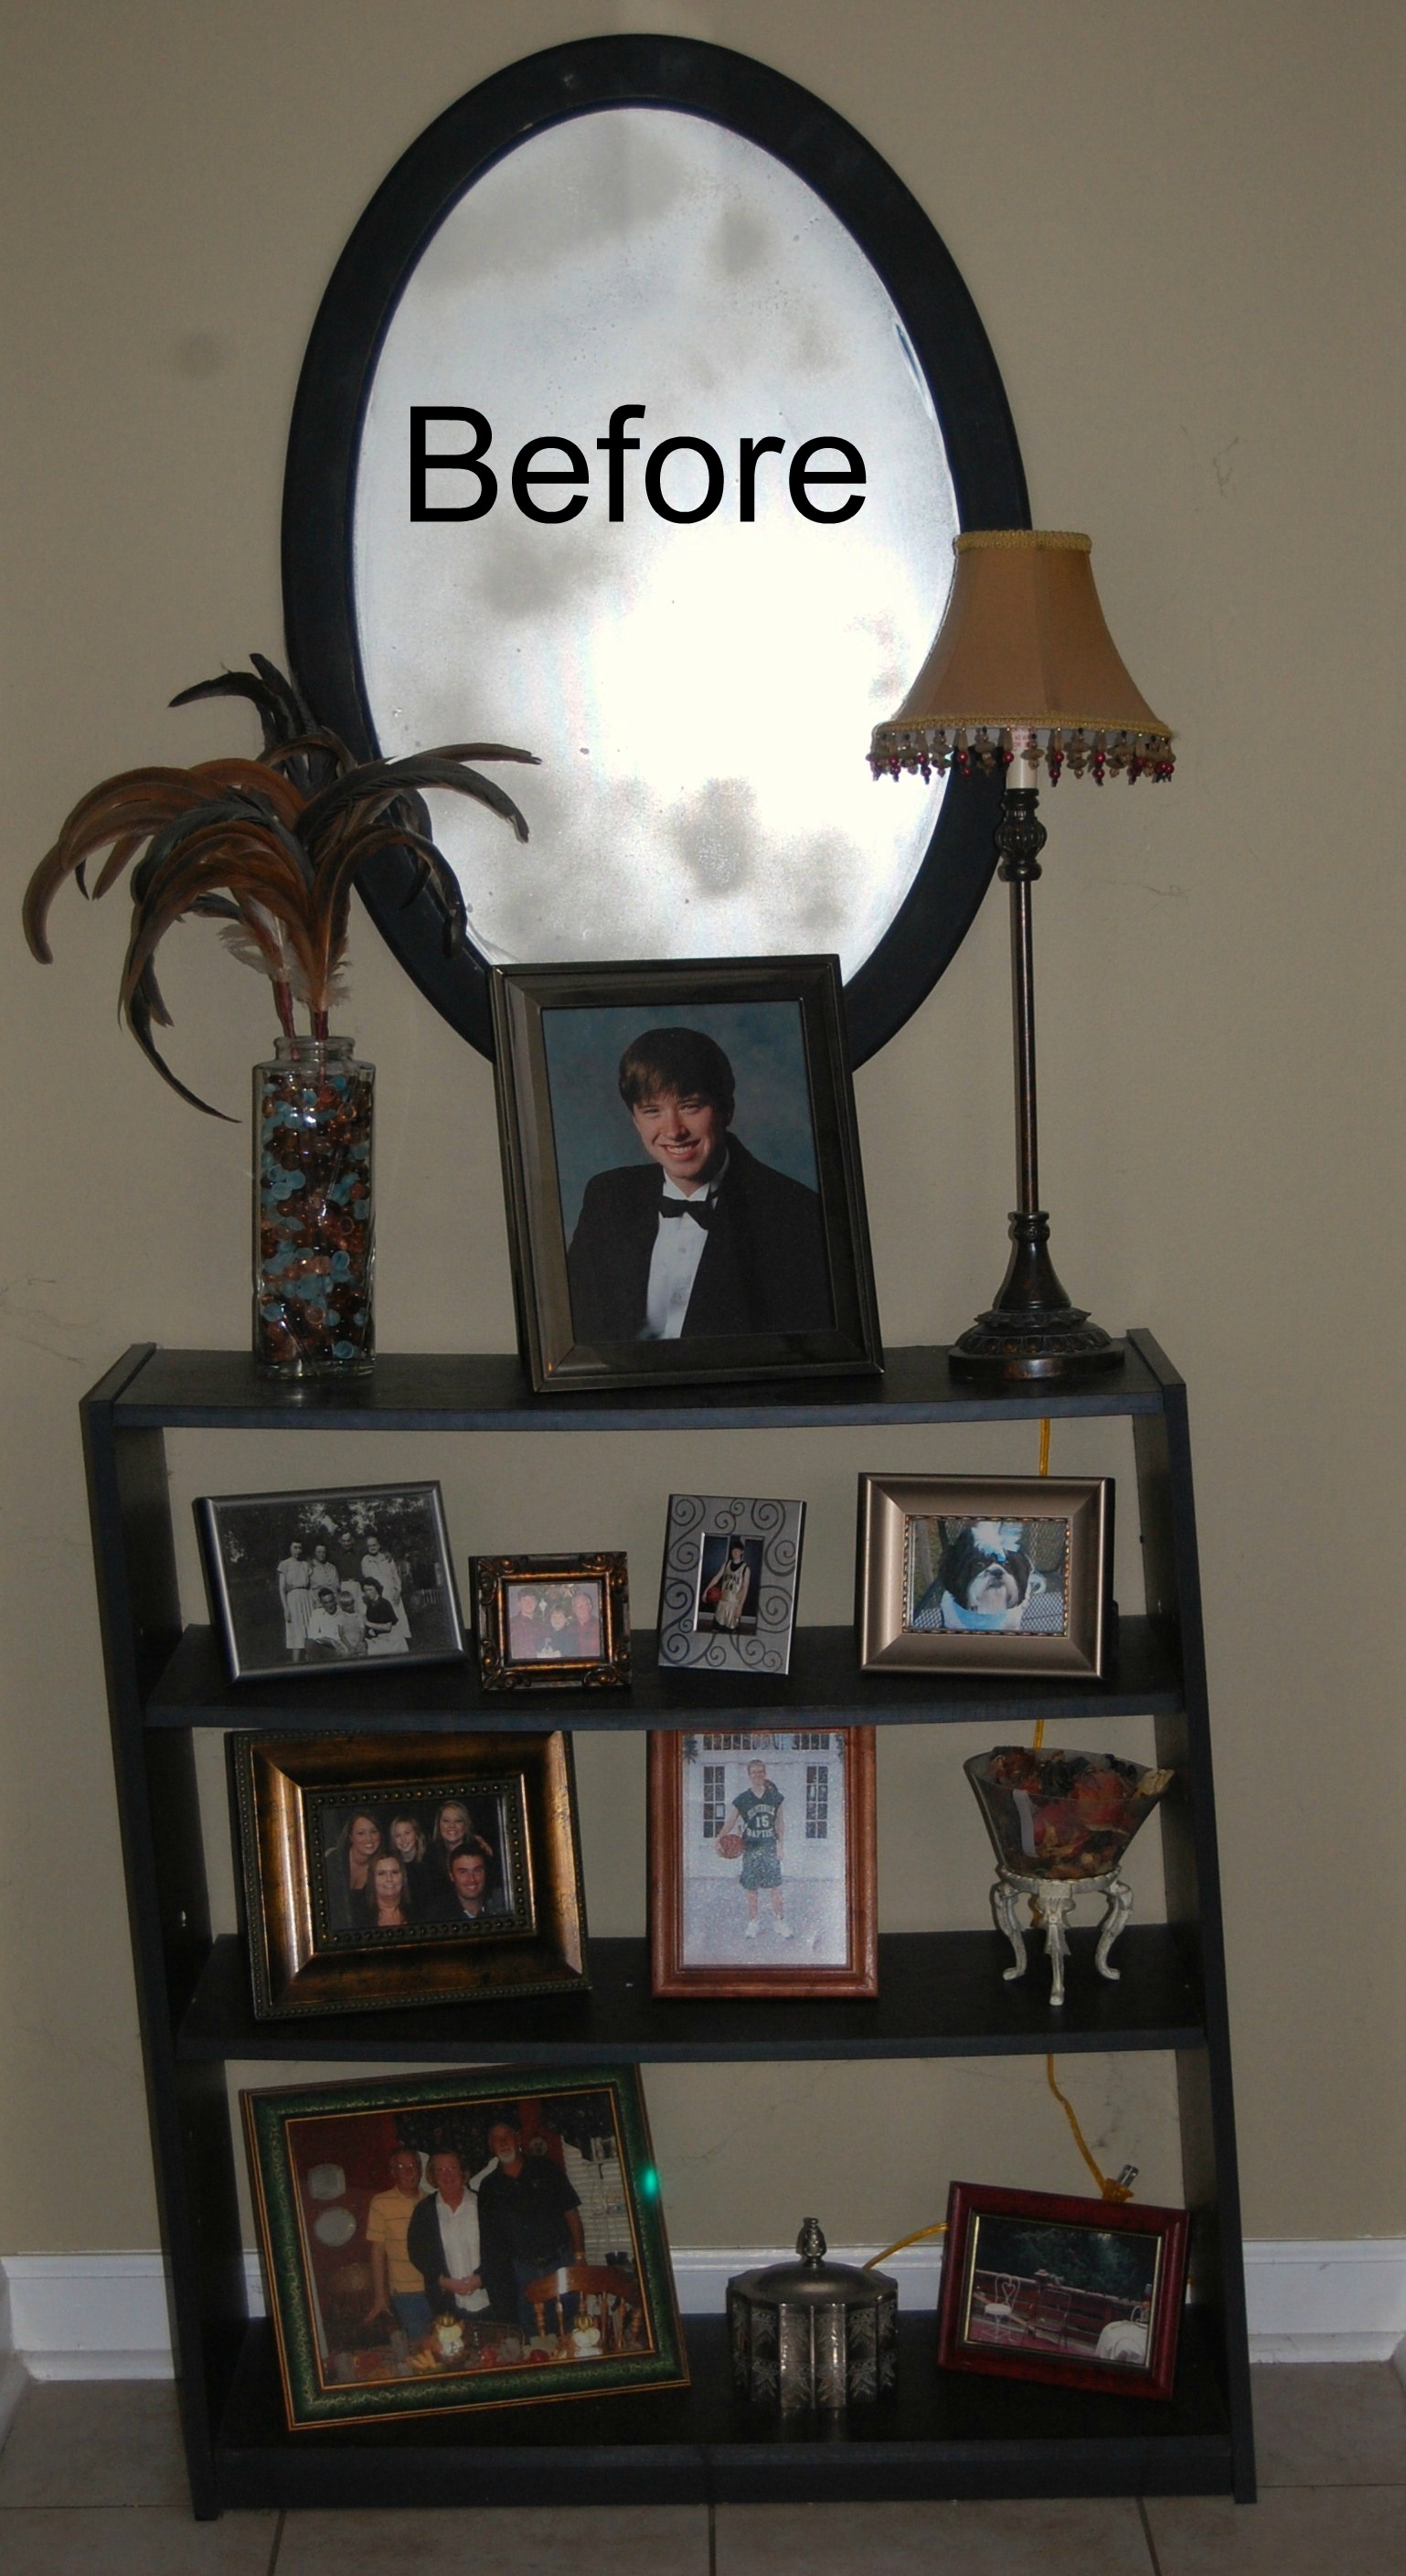
Do you ever have a place in your home that was just never quite right? Mine was the wall at the end of my hallway. Many things have been placed there, hung, and even painted, but I never felt it was right, until now. Please don’t judge – this was the latest try. Cheap bookshelves from Walmart (which I’ve already thought of a great repurpose). But I did discover it was a great dropping of place for things that needed to be put elsewhere. So it was always a catch all.
Last fall I was in an elevator in an Atlanta hotel, and it was covered in molding and mirrors. Of course, being the good blogger I am, I had to take a picture of it and it gave me an idea for my hall wall.
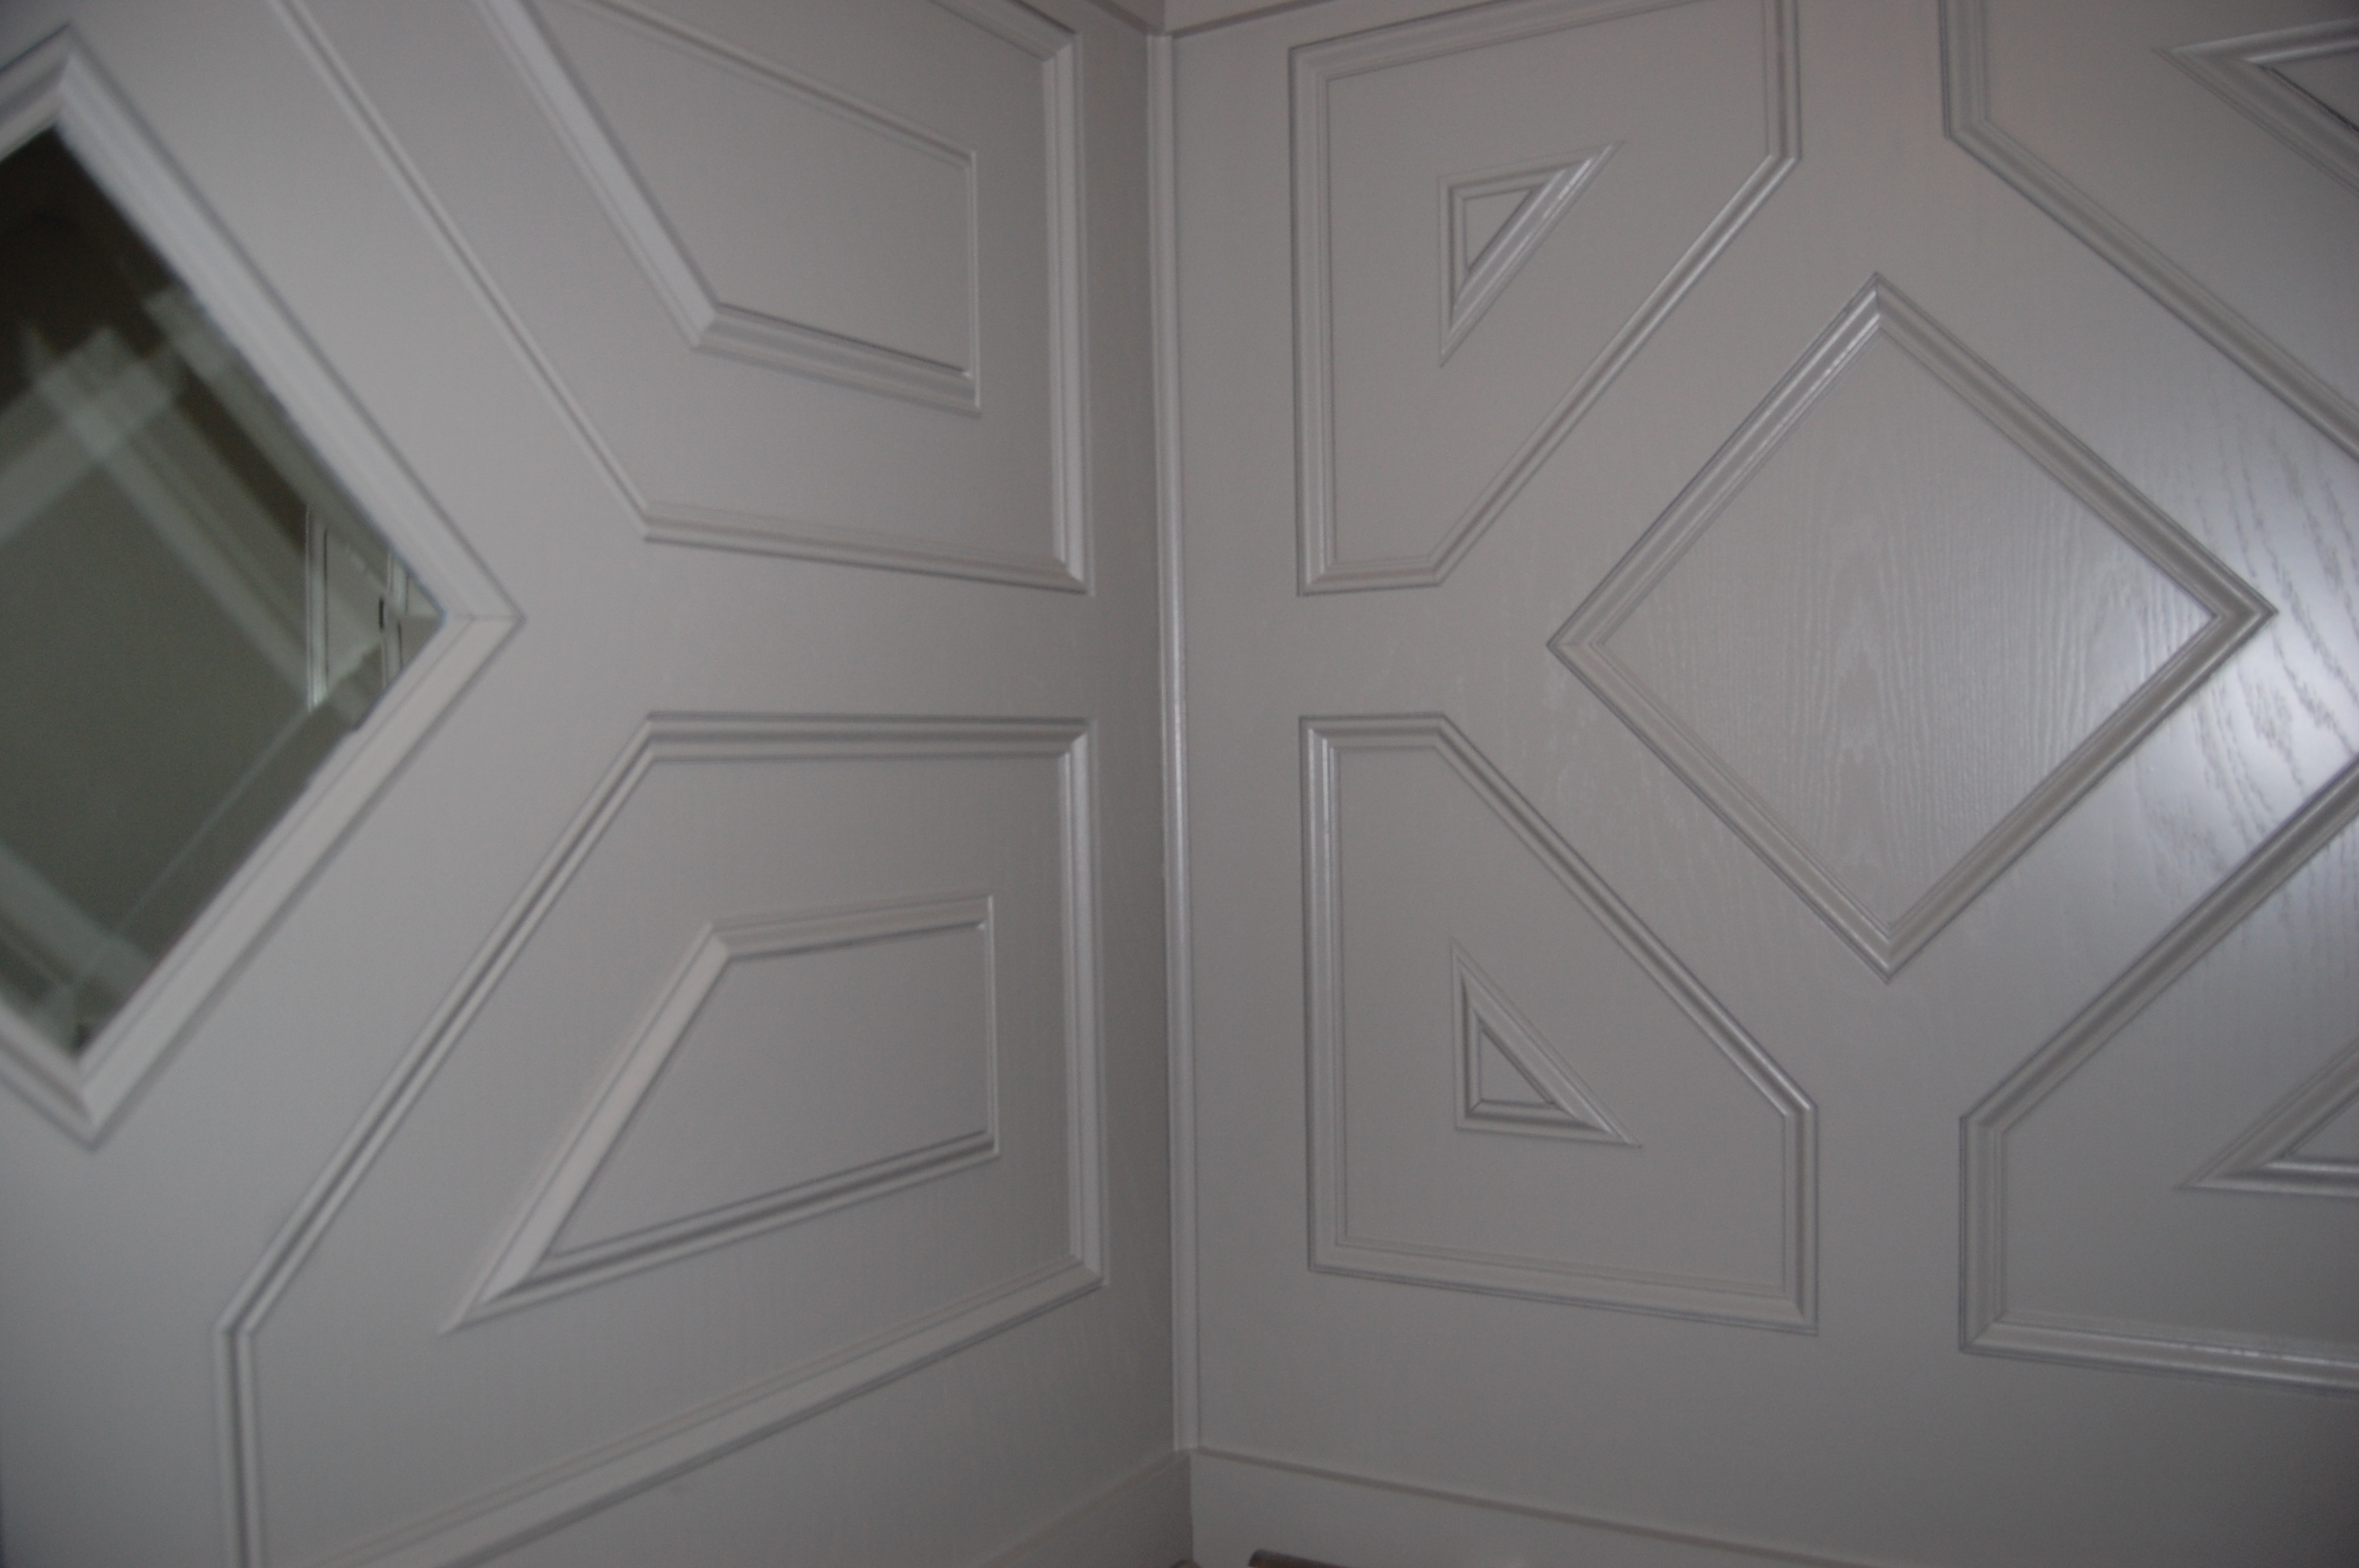
I loved the design but after drawing it out, over 100 cuts was going to be required, so since I was still a beginner on molding and using a mitre saw, it would have to simplified. Then when Blush Magazine wanted a weekend DIY project, it was time to finally finish the wall. To get an idea of a design, I started on graph paper after measuring the wall area (I know, I’m old school). Then using 3M Painters Tape, I transferred the design to the wall. This gave me an idea of how much molding I would need to purchase and also the length of my cuts. This was ideal design but as I said I wasn’t going to attempt 100 cuts. Maybe one of these days when I get a new mitre saw.
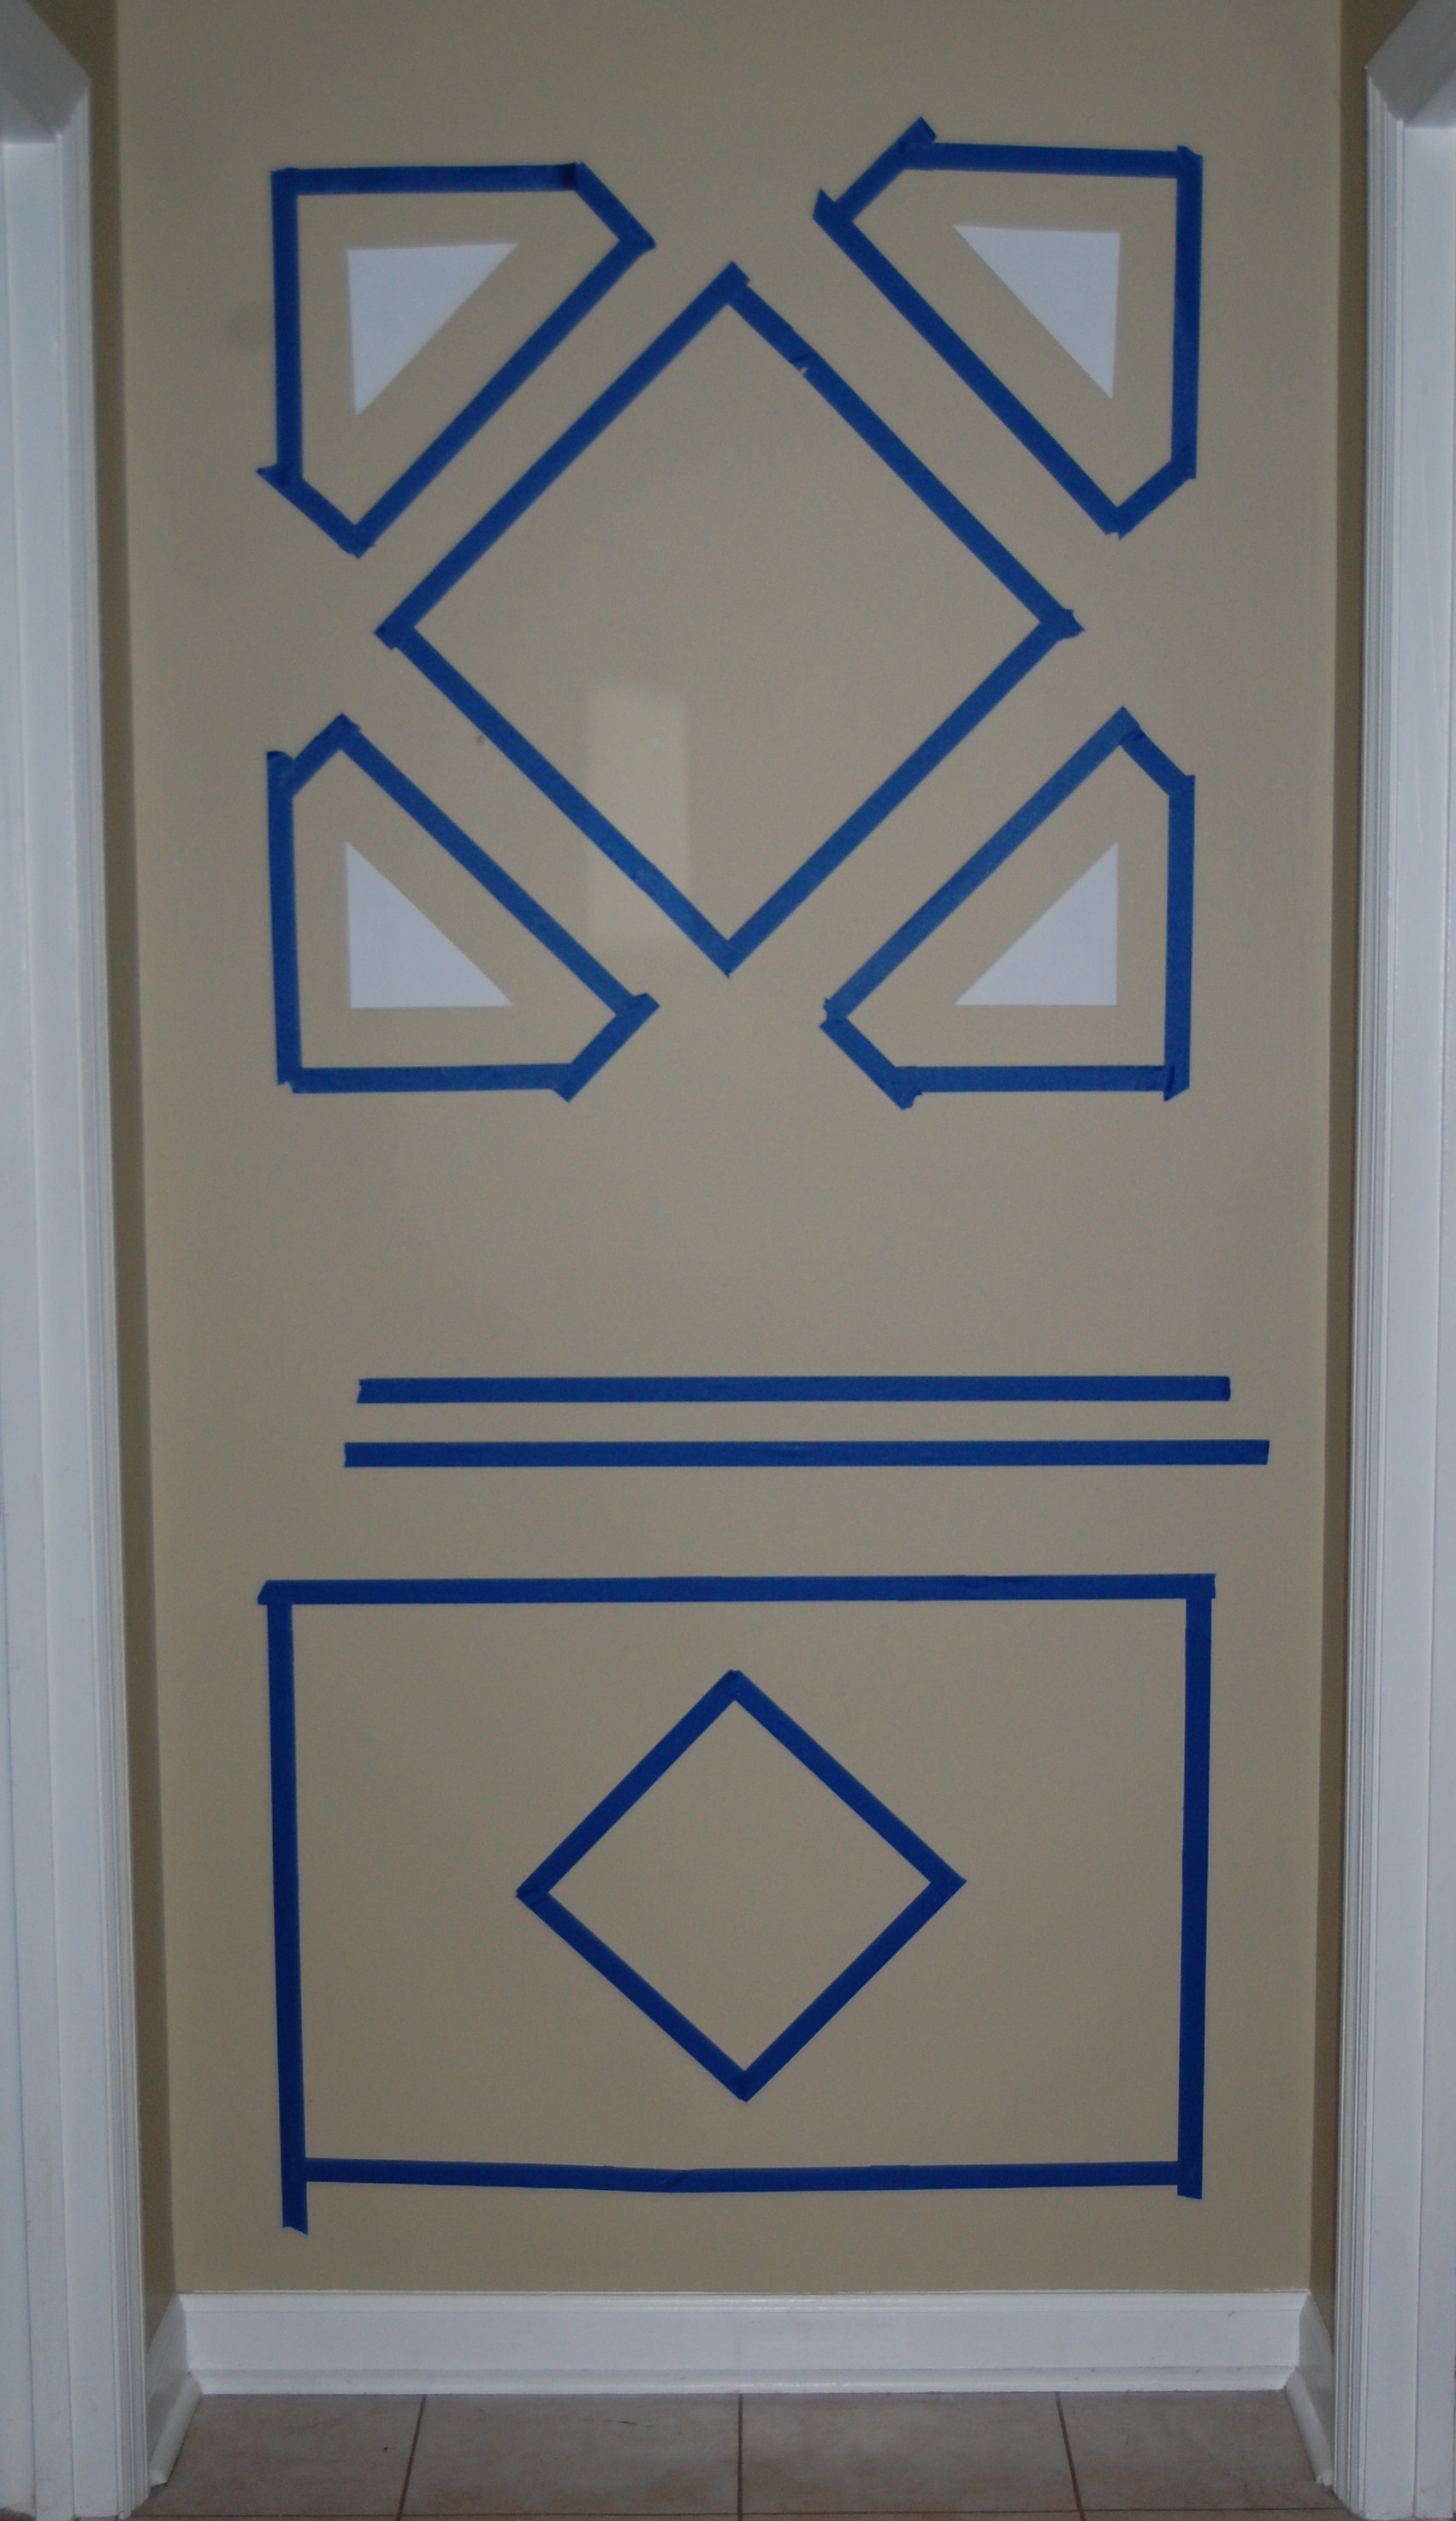
Also by doing the taped design, it also allowed me to make changes before cutting and installing the molding. The 3M Painters Tape is a lot easier to move around now than the molding later. With the help of Interior Trim & Supply, I purchased chair railing and two sizes of panel molding. They were great to suggest the size of moldings which would look good together, but also what would match up easier after making cuts. Don’t forget to ask how much extra to purchase since you will have some waste due to cuts and any mistakes that might be made while cutting. Oh yeah, that happens.
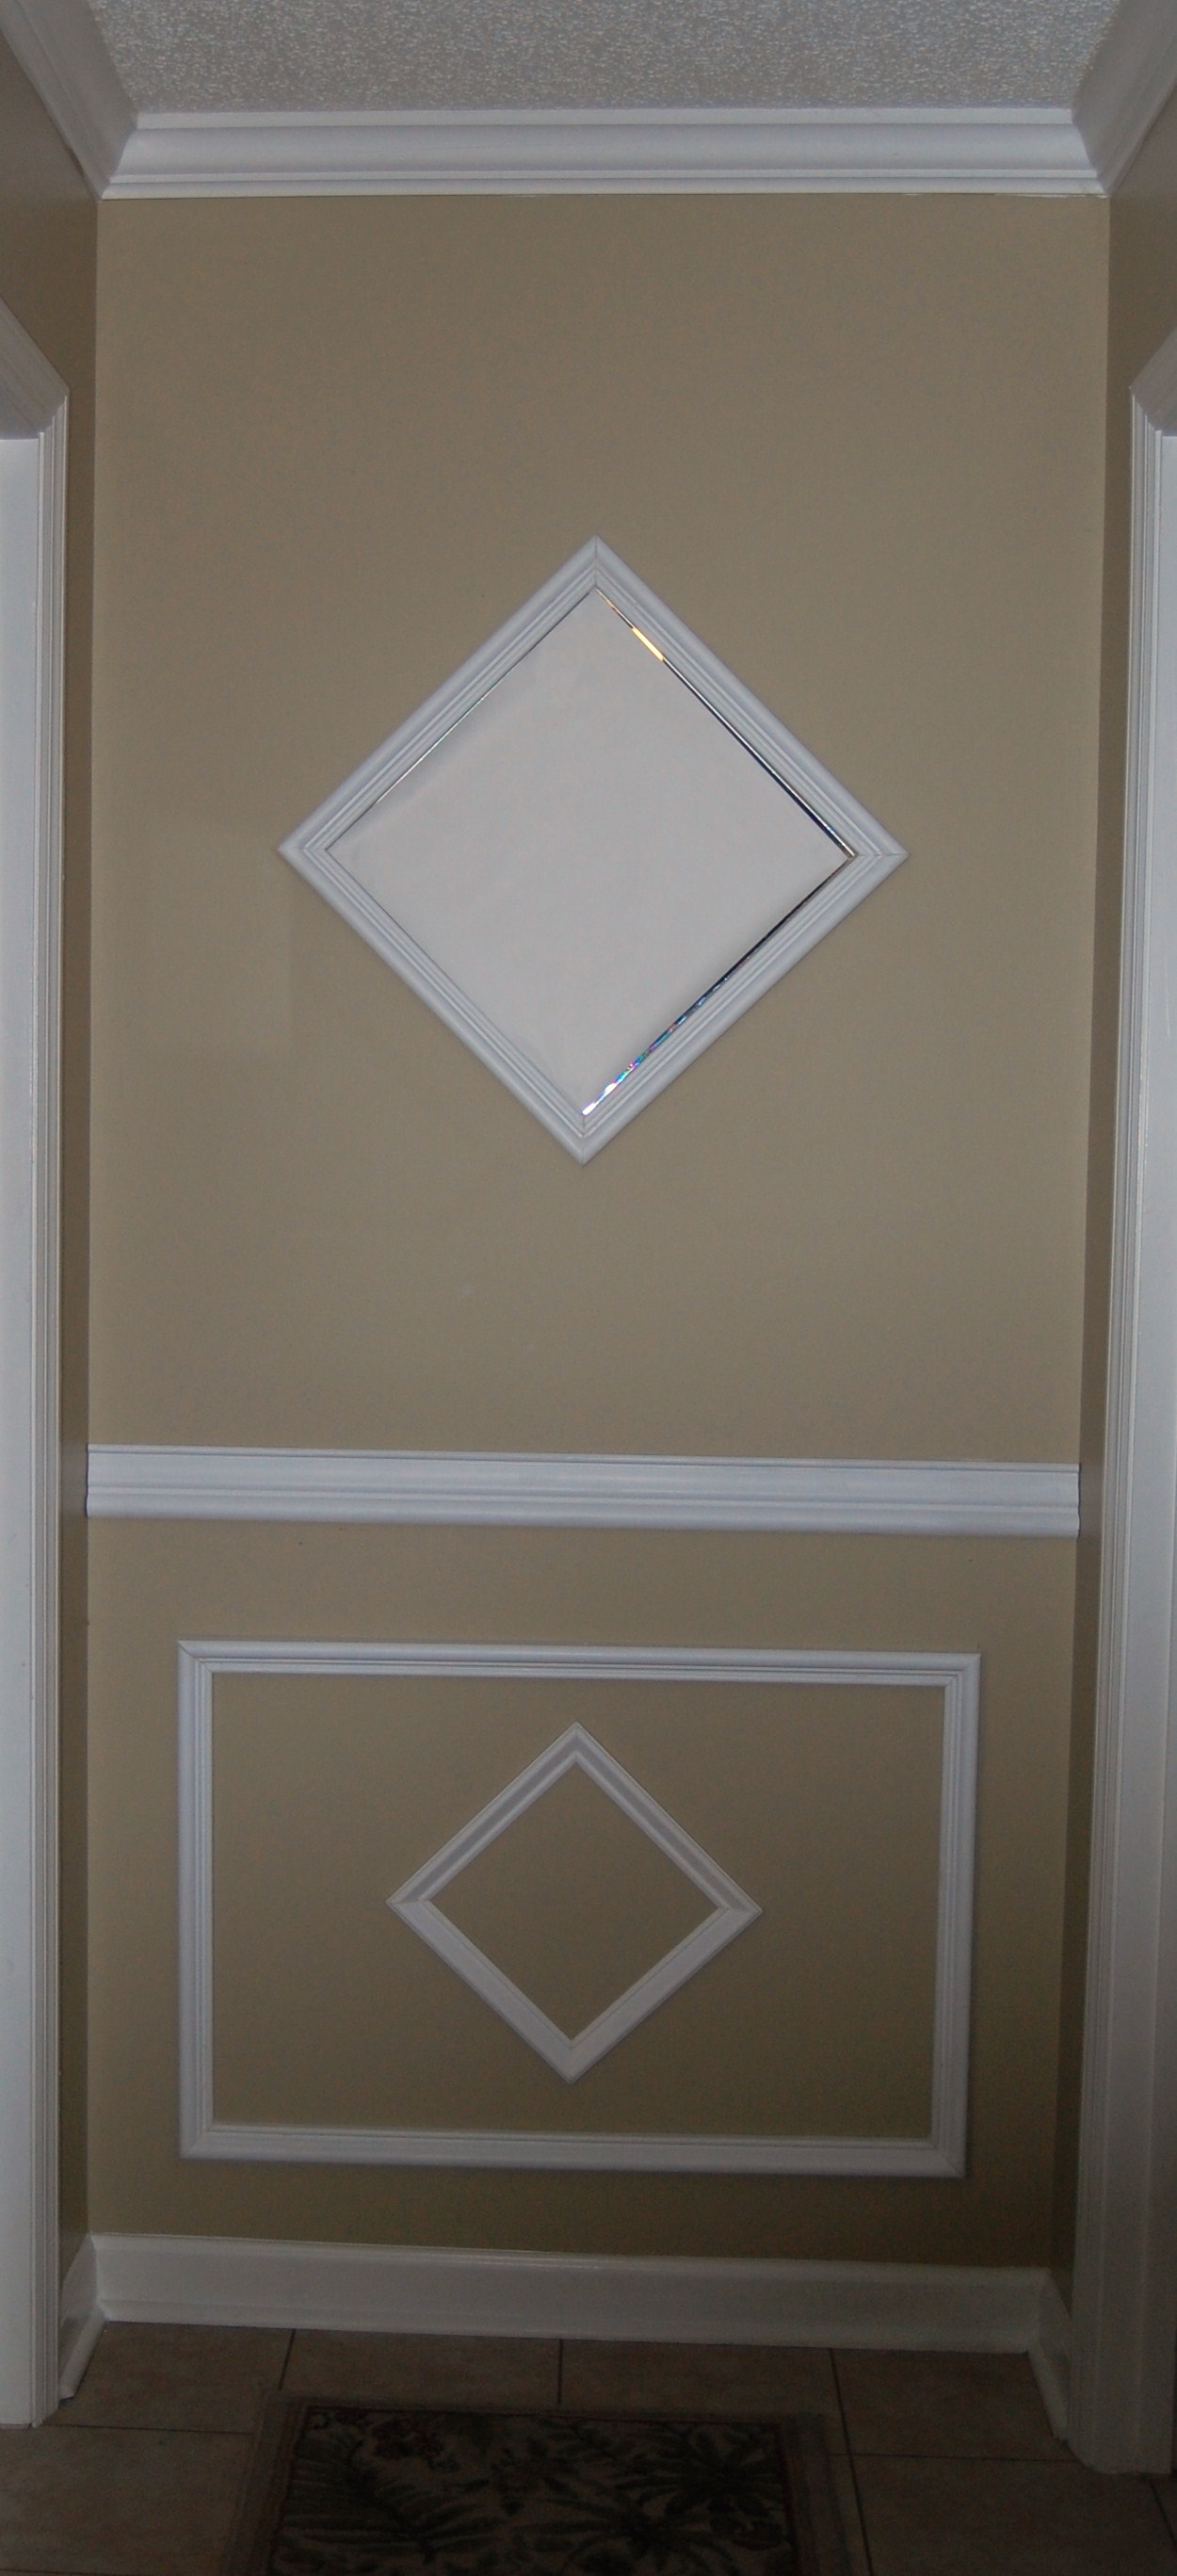
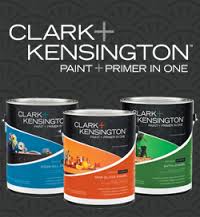
Since I was trying to make the project as easy and cheap as possible, I tried purchasing primed molding or molding designed for painting. No matter the finish on your molding, it will still require a final coat of paint. Clark + Kensington Paint + Primer in One from Ace Hardware is a great paint to use for this reason. Mine was done in white to match the crown molding already installed but also to make it stand out on the wall more.
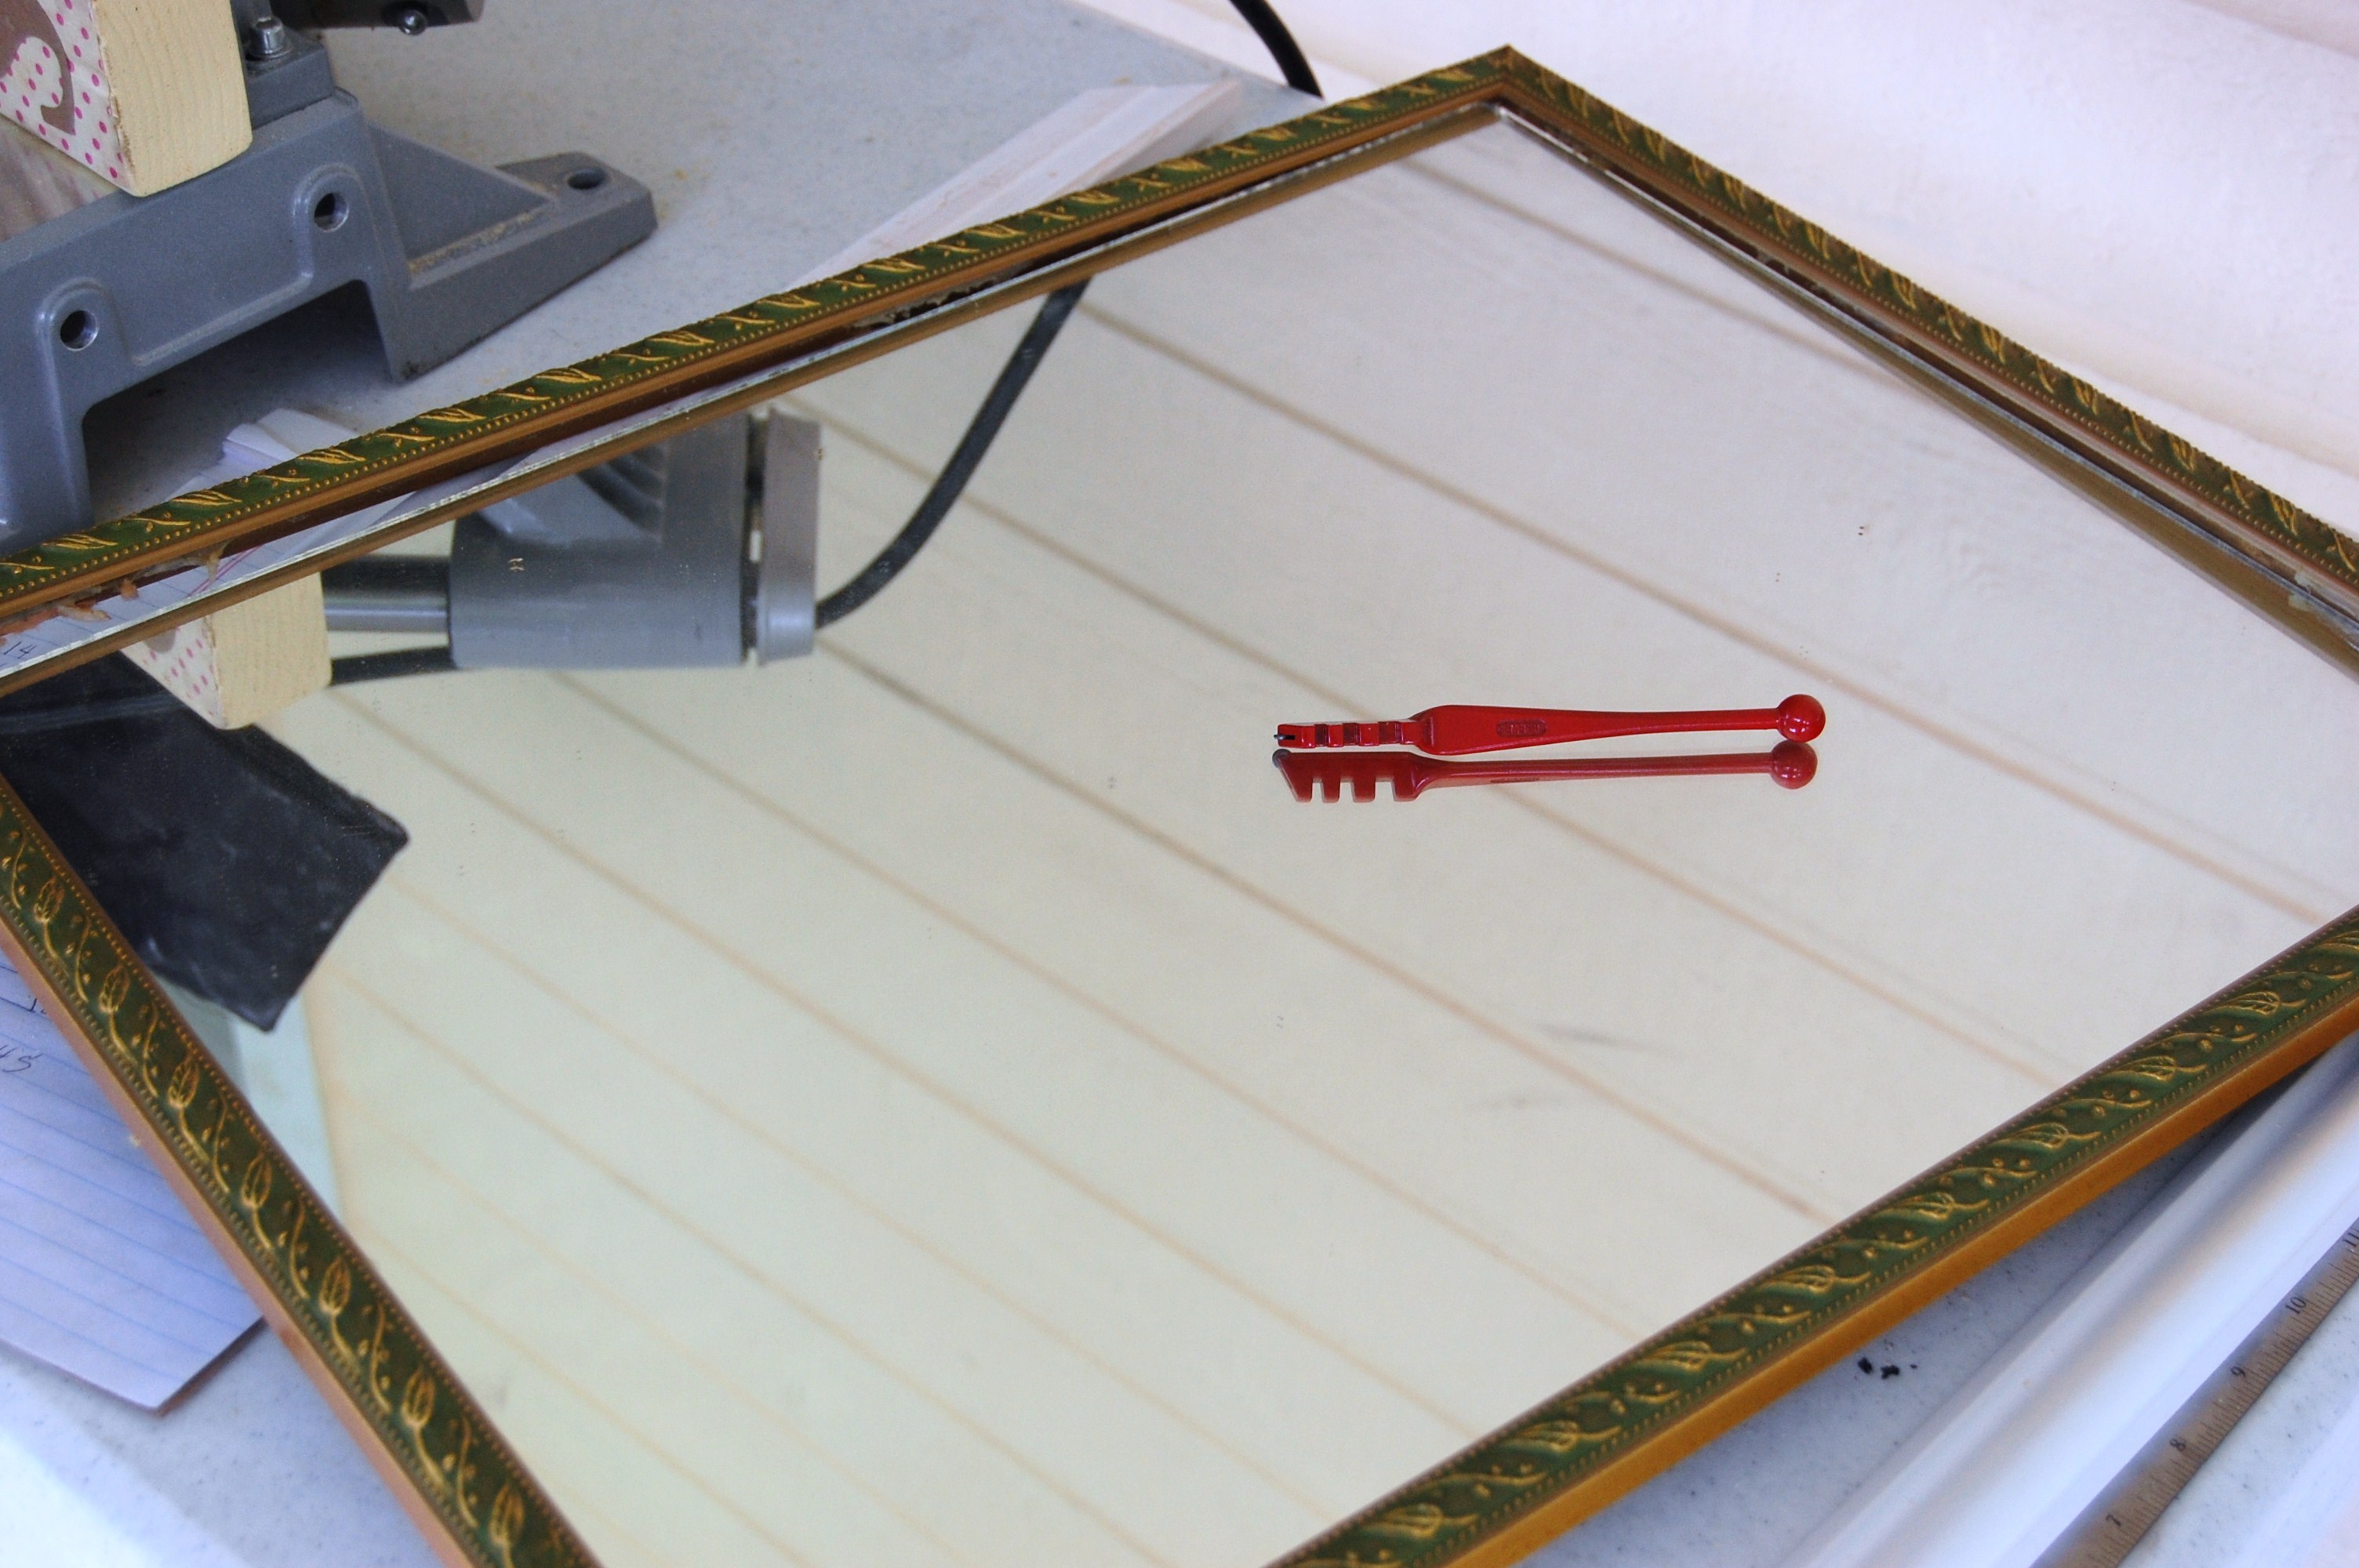
DIY fail – I knew I wanted a mirror in the top portion so I looked around at some mirrors I had on hand. I had a 16” x 20” so I thought I would just cut it to make it 16” x 16”. Off to buy a glass cutter and make my cut. Well, apparently my mirror was too thick and I couldn’t get an even cut. Luckily I could get a piece cut from Independent Glass Company for only $9.24.
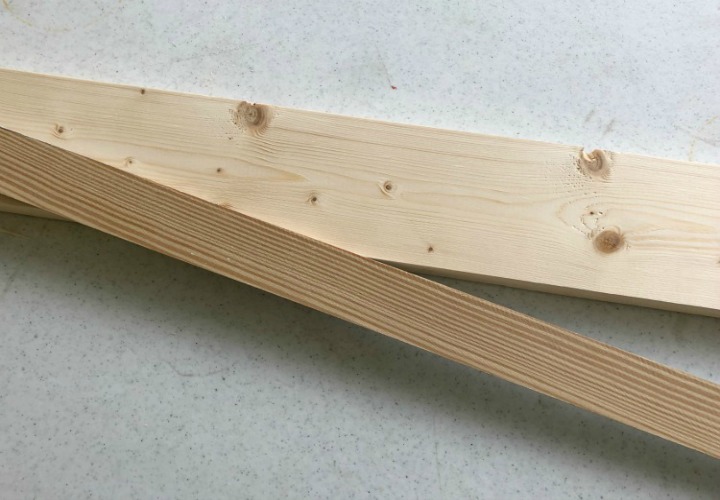
Materials needed for this project included chair rail and 2 sizes of panel molding, paint, paint brush, mitre saw, plus a nail gun such as the Ryobi Air Strike makes the job go much quicker and easier. To finish up, you will also need caulking or wood filler to fill in nail holes and any edges. Make sure it’s a paintable type.
Chair Railing – this will just require straight cuts on both ends after measuring the distance between the two walls. Nailing them into a stud will give extra support to any of your molding.
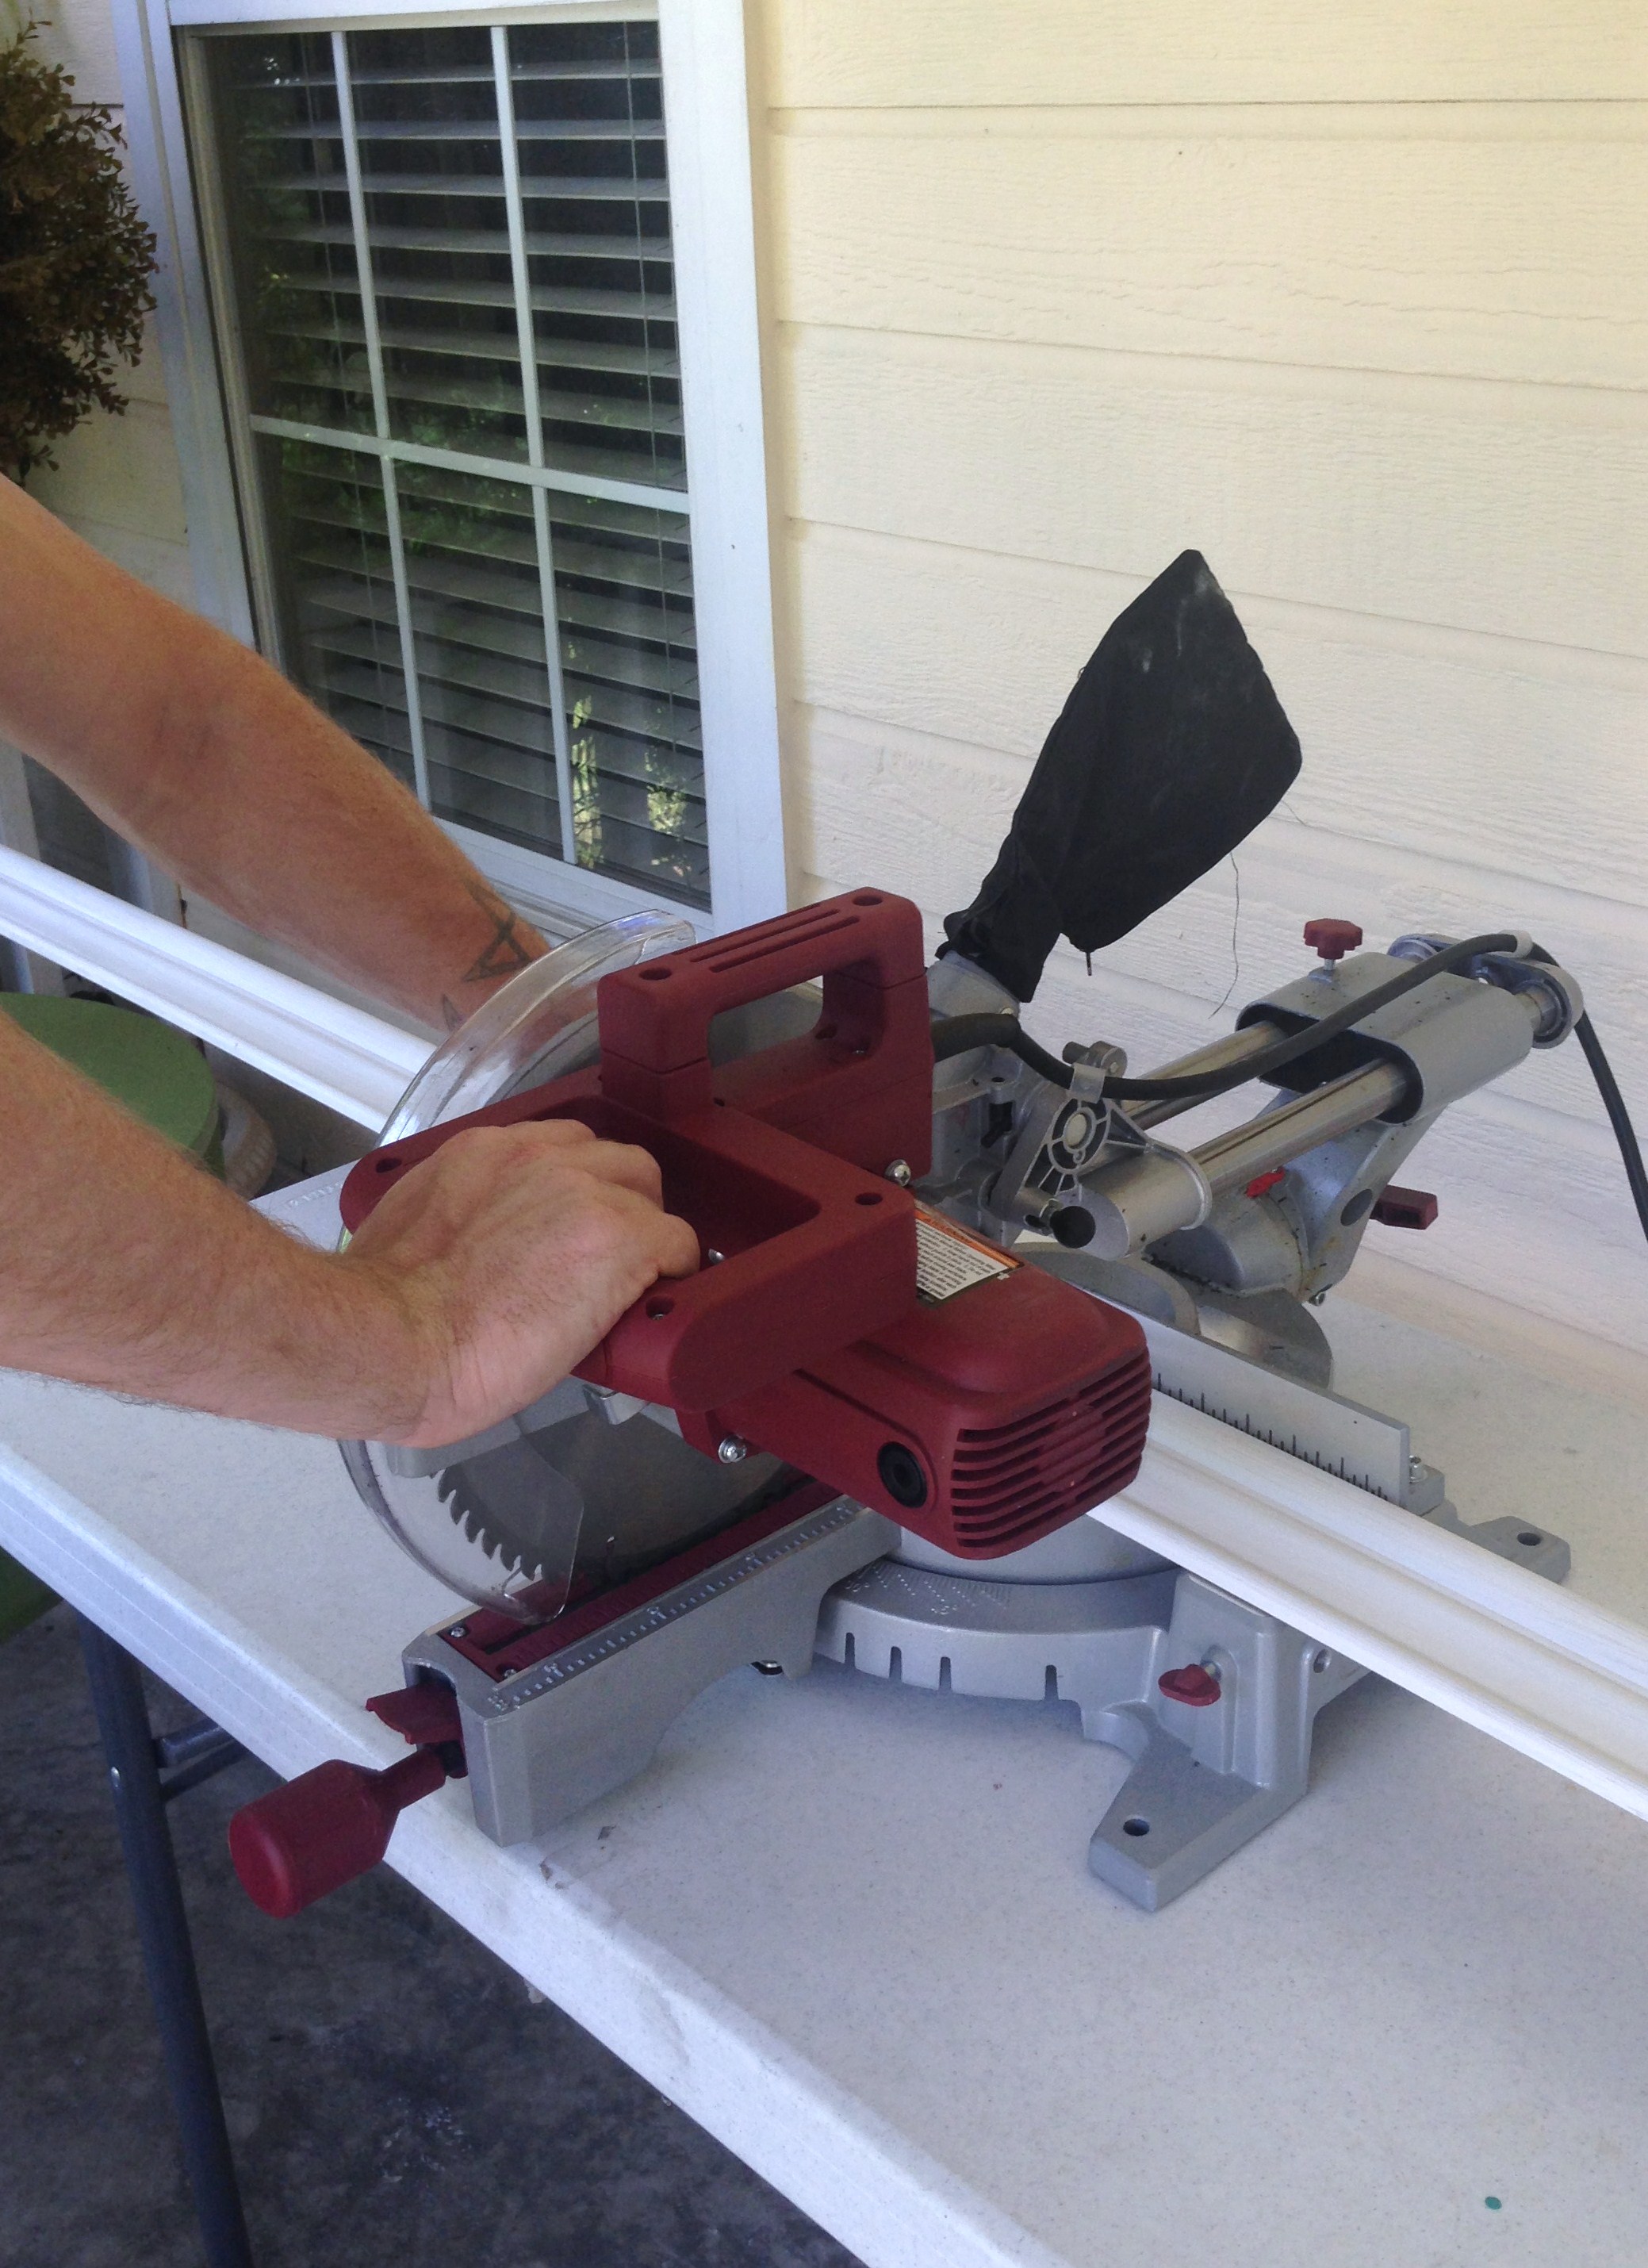
All of the other pieces do require a 45 degree cut. As the saying goes “measure twice, cut once” is a good rule to live by and that’s why you need to allow some extra when making your purchase.
If you can have someone help when nailing the molding to the wall, it makes the job a bit easier, but with these shorter pieces, it can be done alone. Always do a dry fit with your pieces before you start nailing. Hold a firm grip on the corners as you nail your trim.

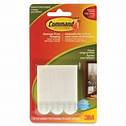
The mirror was attached with 3M Command Picture Hanging Strips, picking the size appropriate for the weight of the mirror. This will prevent damage to the wall if you want to remove it later.
Now step back and admire your work. Maybe one of these days I can go back and add those detailed cuts. For now though, I finally like that wall.
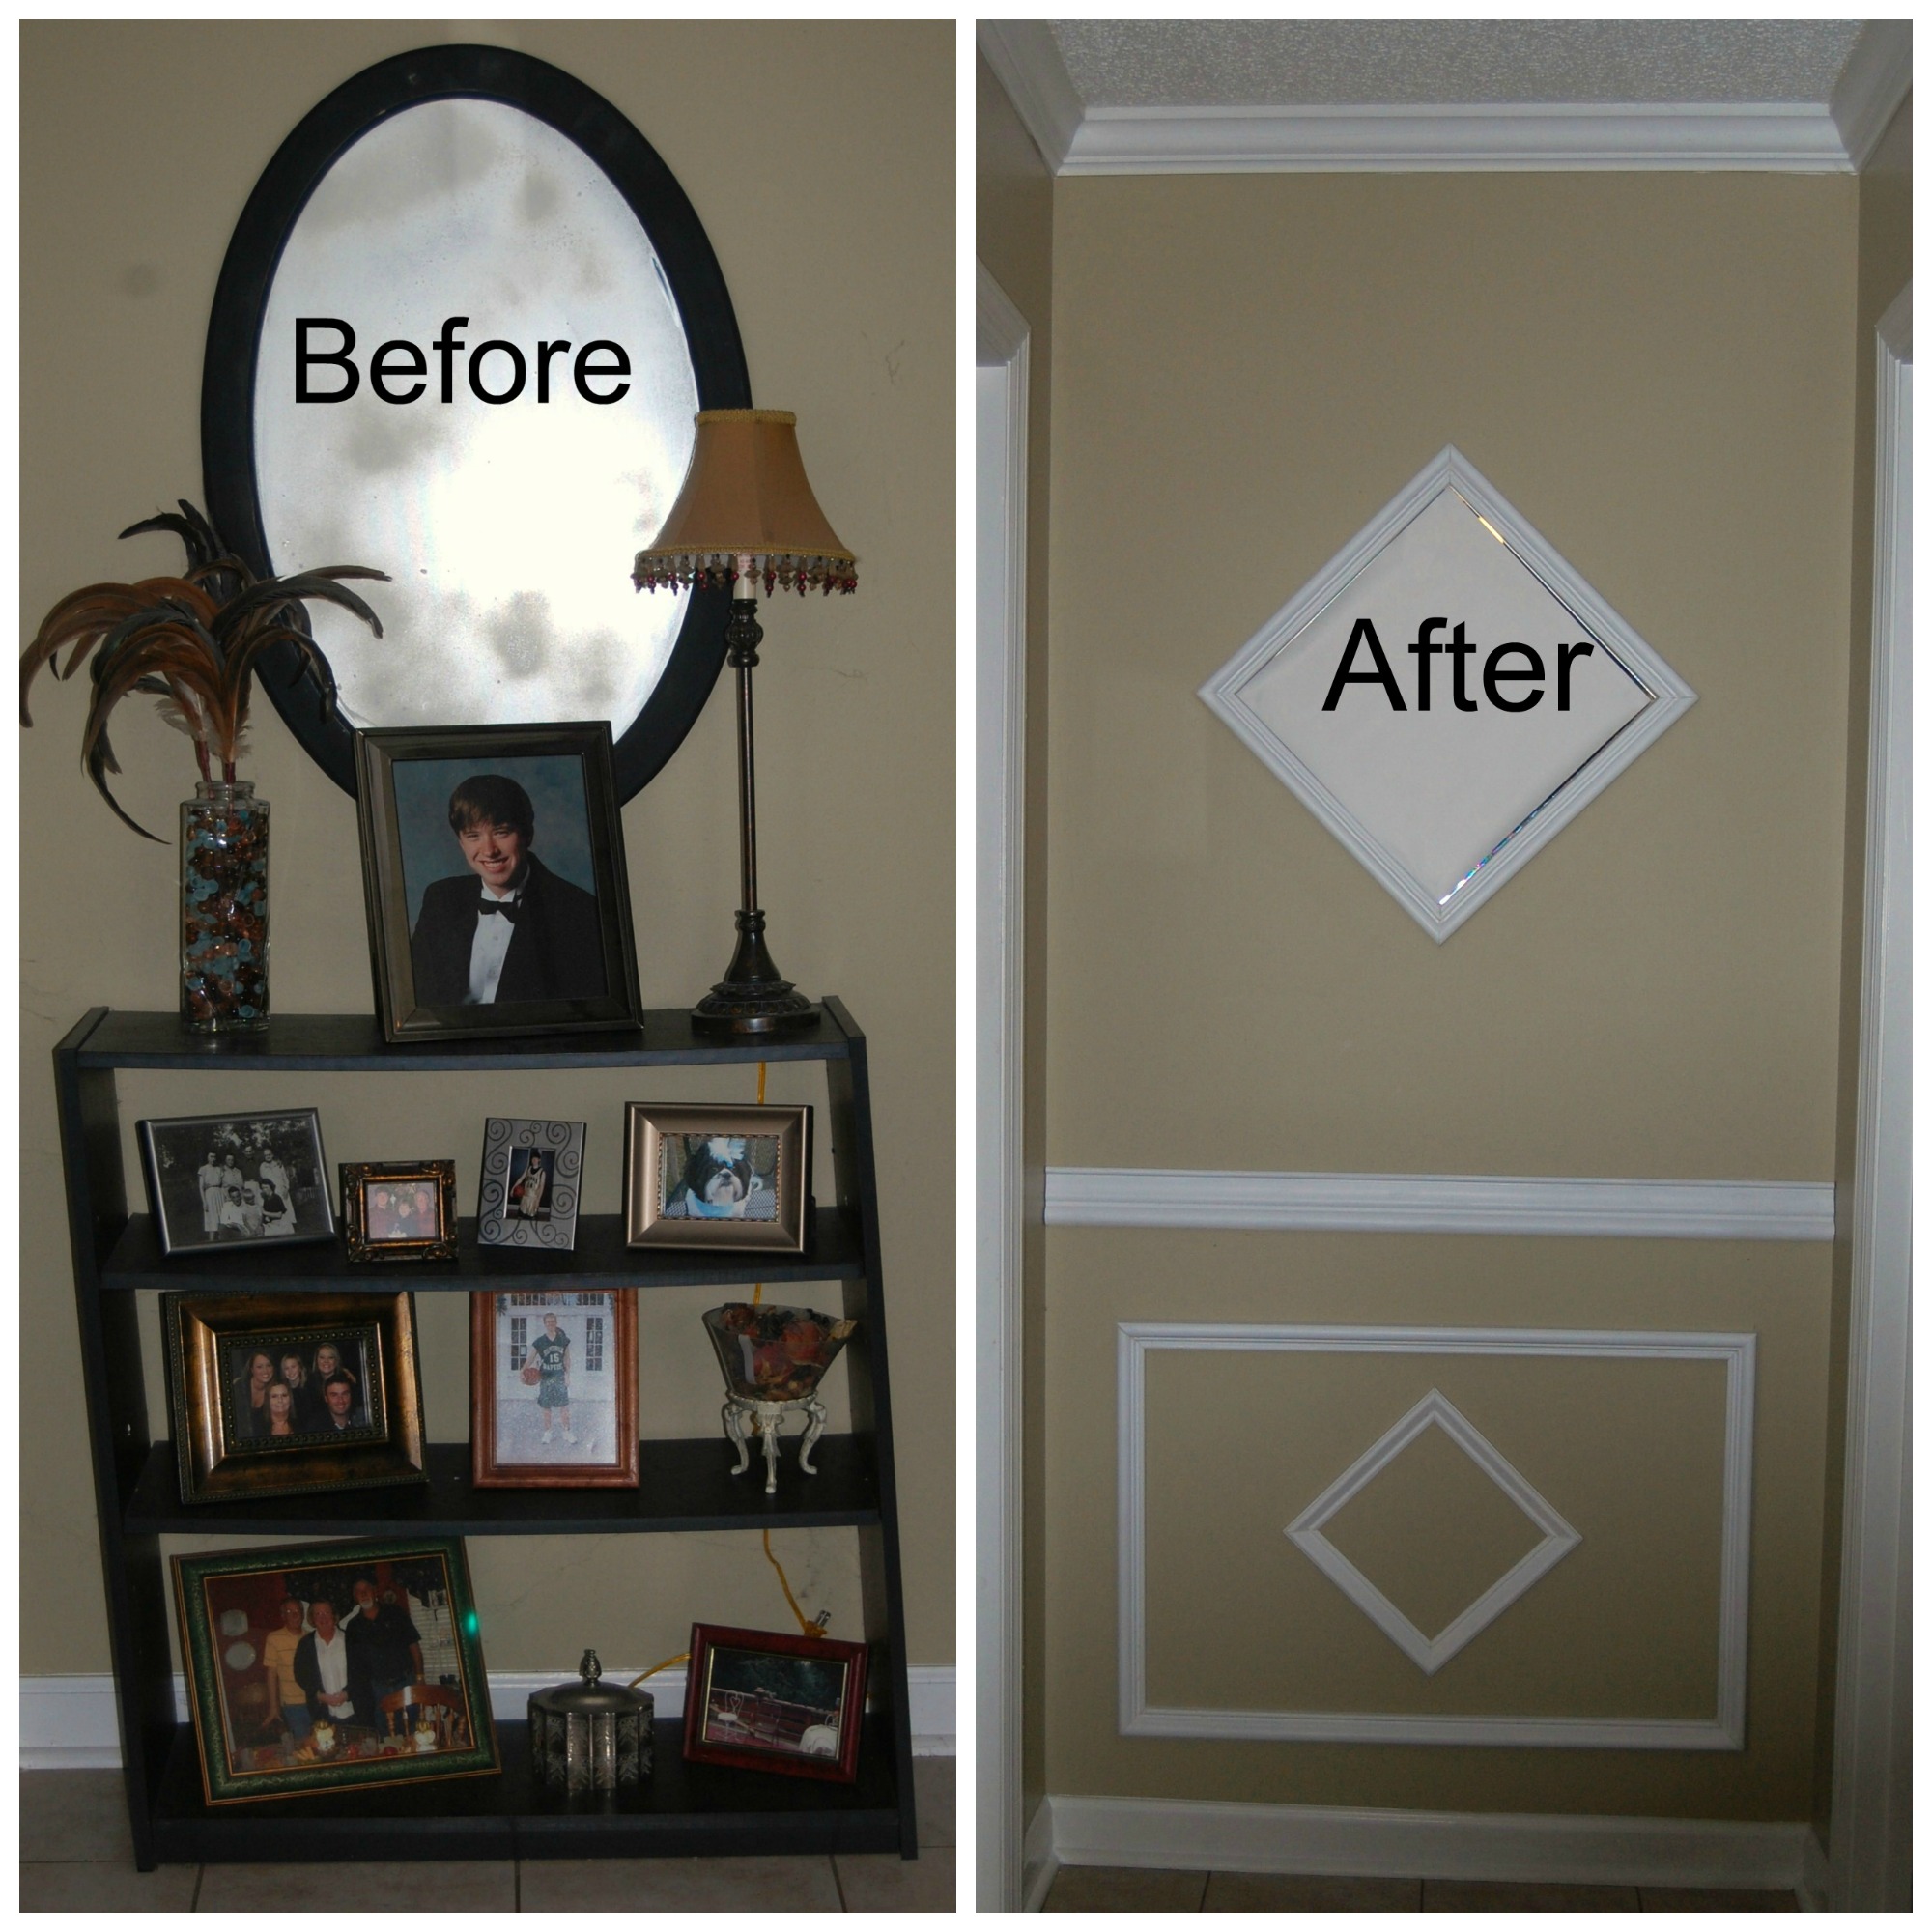
**Please note, for photography purposes, the mirror was covered with paper to prevent glare.
See the Blush article.


I’ve included affiliate links to Amazon for you to find some products easier. I may receive a small commission, but the price is the same for you. It just helps my blog out.
Happy Travels,
Rosemary
Looks great! Well done and congrats on the feature.
Beautiful job!
It turned out great!
Thanks – now I really need to do the one I have in my hall but thinking we might be painting in the next few months so holding off. Isn’t it strange how one project leads to another.