How To DIY A Ceramic Tile Serving Tray
Do you need a last-minute gift or a serving tray for your own home? This is one of the simplest projects you can make, and also can be made for just a few dollars. Even a non-crafty, non-DIYer, can learn how to DIY a Ceramic Tile Serving Tray in a matter of minutes. The hardest part might be deciding on your tile and the handles to use.
I have seen these around on Pinterest and even made one at my favorite conference, so I thought it would be something all of you would enjoy. Here’s the supplies you need and don’t forget to add this to your Pinterest boards.
After making a trip to Lowe’s and Home Depot, I chose a few tiles which ranged from .97 to 5.25 in a variety of shapes and colors. You can’t go wrong with marble as it’s just a great “go to” tray for any occasion.
How To DIY A Ceramic Tile Serving Tray
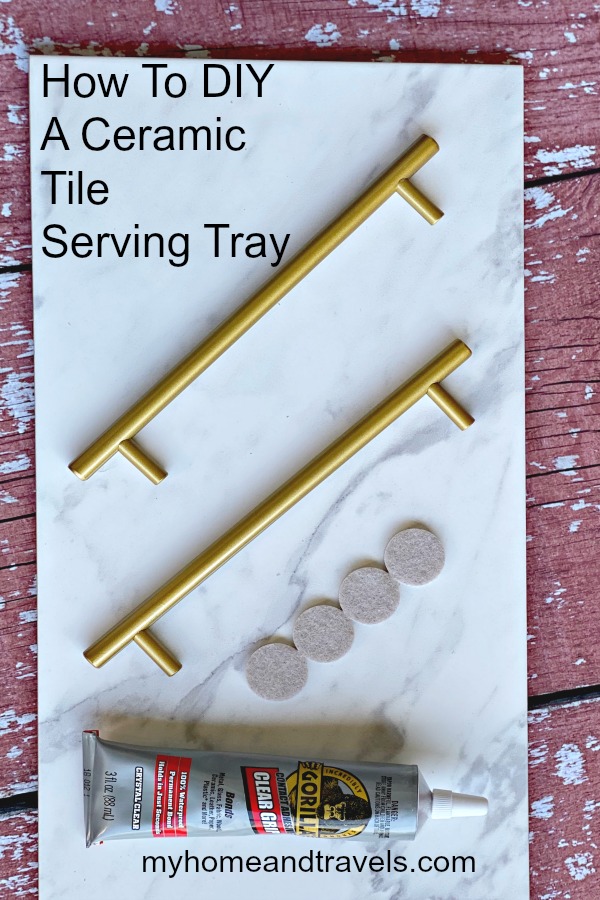
Here’s what you need to make a ceramic tile serving tray:
A tile of your choice
4 – 6 felt pads
2 drawer pulls (or knobs for smaller trays)
Clear Gorilla Glue
Sharpie
Ruler
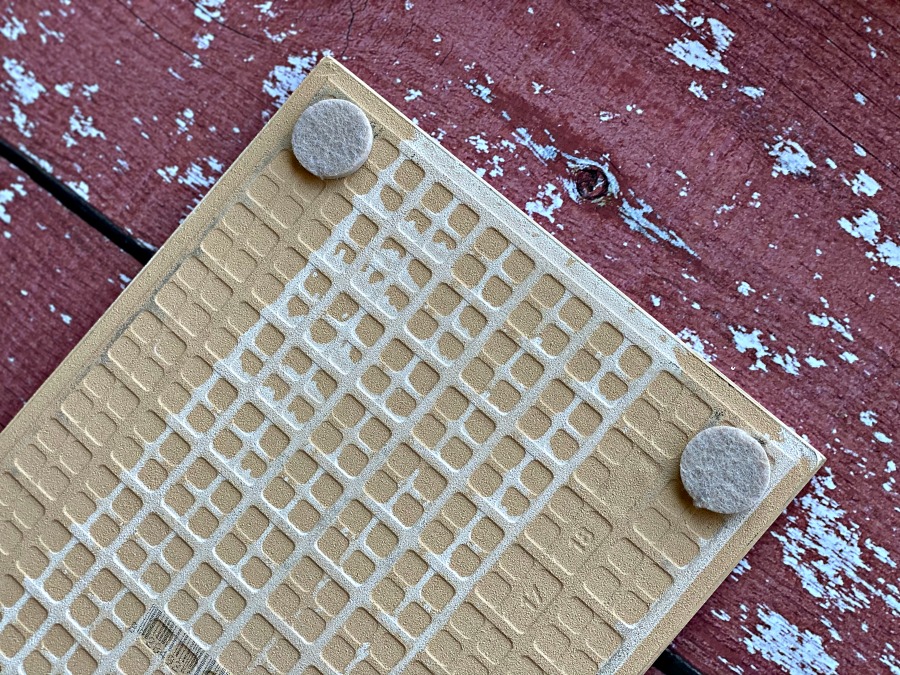
Step 1:
Turn your tile over and place a felt pad on each corner of the tile. This prevents any scratches on your table or countertop. On the longer tiles, I did use 6.
Step 2:
On the right side of the tile, determine where your handles will be placed. This can be done by measuring or if you are comfortable with eye-balling it.
Make a SMALL dot with the sharpie where your handles will be glued.
Step 3:
Place a small amount of this quick drying glue on the dots and adhere your handles immediately. You may want to hold in place for abut 15 seconds to make sure they are secure.

Step 4:
Let the handles set up for about 30 minutes before picking it up by the handles. But always be cautious about picking any tray up by the handles.
Step 5:
Enjoy as you style it for your own home or consider these for gift giving.
If you want to change up the look of the tile, that’s easy to do.
If you are like me and maybe want to change up these trays especially for the holidays, the handles can be secured with hot glue. But remember, it’s not as secure and it can easily come off.
DO NOT attempt to pick up the tray by the handles if using hot glue.
In fact, I’m very careful about picking these trays up and carrying them if you have anything breakable on them. They should be secure, but you never know. Better to be safe.
Choice of handles and colors are completely up to you. So many styles are available, or maybe you have a few old ones around from other projects.
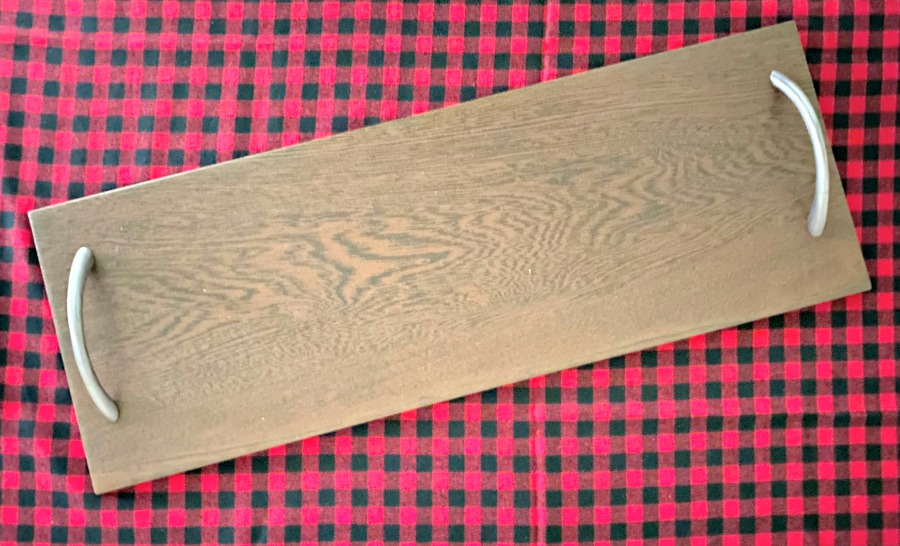
This wood look tile with a simple silver handle would be great for a Mid-Century Modern look.
Sometimes the handles can be the most expensive part of the project.
Did you know you can paint handles? I love using Rustoleum 2X or hammered metal also by Rustoleum.
This marble tray was made for only 15.00 using a 5.00 tile and 2 – 5.00 handles (on sale at Hobby Lobby). I bet you can’t find one to buy for that. It was used for a semi-homemade charcuterie board – buy a deli or meat and cheese tray at your favorite store.

Let me know if you make them and how you are styling them, or how you are using them.
Suggested ideas:
- Serving tray – meat and cheeses (Charcuterie)
- Coffee bar – arrange a variety of sugars and flavored creamers for your entertaining
- Coffee table – a great way to contain a few small items, such as a book, plant, or candle holders
- Gifts – who would love receiving a marble serving tray?????
Does a serving tray need handles?
Maybe it won’t be a tray without handles, but a tile alone is a great way for displaying and containing like items
A bottle of wine and glasses.
A tray, on your kitchen counter for condiments, oils, or spices.
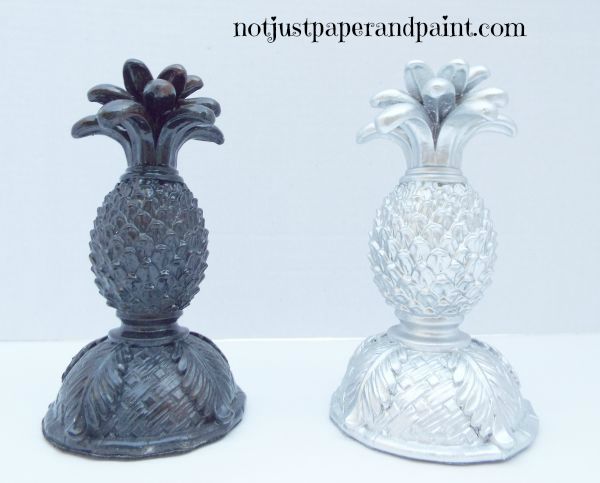
For a collection such as perfume bottles, small figurines, or salt shakers.
Without handles can give you lots of extra options in your everyday or holiday use.
A Few More Ideas and Hints
Find a piece of wood, or maybe an old cutting board to use. Handles can still be glued, or easy to drill a hole and add handles. This can also be stained or painted to match your décor.
Even with handles secured with Gorilla Glue, I am very careful about picking up with the handles.
Add small wood pieces or beads – always found at craft stores – to the bottom of the tile or tray to raise it off the table or counter.
For a more interesting tray, look for unusual shaped tiles and handles.
Favorite Products
Did you know Ryobi has a new compact glue gun? It still works with all of the chargers you already have.
 Techtronics Ryobi ONE+ 18V ...Shop on Amazon


I’ve included affiliate links to Amazon for you to find some products easier. I may receive a small commission, but the price is the same for you. It just helps my blog out.
Happy Travels,
Rosemary


This is such a practical and simple DIY! Thank you for sharing
Thanks. When I showed this on TV I said, this is for anyone who can’t even craft.
Such a clever and stylish DIY—love how simple yet elegant this tray is!