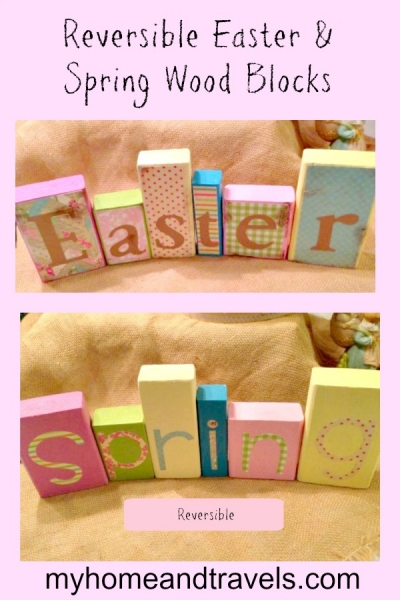
How To DIY Reversible Easter – Spring Wood Blocks
Making Decor for Easter and Spring
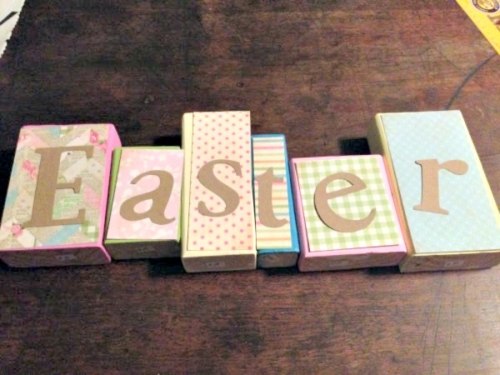
I wanted something new for my mantel this year so decided to make a set of blocks. Since I’m doing a country, vintage theme, I didn’t really want the typical pastel colors so I chose a little brighter spring colors but with a little distressing to them. There’s a twist to these. How to DIY these reversible Easter and Spring Wood Blocks takes more planning than doing.
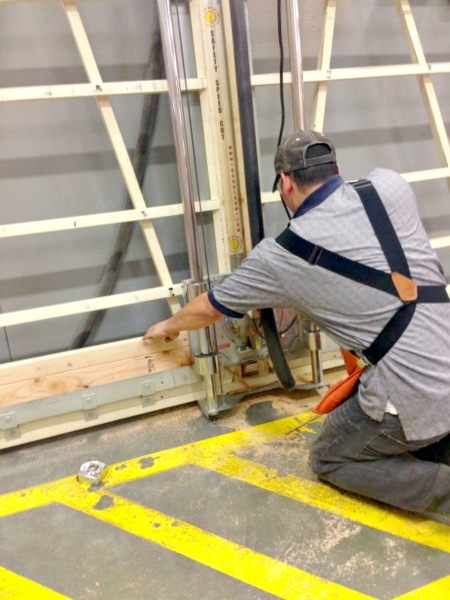
No Saw – No Problem
Starting out at one of my favorite hangouts – Home Depot. I purchased a 8′ section of a 2′ x 2′, 2′ x 3′, and 2′ x 4′ and had them cut into 4″, 5″ and 6″ sections. Love they are so friendly and will cut them for you. I didn’t have a size in mind so just chose those sizes knowing I could make them work.
Plan your layout
As I was also making a couple of sets, I began by laying the blocks out in a pattern I liked. They did need a little sanding to smooth the cut edges and to take off the sharp corners.
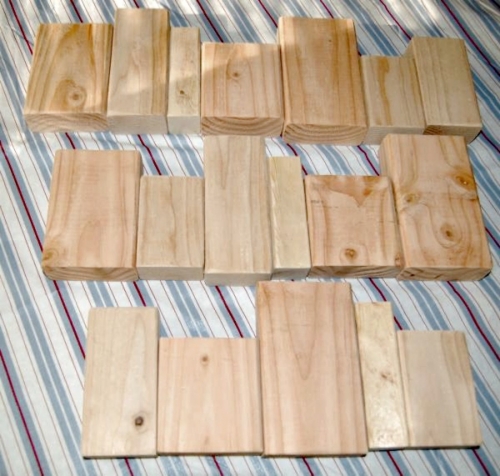
With doing several sets, I made a small label indicating the set and number the block is so I could keep them straight.

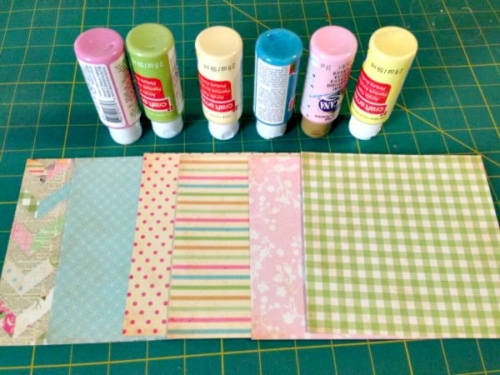
Supplies you will need
I chose scrapbook paper which was card stock weight.
I like using card stock when I’m using Mod Podge as it doesn’t want to wrinkle as easily as regular weight paper.
After getting the patterns of paper in order, then I pulled out the acrylic paint to match.
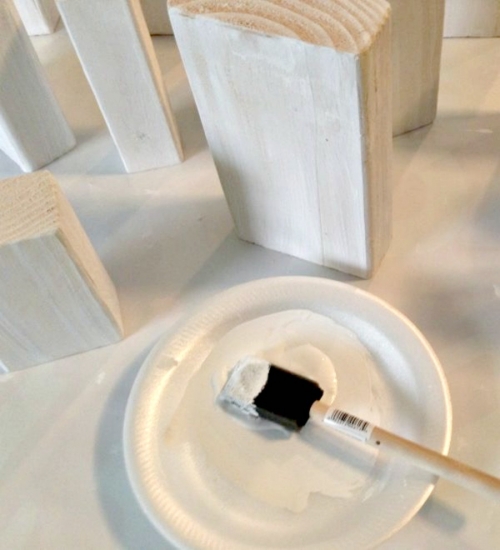
Prepare the wood
Since working with raw wood, I did a base coat on all the blocks with white acrylic paint, but did not paint the bottom since my label was on it.
Paint absorbs into raw wood so using a base coat of white, lets the true color of your paint show and use less paint.
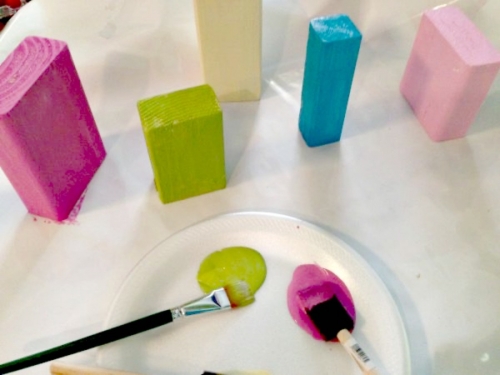
After the base coat was dry, I gave each block 2 coats of my chosen paint colors. Dry time can vary on temperature and humidity.
While my paint was drying, I had picked the color paper for my letters and cut them out using my Cricut. EASTER was done in a brown parchment look but SPRNG was going on the solid paint, so co-ordinating colors was chosen.
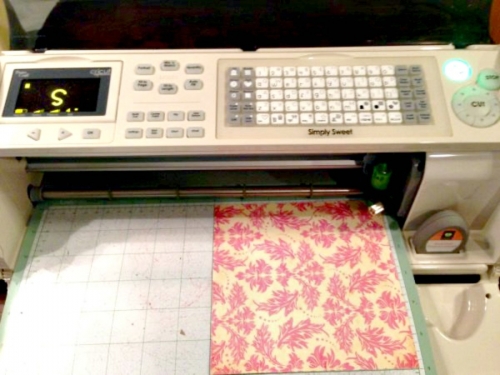
You do have to play around with the sizes and types of fonts to get them to fit onto your blocks.
If you don’t have an electronic die cut machine, you can stamp the letters on. Make sure you use an archival stamp pad as your water-based stamp pads will smear when you apply your Mod Podge. Another option would be to print letters out from your computer and cut them out and use, or trace and paint.
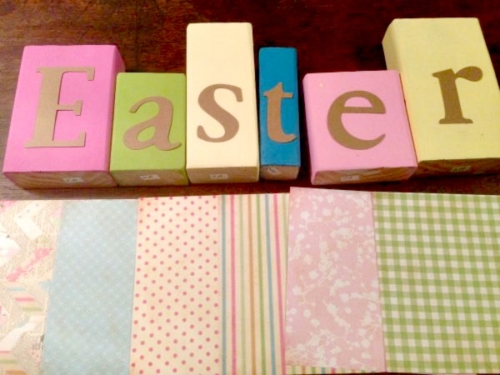
I double checked how the letters fit and my paper selection before finishing.
I measured each block for the size of paper needed. I didn’t go quite to the edge since I wanted the paint color to show and I was going to do some distressing.
Using Mod Podge, I put the scrapbook paper on then layered the letter on.
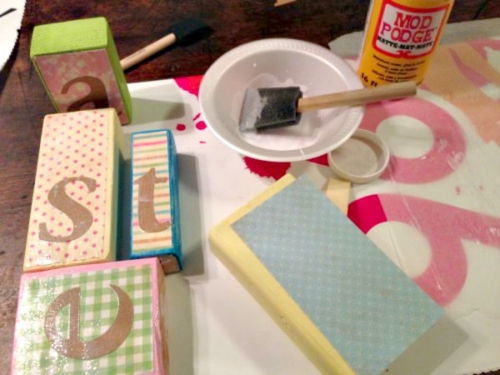
After letting this dry completely, I did some light sanding around the edges then used StazOn ink to do a little inking on the blocks and around the edges for a distressed look.
I used coordinating paper to cut letters out for the back side to make these blocks reversible and maybe use a bit longer for the season.
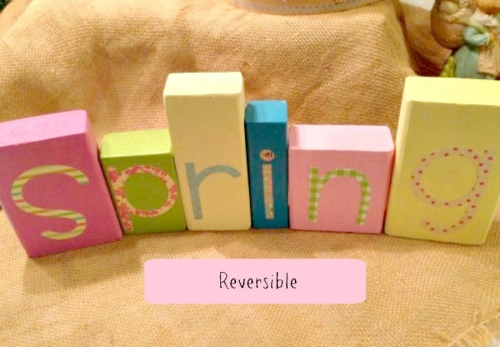
These were applied with Mod Podge also. After drying, a final coat of Mod Podge was used to seal all the surfaces.
Possibilities are endless for these – all holidays, sport teams, family names, new baby, a wedding etc. Plus, if you have a lot of craft supplies on hand, this is pretty cheap to do. The 3 boards were less than $10 for all.

I’ve included affiliate links to Amazon for you to find some products easier. I may receive a small commission, but the price is the same for you. It just helps my blog out.
Happy Travels,
Rosemary

These are so cute! Like that you did several sets while you were
doing them!
So many possibilities with these. Can’t wait to get more wood – looking for free scraps makes it even better.
These are wonderful! This is such a great way to use leftover blocks of wood from a project!!! Good Job!
Thanks. I can’t wait to try more and use up my wood.
The ideas are endless for these. I need to start on some summer ideas for these. Thanks for stopping by.
Great color selection for this fun project. Good instructions too.