Crafts | Create | Father's Day
DIY Picture Frames
You know Fathers Day is right around the corner so think about a quick gift. Either use up some scrap wood you have laying around or pick up a $1 frame at a craft store to do some DIY Picture Frames.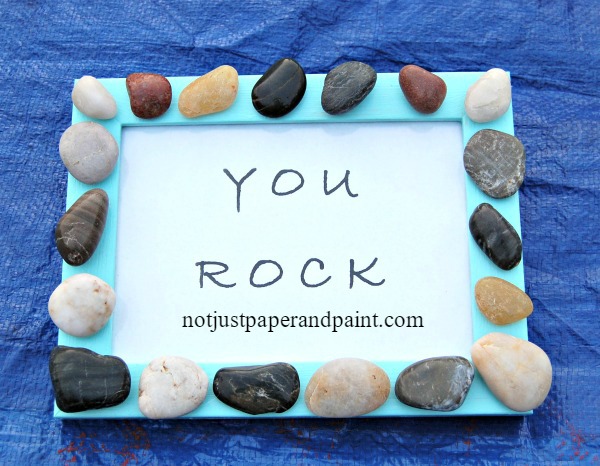 These can easily be done by kids while they are complaining they are already bored this summer, or think about them for a gift for Dad.
These can easily be done by kids while they are complaining they are already bored this summer, or think about them for a gift for Dad. YOU ROCK
This is ideal for any of those beach pictures you have, or maybe plan to take.
Supplies needed:
- Frame
- Paint
- Paint or sponge brush
- Rocks
- Glue gun & glue
- Paint of your choice
- Paper for insert
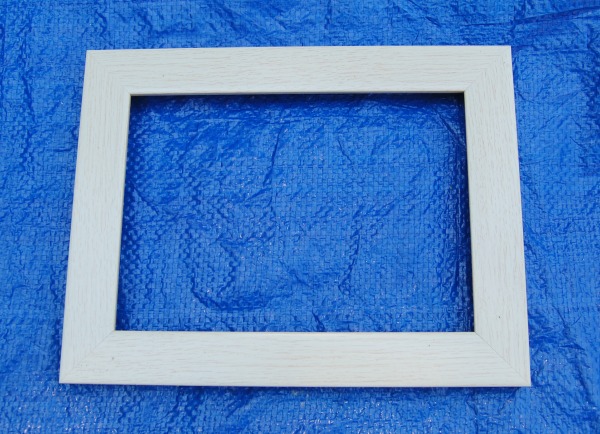
If frames are wood finished, they would work great as is. Frame should have a flat front so rocks will adhere easier.
I got out my stash of river rocks. I saw they were dirty from use so knew they would need to be washed. I would do this while the paint was drying.
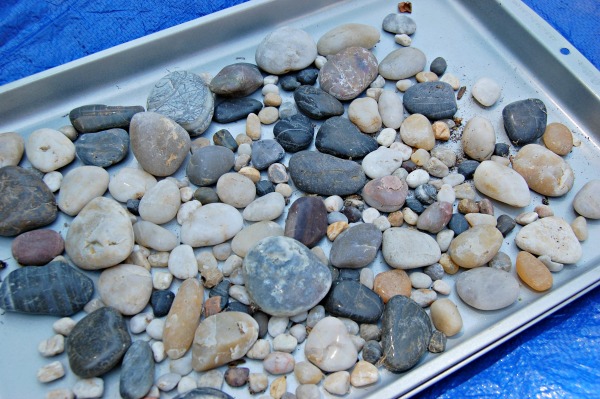
 Lay your rocks out on the frame before you begin so you will make sure you have enough and to play around with the design and colors. I decided on the larger sizes for this project which would probably be easier for kids, but small rocks would be cute too.
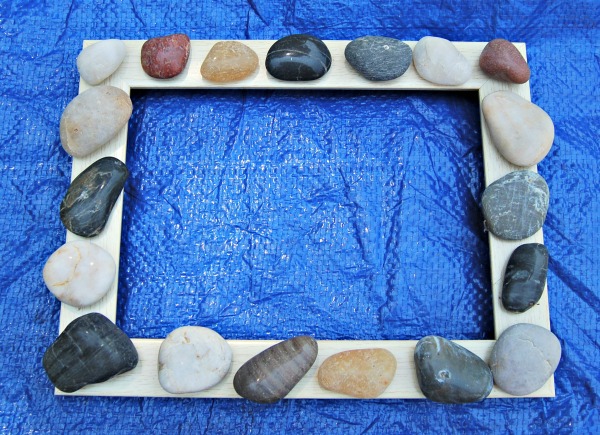
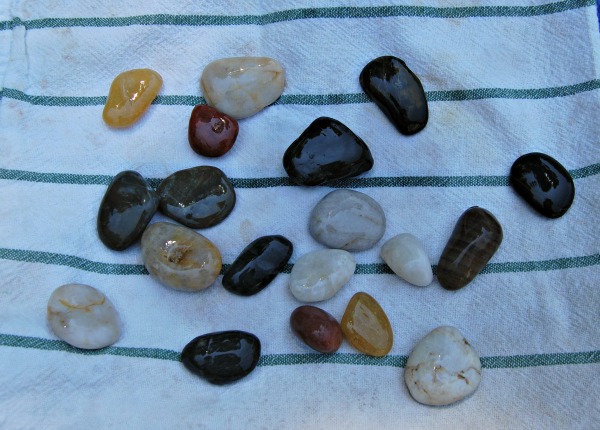
While picking out the rocks, it’s easier to glue them if there is one flat side.
HINT – take a picture of your layout so you will remember how to glue them down.
Spray paint would make this a quicker project, or for the kids, you could even use acrylic craft paint.
With it being summer time, I chose a beachy color using some chalk paint I had made.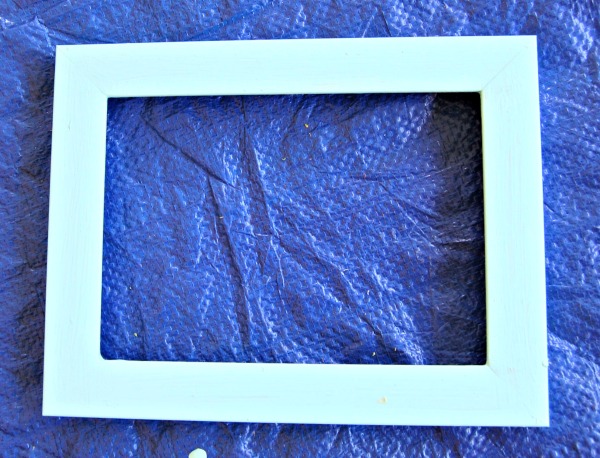
After 2 coats of paint was dried, I layed the rocks out again to make sure I liked it. I did so now to glue them on.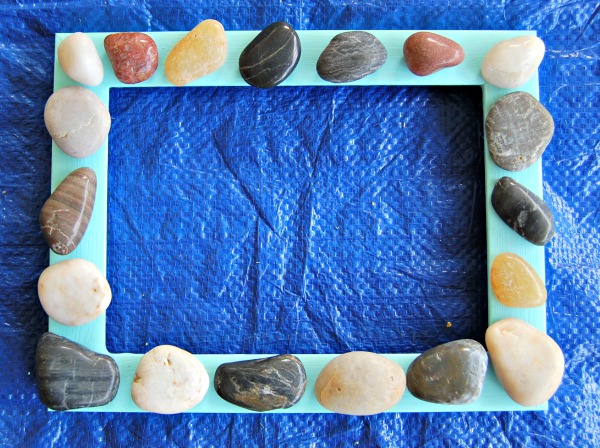 The “You Rock” insert can be printed on the computer in a font of your choice. Another cute idea would be for your child to write this out. You know Dad would probably love it more.The “You Rock” could be removed and a favorite picture inserted.
The “You Rock” insert can be printed on the computer in a font of your choice. Another cute idea would be for your child to write this out. You know Dad would probably love it more.The “You Rock” could be removed and a favorite picture inserted.BEST DAD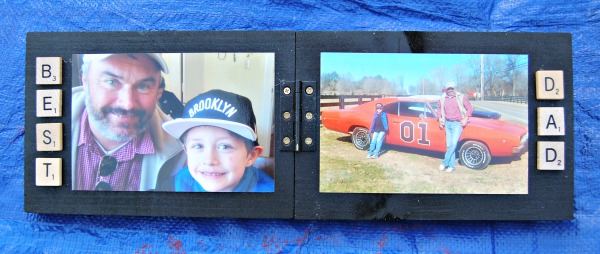
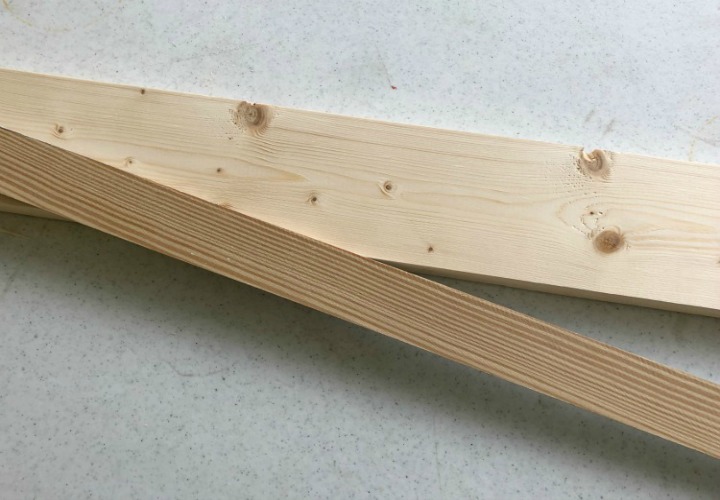
A simple frame made from 2 – 6″ x 8″ scraps of wood, a hinge, and old scrabble pieces.
Something which made this a bit different is the paint. It is Rustoleum Truck Bed Coating. I love the textured finish it gives. Paint as directed on can.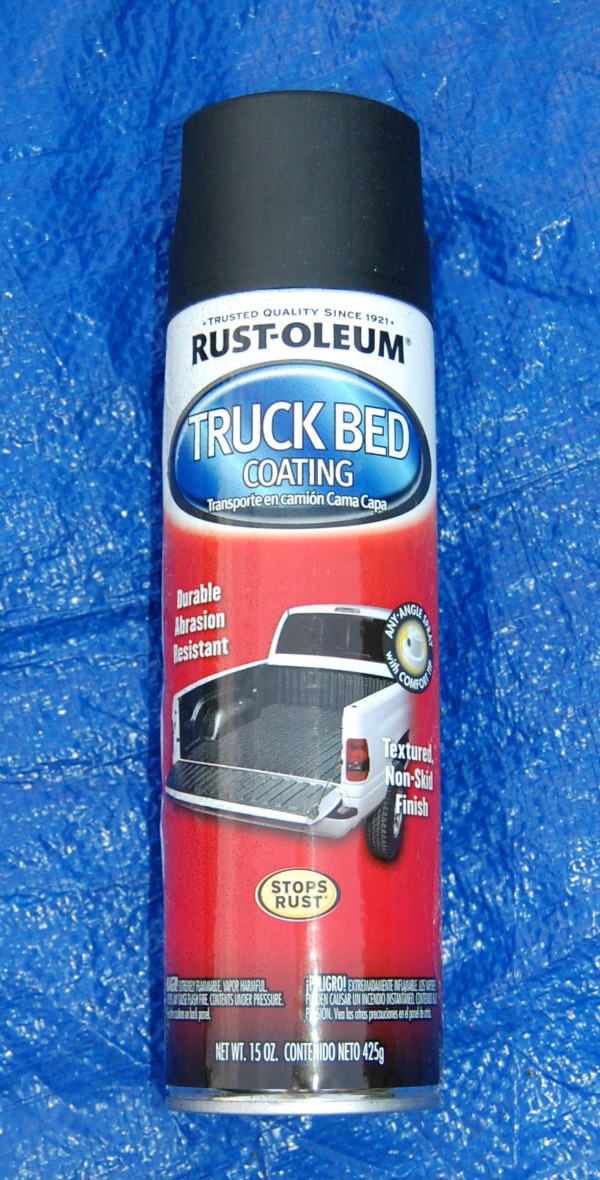
COLOR BLOCK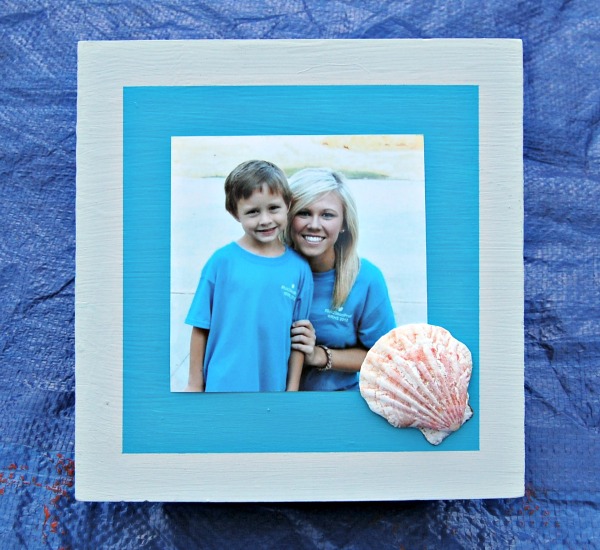
This square was painted then, taped off so the middle could be painted. Attach a picture and add a seashell.
Another piece of scrap wood was added to the back to make a stand.
INDUSTRIAL LOOK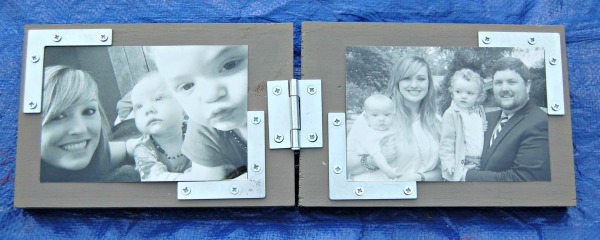
A simple frame made from 2 – 6″ x 8″ scraps of wood, a hinge, and flat L brackets.
Paint as desired.
Place the L brackets around 2 corners with screws, making sure they don’t go through the other side.
A few more ideas and hints:
Any time you are using unfinished wood, sanding will be needed to smooth all edges. An extra coat of paint could be needed as raw wood will absorb paint.
Most of the pictures can easily be adhered with scrapbook adhesive. Do not use any adhesive not designed for paper or it might wrinkle.
For shinier rocks, they could be sprayed with a glossy sealer before they are glued onto the frame.

I’ve included affiliate links to Amazon for you to find some products easier. I may receive a small commission, but the price is the same for you. It just helps my blog out.
Happy Travels,
Rosemary

This is a great idea. We moms know kids love to collect rocks.