I Need A Pink Placemat
With Springtime finally here, it’s time to think about all of the entertaining you will be doing. Mothers Day is just next week. Then there’s all the graduation parties, bridal and baby showers, or birthday parties. What if you don’t have the color of linens or accessories you need, but you don’t want to spend a lot of money? And you say “I need a pink placemat”.
A cute and colorful placemat or addition to your table can be made pretty easy and cheap using hot glue and paint. Think about all the colors you might need – school colors for graduations, pink or blue for a baby shower, or it’s not long until the 4th of July. With using a spray paint such as Rustoleum, there’s almost any color you want.
Just a few supplies are needed:
Parchment paper
Glue gun (Ryobi is my favorite – no cords)
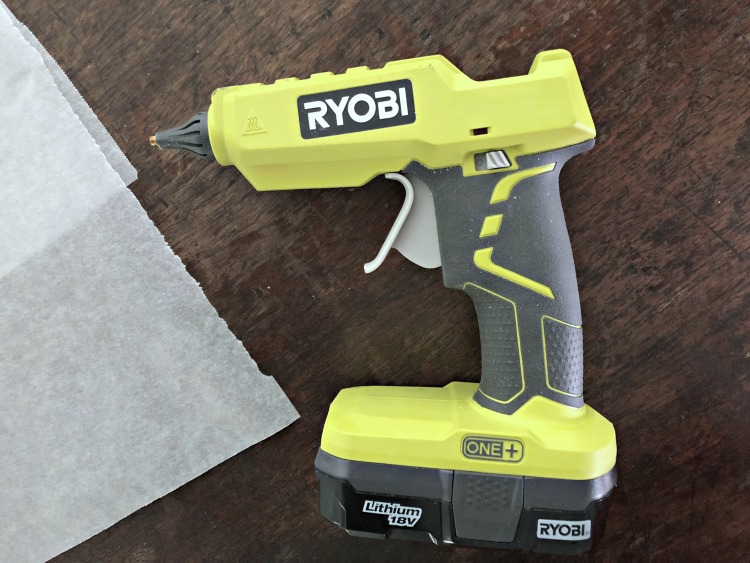
Glue sticks (Gorilla Glue is my favorite) This size took about 4 long glue sticks
Painters tape
Sharpie
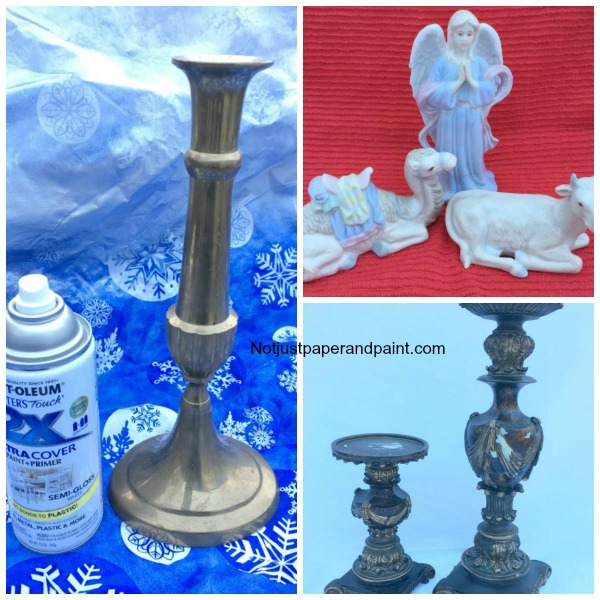
Spray paint (Rustoleum 2X is my favorite) This was Pink Peony
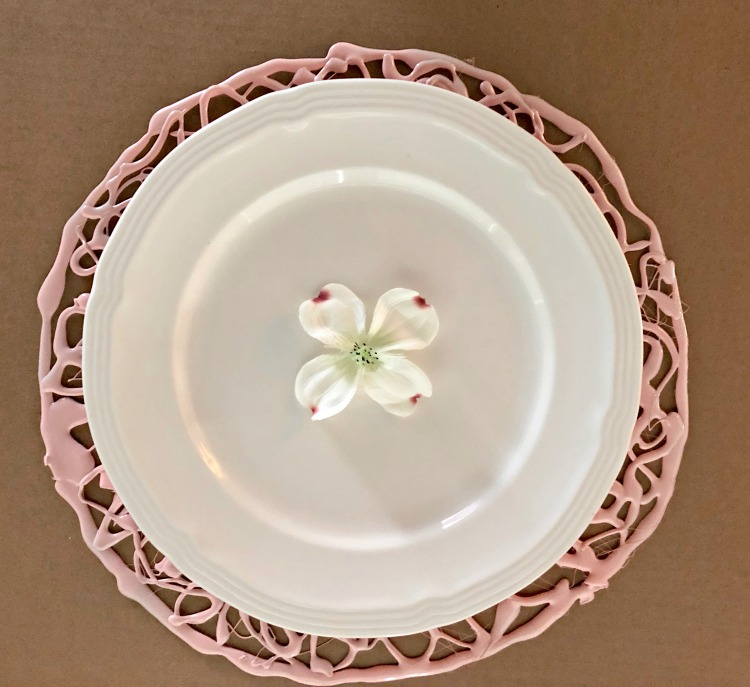
First you have to determine the size of placemat you need. Is it going under a standard dinner plate? A charger? An odd shaped or sized plate? The size of your placemat should be about 2″ larger than the plate (about 1″ around on each side). The choice of size is yours though. Maybe as a centerpiece, you want it a bit larger than normal.
Here’s how I made the pink placemat.
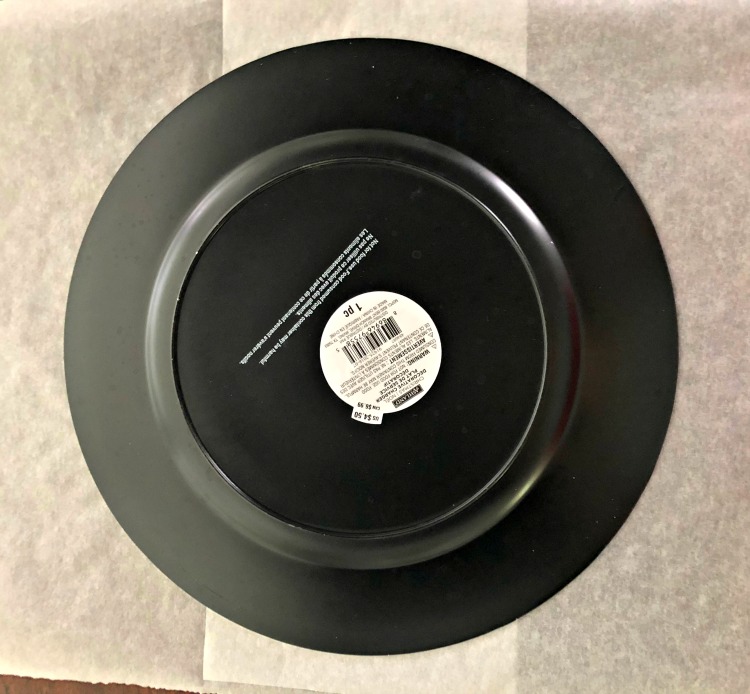
I used a charger as a pattern since this was for a standard dinner plate
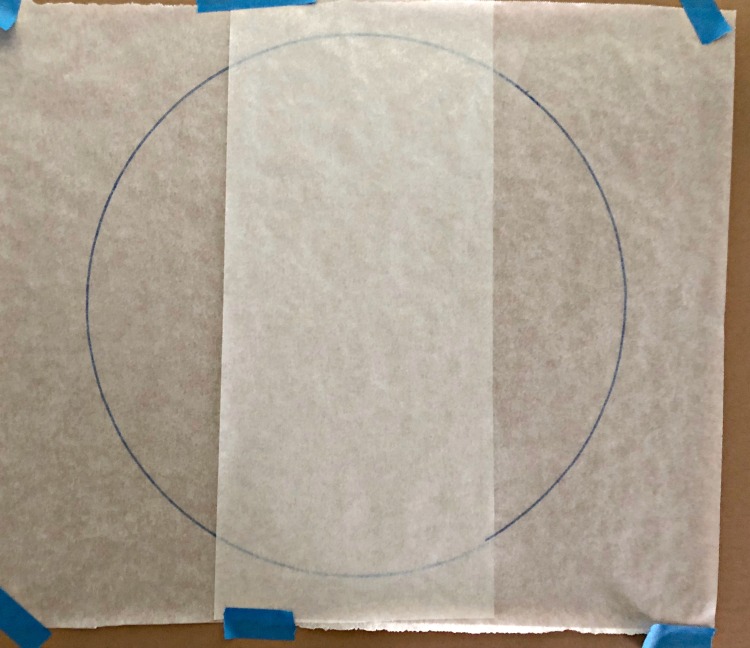
The parchment paper was taped together to make it wide enough and placed on flat surface
Tape this piece of parchment paper down on all four corners or sides
Trace around charger with Sharpie to make pattern
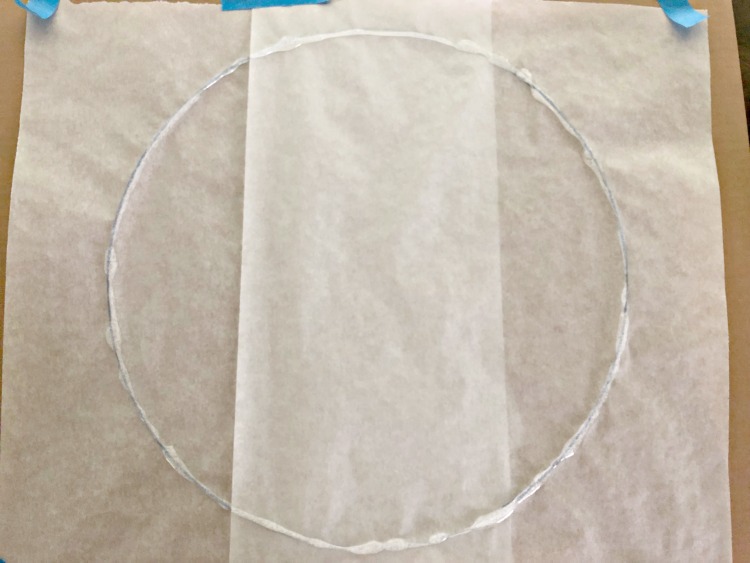
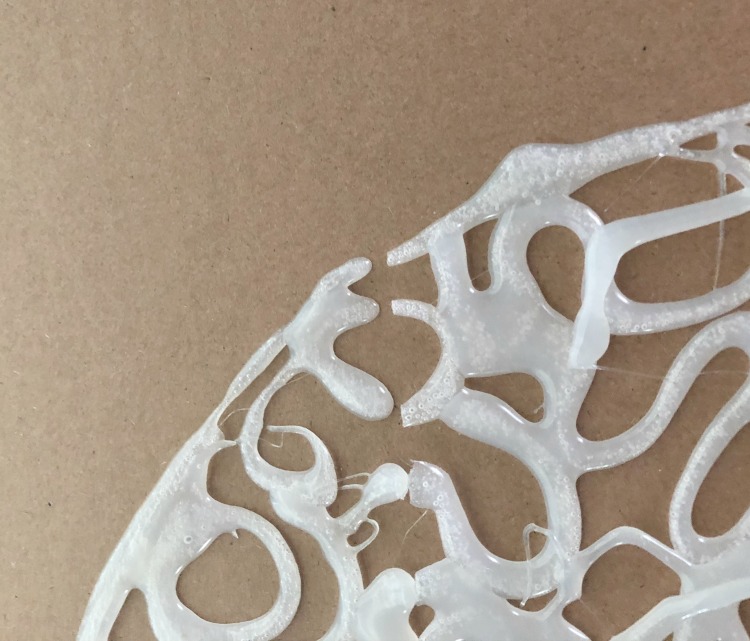
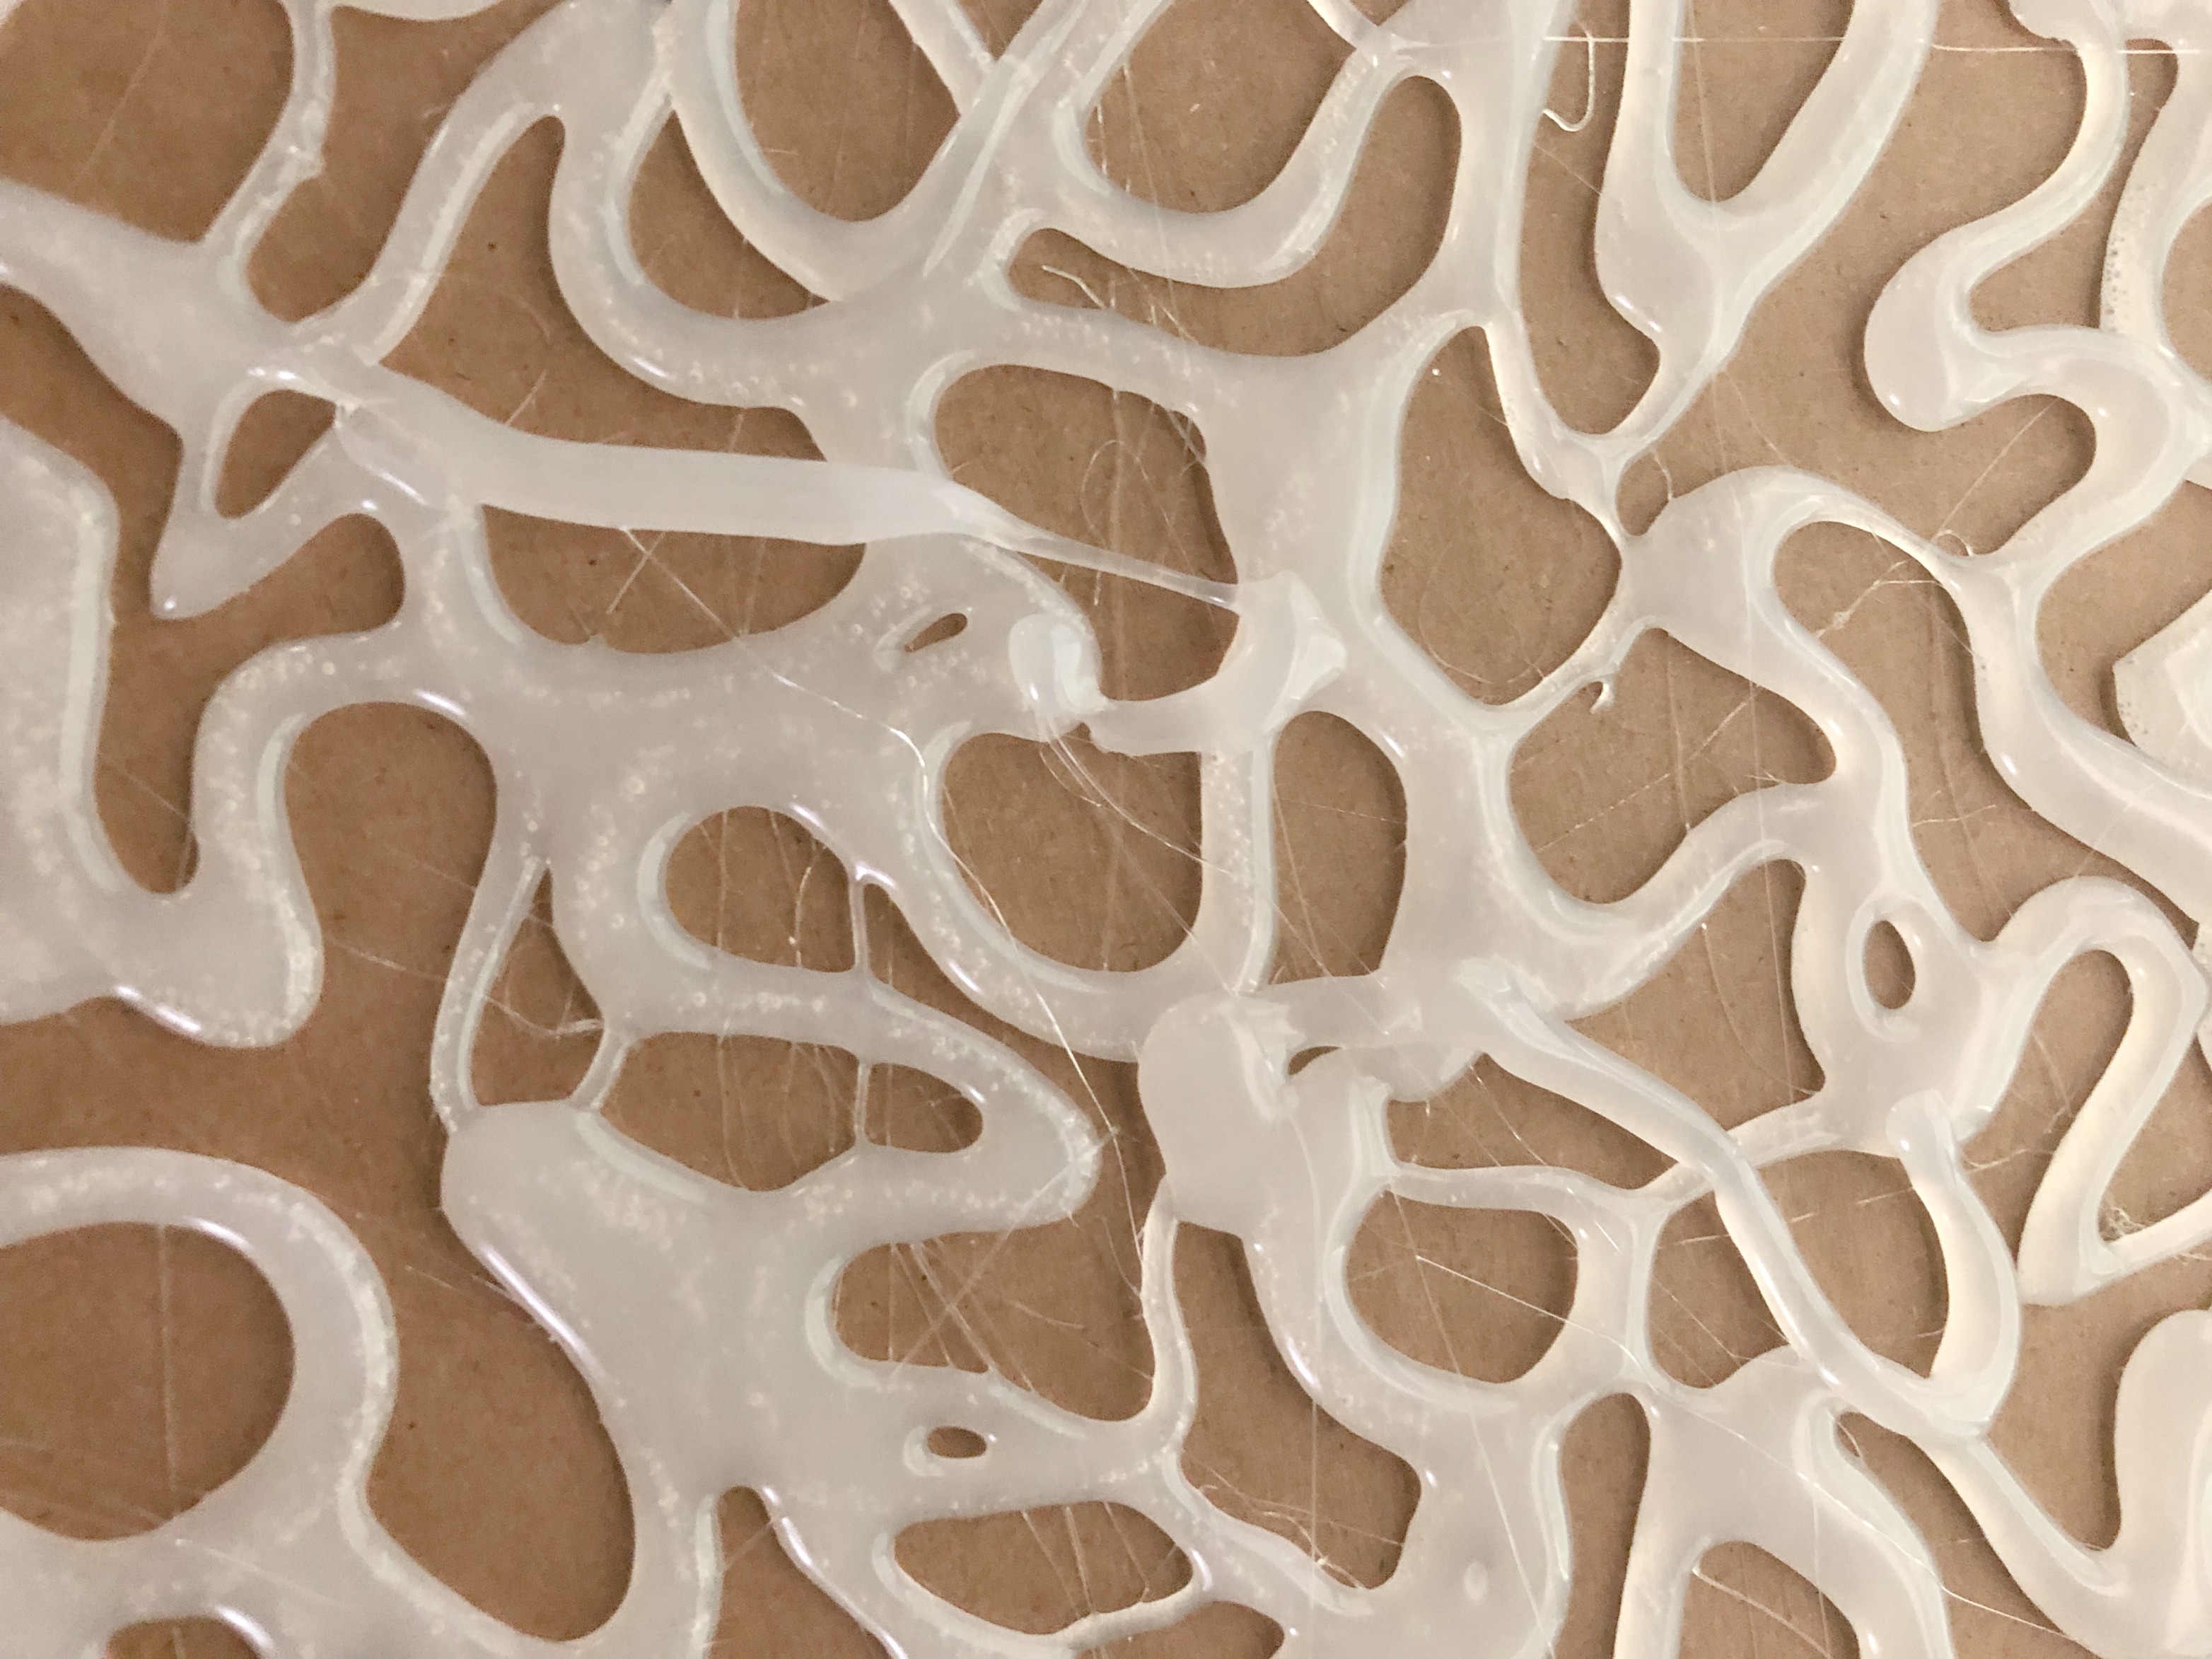
Make a thick border of glue around the circle
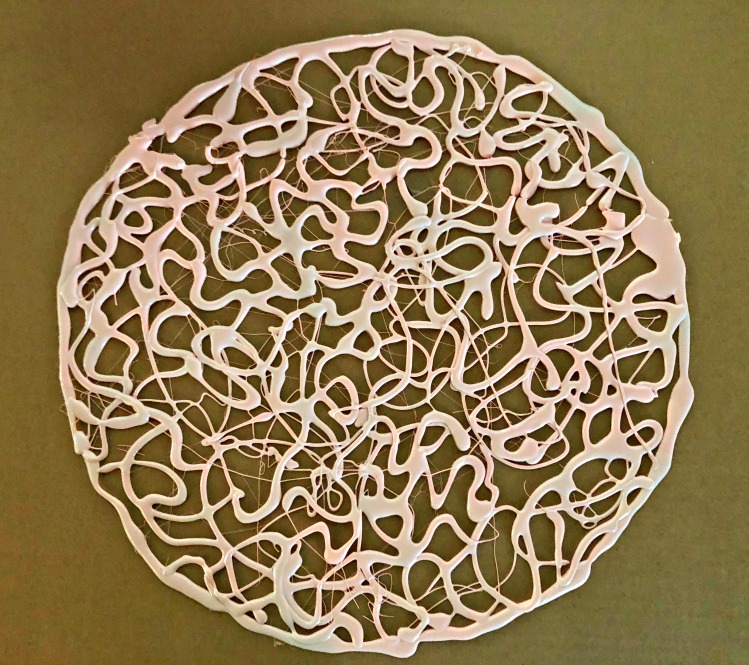
Fill inside circle as desired – I just did circular, loopy motions
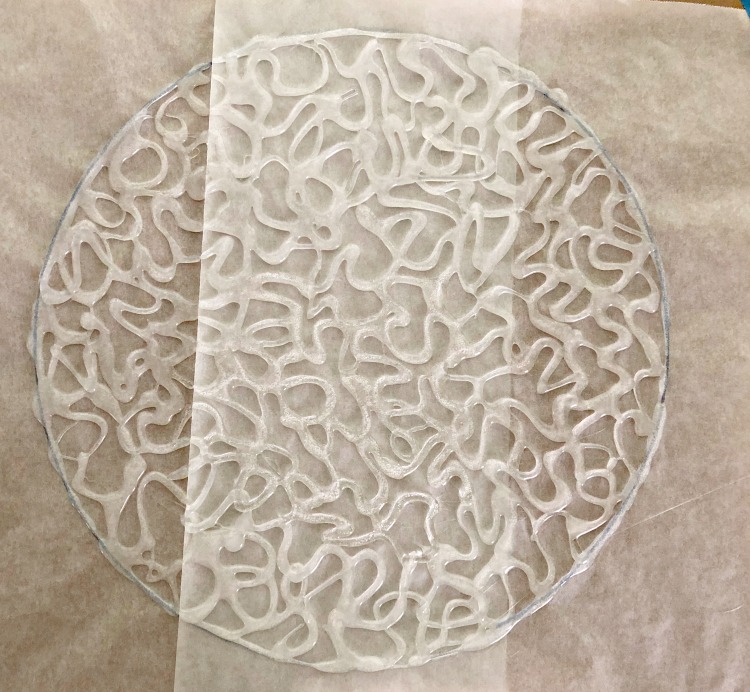
Check to make sure you have good connections between the loops, if not add a bit more glue
Let cool completely, about 10 minutes
Remove “placemat” from parchment paper carefully
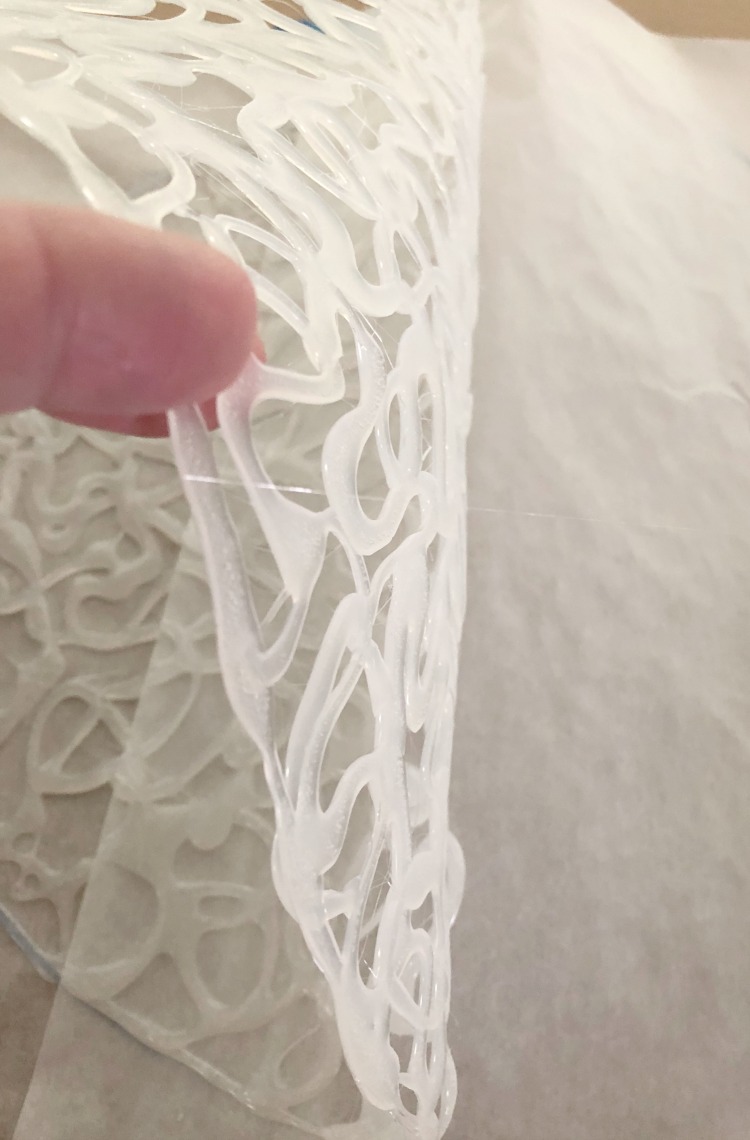
If you see thin areas, leave on parchment paper and add more hot glue
Cool again
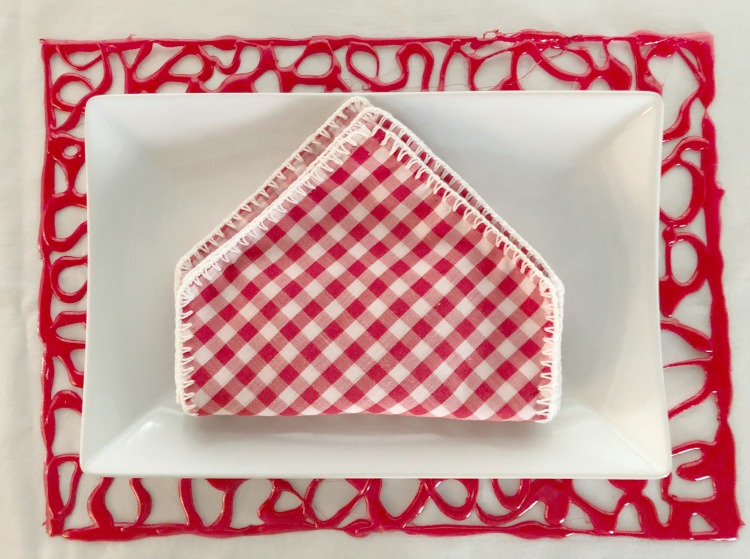
Paint with your favorite spray paint (outside)
1 – 2 coats following paint directions is all you need
Can be made to fit any shape
A few hints and tips:
Do not use wax paper – mine didn’t come off without sticking
The glue gun doesn’t have to be touching the paper
Once these are made, you can always repaint them for the next occasion.
Store with parchment paper between to avoid sticking together.
These aren’t made to use in the heat. Remember, the glue will soften.
For all of the little strands of glue, it’s easier to cut them off after painting (or I really don’t think it looks that bad to leave them)
To make kid friendly, supervision is needed for glue gun
These can be painted with acrylic paint, then sprayed with a sealer
Use a piece of cardboard under parchment paper to protect the table if needed
Great under a centerpiece or as a tray liner
WARNING – THE GLUE IS ALWAYS VERY HOT AND CAN BURN EASILY SO USE CAUTION
What colors do you need? Do you have any special events coming up?
I’ve included affiliate links to Amazon for you to find some products easier. I may receive a small commission, but the price is the same for you. It just helps my blog out.
Happy Travels,
Rosemary