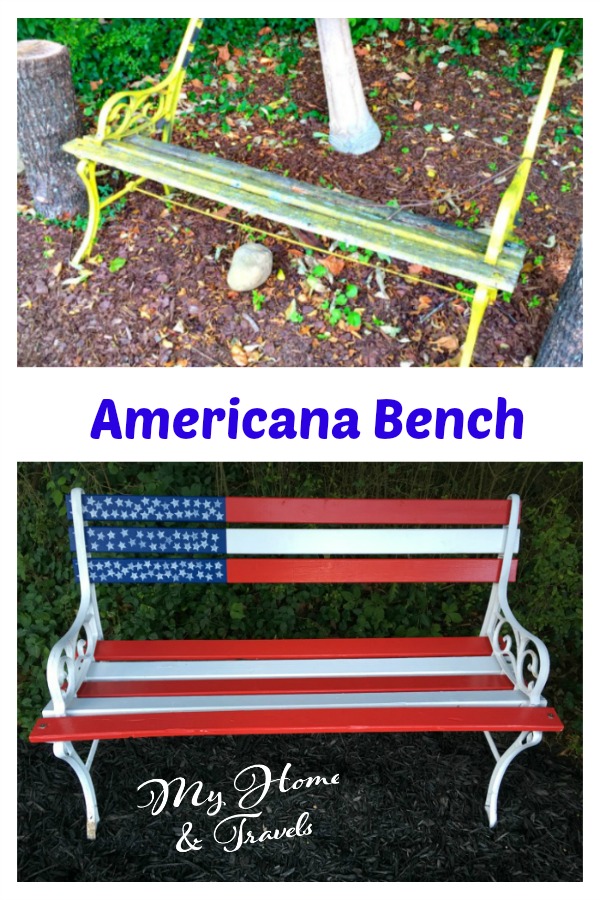
Americana Bench – From Sad to Fab
If you have ever passed up a piece of “junk” at a sale or on the side of the road, this project will make you rethink it. I know I never regretted bringing this old piece home with me. Read on how I made this Americana Bench – from sad to fab.
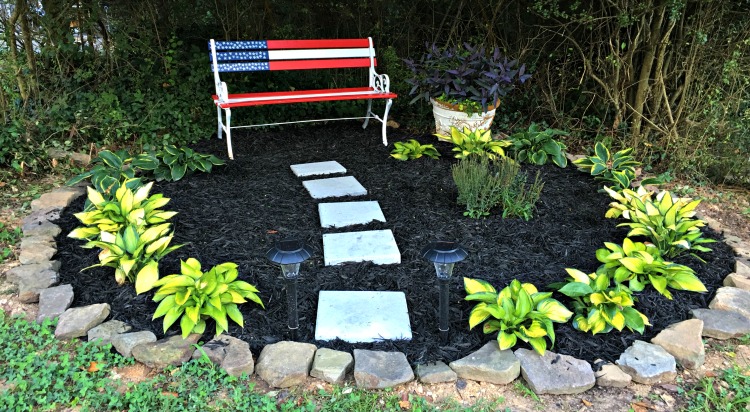
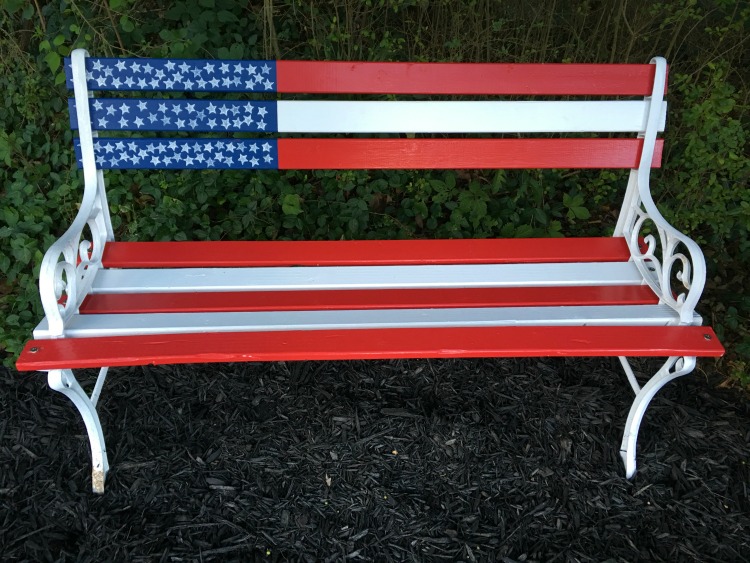
Everyone could use this Americana Bench in their yard, especially if you don’t have a place for a flag. No better way to show your love of the USA than to display the red, white, and blue. The corner of the yard had a fresh new look as well.
And, as the anniversary of the Fallen Five here in Chattanooga, and everything else going on, what a better time to do this and show your pride for the USA.
PLEASE NOTE – pictures are not available of process as camera card had a mishap. Contact me directly if I can help you out.
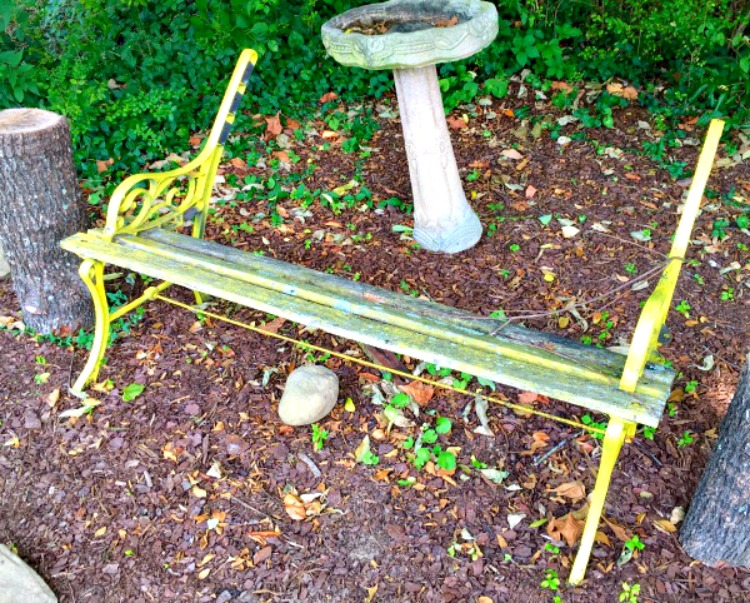
Bought for $5 at a yard sale, I knew it would have to be reworked, but the frame was in good shape and worth the low price.
This was my sad little bench before. And the space gets a makeover too.
These are directions and sizes for this bench. Your bench may be different so measure and plan accordingly.
Supplies
- 8 – 1″ x 3″ x 4′ boards HOME DEPOT will cut these for you if needed
- 10 – 1 1/2″ nuts and bolts
- 6 – 1″ screws
- Red, White and Blue outdoor paint
- Primer (outdoor)
- Spray primer for metal
- Spray paint for metal – rust resistant
- Star stamp
- Roller and/or brushes
Make sure the nuts, bolts, and screws are rust resistant.
As with any projects, I try to make it as cheap as possible and use what I have on hand. Luckily I had all the paint I needed from previous projects.
FRAME
Give it a good pressure washing to remove any flaking paint and old grime. Let dry thoroughly. You could also use a wire brush to remove any old paint.
After drying, a coat of primer was sprayed and allowed to dry. Always follow directions on your paint as it can vary. My choice for this was Rustoleum Stops Rust, White in Semi-Gloss.
I did 3 light coats, allowing to dry between each coat as directed on paint can.
SEAT
Before painting, you need to decide what color or combination and in what order they will be placed.
Using some leftover Benjamin Moore outdoor primer, each slat was was given a good coat and allowed to dry.
I wanted a flag design.
The blue was 16″ so this was taped off using Frog Tape for a crisp edge and painted navy.
Each board will probably require at least 2 coats of paint, but I did do 3 coats on the red for a deeper shade.
STARS
This can be a choice but I knew I wanted lots of little starts so I dug through my stash of Close to My Heart clear stamps and found this one.
Again I used my white outdoor paint. Anytime you are stamping, especially with paint, less is more. I put a small amount (less than a teaspoon) onto a styrofoam plate and spread it thin.
What I have always loved about CTMH clear stamps, you can see where you are stamping.
Stamp desired number of stars – I wanted mine full, so I’m not even sure how many there are.
Now the fun part – putting it together. And this can vary by your own bench.
The lower slats used nuts and bolts but the upper slats were screwed in from the back.
Now would you call it this FAB?
Hints:
I used pine but you can always consider using a more durable wood, especially if you are staining it. Cedar would cost a bit more but could be used if you want a natural look without any paint.
Always drill pilot holes to prevent wood from splitting.
This is a great way to add a pop of color in your yard or garden.
Have fun and be artistic.
Make sure you always pin these ideas for later.
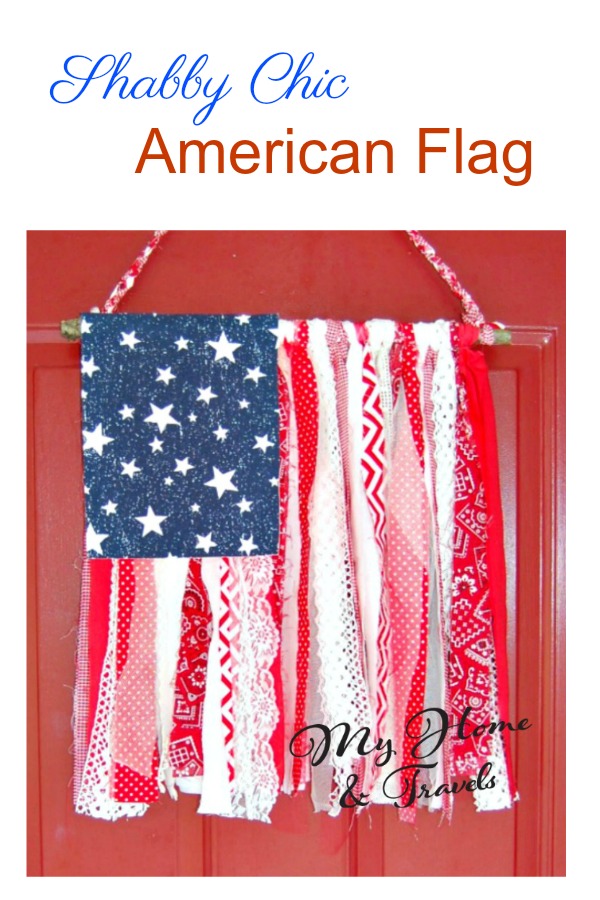
Need a little more red, white, and blue – try out my Shabby Chic American Flag. Pin it for later too.
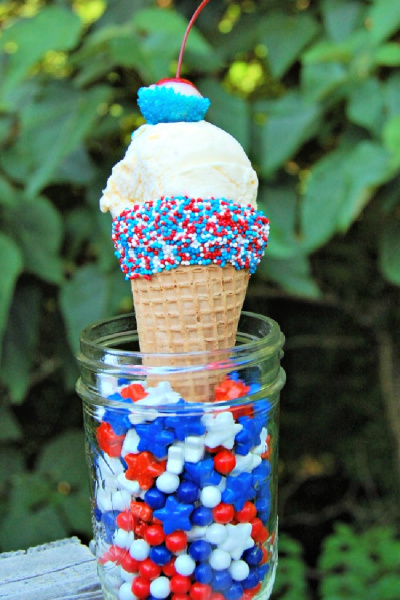
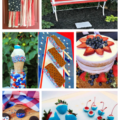
What about some fun treat ideas in red, white, and blue to enjoy?
Make a NAKED CAKE and trim with red and blue fruit
PATRIOTIC DIPPED STRAWBERRIES are perfect to add to a charcuterie board or serve on their own
EASY RED, WHITE, AND BLUE DIPPED OREOS – so easy to make – even for kids

I’ve included affiliate links to Amazon for you to find some products easier. I may receive a small commission, but the price is the same for you. It just helps my blog out.
Happy Travels,
Rosemary