Using Engineer Prints for Big Impact at Low Cost
How to make a big impact on your walls for a little money – use these oversized, engineer prints or larger enlargements. Most office supply stores or copy centers have these although it does say not recommended for photos.
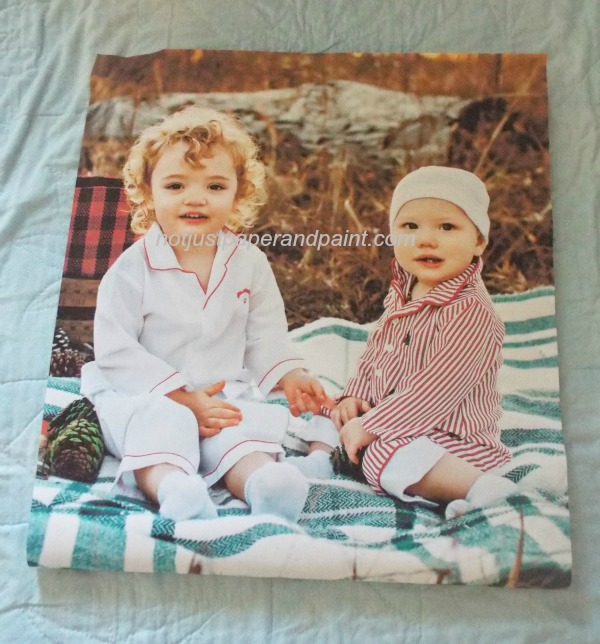
They don’t have the best quality as a normal photo but if that doesn’t bother you – you’re good. These are printed on regular copy type paper. The oversized usually start at 18 x 24 then go larger from there for about $2. For an 8.5 x 11 color print is about .50. As you can see these prices are much cheaper than a normal enlargement.
WRAPPED CANVAS
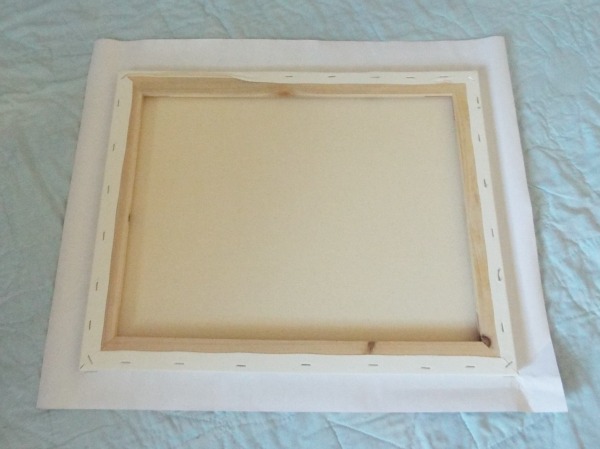
After deciding on size you want and purchasing canvas, order a print that’s just a little bit bigger. Hint here is when you are editing your picture before ordering, don’t have any important objects or faces all the way to the edges.
Lay the print right side down on a flat surface the place canvas on top, right side down. This is where you just have to check the placement. When in the correct place, I mark each corner so if it gets moved, I don’t have to start over with the placement.
 I also do a light press around all edges of the print to the canvas.
 When in the correct place, I mark each corner so if it gets moved, I don’t have to start over with the placement.
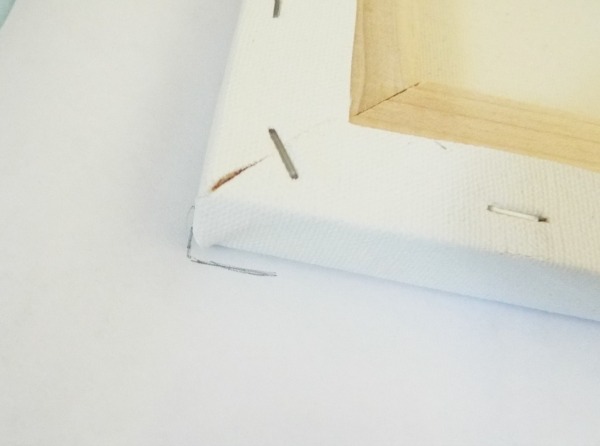 I also do a light press around all edges of the print to the canvas.
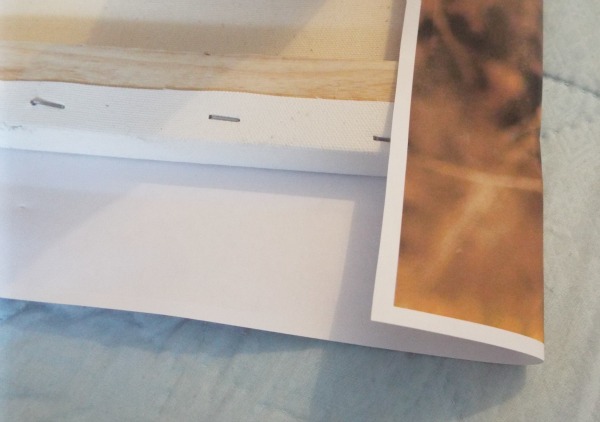
Think of this as wrapping a package or upholstery a chair cushion.
Starting on one long side, place a staple in the middle. Then staple on each side of this about half way to the end.
Go to the other side and repeat, pulling this as taut as possible, but being careful not to pull too hard as to rip it. Don’t ask me how I know that.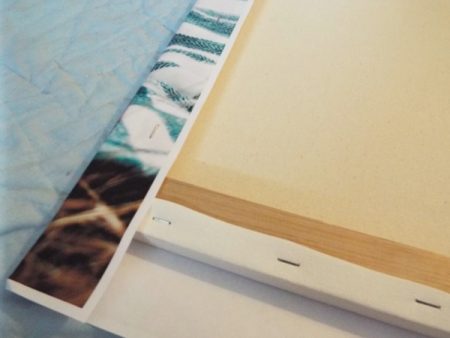

After the long sides are done, repeat on the shorter sides. Do not staple close to the corners yet.
The corner can be wrapped several ways, easiest is how you do a gift. As each corner is folded up, staple into place.
Repeat on all corners.
Check to see if there might be an area which could use more. Also, if you will place some of your staples in different directions, this helps to prevent pulling away.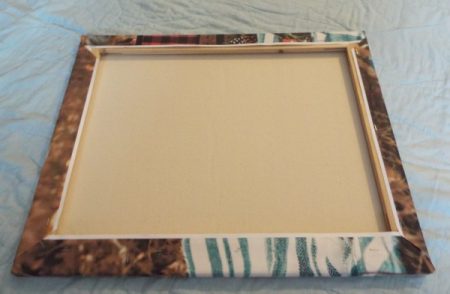
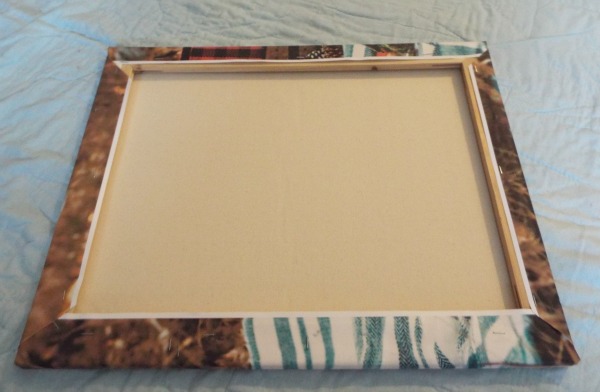
I like to use a D-ring on each corner so they will hang straight. Hang as you would a normal print.
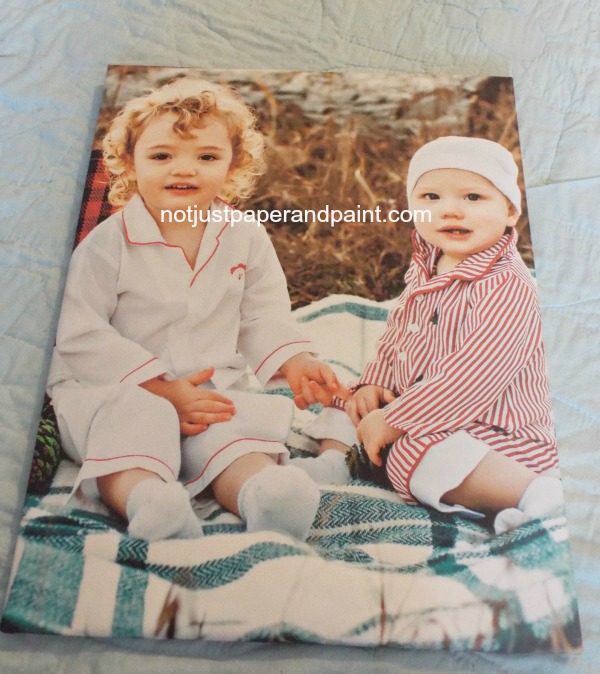
For this 16 x 20 wrapped canvas, the canvas was $4 and print was $3. You can’t buy a frame for that.
Also be on the lookout at thrift stores or yard sales for old canvas prints.
WRAPPED FOAM CORE
The same concept was done for wrapping a piece of foam core except use a heavy duty double-sided tape or scrapbook adhesive instead of staples.
These could easily be hung with 3M Command Strips.
Isn’t this a great way to create a gallery wall or fill up the space in a hallway or stairway.
I will be making several of these to display at my niece’s graduation party.
AN OLD WINDOW
With the influence of HGTV’s Fixer Upper and casual/country decorating, you are seeing tons of old windows used in homes.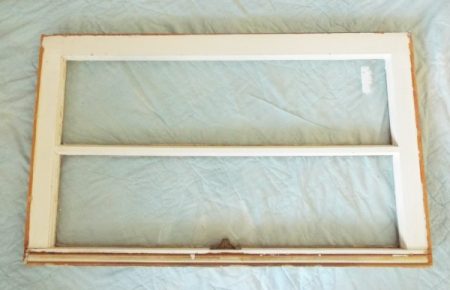 When using these prints behind a window, you have to maneuver the print behind the panes so you aren’t cutting someones head off.
 Sometimes a larger size might need to be ordered, then crop off what you don’t need.
 When using these prints behind a window, you have to maneuver the print behind the panes so you aren’t cutting someones head off.
 Sometimes a larger size might need to be ordered, then crop off what you don’t need.
The best way I have found to do this is to adhere the print onto a piece of foam core. This makes mounting to the window easier and foam core is so light, it doesn’t add any weight to the frame.
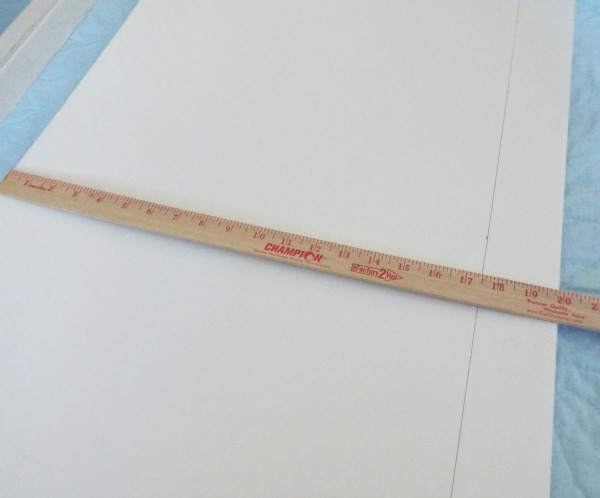
Measure and cut foam core to fit frame. Mark the size you need and mark your cutting lines.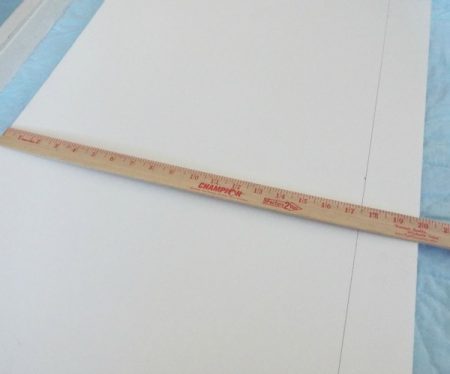 Using an exacto knife is an easy way to do this. Make sure you are using a cutting mat or old board under it as not to ruin your table or floor.
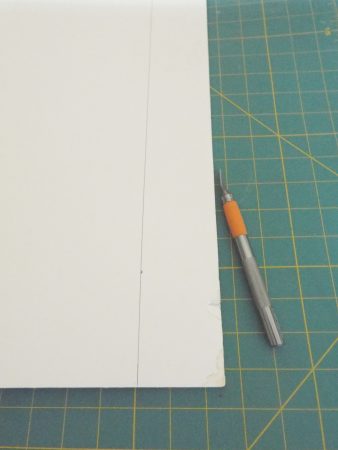
 Using an exacto knife is an easy way to do this. Make sure you are using a cutting mat or old board under it as not to ruin your table or floor.
Check the placement of your print in the frame and place the foam core over it.
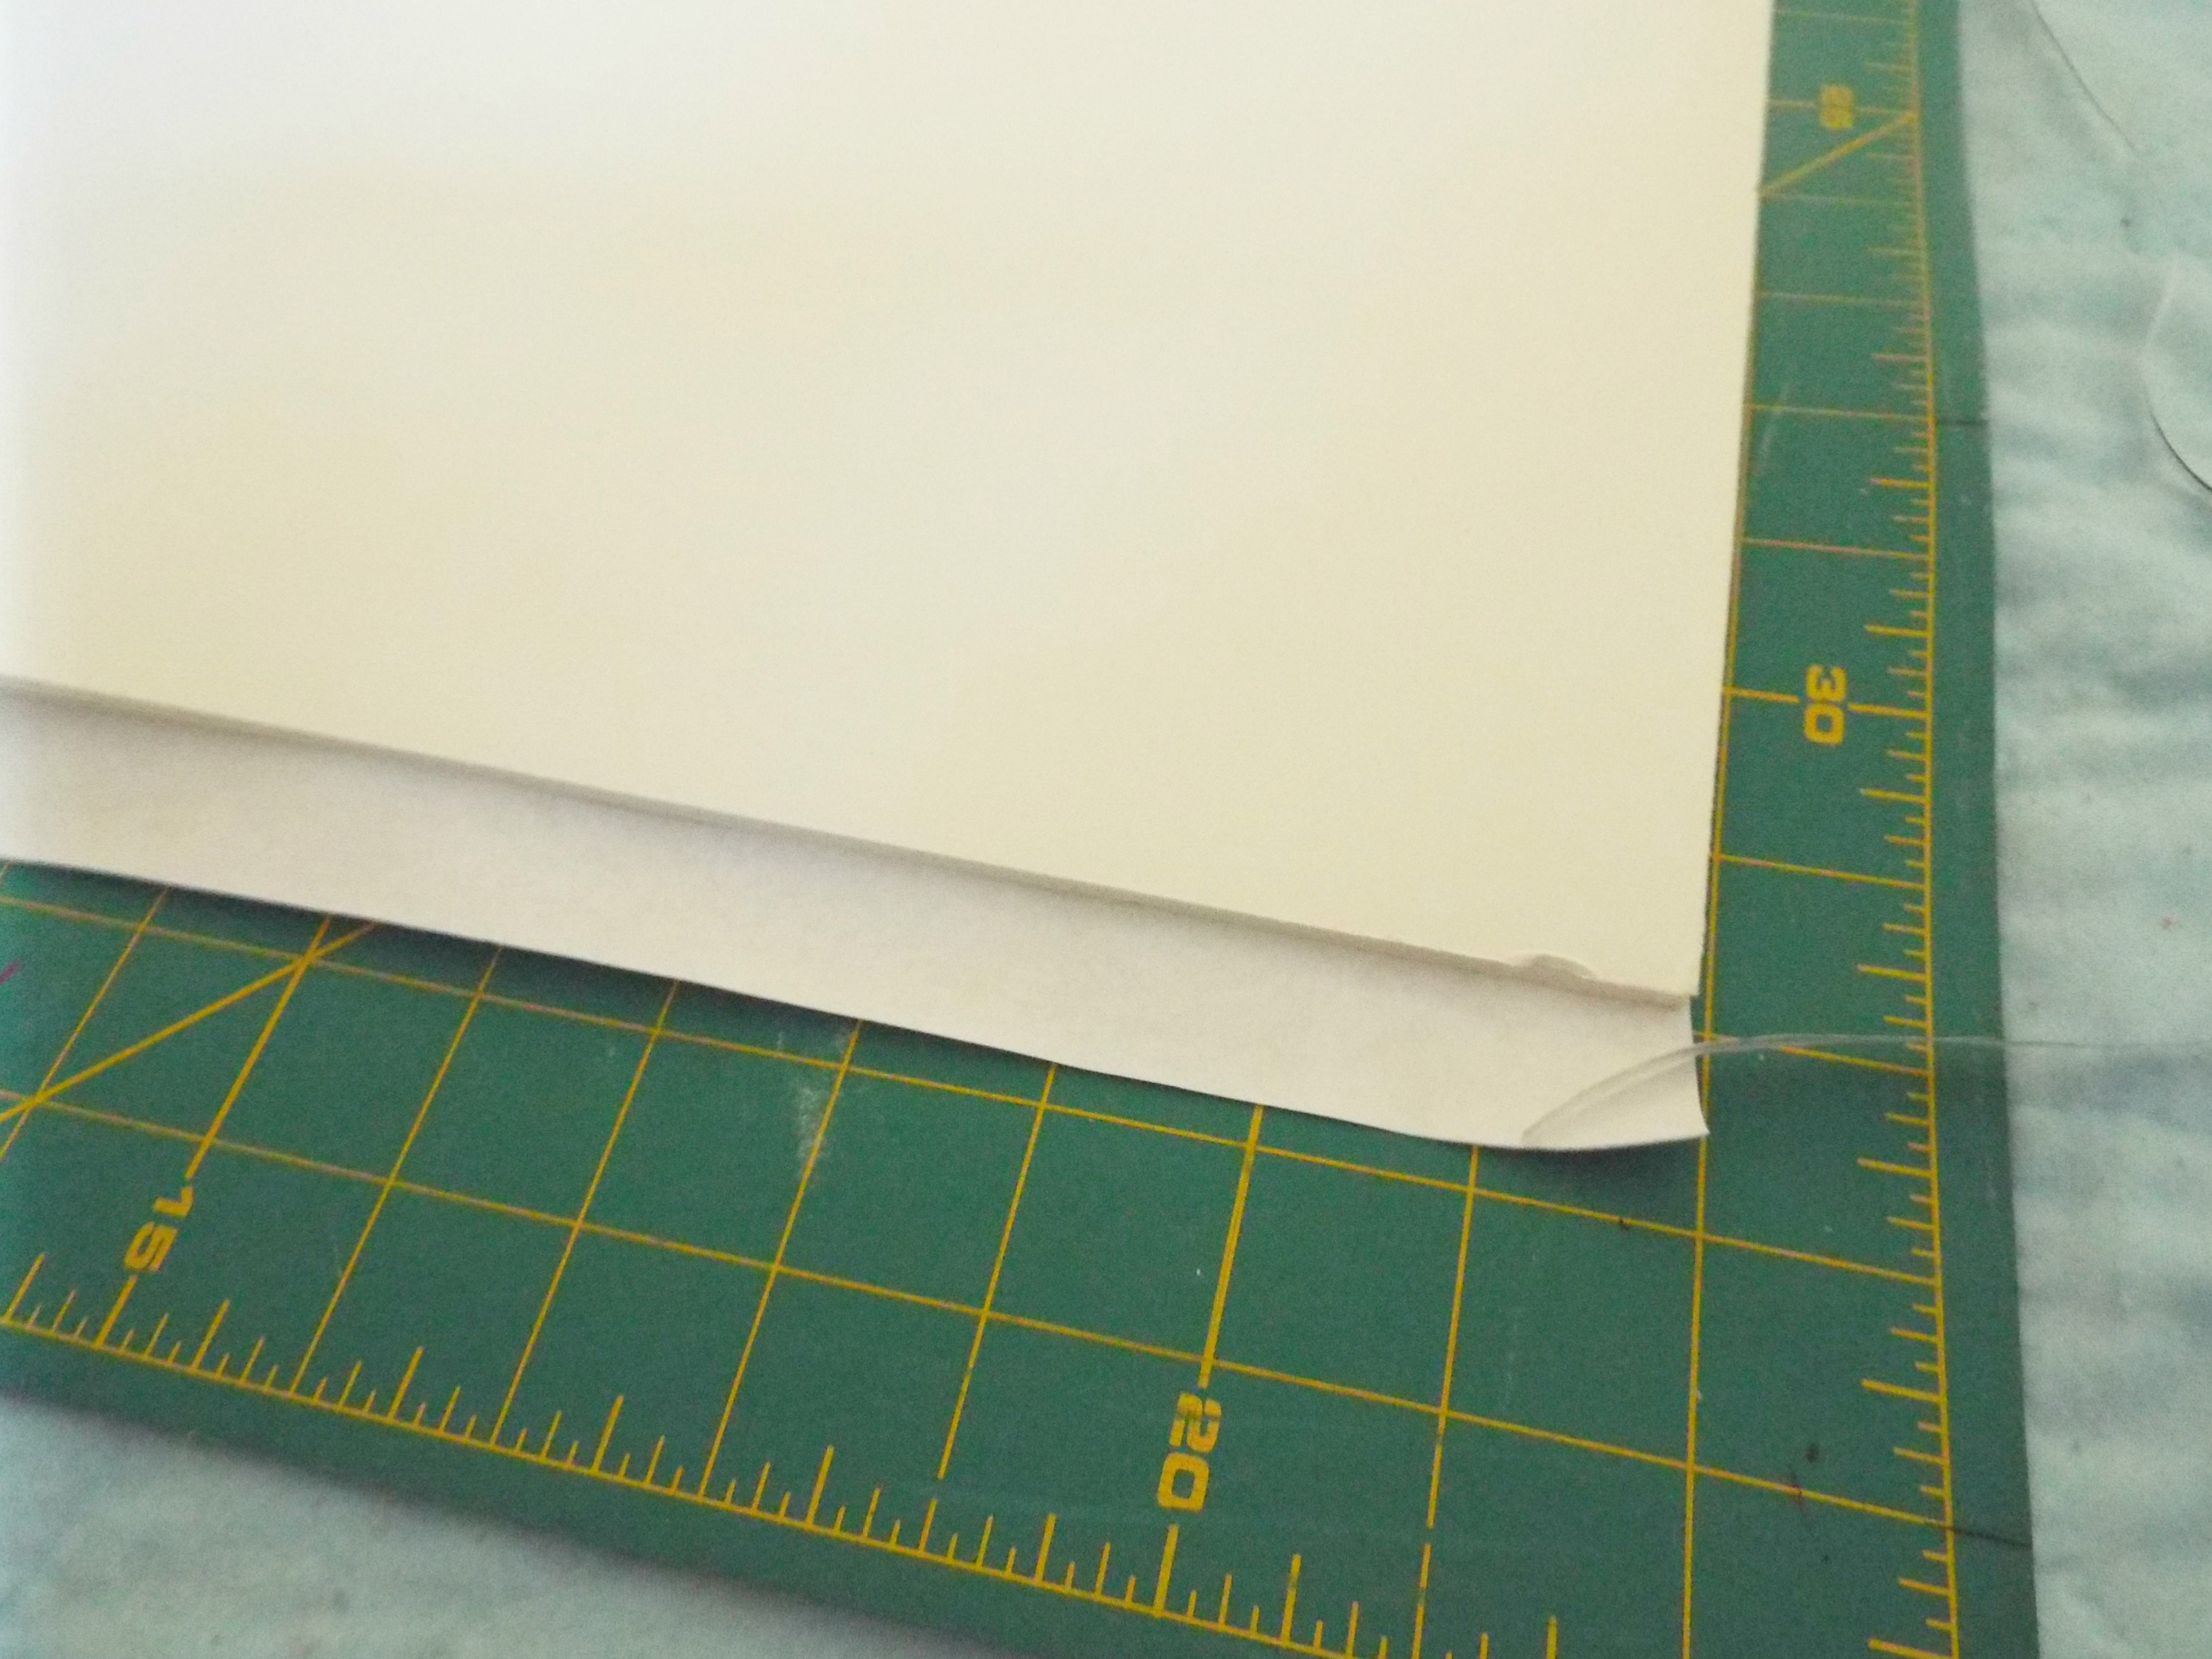
Carefully remove this and trim the print to fit foam core. If you leave just about a 1/2″ around all sizes, you can trim this later.
The next step needs to be done outside or in a very well ventilated area. It’s not just the aerosol you need to worry about, but using a spray-on adhesive has a lot of overspray and is VERY sticky.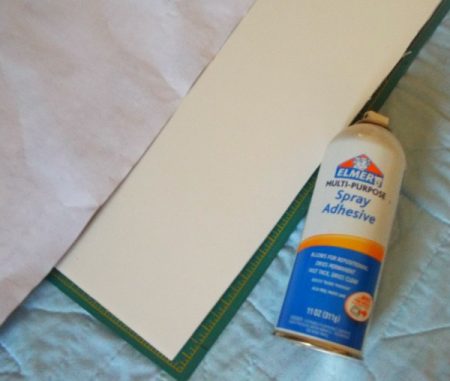
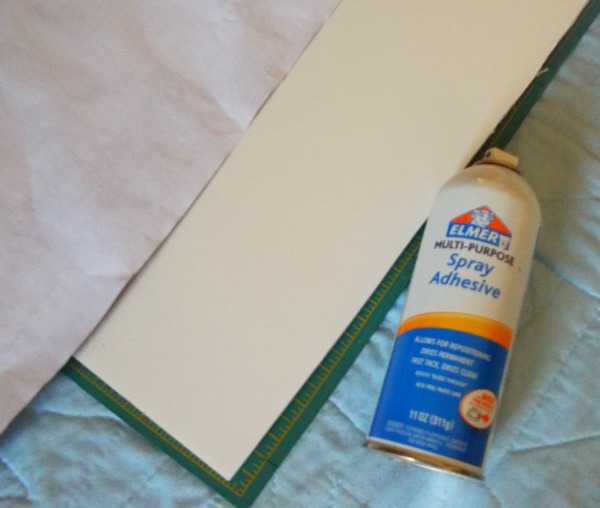
Follow directions on the can for application.
After it’s sprayed well, starting at one end, place it along the edges and smooth it with your hands, avoiding bubbles. This is kind of like applying wallpaper. You can also use a smoother for this but being careful not to tear your print.
I let this set about an hour to make sure all adhesive had dried well with the windows laying on top to weigh it down.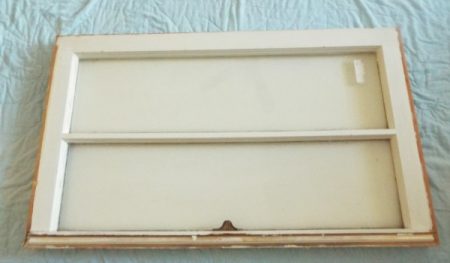

Trim edges as needed.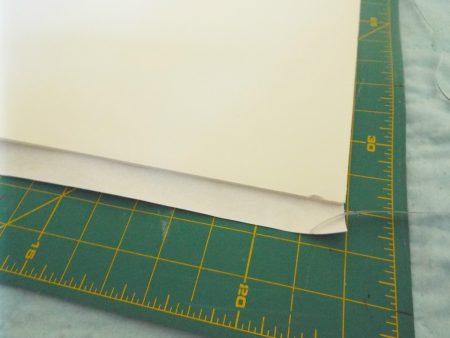 The easiest way to attach this to the back side of the window is with a staple gun.
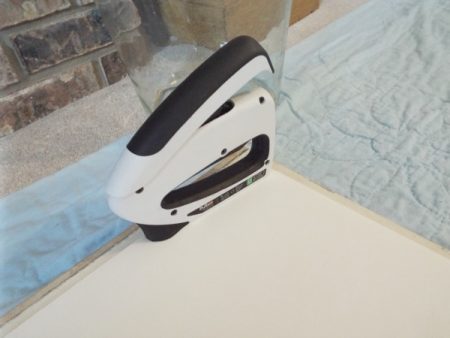 You could also use command strips or heavy duty double-sided tape but it would tear your picture when removing it from window.
 The easiest way to attach this to the back side of the window is with a staple gun.
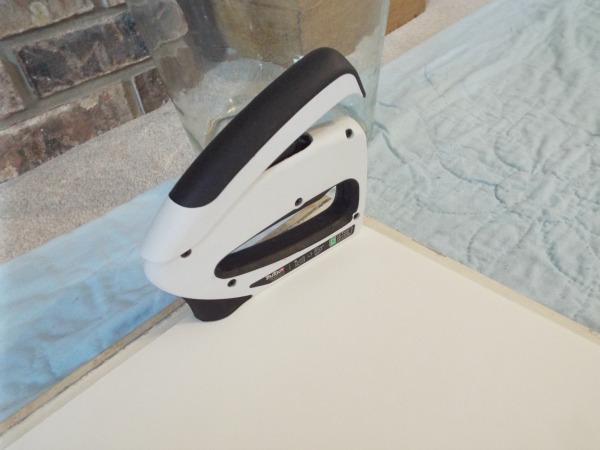 You could also use command strips or heavy duty double-sided tape but it would tear your picture when removing it from window.
Note – make sure your window is clean and streak-free before attaching print.
Hang this as you would any heavy object.
How many ways can you think to use these?

I’ve included affiliate links to Amazon for you to find some products easier. I may receive a small commission, but the price is the same for you. It just helps my blog out.
Happy Travels,
Rosemary

One Comment