The Easiest Floating Shelves To Install
As a renter, you are always aware of trying not to put too many holes in the walls since it’s not as easy to repair as in your own home. While attending Haven Conference this year, I was introduced to High & Mighty, a company which is a life changer for hanging pictures, and also with their line of hooks and floating shelves. These are by far the easiest floating shelves to install I have ever used.
My son recently moved into his first apartment on his own so he is allowing me to help and give suggestions, although he has many of his own. A lot of his furniture is the black/brown from Ikea so a lot of black is being used in decorating.
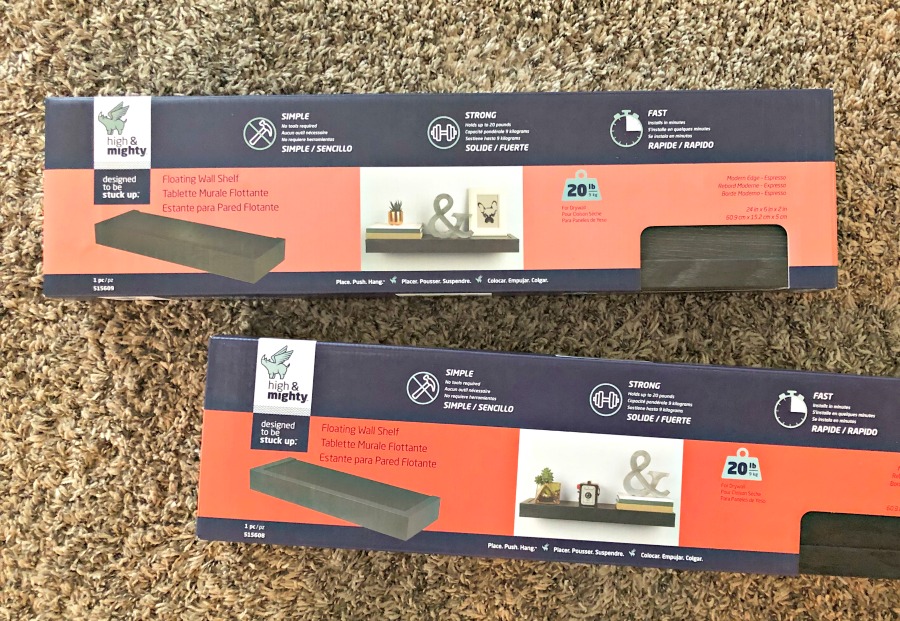
The black modern edge shelves were just right for him to use. He wanted to have these above his TV to use so needing longer than the 36″ I had, we put 2 – 24″ together. Normally hanging anything side by side can be difficult to get them level, but with these shelves, it was a breeze.
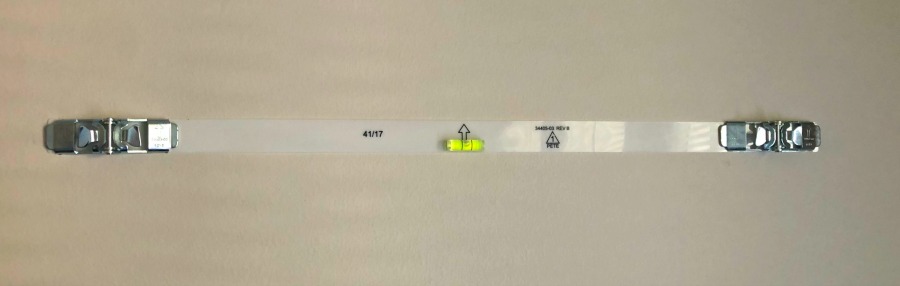
When you open the shelves, you will notice something on the back of the shelves. Remove them carefully and keep.
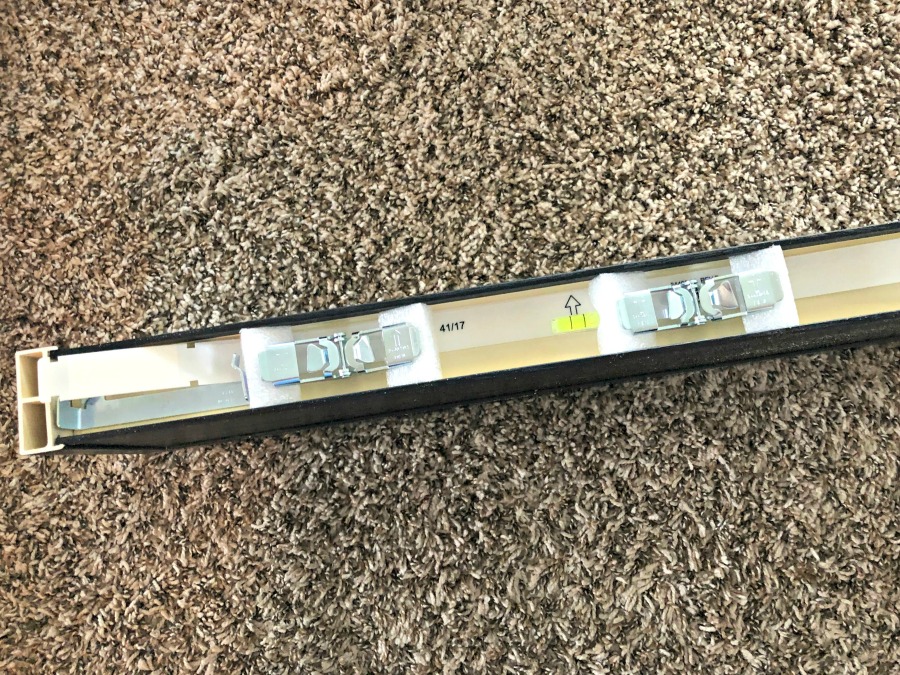
The 2 silver “things” are your hooks which will go into the wall and the clear strip will be your best friend. Not only does this stick to the wall so you know exactly where to place the hooks, but it has a level built in. How genius is that?
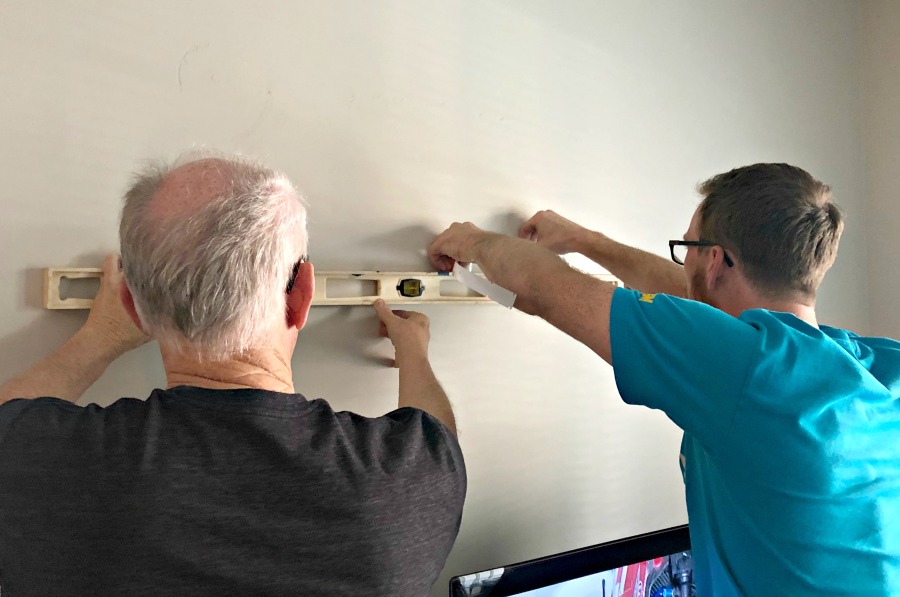
After my son did some measuring and deciding where the shelves should go, the first strip was attached to the wall. The hooks then fit into the notches on the leveling strip.
Although it says no tools are required, we did find it was easier to use a hammer and tap the hooks into the wall. We don’t know if the drywall was thicker, or maybe if it was those multiple coats of paints on the wall, but it was easier with a hammer. Also, he was reaching over his TV and entertainment center so if you was standing against the wall, it might have worked easier.
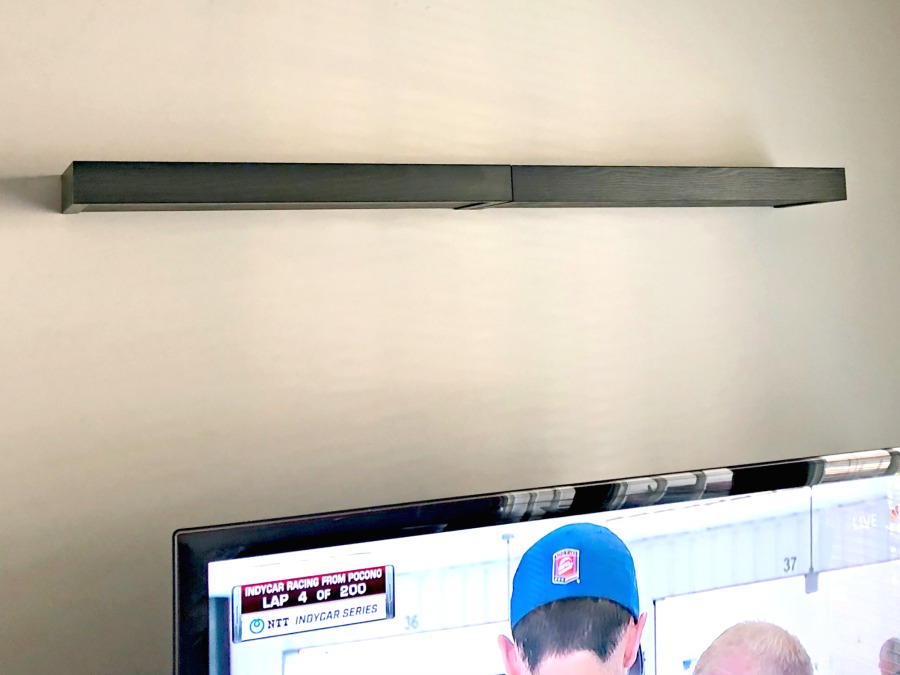
The first shelf was attached to the hooks and it was perfectly level.
Now a little measuring was done to find the correct placement for the 2nd shelf. We did use a 48″ level for getting the right measurements.
Again, the strip was placed on the wall using the built in level, hooks attached, then shelf attached.
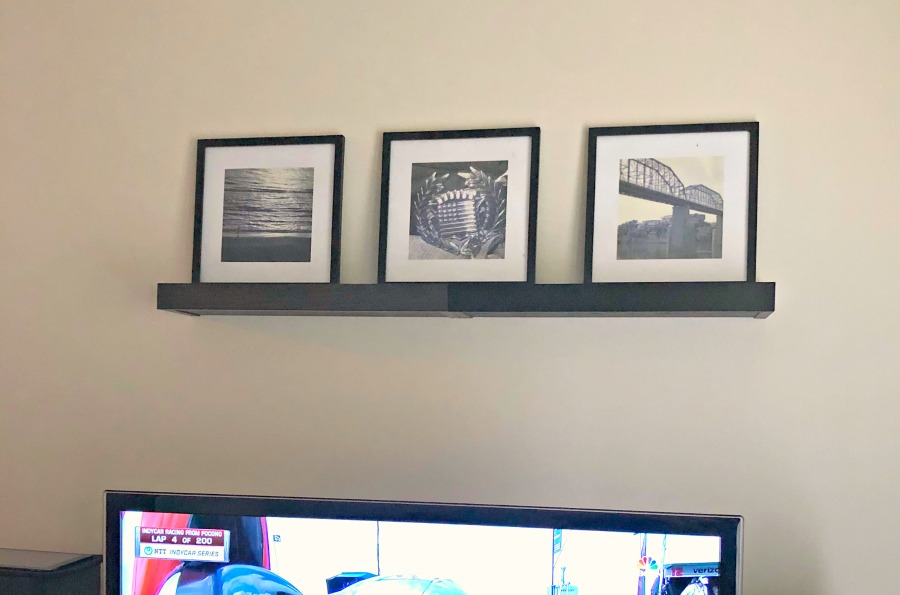
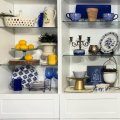
Pictures were placed and everyone was very pleased with the results. I love the look of pictures leaning against the wall instead of always being hung.
I have installed several different floating shelves before and by far, these have been the easiest. Now to see where we will use the remaining shelves.
The shelves are available in several edge styles and colors.
The picture hangers are too another product which is great for making less holes in the walls and they will indicate how much weight each can hold. You can even get a hanger for those super heavy mirrors you may have.
For a complete list and description of all products, check out their website.
These are just a few of the other products I will reviewing in the near future. I’ve included some Amazon links to make your shopping easier. You can also find a limited selection at some retail stores such as Home Depot, Lowes, and Walmart.
 HIGH & MIGHTY Picture Hangi...Shop on Amazon
 HIGH & MIGHTY 515703 Coat R...Shop on Amazon
 HIGH & MIGHTY 515809 Decora...Shop on Amazon
I’ve included affiliate links to Amazon for you to find some products easier. I may receive a small commission, but the price is the same for you. It just helps my blog out.
Happy Travels,
Rosemary