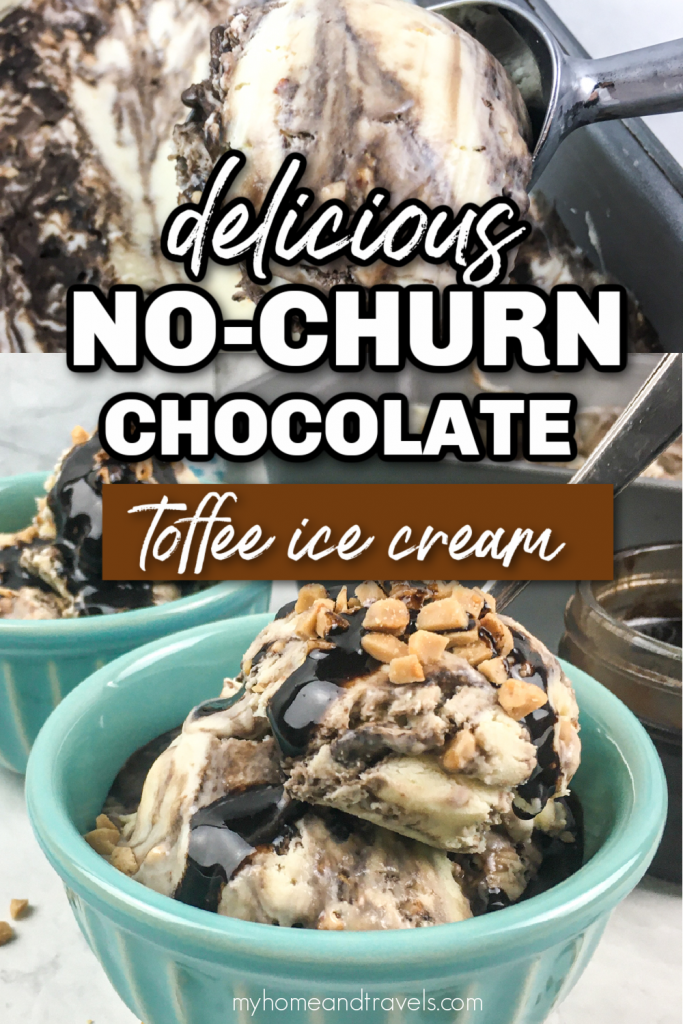
No-Churn Toffee Ice Cream
You scream, I scream, we all scream for ice cream! But ice cream that we don’t have to spend a ton of time and energy on, right? This is where this simple recipe for No-Churn Toffee Ice Cream comes into play. Not only is it delicious, but it’s fast and simple, too!
The temperatures are heating up so a perfect time to serve this treat to your family, maybe at a cookout, around the pool, or just as a delicious dessert.
Be certain to check out my recipe for this 5 MINUTE FROZEN TREAT as well. Because you can never have too many sweet treats in your life.
No-Churn Toffee Ice Cream
I’m a fan of making my own ice cream. There’s just nothing quite like the creaminess and the flavor. And while I know that it might be easier to just buy a tub at the store, I have a feeling that once you make this no-churn recipe you’ll be loving the sweet ice cream life, too.
It’s just too easy to pass up and is loaded down with flavor and taste. And since it literally takes just 20 minutes to prep, you can have homemade ice cream in the freezer waiting to enjoy in no time at all.
This simple ice cream recipe has an amazing flavor that will have you licking the bowl. No shame either, because I’m right there with you!
Do you want an easier idea too? Save time by using your favorite chocolate syrup or sauce. It doesn’t have quite that home made taste, but you will still love it.
Ingredients needed to make Homemade Toffee Ice Cream
Just gather up the simple list of ingredients to get started.
Chocolate Syrup Ingredients:
½ c. water
½ c. white sugar
1/3 c. unsweetened dark cocoa powder
1 t. real vanilla extract
1/8 t. salt
Ice Cream Ingredients:
2 c. heavy cream
1 14-oz. can sweetened condensed milk
1 t. real vanilla extract
1/3 c. chocolate syrup, chilled, divided (recipe above)
2/3 c. Heath English Toffee Bits*
Garnish: Additional Heath Toffee Bits and chocolate syrup
How to Make No-Churn Ice Cream
CHOCOLATE SYRUP
Combine the water, sugar, cocoa powder, vanilla extract, and salt in a small skillet set over medium heat.
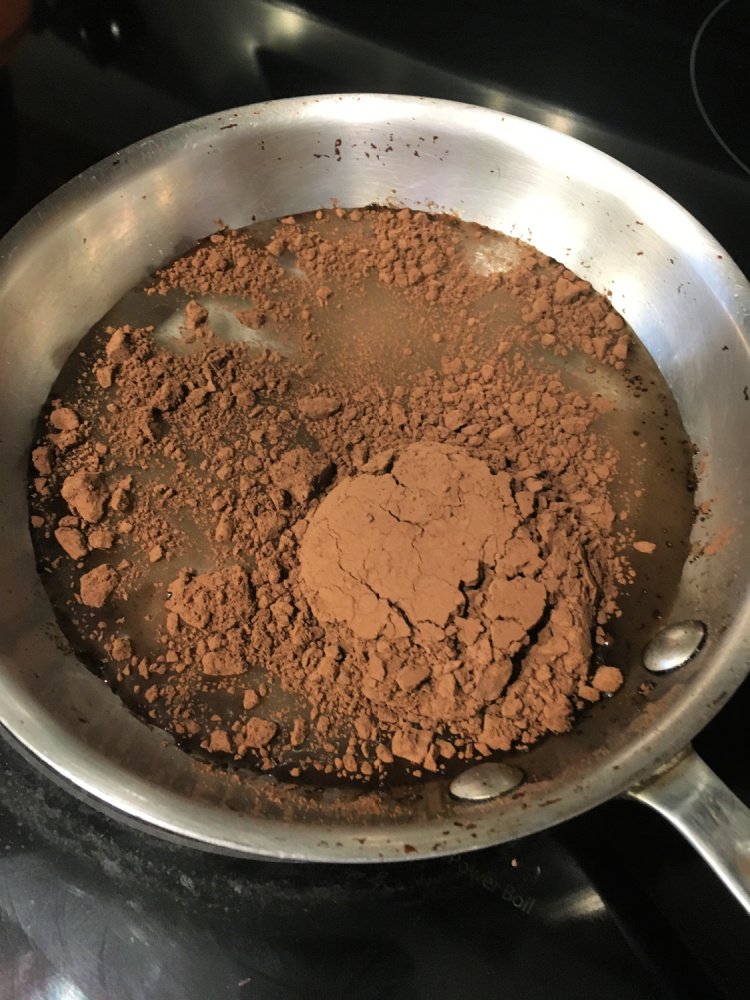
Whisk vigorously until the sugar is dissolved and the cocoa powder is thoroughly incorporated into the mixture, approximately 2-3 minutes.
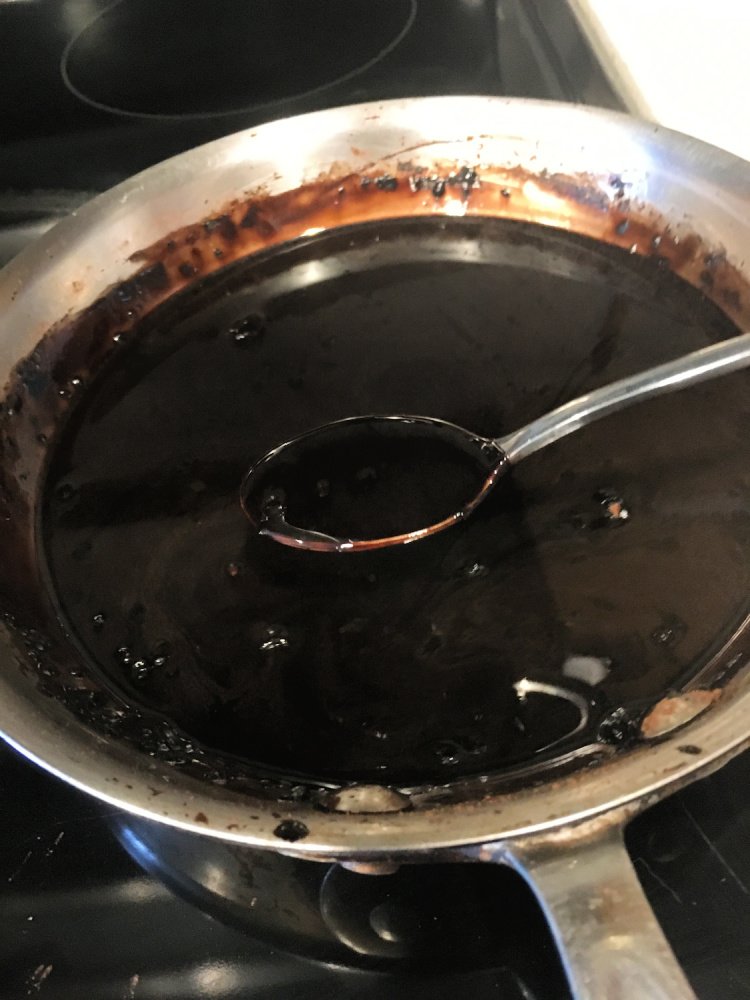
Remove from heat and cool completely.
Cover and store in the refrigerator in an airtight container until ready to use.
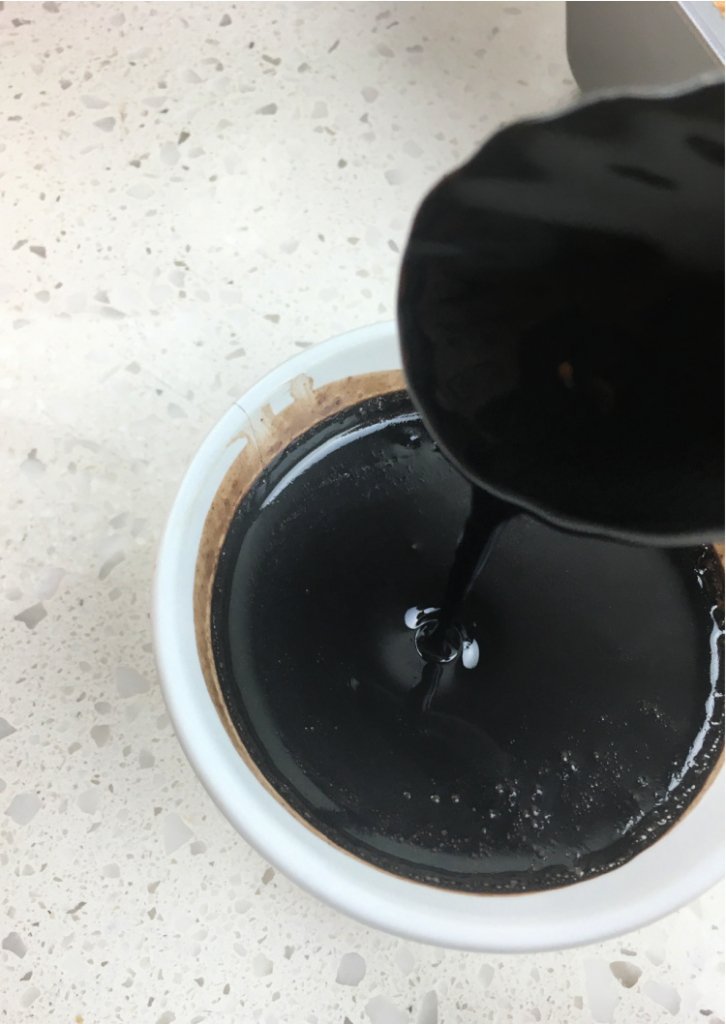
This can be made even the day before.
ICE CREAM
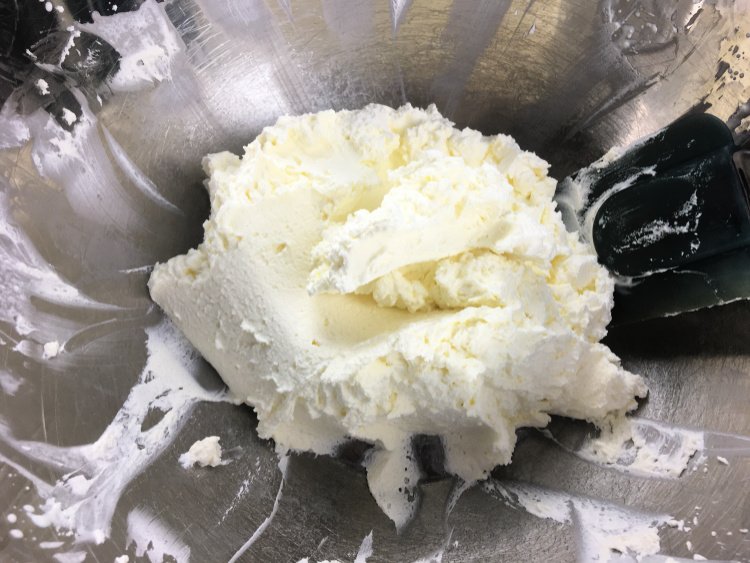
Pour heavy whipping cream into a large mixing bowl and beat on high until light and fluffy.
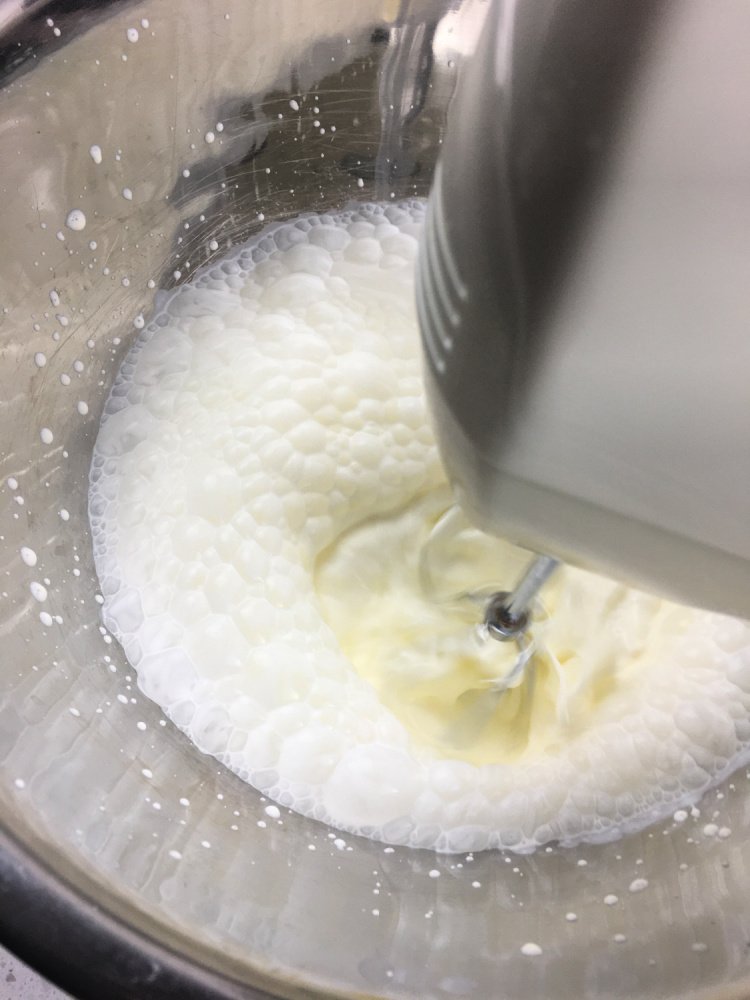
Use a spatula while mixing to scrape the sides of the bowl to ensure all of the heavy creams is whipped. Set aside.
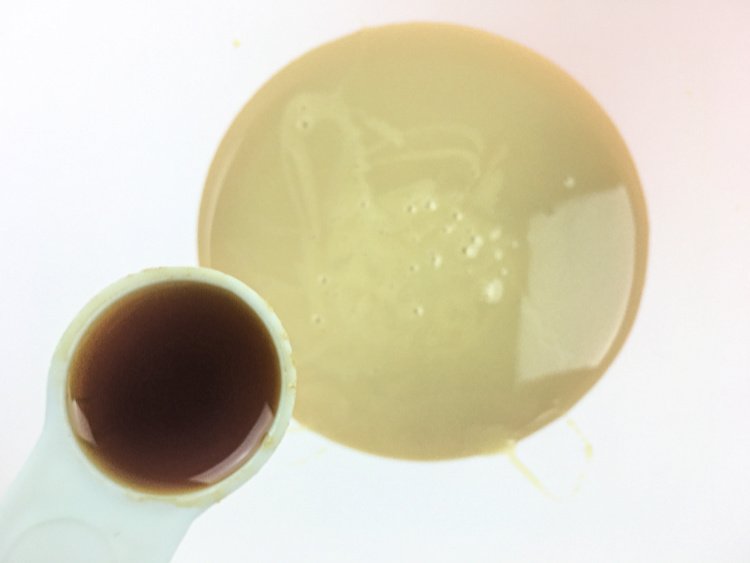
Pour sweetened condensed milk and vanilla extract into a large bowl and stir to combine.
Lighten the condensed milk by gently folding a small amount of the whipped cream into the bowl. Do not overmix.
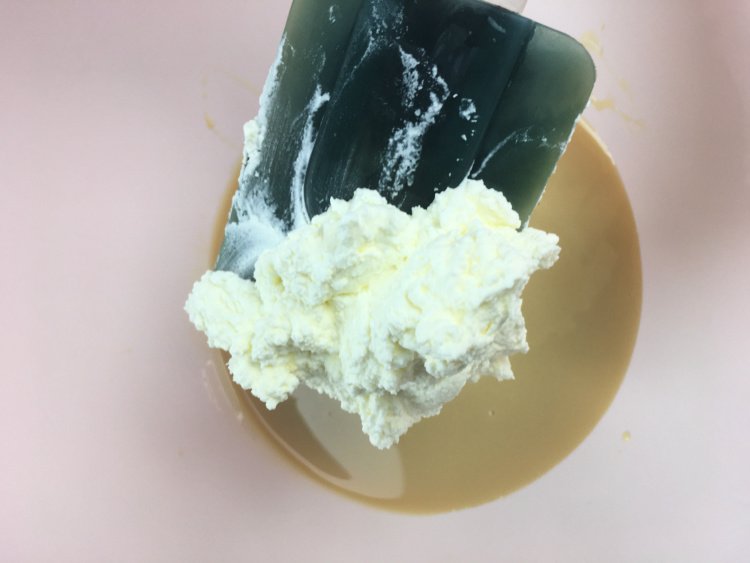
Add the rest of the whipped cream and fold into the mixture until thoroughly combined.
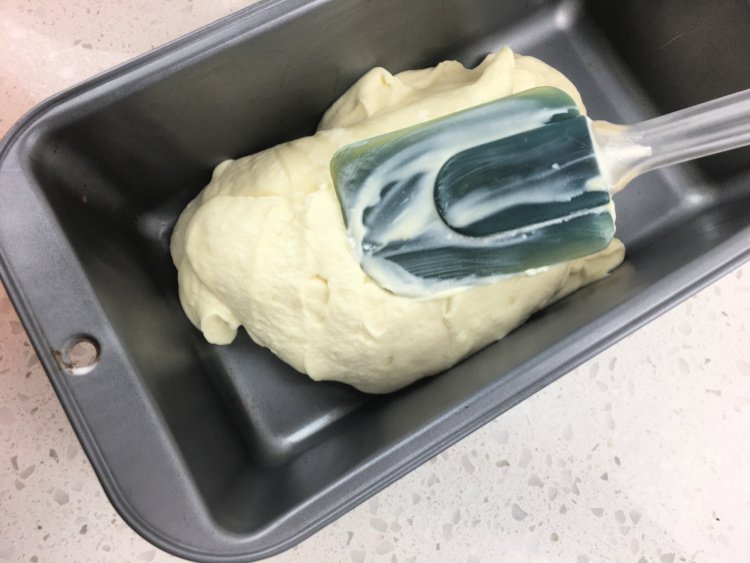
Pour half the whipped cream mixture into a 9”x5” loaf pan and spread into an even layer.
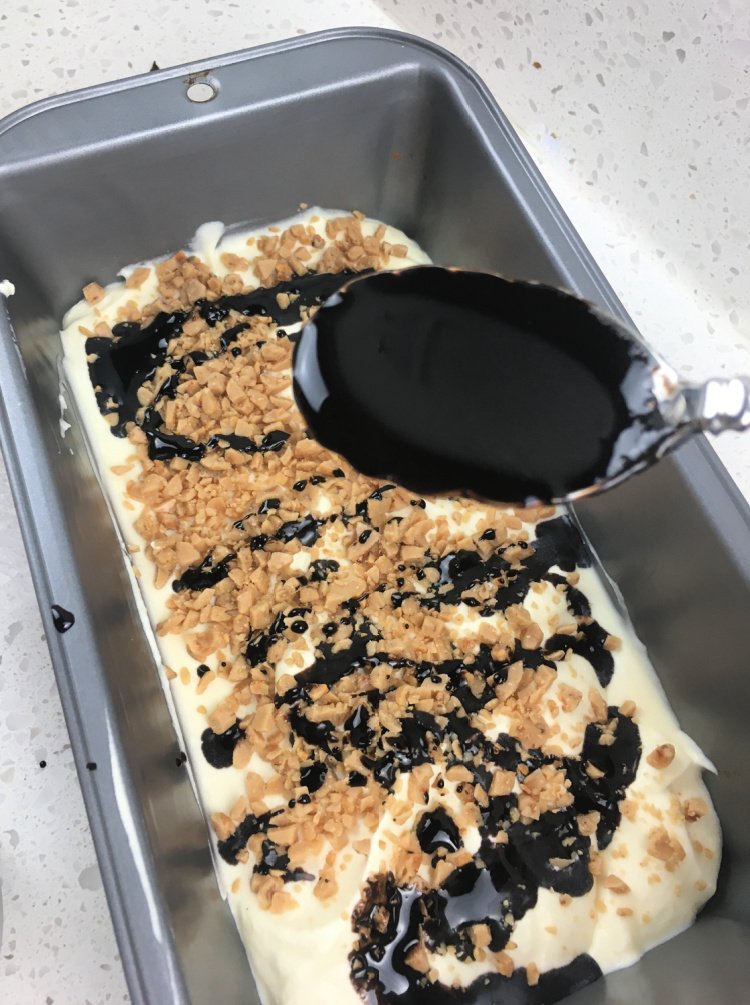
Drizzle half the chocolate syrup and spread 1/3 cup of the toffee bits evenly across the top.
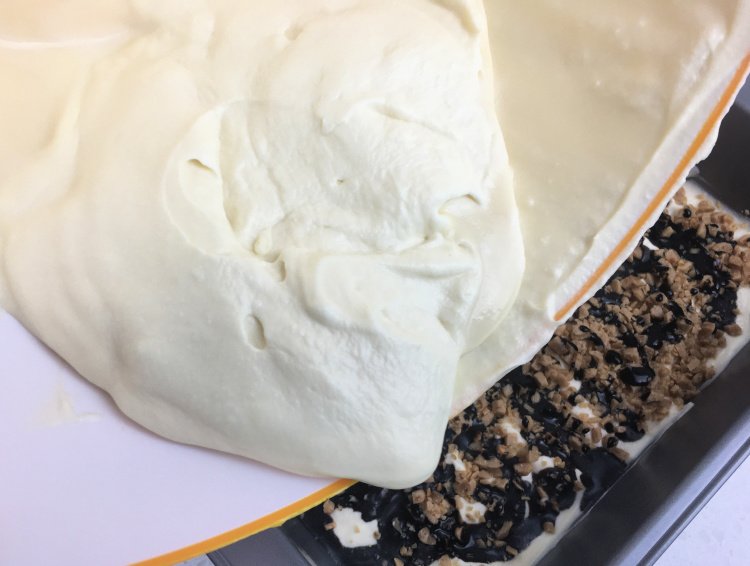
Spoon the remaining whipped cream mixture on top and spread until smooth. Repeat the process described in Step 4 with the remaining chocolate syrup and toffee.
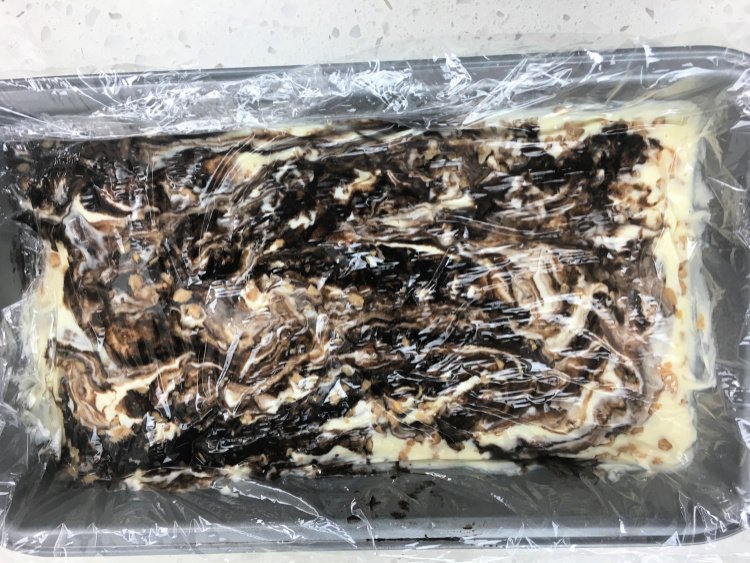
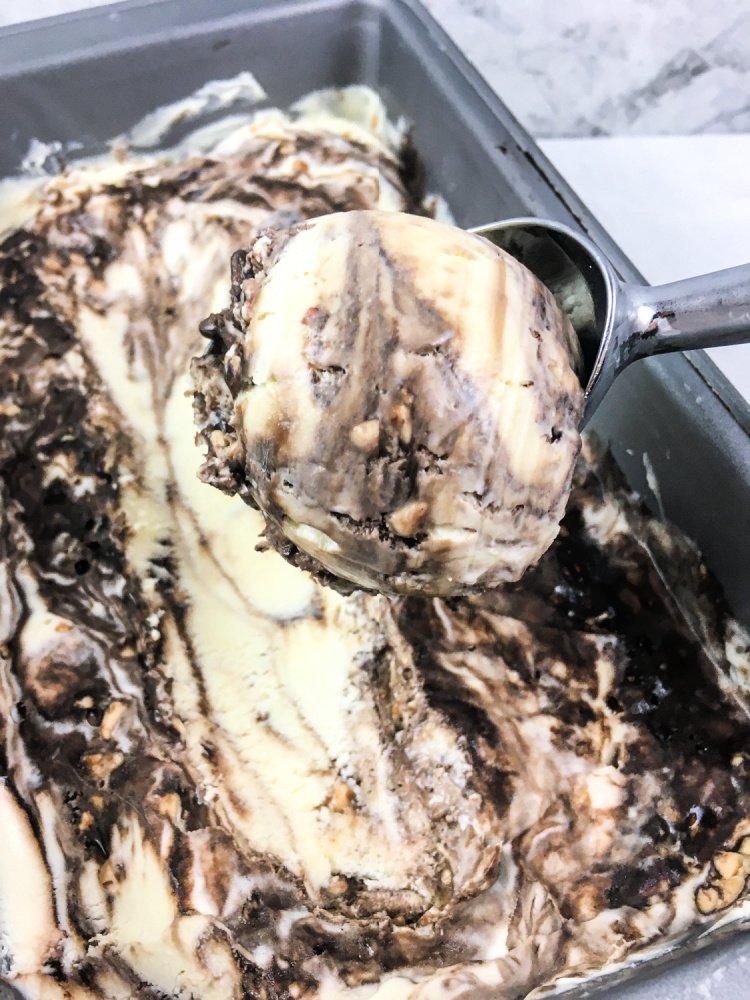
Insert a butter knife into the mixture at one end of the loaf pan and pull it back and forth across the length of the pan to incorporate the chocolate and toffee throughout.

Cover with plastic wrap and gently press across the top to remove any air bubbles.
Place in the freezer for a minimum of four hours, or preferably, overnight.
Remove from freezer 10-15 minutes before serving to soften.
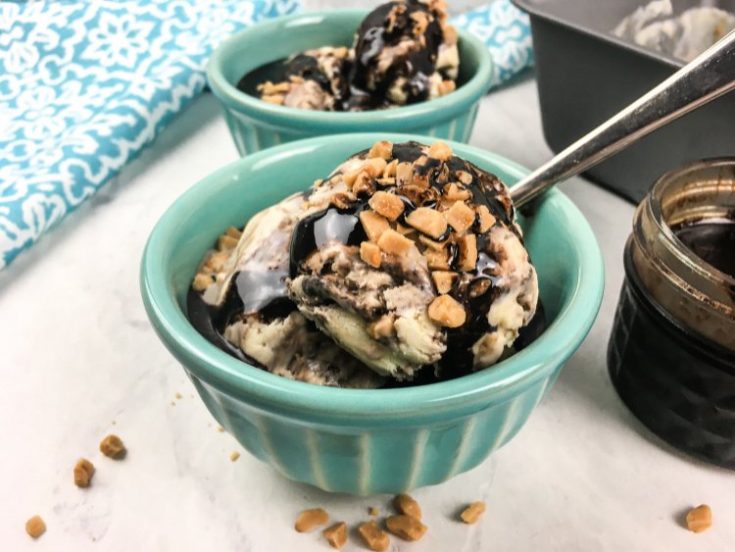
To serve, scoop into individual bowls and top with additional chocolate sauce and toffee bits if desired. Enjoy!

How long does it take for ice cream to harden in the freezer?
You’re going to want to give it at least 4 hours in the freezer. This will make it become harder and solid and give it that creamy texture and ice cream look that you’re going for.
Have fun making up this simple homemade ice cream recipe. It’s a fast and easy way to create a tasty recipe fast! Enjoy summer with this sweet and cold dessert!
More Delicious Recipes
No-Churn Toffee Ice Cream
You're going to love this fast and simple ice cream recipe!
Ingredients
Chocolate Syrup Ingredients:
- ½ c. water
- ½ c. white sugar
- 1/3 c. unsweetened dark cocoa powder
- 1 t. real vanilla extract
- 1/8 t. salt
Ice Cream Ingredients:
- 2 c. heavy cream
- 1 14-oz. can sweetened condensed milk
- 1 t. real vanilla extract
- 1/3 c. chocolate syrup, chilled, divided (recipe above)
- 2/3 c. Heath English Toffee Bits*
- Garnish: Additional Heath Toffee Bits and chocolate syrup
Instructions
How to Make No-Churn Ice Cream
To prepare the chocolate syrup, combine the water, sugar, cocoa powder, vanilla extract, and salt in a small skillet set over medium heat. Whisk vigorously until the sugar is dissolved and the cocoa powder is thoroughly incorporated into the mixture, approximately 2-3 minutes. Remove from heat and cool completely. Cover and store in the refrigerator in an airtight container until ready to use.
Pour heavy whipping cream into a large mixing bowl and beat on high until light and fluffy. Use a spatula while mixing to scrape the sides of the bowl to ensure all of the heavy creams is whipped. Set aside.
Pour sweetened condensed milk and vanilla extract into a large bowl and stir to combine. Lighten the condensed milk by gently folding a small amount of the whipped cream into the bowl. Do not overmix. Add the rest of the whipped cream and fold into the mixture until thoroughly combined.
Pour half the whipped cream mixture into a 9”x5” loaf pan and spread into an even layer. Drizzle half the chocolate syrup and spread 1/3 cup of the toffee bits evenly across the top.
Spoon the remaining whipped cream mixture on top and spread until smooth. Repeat the process described in Step 4 with the remaining chocolate syrup and toffee.
Insert a butter knife into the mixture at one end of the loaf pan and pull it back and forth across the length of the pan to incorporate the chocolate and toffee throughout. Cover with some plastic wrap and gently press across the top to remove any air bubbles. Place in the freezer for a minimum of four hours, or preferably, overnight.
Remove from freezer 10-15 minutes before serving to soften. To serve, scoop into individual bowls and top with additional chocolate sauce and toffee bits if desired. Enjoy!


I’ve included affiliate links to Amazon for you to find some products easier. I may receive a small commission, but the price is the same for you. It just helps my blog out.
Happy Travels,
Rosemary


Great recipe!
It’s so easy – you should try it with the grands.
Rosemary, that ice cream looks so easy to make! Toffee is one of my all-time favorite treats and it sounds like the perfect combination with ice cream!
I love toffee anything. I like making it like this as having an ice cream freezer is just one more thing to store.