I Transformed An Ugly Tea Cart To A New End Table
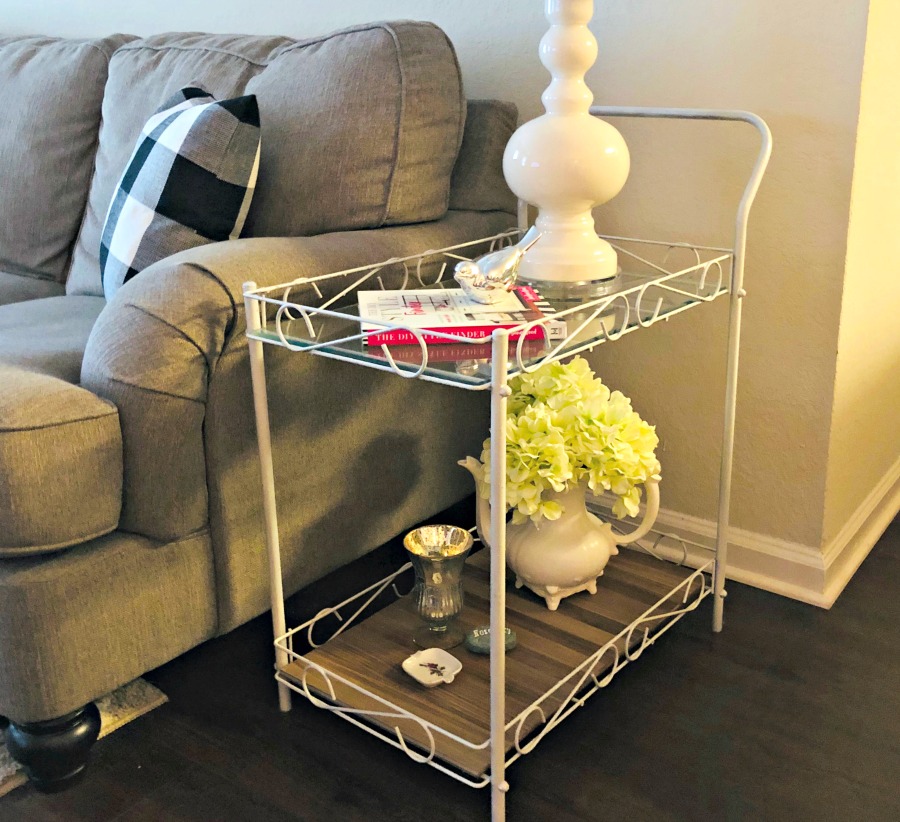
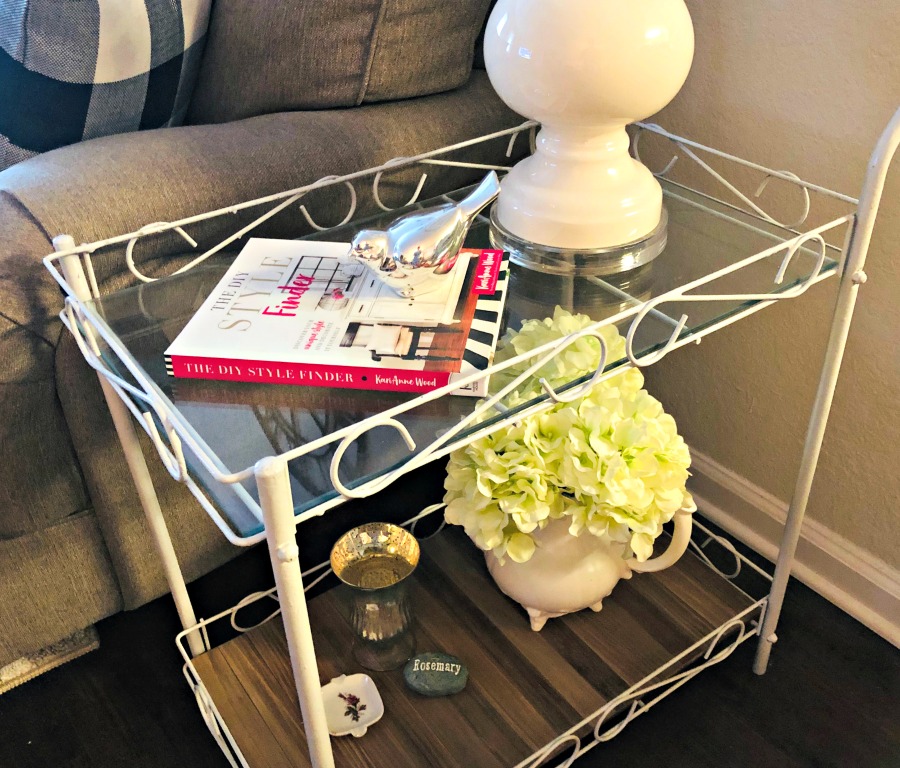
When designing a room, or even just doing a refresh maybe for the season, think outside the box for your decor. Your coffee or end tables don’t have to be the standard wood ones so many seem to use. Nor do they have to be matchy – matchy. That’s exactly what I was thinking when I transformed an ugly tea cart to a new end table.
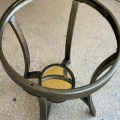
This metal tea cart had been out in my yard being used as a plant stand at one time. The wood shelves had become rotten so it was one of those “one of those day” projects which never got done. Being one to know it had a future, it was stored away until I suddenly had my light bulb moment. I really don’t remember where it came from, but probably a yard sale at a cheap price.
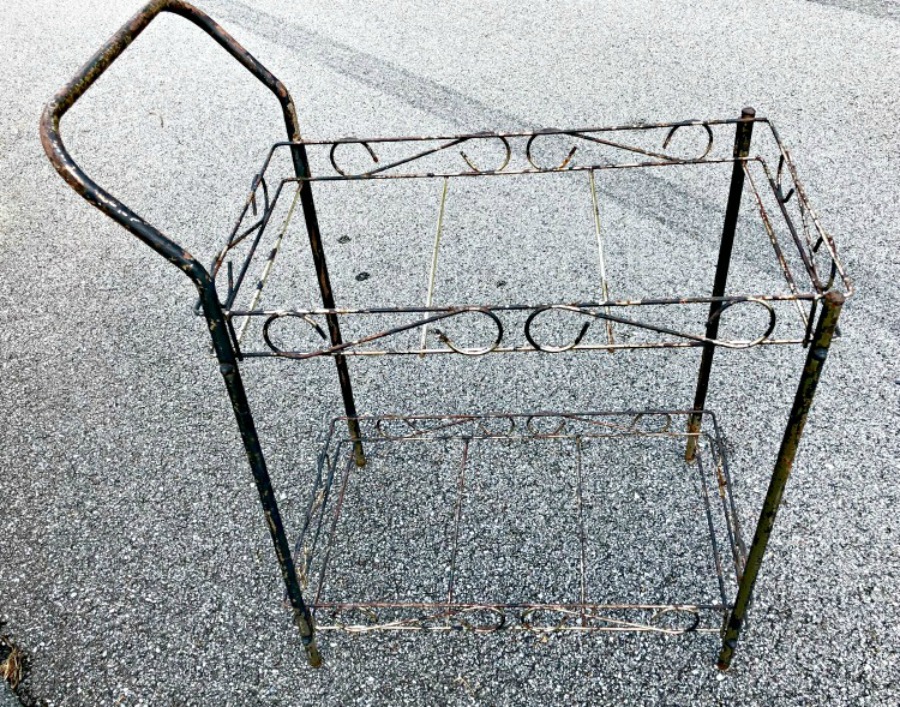
Needing a new end table, I was just going to paint it and add glass shelving, but then I had another thought – and loved the results.
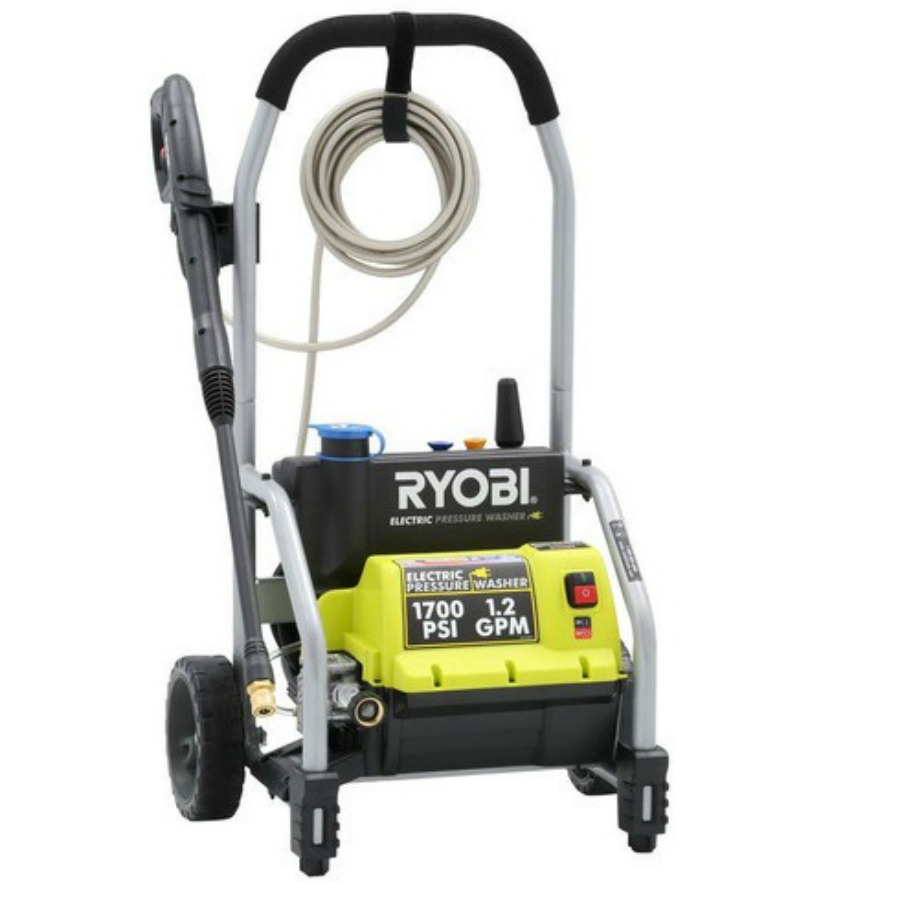
For the cart, I began power washing it to remove any loose paint, rust, and dirt. This smaller Ryobi power washer is a great one for anyone. Watch places such as Home Depot for sales, that’s what I did when I bought it.
After cleaning, there were still rough spots of the metal which were impossible to sand to get a smooth look. My solution to this was using Rust-oleum Hammered Metal Paint in White. I’ve used this on several projects before. Not only does it provide great coverage, but in this case, hiding all of the little imperfections on the surface of this tea cart. Kitchen pulls were done about 5 years ago in Bronze, and still holding up.
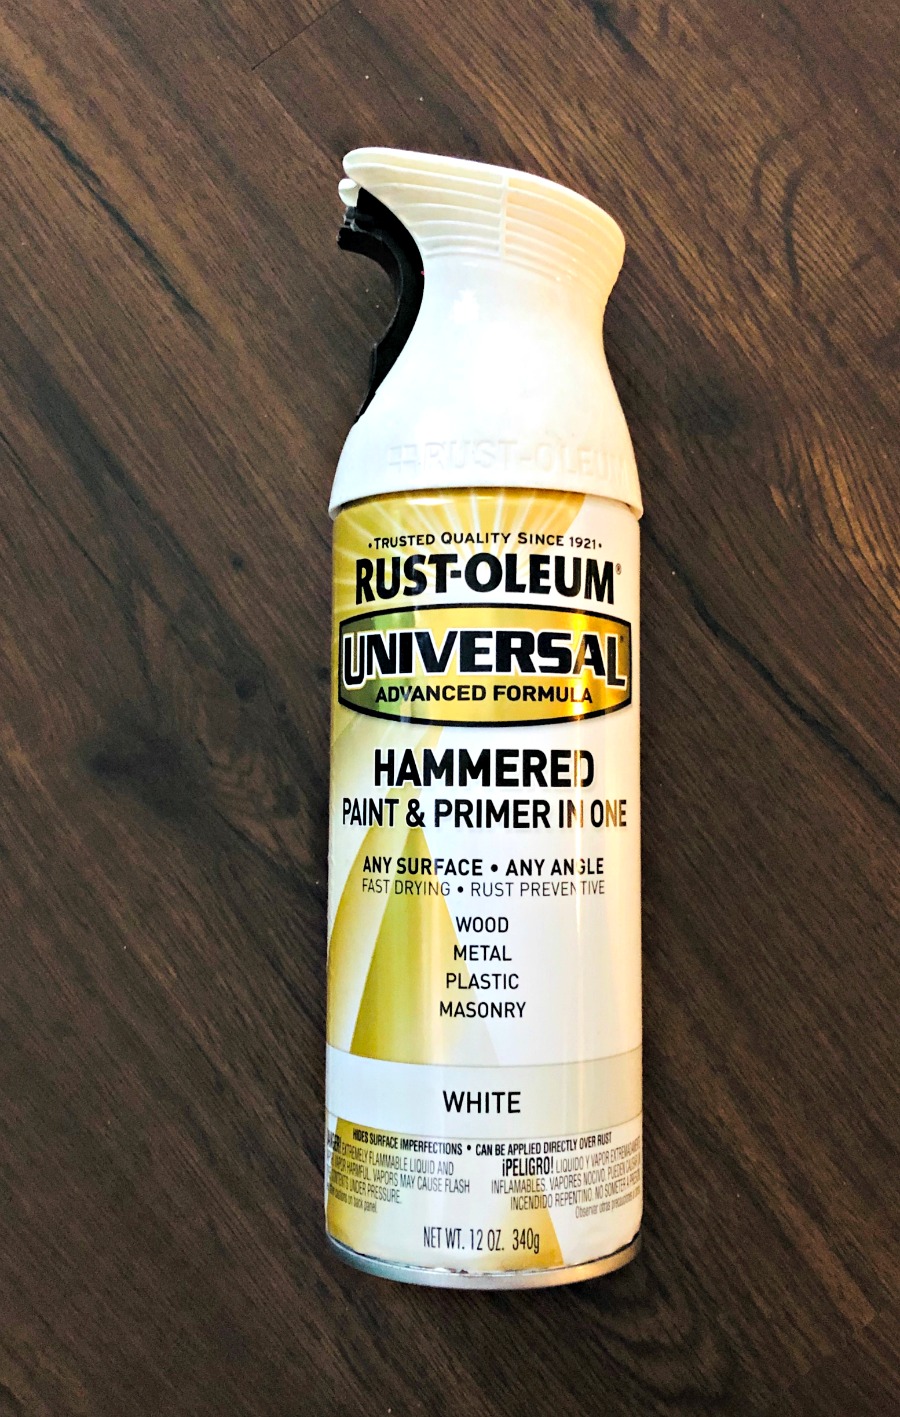
I love this paint for projects like this, but also anything you want a bit of texture to.
After 2 coats of paint, following directions on the can, it was ready to finish making pretty. Always follow directions on any paint you are using.
I ordered a piece of glass from my favorite glass place here in Chattanooga, Independent Glass. Something important is to make sure you let them know this is for a table so the glass will be thick enough to withstand the weight of a lamp and other items sitting on top of it. Most will ask, but also it’s good to have the edges polished so you won’t run the risk of cutting your hand while you are installing or cleaning.
Now for the bottom shelf, I thought a light wood would show good against the darker floors and since it is seen from under the glass.
But no ordinary piece of plain wood for me.
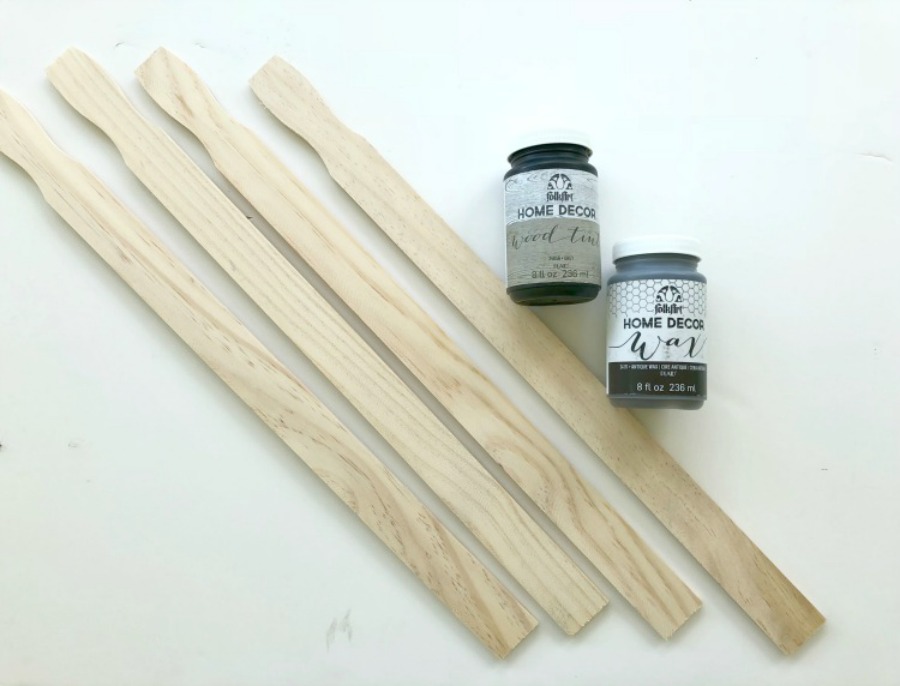
I had several large paint sticks on hand and knew these would work great for creating my one of a kind end table.
Here’s the steps for the bottom shelf:
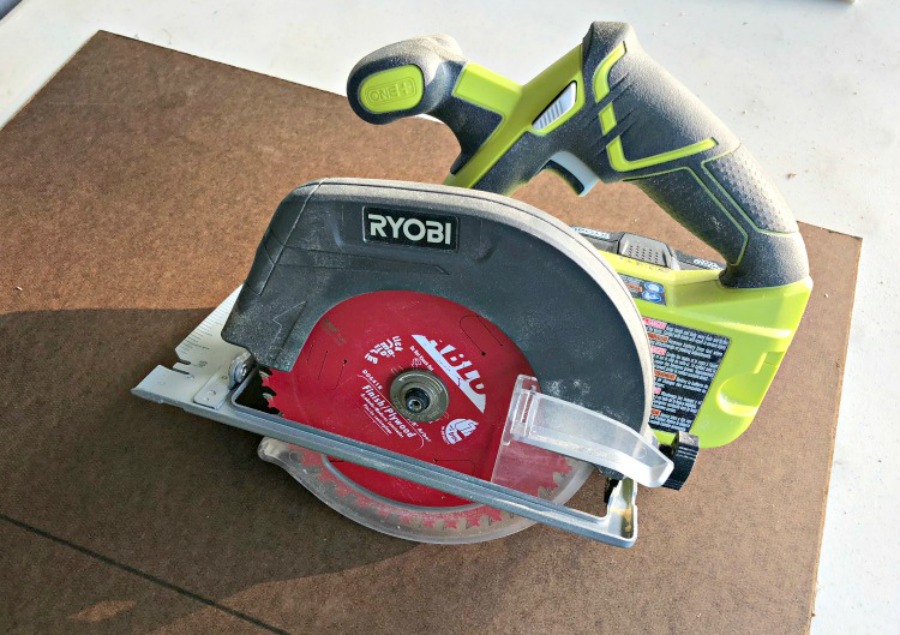
Cut a piece of hard board to correct size (same as glass used). I had this on hand, but can easily be purchased at Home Depot. They can even cut it for you. This Ryobi circular saw is a great tool for any beginner.
Lay paint sticks across the board to see how many you will need. You many need to trim if necessary to fit the board, but this is done at the end. Don’t worry about the finished lengths for now. My paint sticks were quite a bit longer so I didn’t bother staining the handle portion as it would be cut off.
Knowing I wanted three different shades of the wood finish, I started by applying a thin coat of Folk Art Home Decor Gray Wood Tint to all pieces letting it dry about 1 minute. Wipe off any excess and allow to dry about 15 minutes. Make sure you apply the tint to the sides of your paint stick. A great reason for making some sample pieces, this tint didn’t appear gray at all on this unfinished wood.
Now make a decision – is this an okay color for your lighter strips? If so, repeat the above process on about two-thirds of the paint sticks to achieve a darker tone.
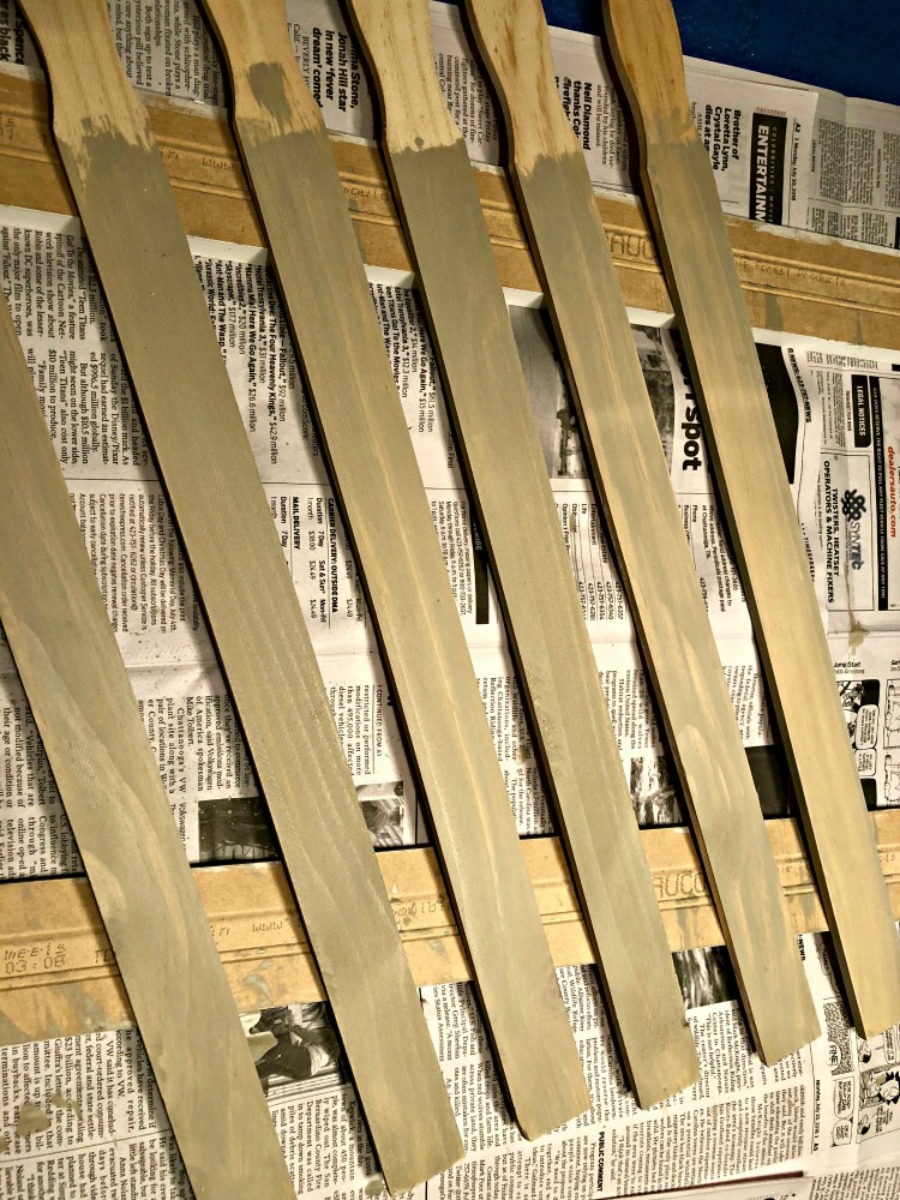
Then repeat with final third. How light or dark or how many color variations you want is how you can make this project your own. These paint sticks, like any unfinished wood, can absorb color a bit different.
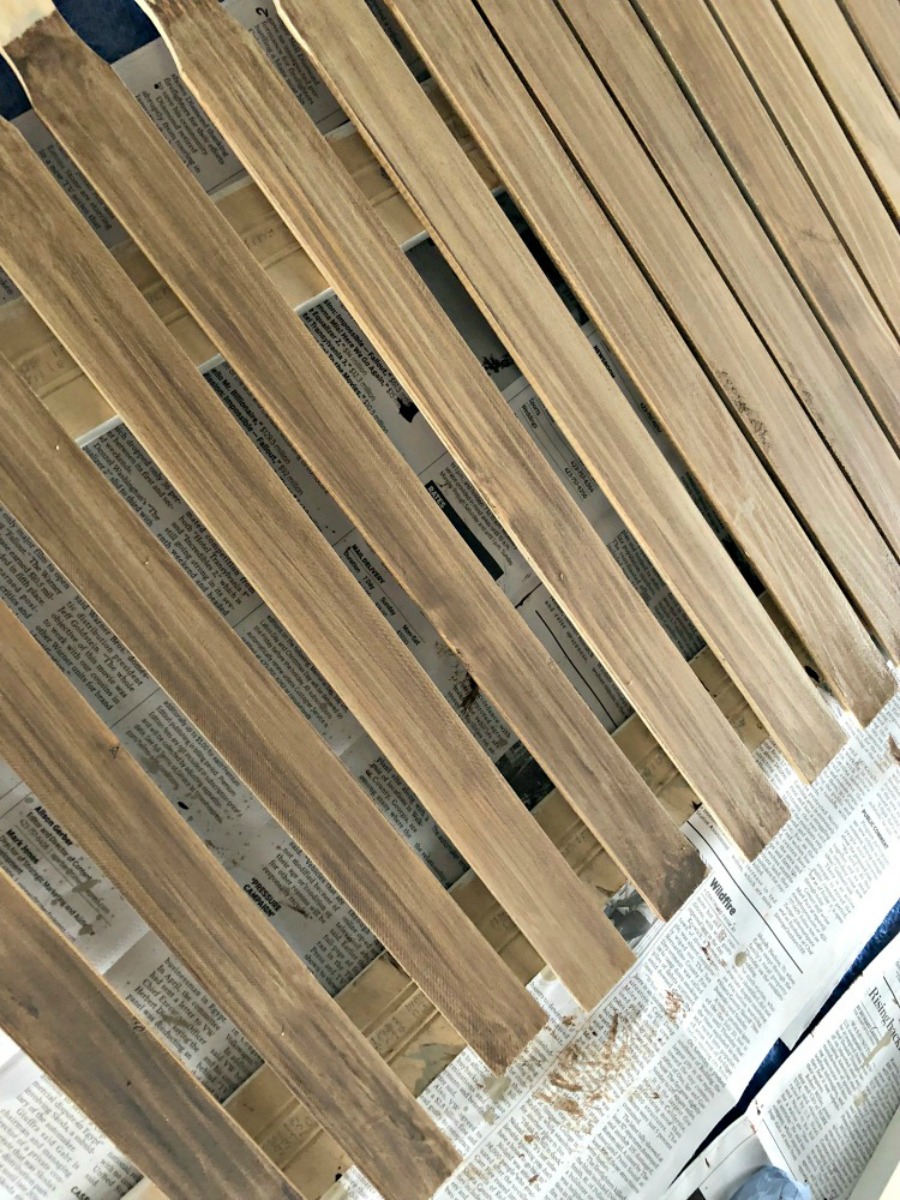
After letting them dry overnight, a protective finish of Folk Art Home Decor Antique Wax was applied and allowed to dry for a couple of hours. Using a soft, white cloth, buff the paint sticks to a light shine.
Since the hard board and paint sticks are thinner wood, I chose to glue them together with Gorilla Wood Glue.
Lay the finished paint sticks on the hard board , varying the colors, making the desired layout. They are ready to be glued in place.
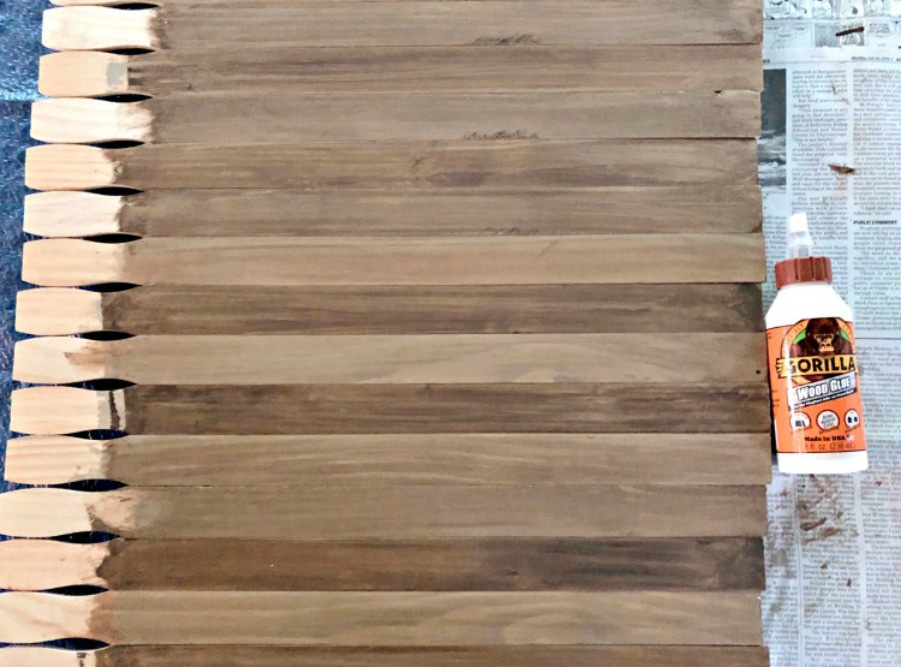
I worked in areas for about 4 – 5 sticks at a time. Squirt out a few good streams of glue, but not too heavy. Place the paint sticks in place then repeat until your board is covered.
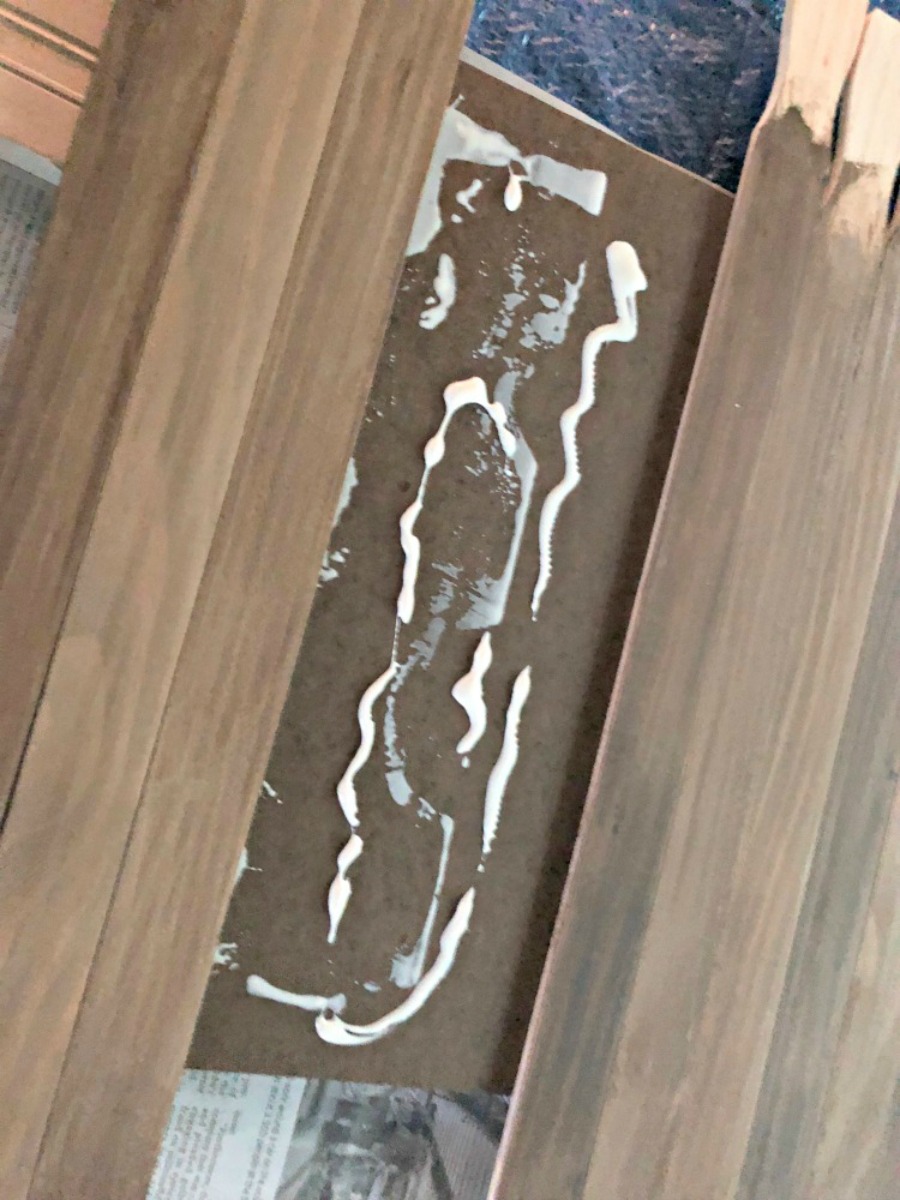
Check for any glue which could be oozing between the paint sticks and wipe off with a damp cloth.
NO PICTURE – To weigh down the paint sticks for drying, I used canned vegetables to hold the paint sticks in place.
Let this dry overnight without moving.
Working from the underneath side, I used my Ryobi circular saw to trim all the edges even with the hardboard. A jigsaw would also be good for this.
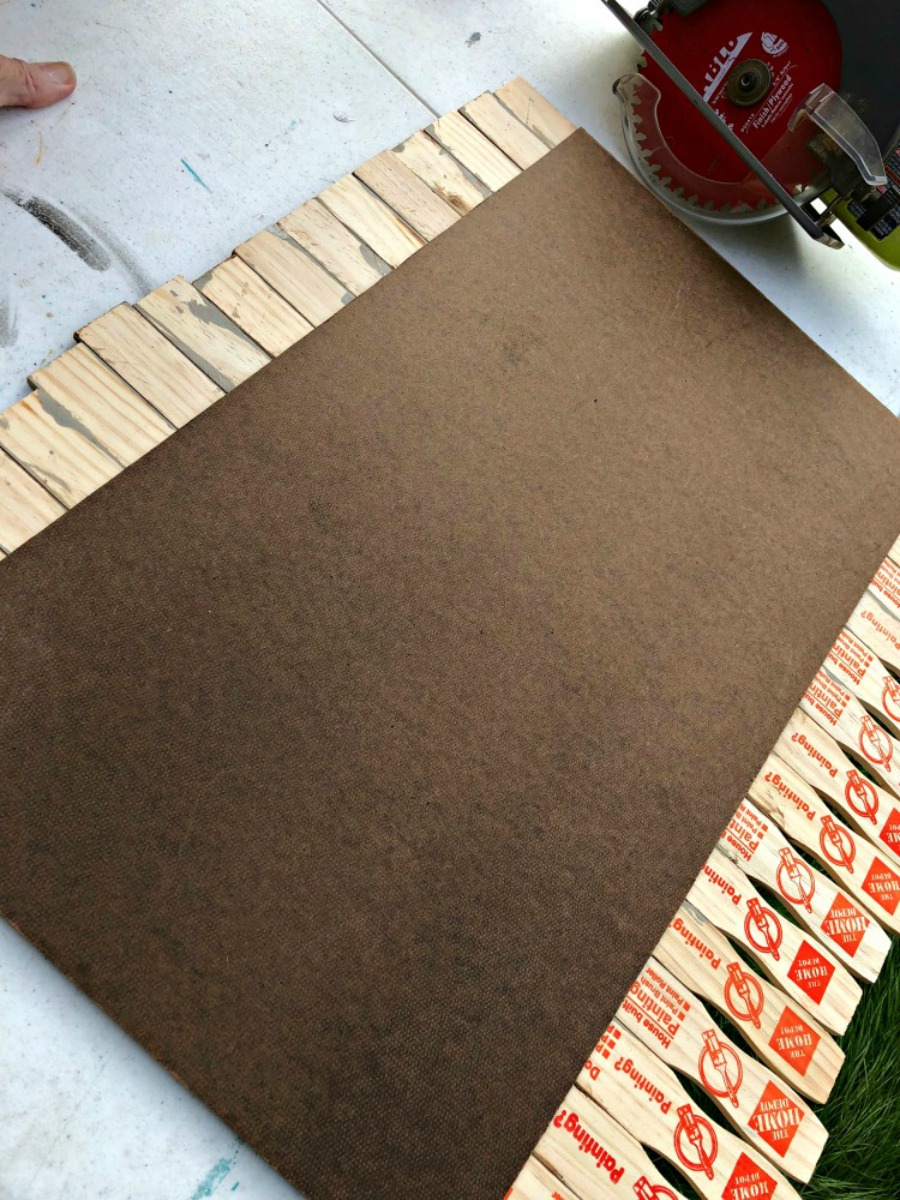
After all is trimmed, lightly sand the edges.
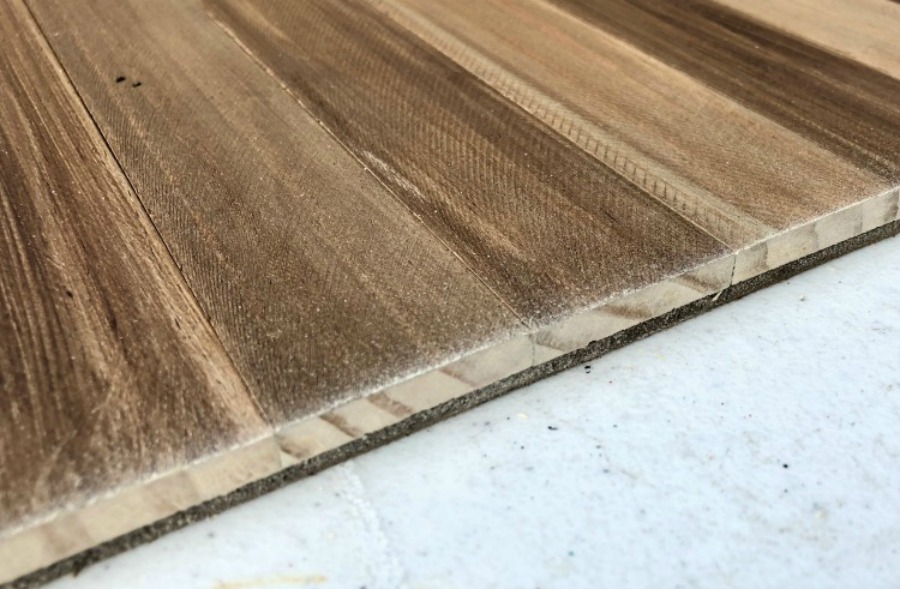
You will also need to apply a coat of stain to the cut edges. This was easily done with a little stain on an old rag. Let dry. I barely added any stain to the edges as this wasn’t showing when put into the cart.
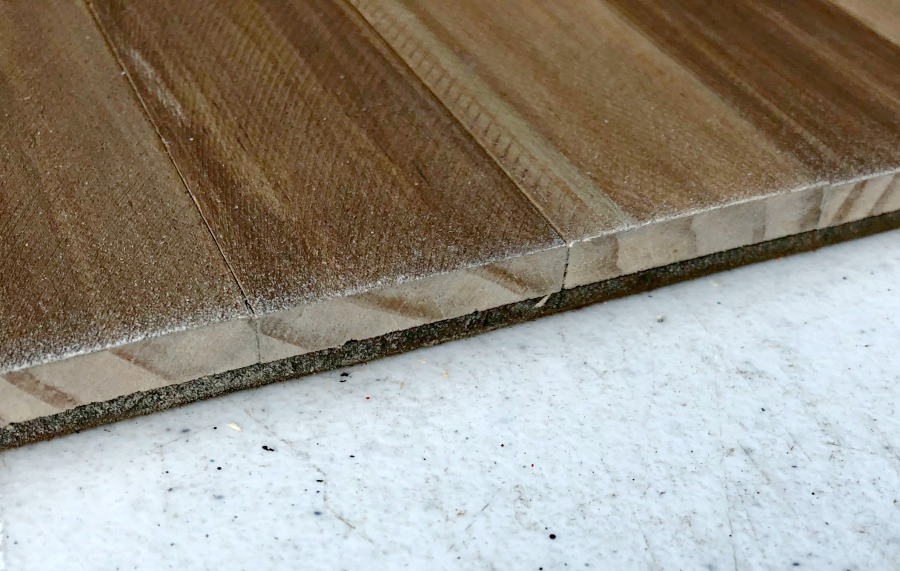
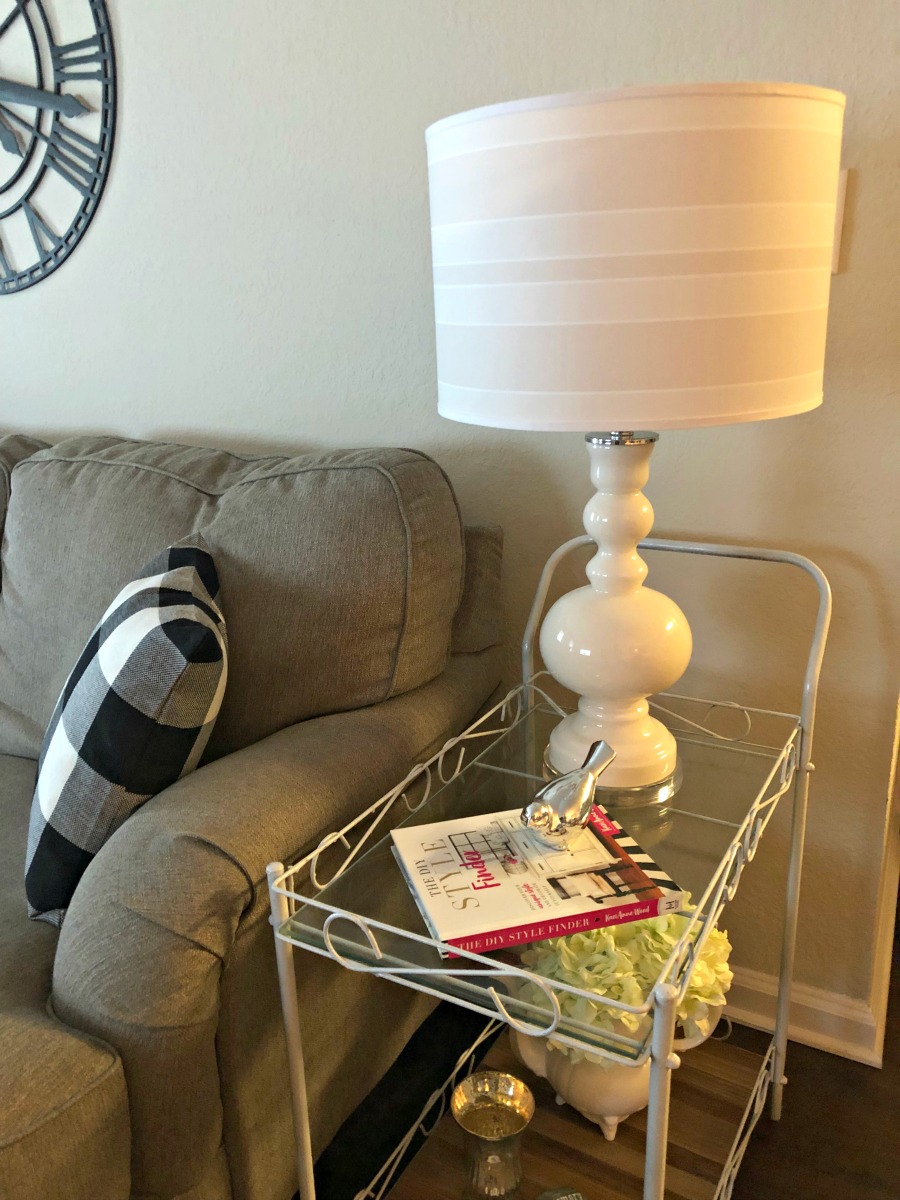
The transformation was complete and ready to use.
I love my Lamps Plus lamp. There’s so many choices in lamps and shades to mix and match. The stripes on the shade adds just enough dimension for a not so plain shade.
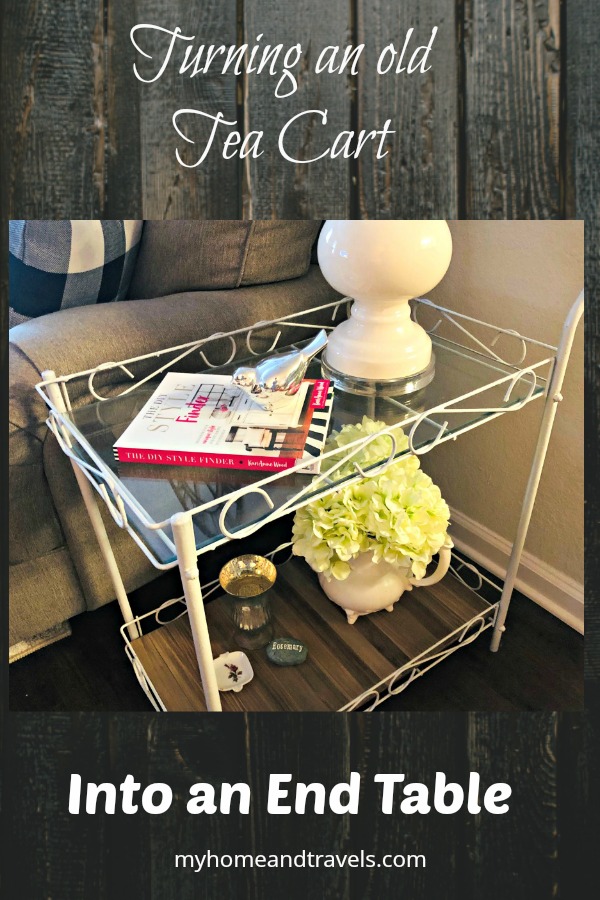
Save this to Pinterest for later.
HINTS:
When doing a project with stain, I usually practice a couple times to see what the final stain looks like.
Applying the stain heavier or letting it set on it longer, gives you a different look.
Paint and glue drying time can always depend on several factors – weather, heat, humidity, and how heavy you apply it.
For paint sticks – many times if you ask (nicely), stores are happy to help you with projects. You can also order them from Amazon. Make sure you check the size before ordering.
I have also purchased lattice strips for small projects.
Now are you inspired to grab some paint sticks and make a project?
Here’s a couple more of my favorite home projects.
 Made in USA Woodman Crafts ...Shop on Amazon
 Rust-Oleum 267298 Universal...Shop on Amazon
 Ryobi P504G One+ 18 V Lithi...Shop on Amazon
 RYOBI P1985 18V ONE+ Drill ...Shop on Amazon
I’ve included affiliate links to Amazon for you to find some products easier. I may receive a small commission, but the price is the same for you. It just helps my blog out.
Happy Travels,
Rosemary




I hopped over from IG to see the finished cart. How cool! The paint sticks idea was pretty amazing but I needed to know what you did with the rusty metal. Thank you for sharing that. I have a gold vanity stool that I’ve dreaded trying to get the rust off. Not really knowing where or how to start. I knew I’d give up hand sanding the whole thing. It never occurred to me to pressure wash and finish using hammered metal paint!
I didn’t put it in there, but I even used a wire brush and still couldn’t get all the rough spots off. That’s the main thing, is not to have any loose paint or rust on it before painting. I love the hammered metal paint. Hope you get your stool finished. There’s lots of colors in the paint available.
What a great idea to use that cart as a side table! I have an old cart around here that needs a makeover too.
I like it because it’s the same level as the couch so you aren’t reaching over the arm so much. I’m sure your’s will be fit in wherever you use it.
Love the wood on the bottom! Pinned.
Thanks. I loved the results. Now I’m looking for other places to use more paint sticks.
This turned out beautifully. I love the idea of stir sticks!
Thanks. I loved it and working on a table top now with paint sticks.
You are so clever to think to use this cart as an end table. I love how it looks and especially love the wood bottom you added.
That wood bottom is one of my favorite projects. I need to find something else for it too.
What a beautiful transformation! I love the wood planked bottom you added! Thank you so much for sharing at Tuesday Turn About! xo
Paint sticks are so good to use – and cheap. Thanks.