Peppermints and Candy Canes Oh My!
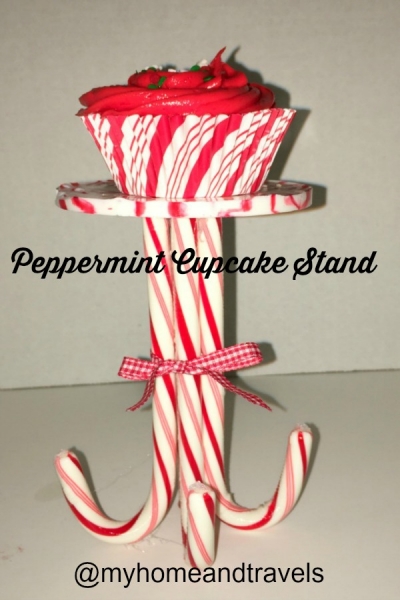
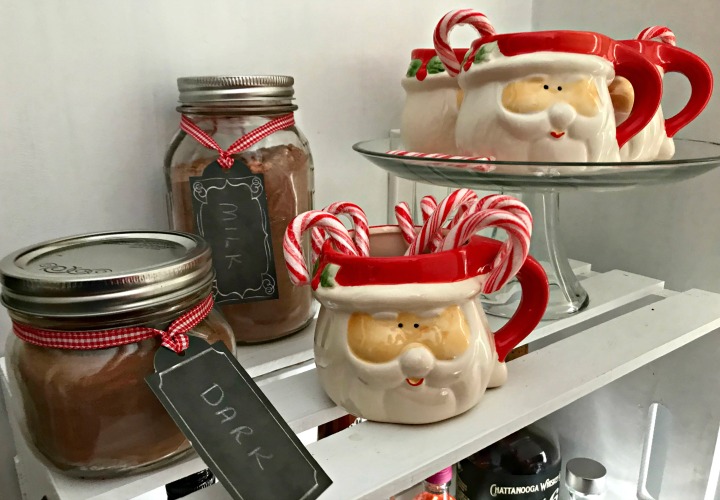
Day Twenty of Twenty Five Days of Christmas. Peppermints never go out of style. Not only does everyone love the scent they have but red and white are just good go to colors for this time of year. Peppermints and candy canes oh my. Lots of possibilities for them. Why not try this cupcake stand with them?

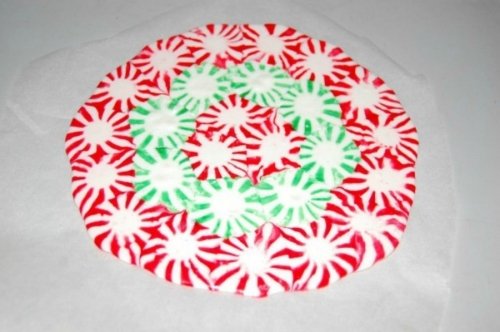
You may have seen a “plate” and hostess gift I made with mints a couple years ago.The plate can be made most any size. Mark a circle on parchment paper, then turn it over. Fill with peppermint pieces. This is basically made like the small one in the ring, but without the ring.
The multi-color peppermints do melt a bit differently, so watch it very carefully.
These are great for serving, but if you use it for anything moist, such as fruit, it will start to dissolve, so place a clear plate on top.
CUPCAKE or CANDY STAND
This is a fairly simple project to make but it does take just a little time and patience. Plus candy canes can be pretty fragile so just take a little time. And, be like me, always have a few extra on hand to allow for what I break or those that are already broken in the box.
What you need:
4 candy canes – check for approximate same size
Low temp glue gun
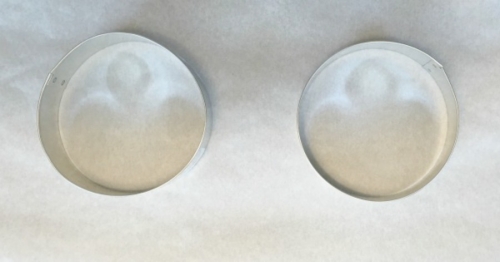
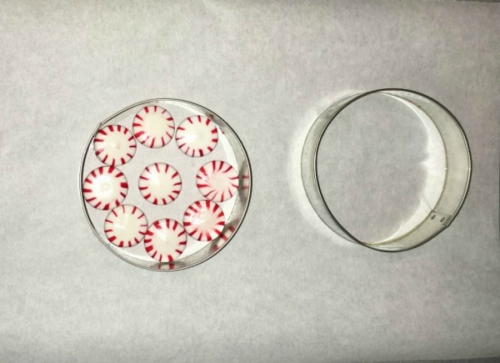
4″ round metal ring or cookie cutter
Peppermints – I used 9 but you just need to fill the ring
Vegetable spray
Parchment Paper
Baking tray
Ribbon
Part One – Top of stand
Preheat oven to 300.
Place parchment paper on baking sheet.
Spray inside of ring with vegetable spray and place on parchment paper.Unwrap candy and place pieces inside ring.
Bake in preheated oven for approximately 6 – 8 minutes.
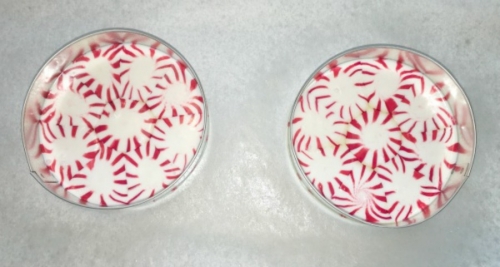
Times can vary by your own oven.Check after 6 minutes for pieces to be completely melted.
If they are still holding their shape, check every 45 seconds to 1 minute.
As these begin to melt, they do so quickly and can burn easily.
When pieces have melted, remove from oven and transfer onto another baking sheet to cool.
After a couple of minutes, carefully push the piece out of the ring. Let this finish cooling on the sheet.
If you don’t have rings, make circles as I describe in making the plate.
To make the stand legs.
Pick out 4 candy canes which are similar in size and coloring.
Place 2 down side by side and attach together with a few drops of hot glue.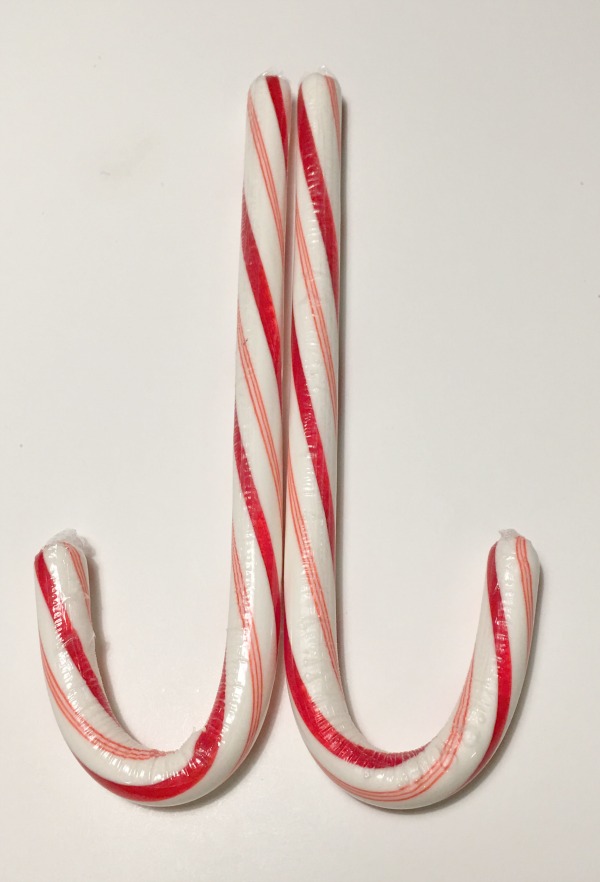 Stand this up, holding it in place, and attach the other 2 sides with a few drops of hot glue.
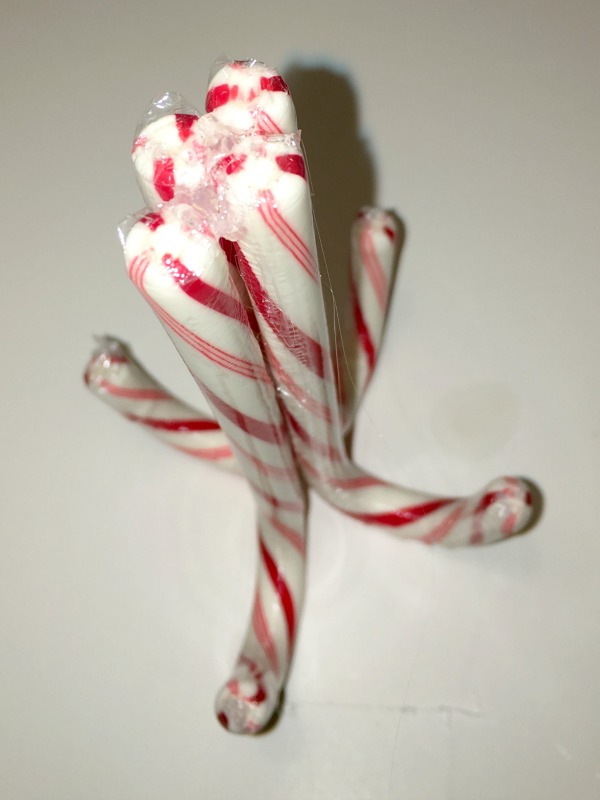 Check for it to be level as you are putting it together. Be careful not to press to hard as it can break.
Attach the top with a little hot glue.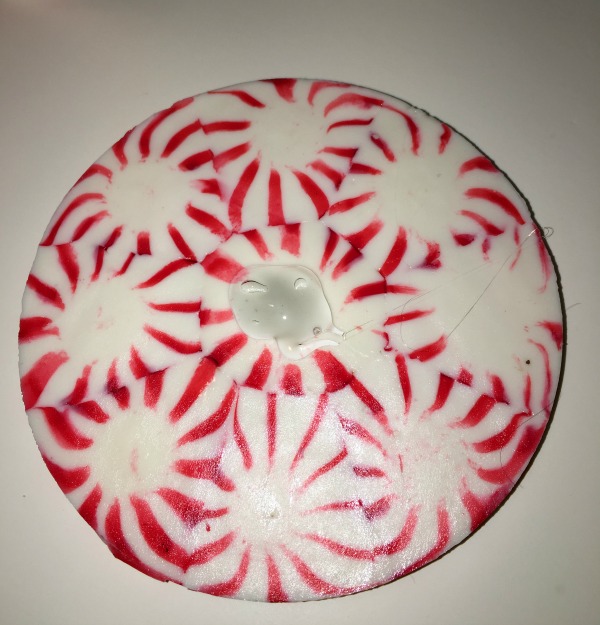 Tie a ribbon around the middle to finish.
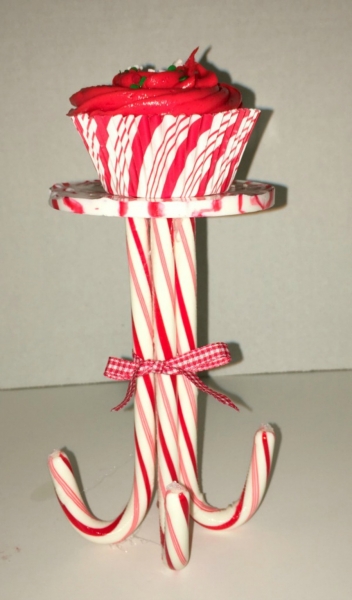
Add your favorite cupcake, or even a paper cup filled with a brownie or fudge.
Word of advice – any moisture will dissolve the candy so anything you set on top, place on a small piece of parchment paper or in a paper baking cup.
Note – I left the wrapping on the candy canes as with the current weather, they were getting sticky as I was making it. This would make the legs a bit more secure also.
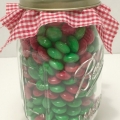
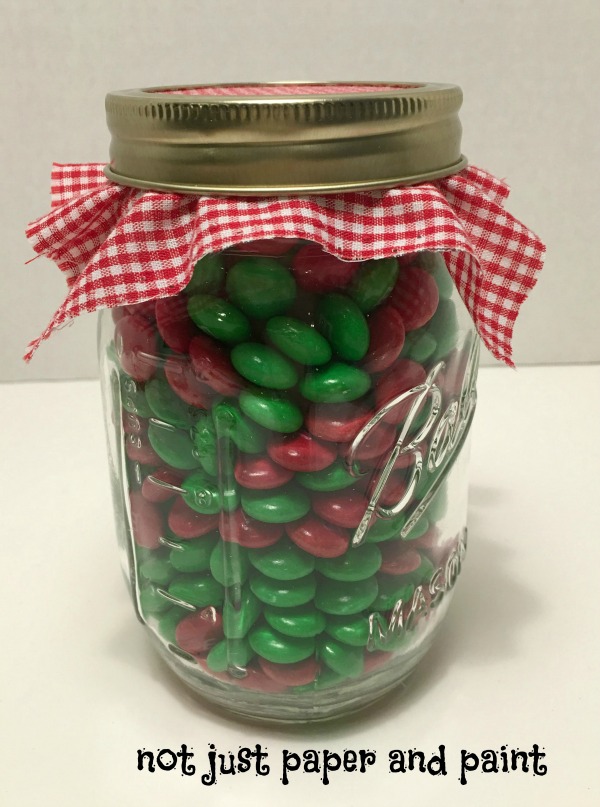
You may also enjoy...
I’ve included affiliate links to Amazon for you to find some products easier. I may receive a small commission, but the price is the same for you. It just helps my blog out.
Happy Travels,
Rosemary
I want to make one of those cupcake stand or even just a platter. What a super cool idea and I know my guests will love it.
I want to make all of these! My favorite part of Christmas is peppermint! I love the taste, I love the colors, I love the smell. I’m peppermint obsessed!
thinking this would be fun to make with the grandkids. They will love the melting part the best of course.
What a delicious table topper! This would be so cute on our dessert table.
That is adorable! I could see making several of these as cupcake holders to use during a party.
This is actually pretty cool. I love peppermints, they are a great decor piece. We usually have plenty of candy canes around this time of year.
Red and white with peppermints are always a great color to use.
I’ve never seen anyone make a plate of peppermints before, it’s such a creative idea. It would be perfect for baked goods like brownies.
I was thinking of making some things with mints this year. My kids want to do ornaments so I think we may give it a try. These look awesome! I love the look for mints.
These look like a lot of fun Christmas decorations. Im not a huge peppermint fan but these are pretty.
I agree, peppermints are a must this time of year. I love my peppermint mochas come winter time. They’re just so tasty!
Candy canes can be so good, and so cute, in so many ways.
I wish I could just post a picture of an amazed, gobsmacked face. WOW!!!! That’s so clever